Mugello
-
Posts
947 -
Joined
-
Days Won
2
Content Type
Profiles
Forums
Store
Blogs
Events
Downloads
Supra Articles
Gallery
Everything posted by Mugello
-
Sent you a message
-
Great work and lovely pictures!
-

Sold Whifbitz titanium exhaust + baffle
Mugello replied to rpslaughter1982's topic in Parts for Sale
Cheap this - GLWS. -
Moo's - Widebody Aerotop Turbo Manual - Build Thread - CCW's !
Mugello replied to Mugello's topic in mkiv Supra Projects
Hi Matt, Wow what a small world - Please do post some pictures if you have any, I would love to see them. Also I WILL be updating this thread any day now, just need to find ten minutes. -
I recently purchased an upgraded alternator from SRD - I highly recommend them. Had a choice of finish too, if your looking for that kind of thing.
-
Lee's 6 Spd Single - after a decade off the road
Mugello replied to leelbuk's topic in mkiv Supra Projects
Wow - What a beauty! -
I must admit this is my biggest fear, but I also do like to see Supra's being used, not garage queens!
-
Welcome - Nice looking Supra that!
-
Moo's - Widebody Aerotop Turbo Manual - Build Thread - CCW's !
Mugello replied to Mugello's topic in mkiv Supra Projects
Hello everyone, Sorry for the lack of updates - I promise this will get updated very soon. Thanks for the kind words!! -
Good watch - Quite like the 'Car Throttle' video's in general.
-
Epic build Mike - Can't wait to see this build finished! Some very tasty parts going into this.
-
Love seeing updates on this build - Great work!
-
Looks amazing - Great work, on an epic build!
-
Hi Mike, I will take the windshield washer tank and OEM motor - Will drop you a PM.
-
I believe there is a typo on that spreadsheet - Connector 90980-10897 pin 8 goes to pin 13 (orange) not pin 28. I also hear of some people using the 'electrical load sense' pin on the body loom to raise the idle rpm when electrical load is high - Sounds like its possible to create this option within Syvces with a custom table to add idle duty against battery voltage.
-
Hello technical section, I'm currently in the process of finalising my wiring harness for my single turbo build, and im appealing to the wiring Guru's for some wise words, wisdom and general input. Having done a lot of searching and seeing a load of threads where people have got it wrong, I thought it best to seek clarity / confirmation, with this thread potentially becoming useful to others. So here goes:- The harness itself was bespoke made for a 2JZ engine but never used. Its a useful base to start from, but does need work. I'm currently in the process of changing some connectors, adding/removing some items, and basically making it suit my specific build. My body loom is a GE loom and im aiming for everything to work (obviously) and where possible use the original circuits. The aftermarket ECU im going for is the Syvecs S7. My main area of need is input on how the stock body loom plugs (5) interact when using an aftermarket ECU. I have been referring to the 'Wilbo666' technical information and the Syvecs pin out information, which has helped a lot, but before I physically wire it all up I wanted to get some friendly advise and double check my workings. Attached is my 'work-in-progress' spreadsheet showing the five stock connectors and where I am anticipating everything going. Essentially, anything in green I believe to be sorted, blue is not used/not required for my build, and red is still to be confirmed / unsure. As you can see some pins on the stock connectors are '??' for example - Orange connector, pin 32, electrical load sense, which im not even sure can be utilised with an aftermarket ECU? If anyone can help on any of the red items, or share advise from experience then please do. Perhaps even commenting on things you would do differently etc. Thanks, Moo. Stock Connectors Pin Outs.xlsx
-
Great work - This is looking unreal.
-
Moo's - Widebody Aerotop Turbo Manual - Build Thread - CCW's !
Mugello replied to Mugello's topic in mkiv Supra Projects
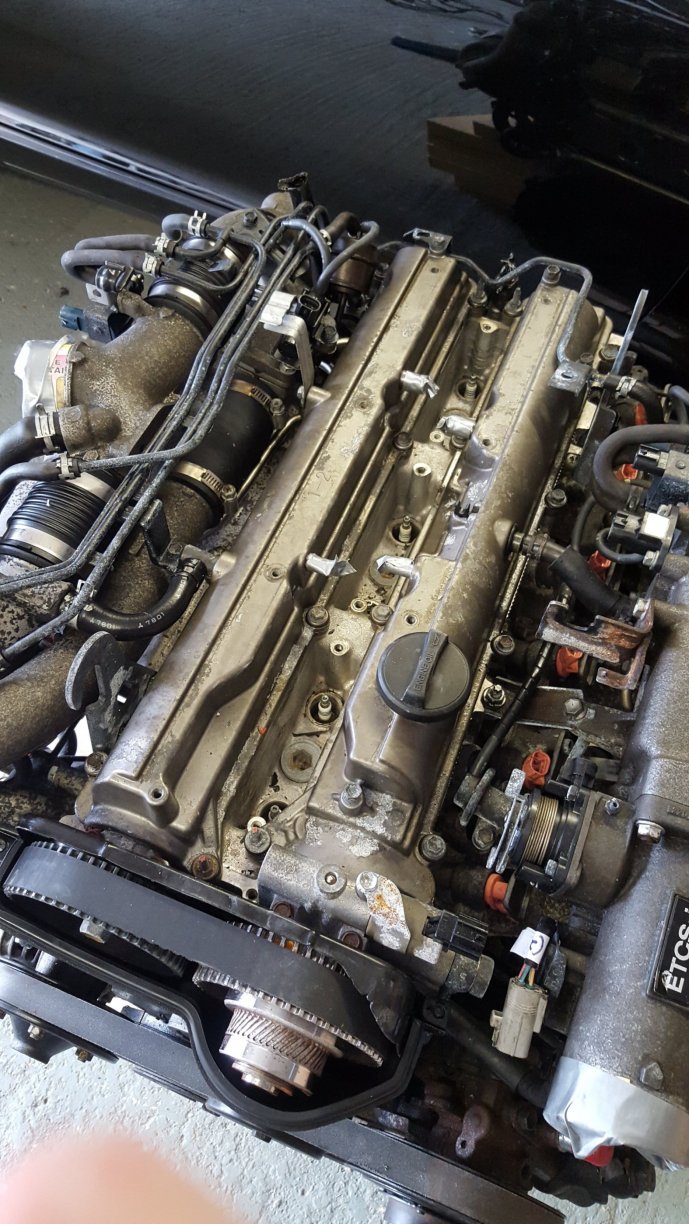
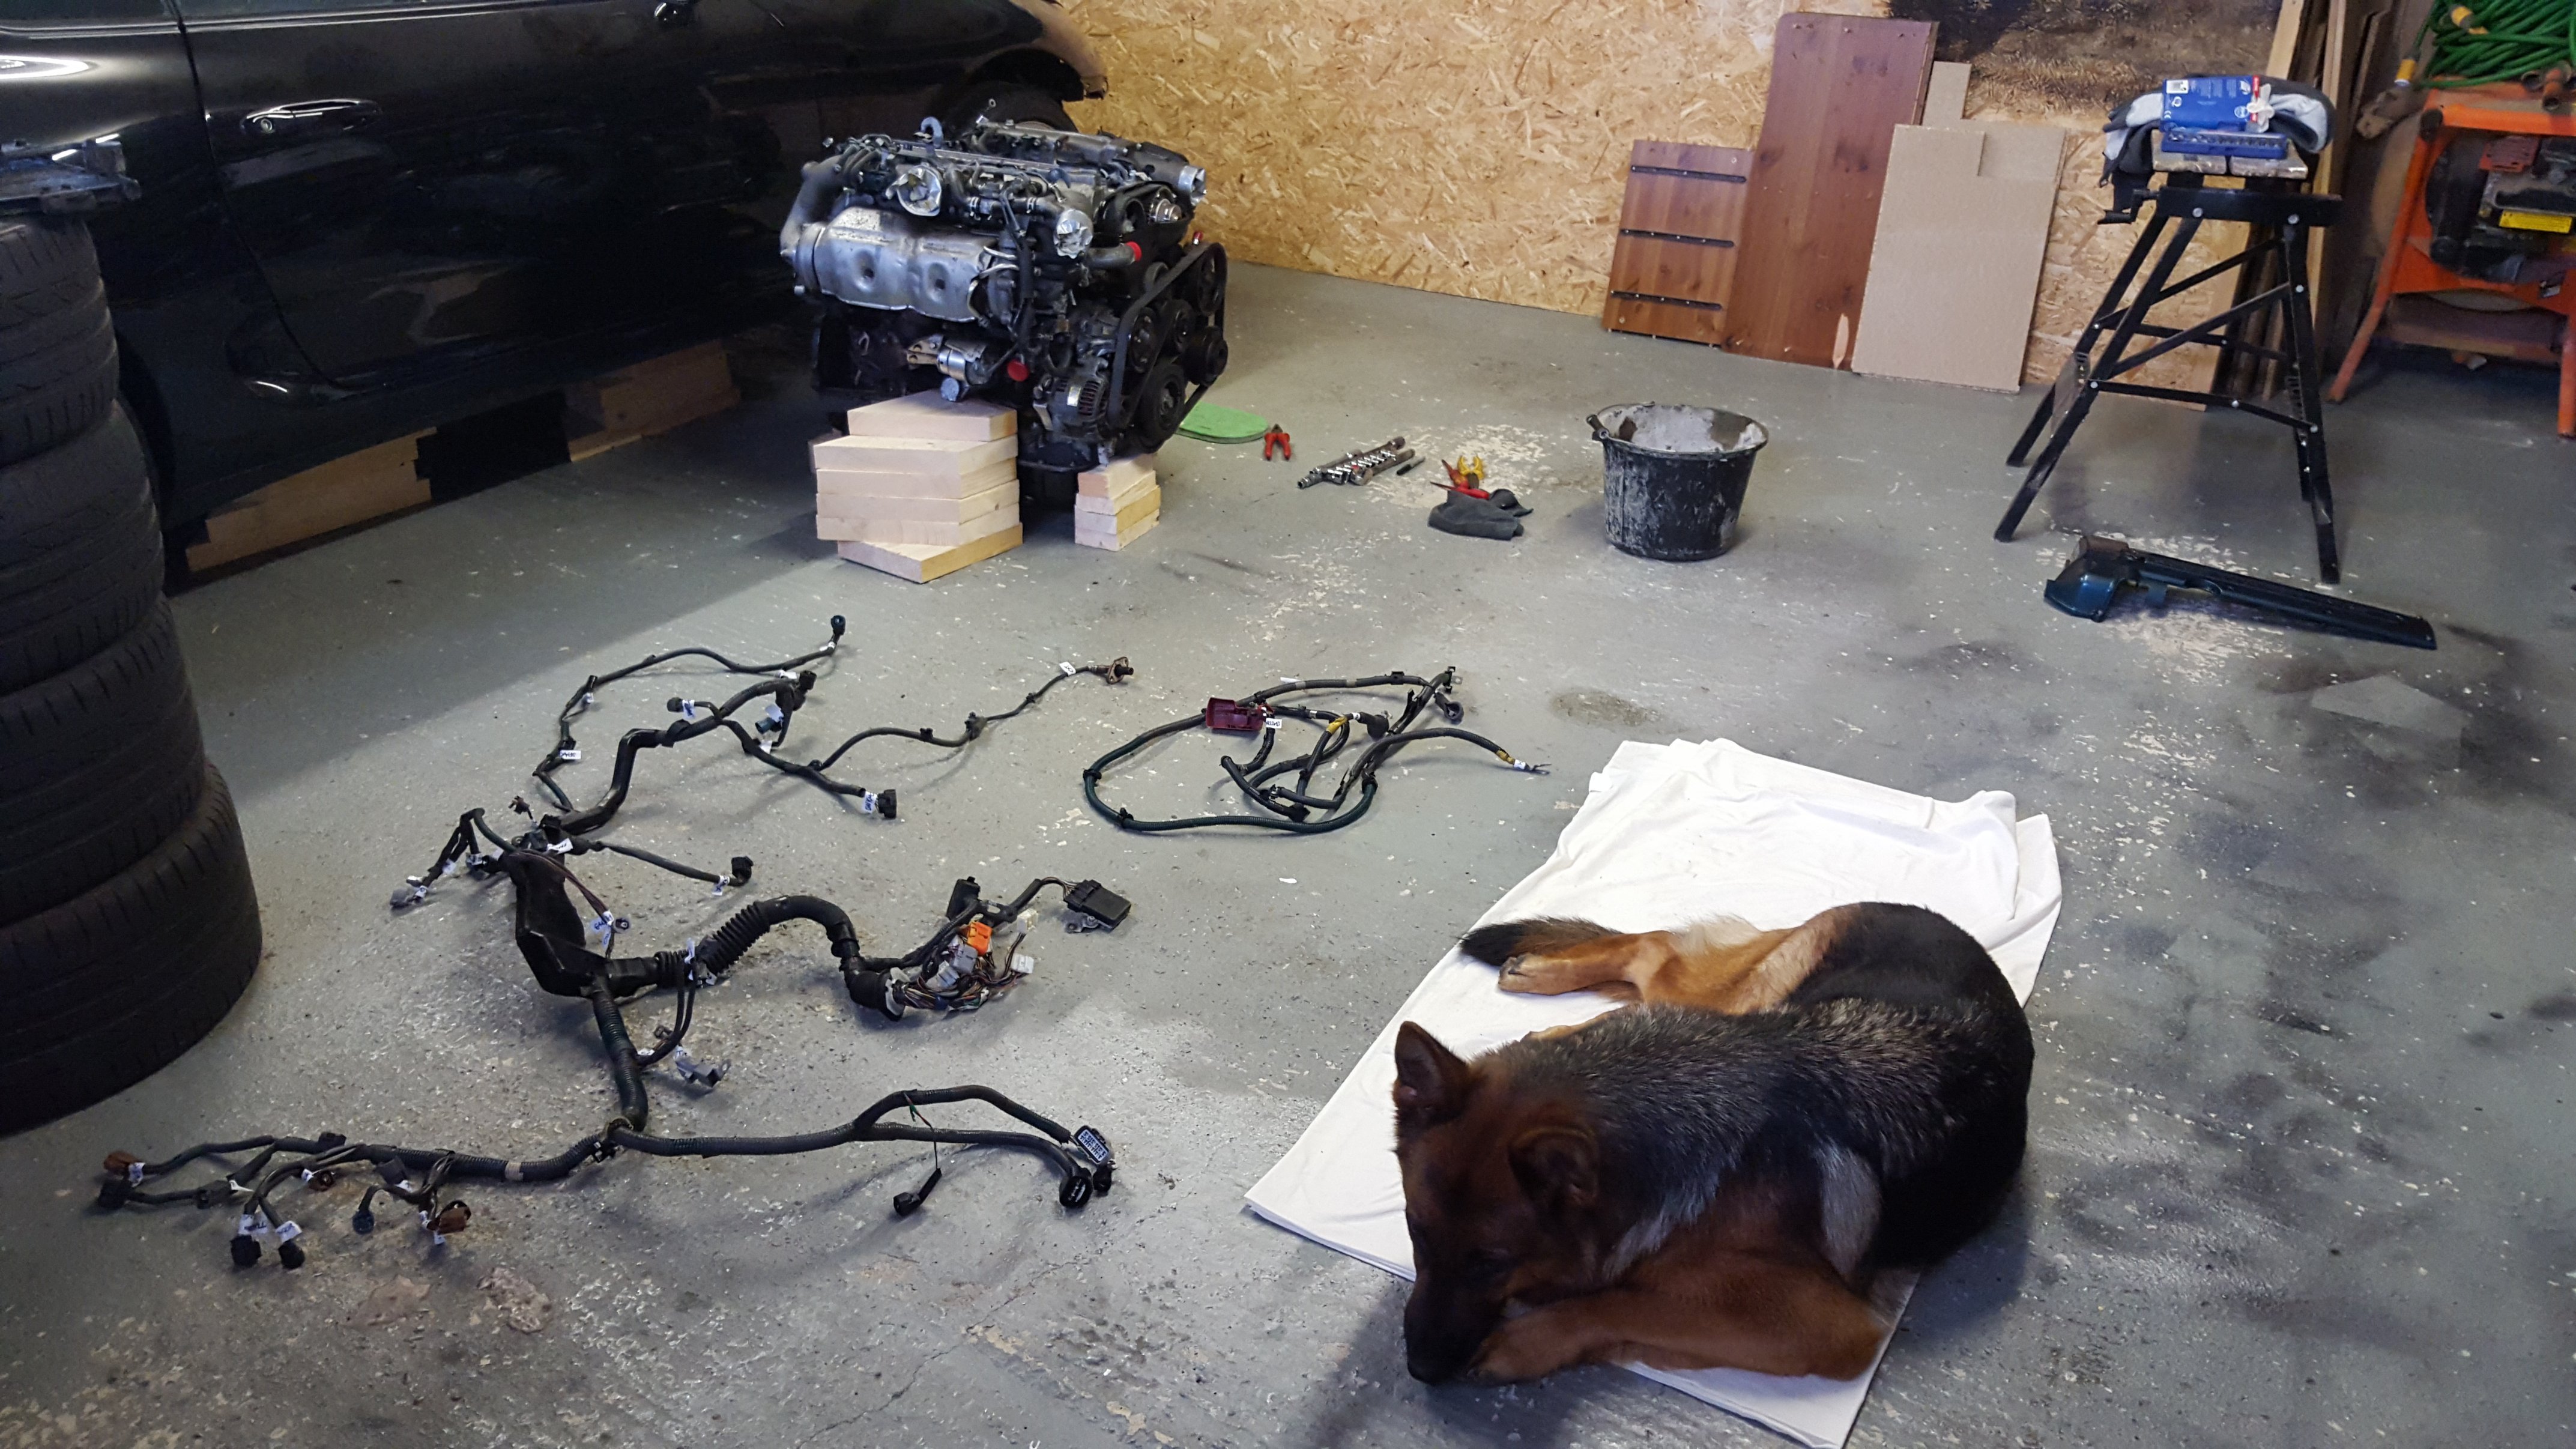
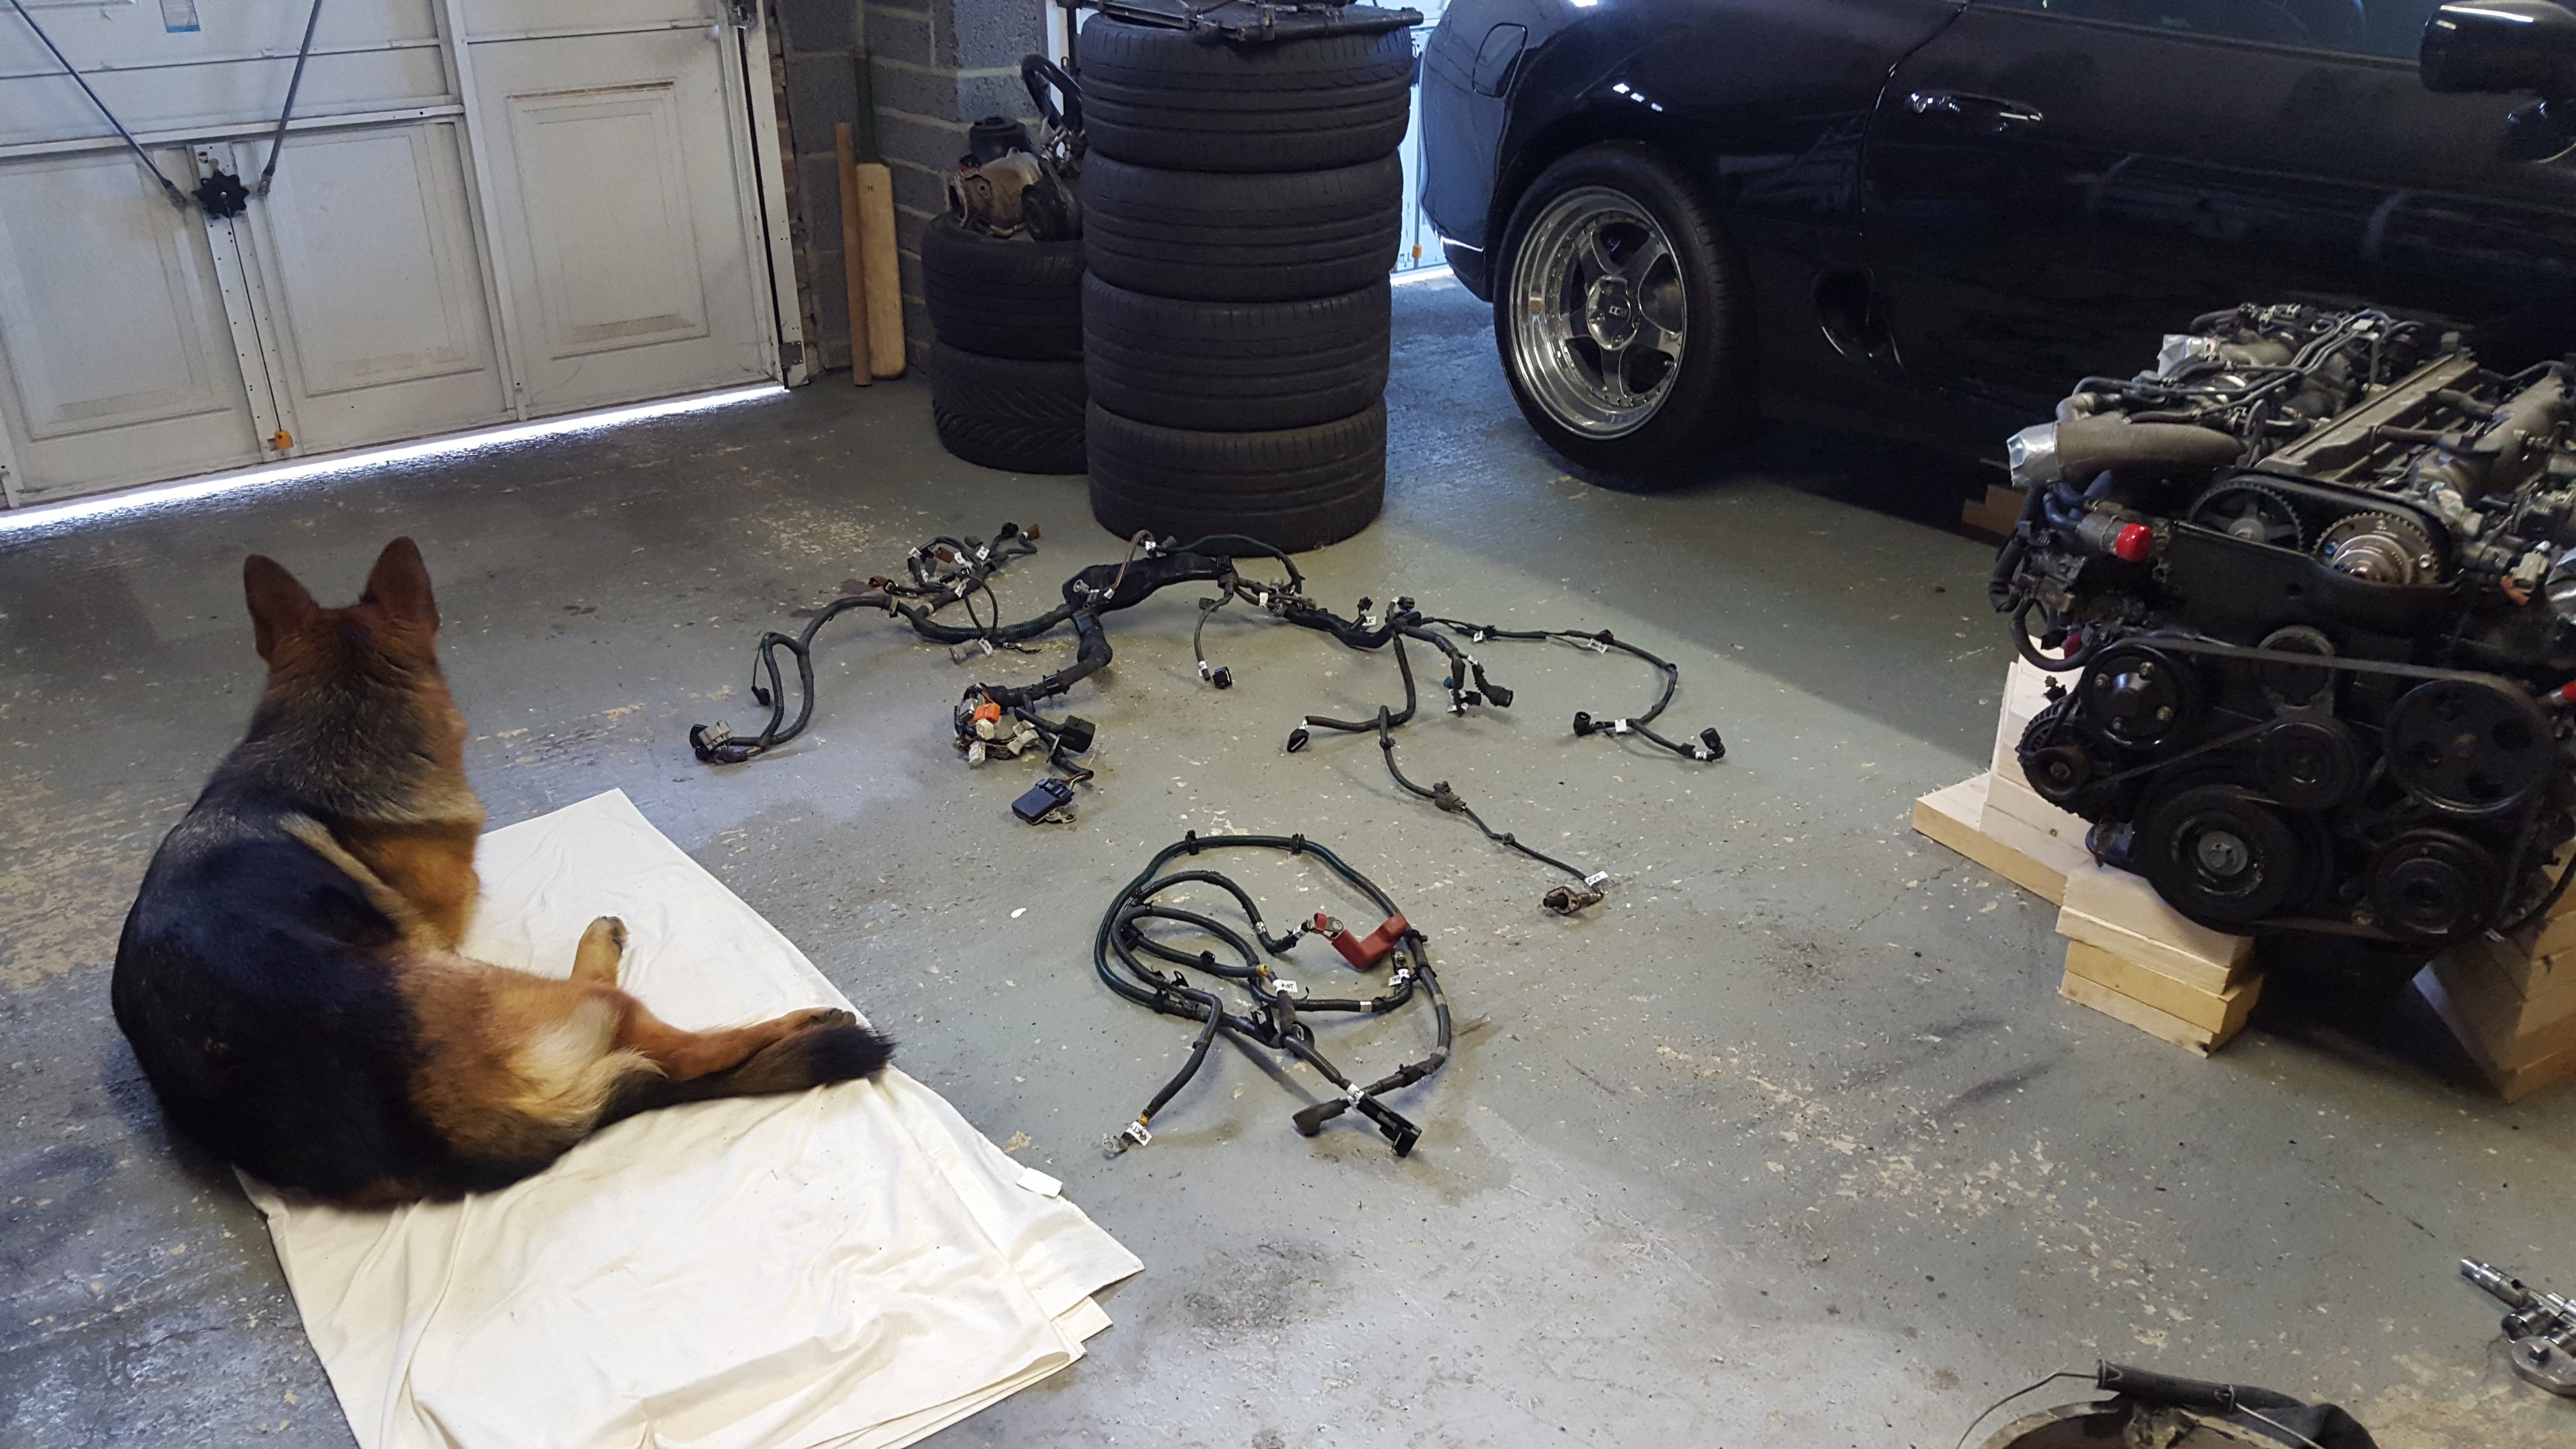
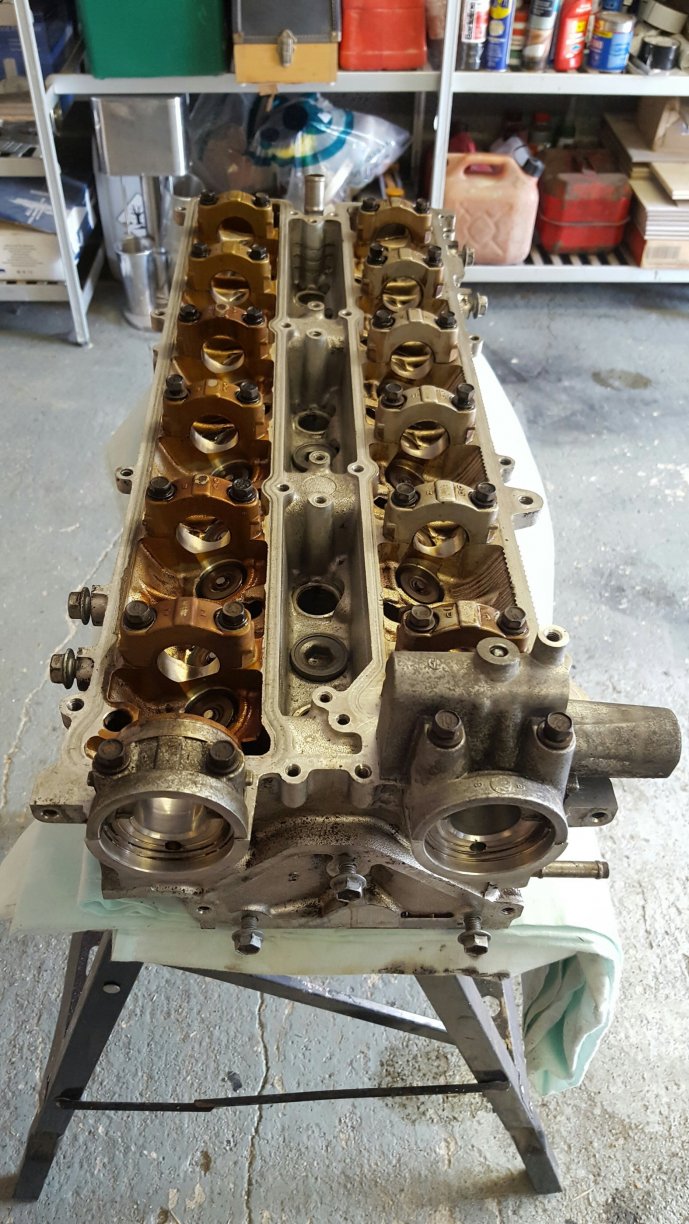
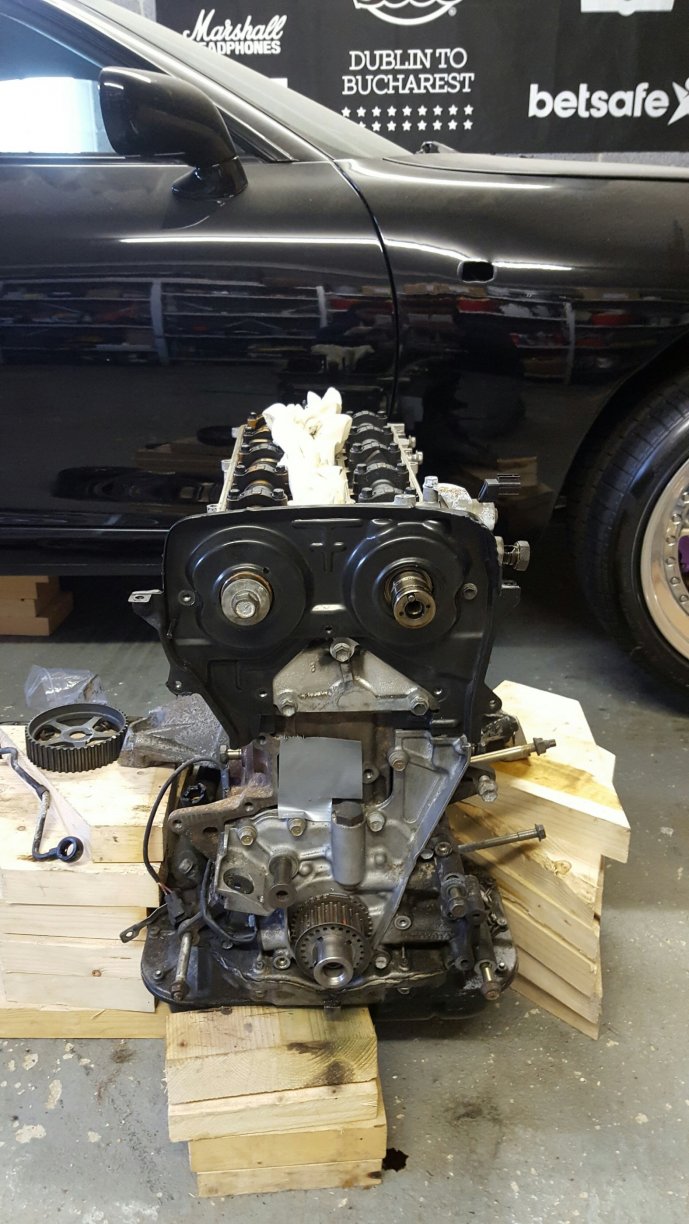
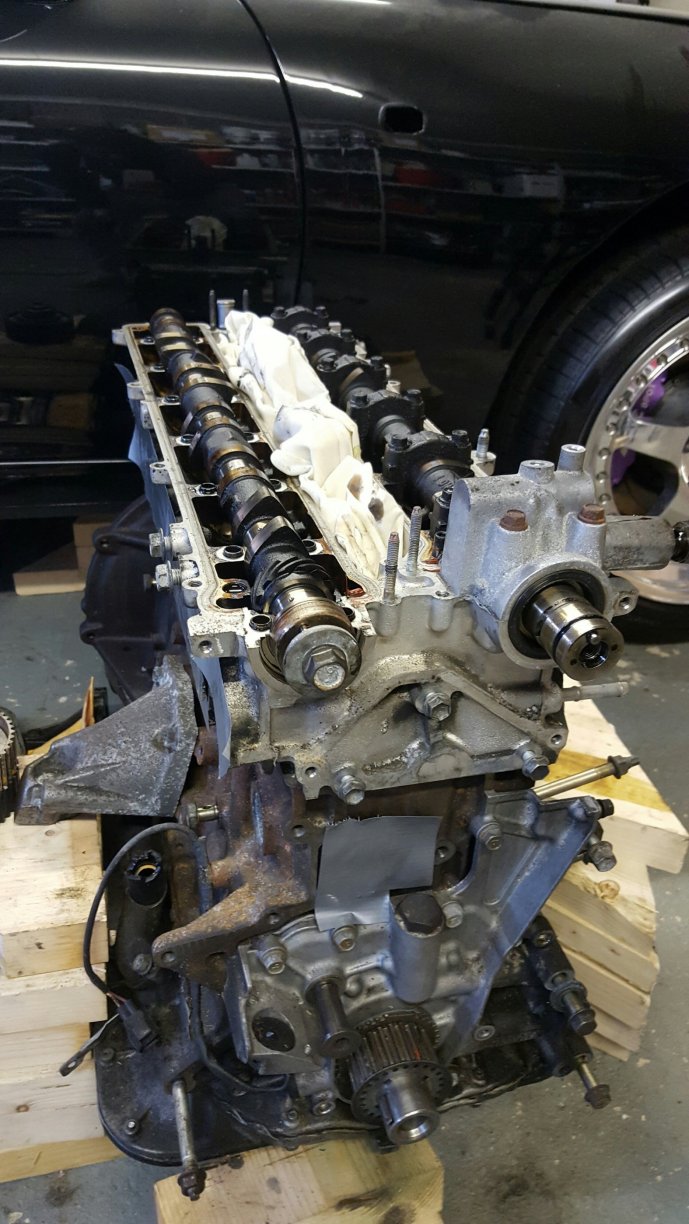
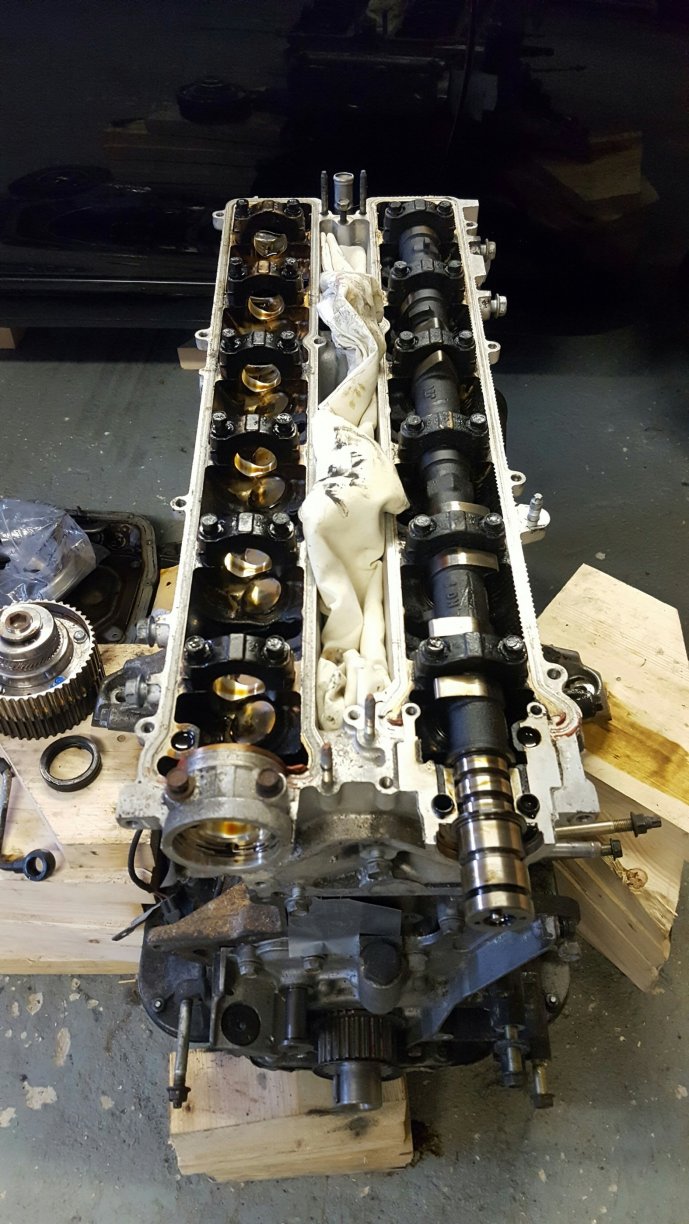
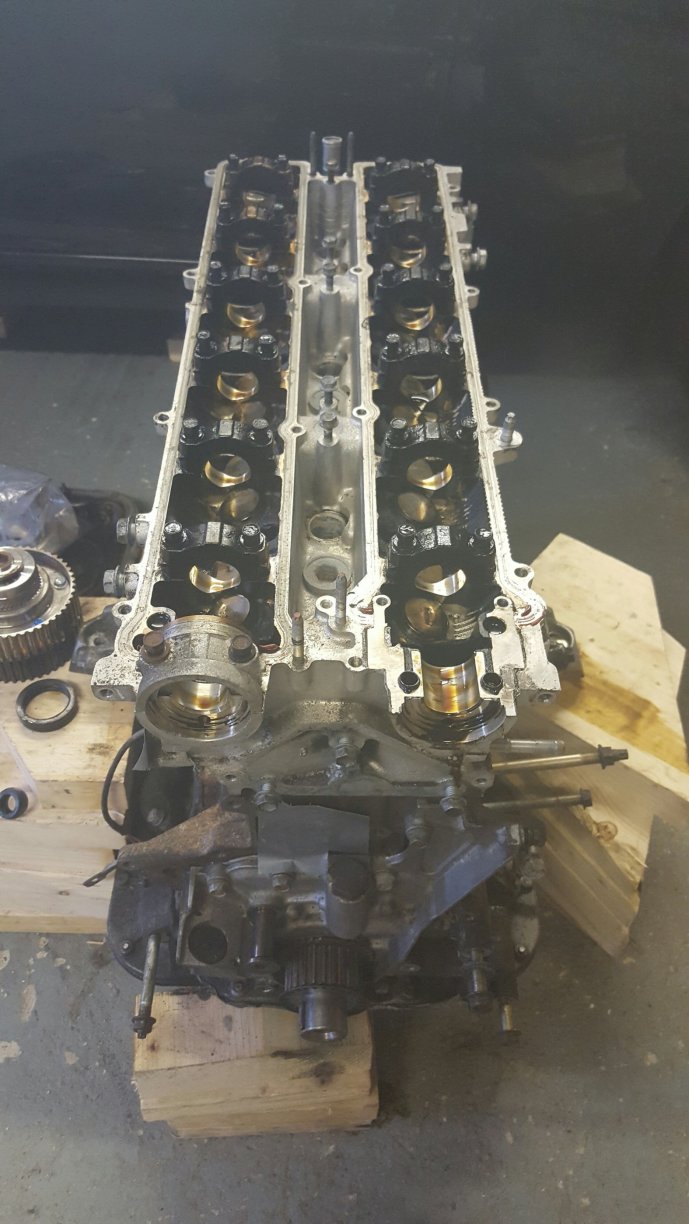
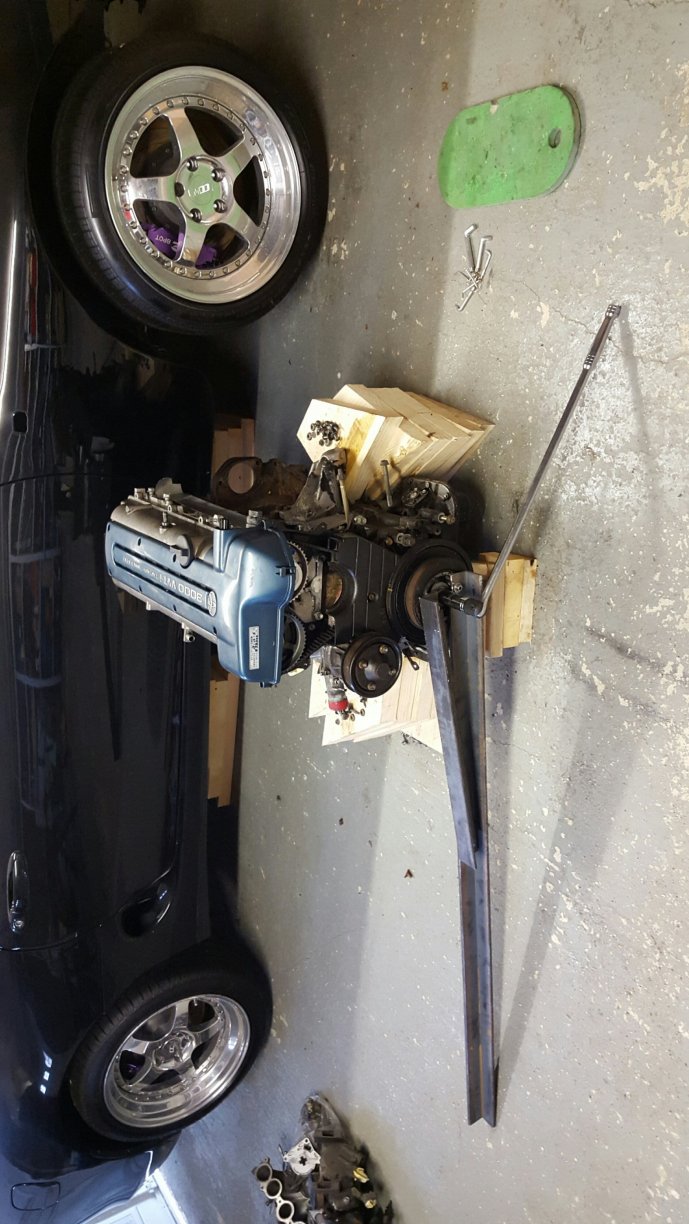
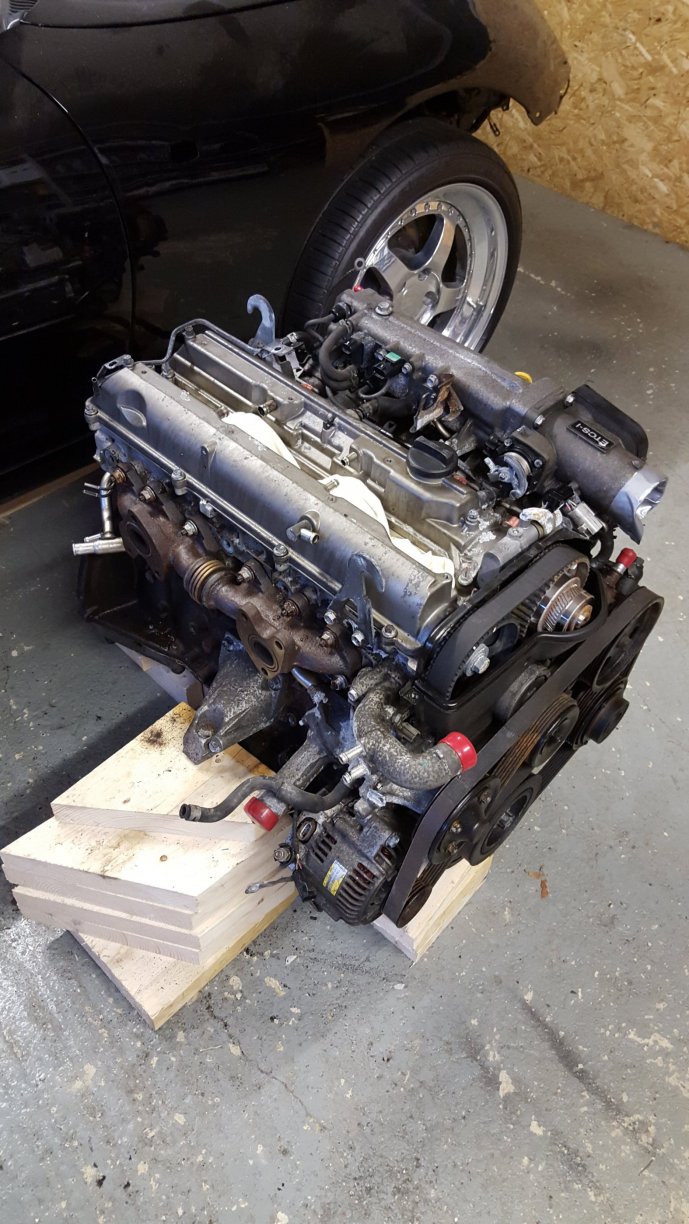
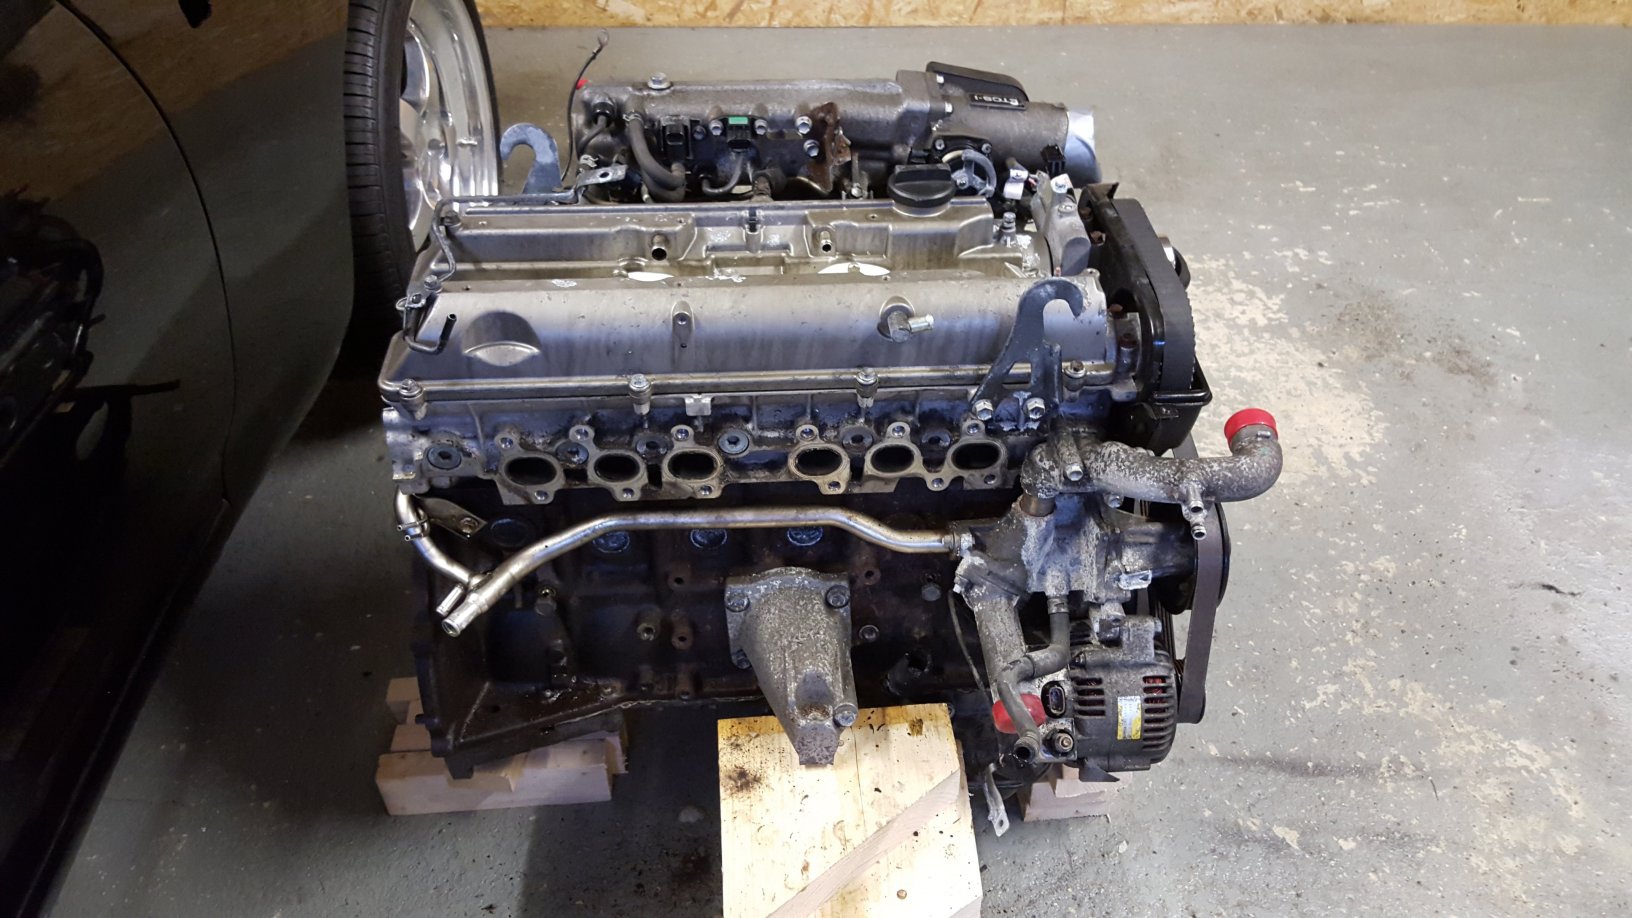
Next the cylinder head came off, and you can see in the background of the first photo how everything was tagged and bagged in case I ever need it. Generally the inside of the engine was in good condition, but it should be right, its a 60k miles VVTi import lump. Which is the main reason why I wanted to open this engine and refresh it. I'm not saying I don't trust the importer or the paperwork that the engine came with, but short of opening the engine its impossible to be truly confident. The plan at this point was simple. The block and the cylinder head were going off to the machine shop to ensure they were straight and true on the mating surfaces, and I had new ARP headbolts and a new stock Toyota head gasket to go in - Job done? But then the slippery slope began. My thinking at this point was along the lines of ‘The engine is now apart, so why not build it’. So my next step was to get the cylinder head and block ready for the machine shop, to have a little more work done than I originally intended. Also at some point a gumball banner was put up - I think I borrowed it from the London checkpoint. For the eagle eyed viewers, note this is an Aristo engine meaning at this point the sump and engine mounts are not going to fit the supra.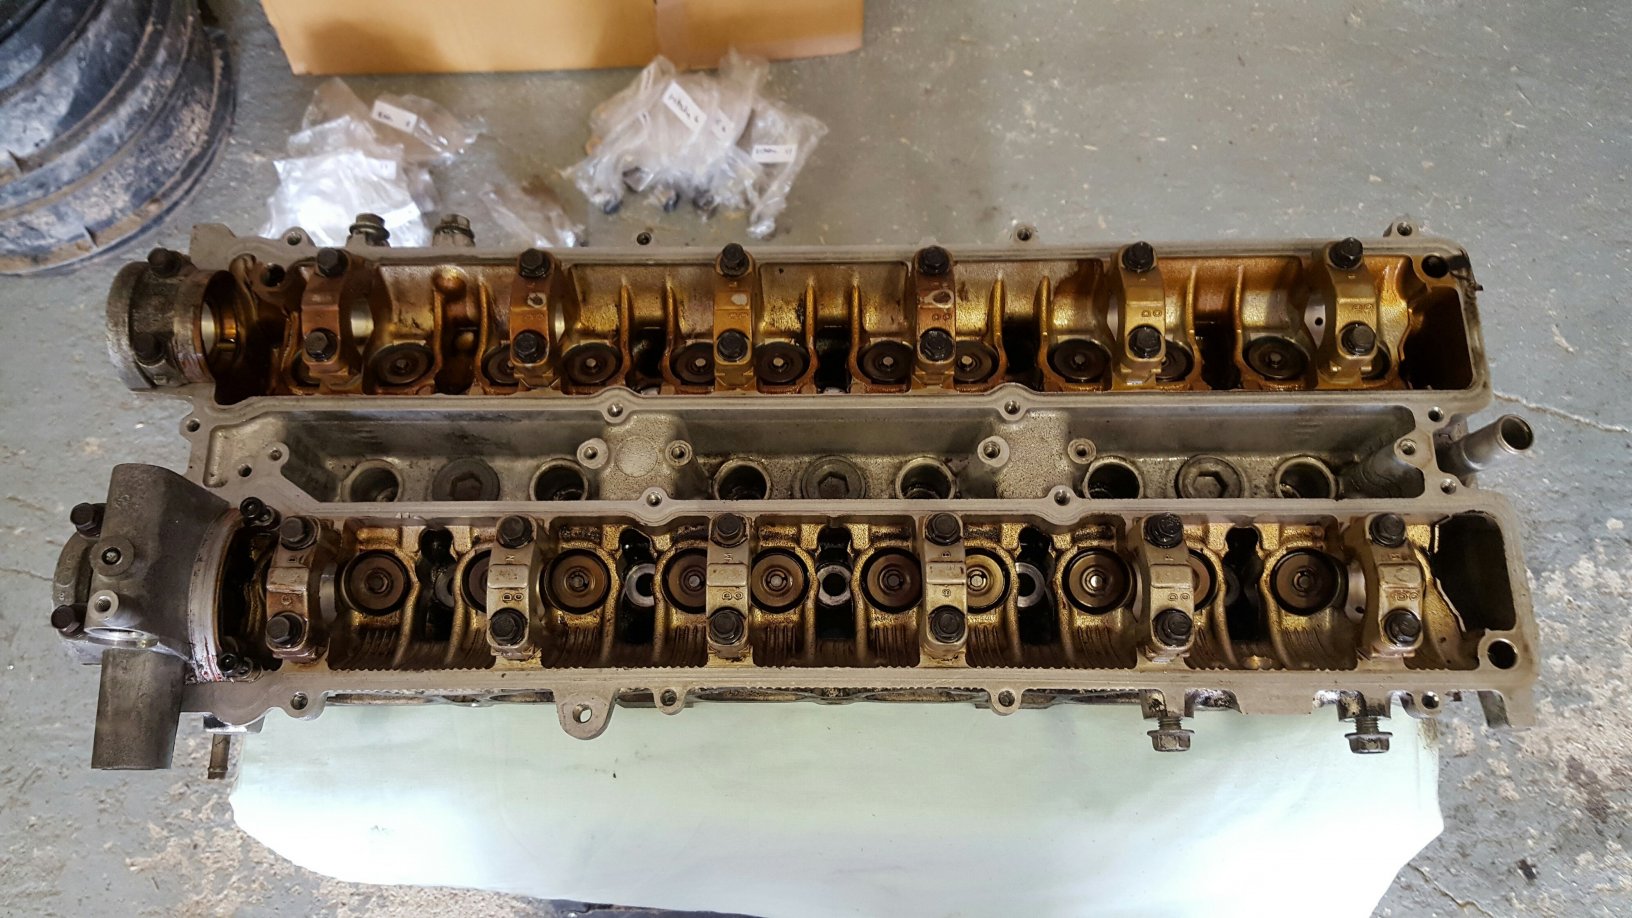

-
Moo's - Widebody Aerotop Turbo Manual - Build Thread - CCW's !
Mugello replied to Mugello's topic in mkiv Supra Projects
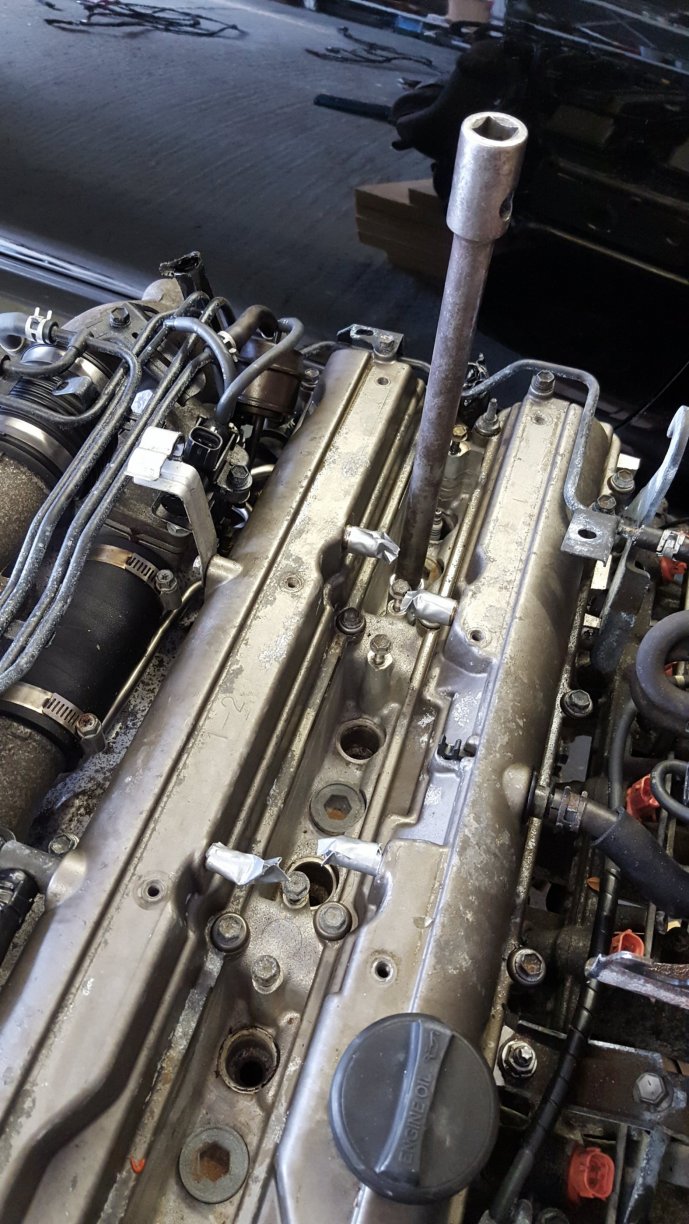
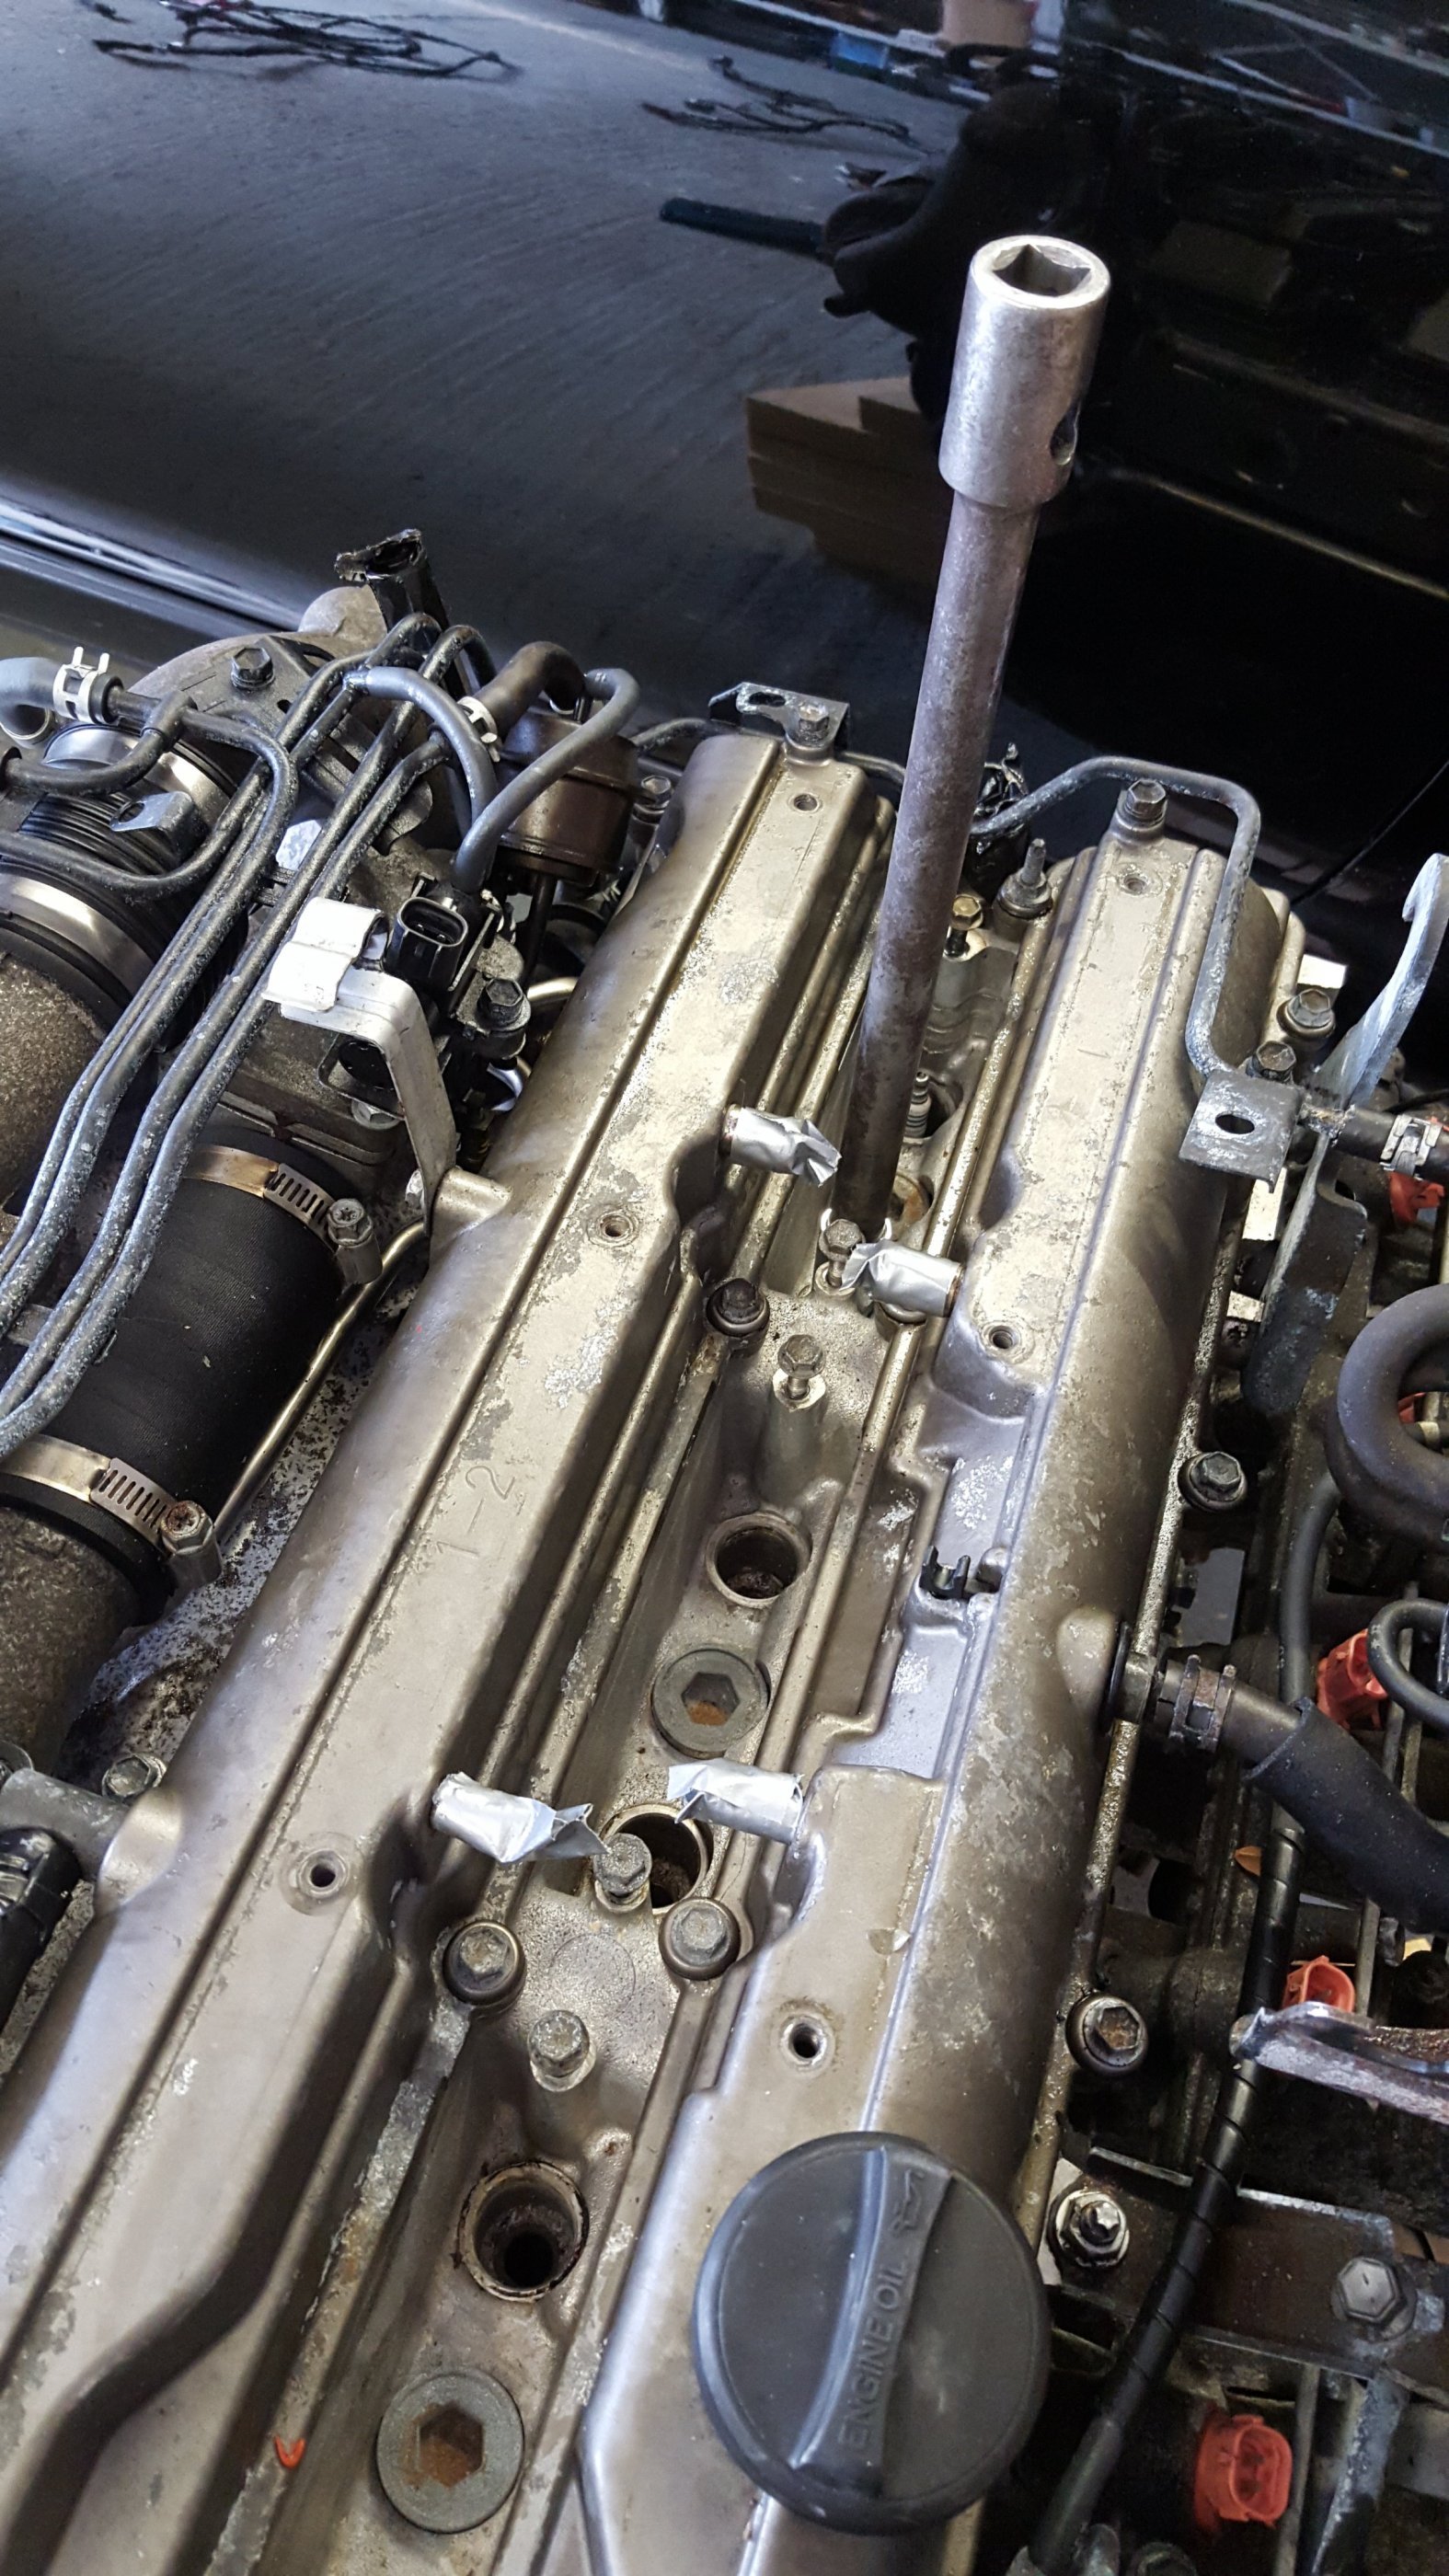
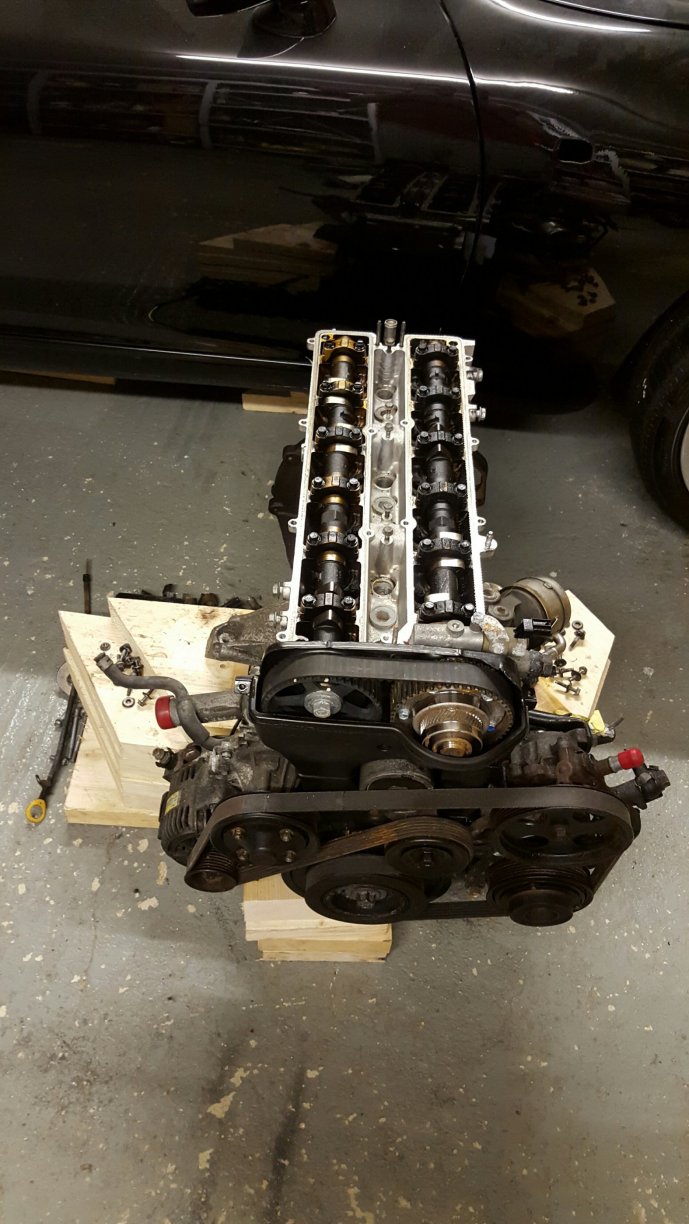
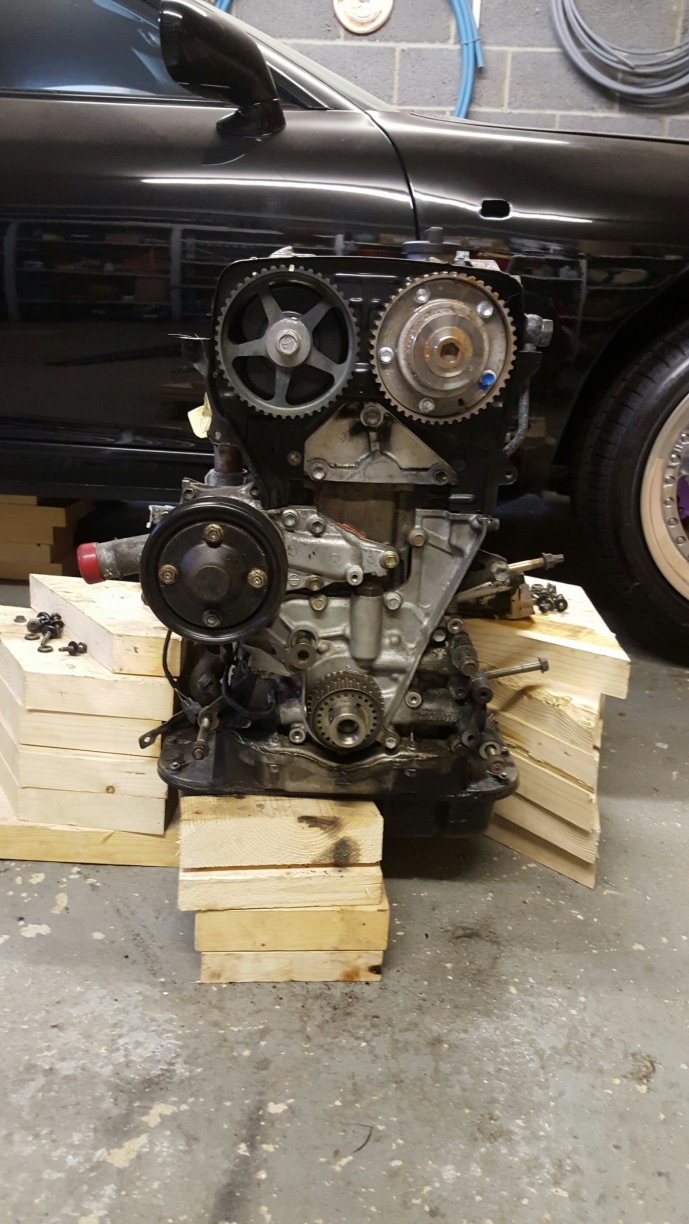
The cylinder head is now ready to be removed -
Moo's - Widebody Aerotop Turbo Manual - Build Thread - CCW's !
Mugello replied to Mugello's topic in mkiv Supra Projects
-
Moo's - Widebody Aerotop Turbo Manual - Build Thread - CCW's !
Mugello replied to Mugello's topic in mkiv Supra Projects
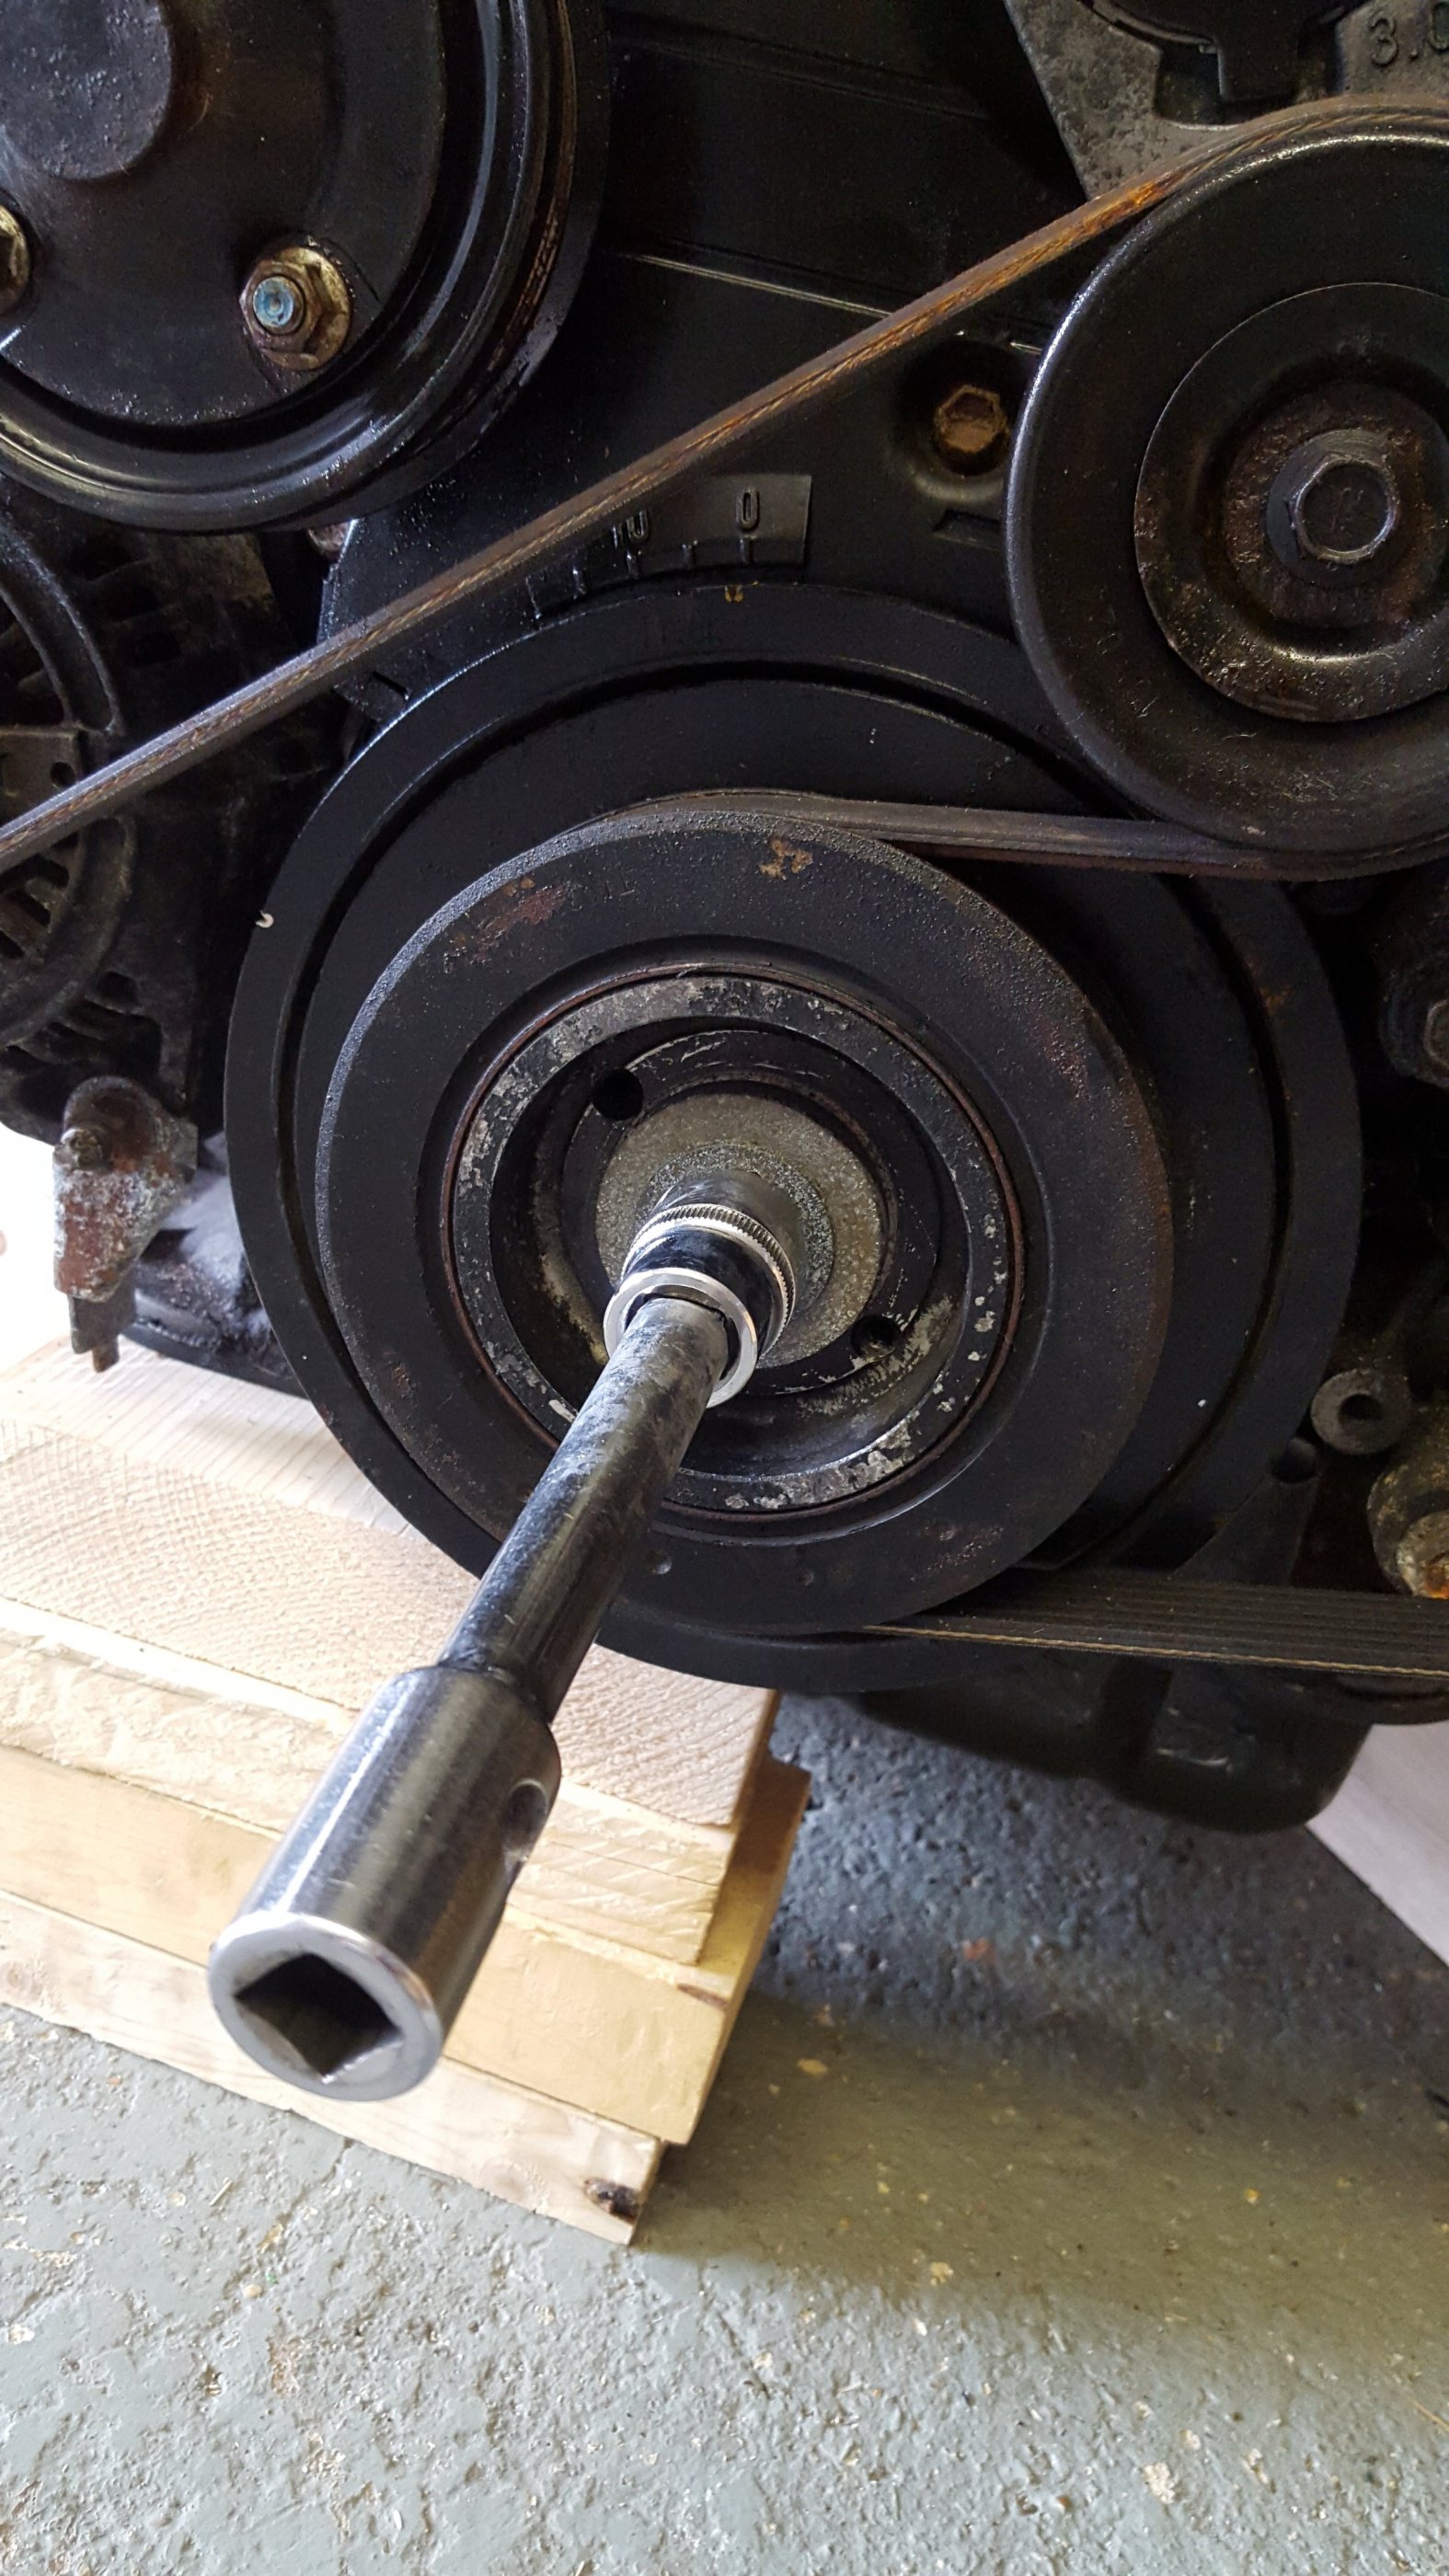
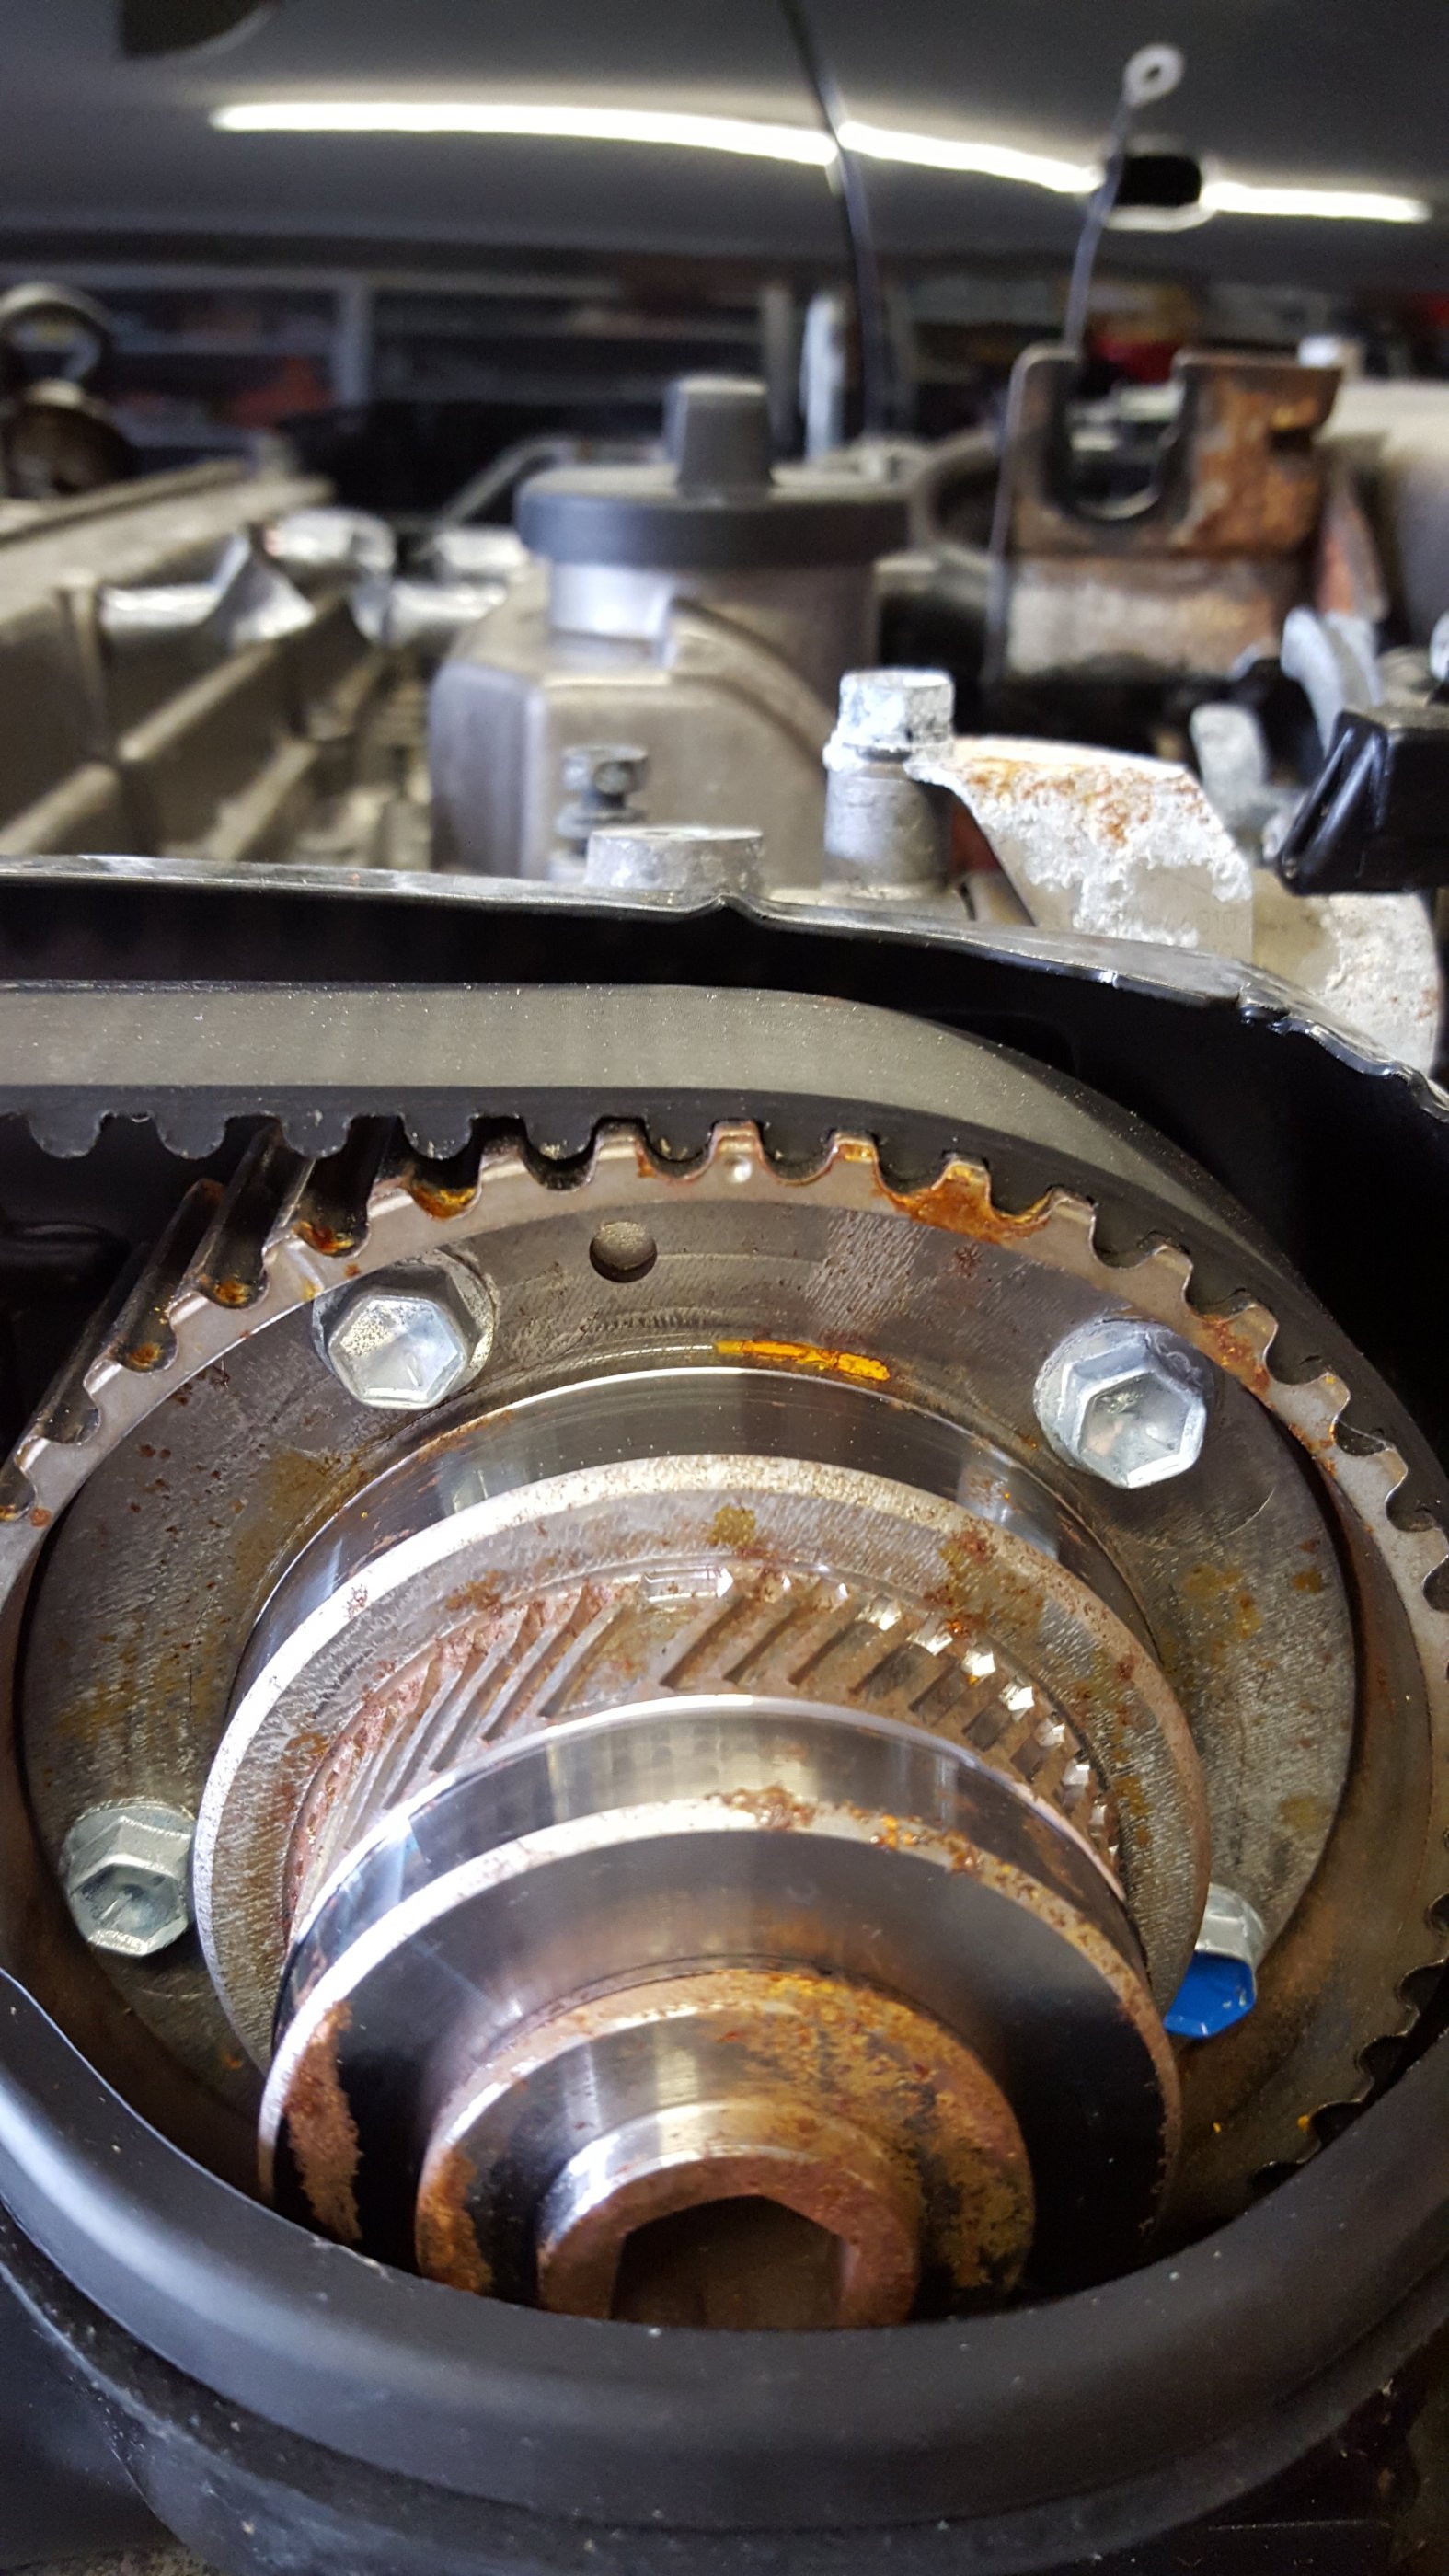
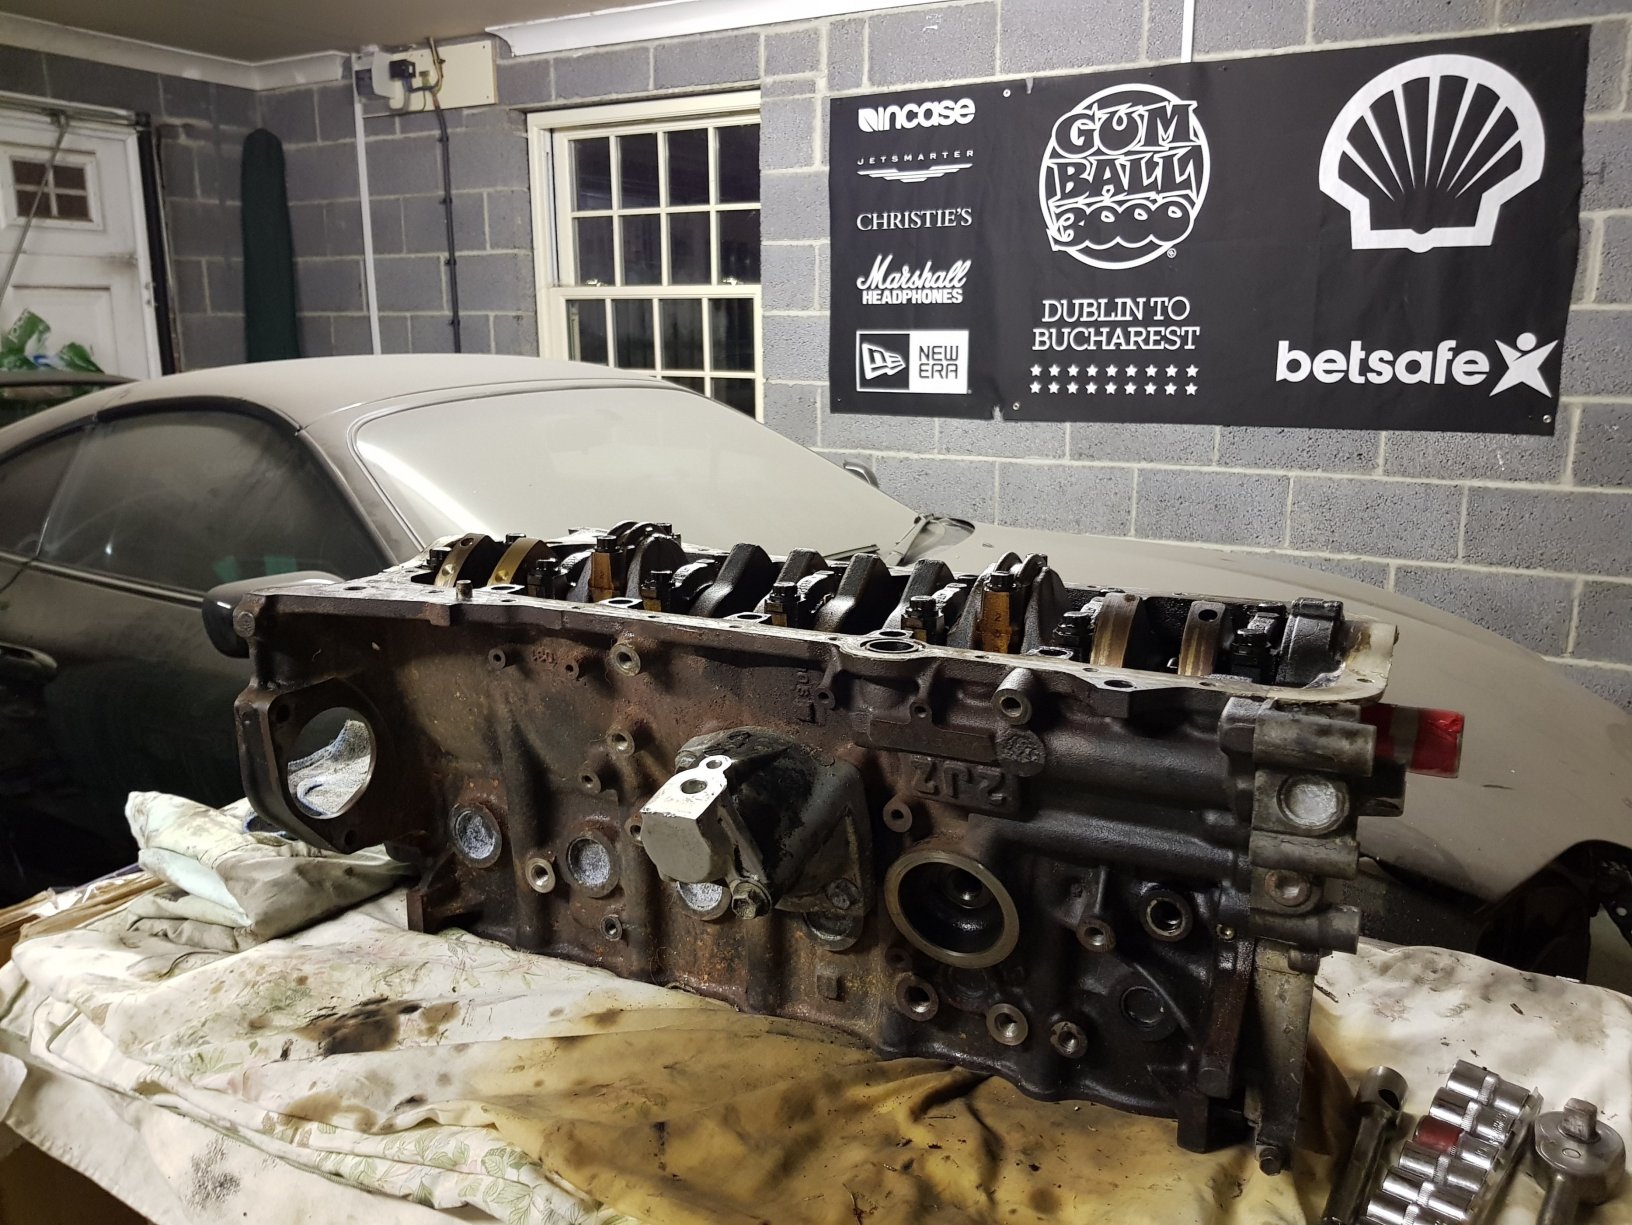
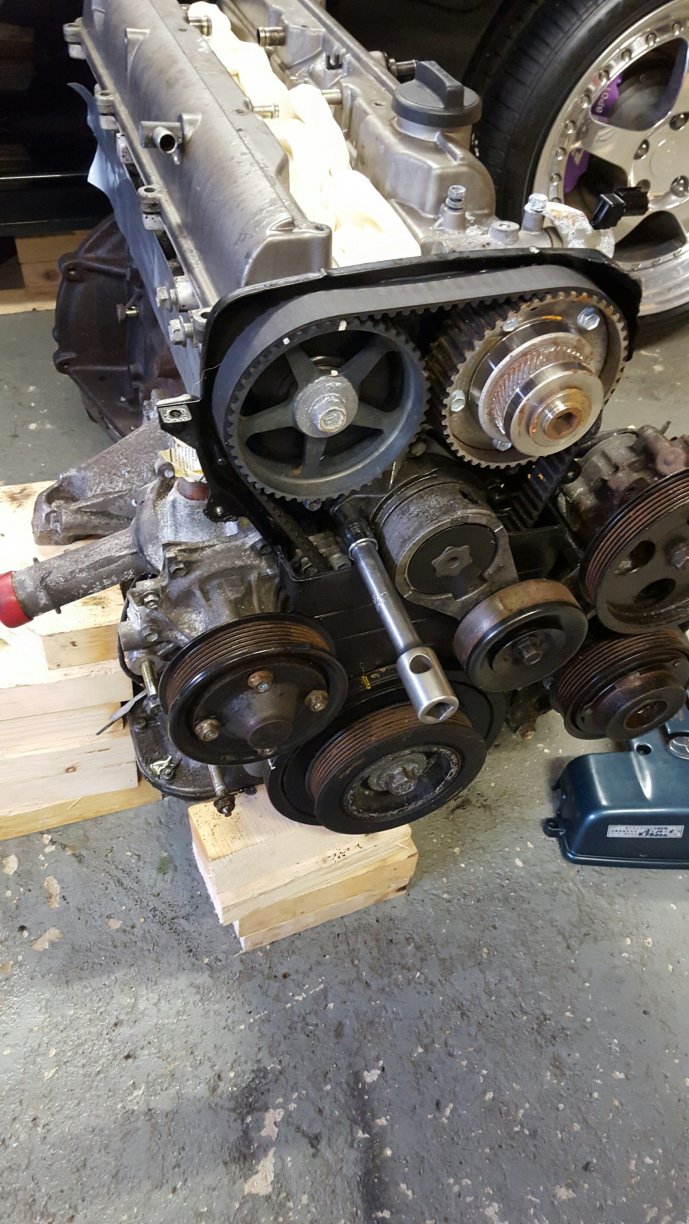
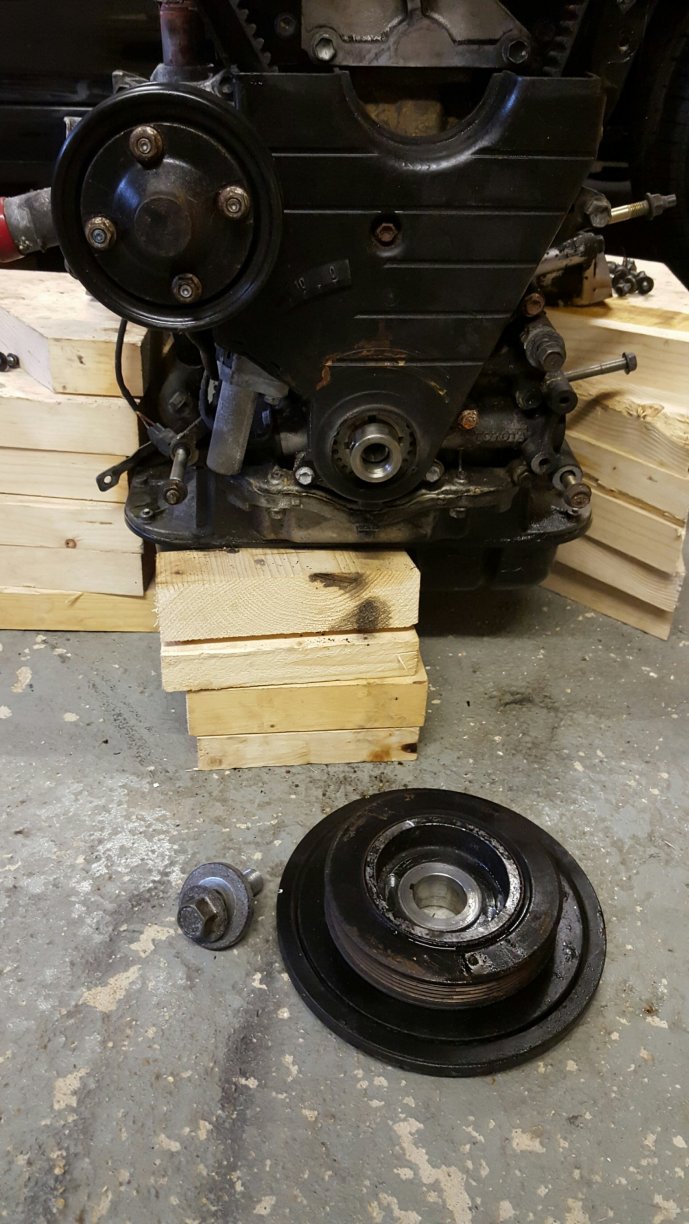
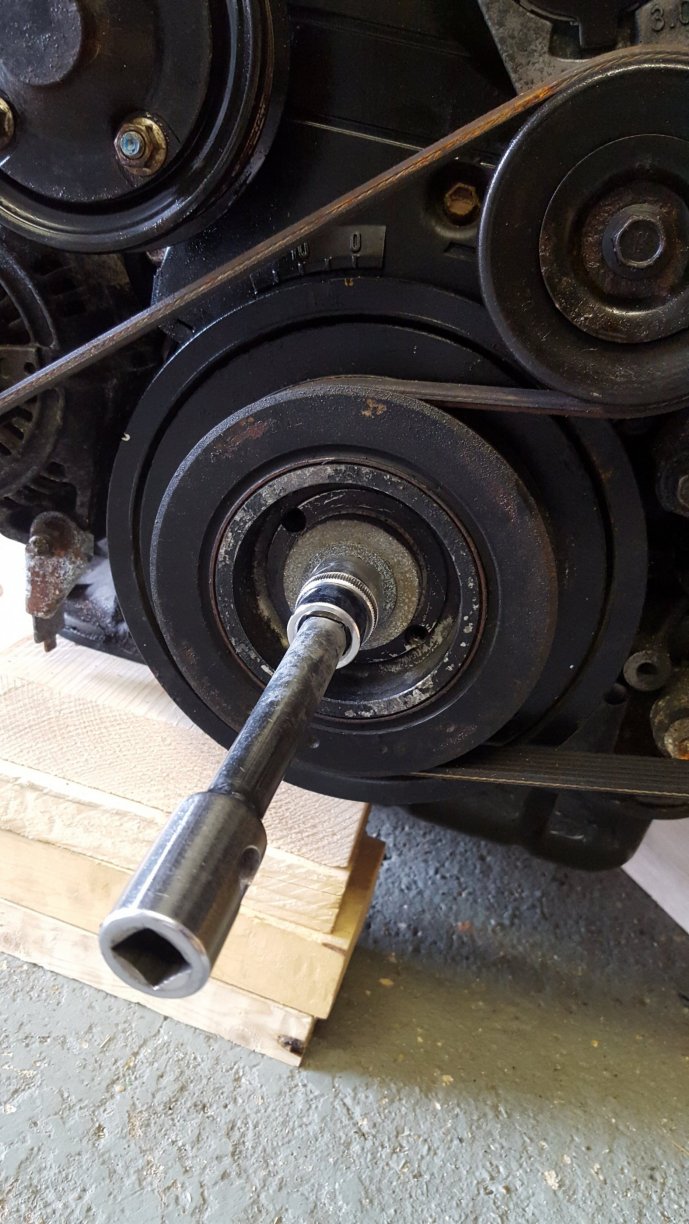
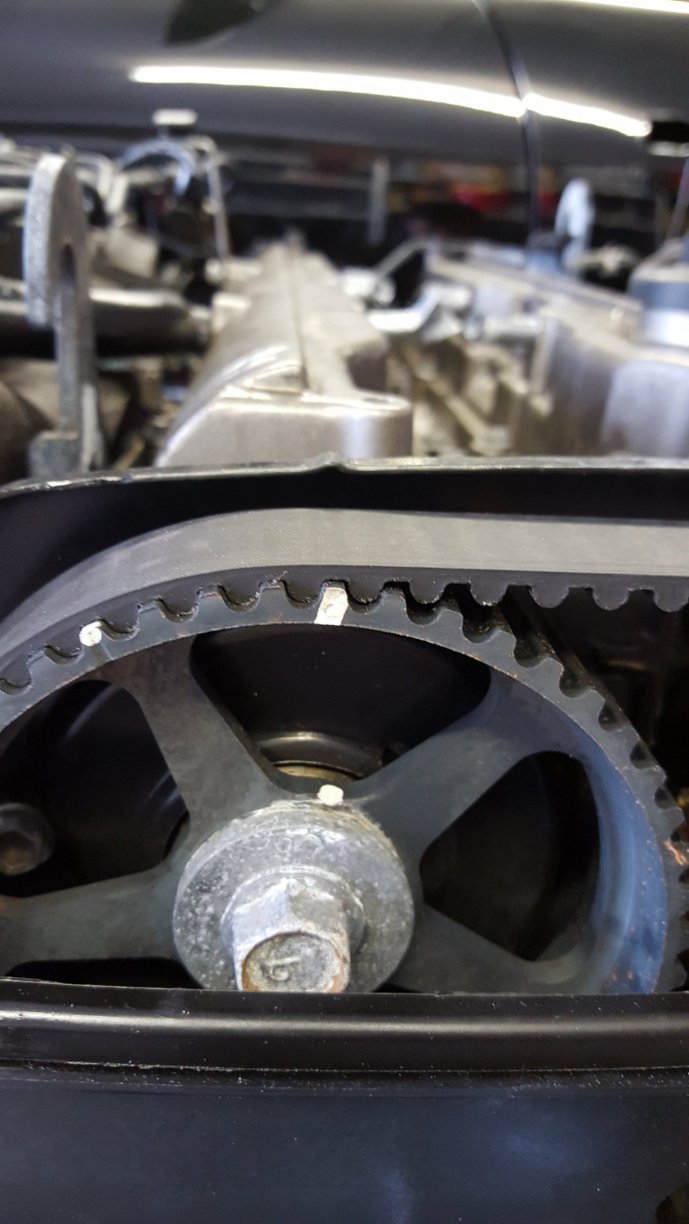
At this point I should mention that the home made crank bolt removal tool worked a treat - The bolt was not as tight as I was anticipating to be honest. -
Moo's - Widebody Aerotop Turbo Manual - Build Thread - CCW's !
Mugello replied to Mugello's topic in mkiv Supra Projects

-
Moo's - Widebody Aerotop Turbo Manual - Build Thread - CCW's !
Mugello replied to Mugello's topic in mkiv Supra Projects

-
Moo's - Widebody Aerotop Turbo Manual - Build Thread - CCW's !
Mugello replied to Mugello's topic in mkiv Supra Projects


-
Moo's - Widebody Aerotop Turbo Manual - Build Thread - CCW's !
Mugello replied to Mugello's topic in mkiv Supra Projects
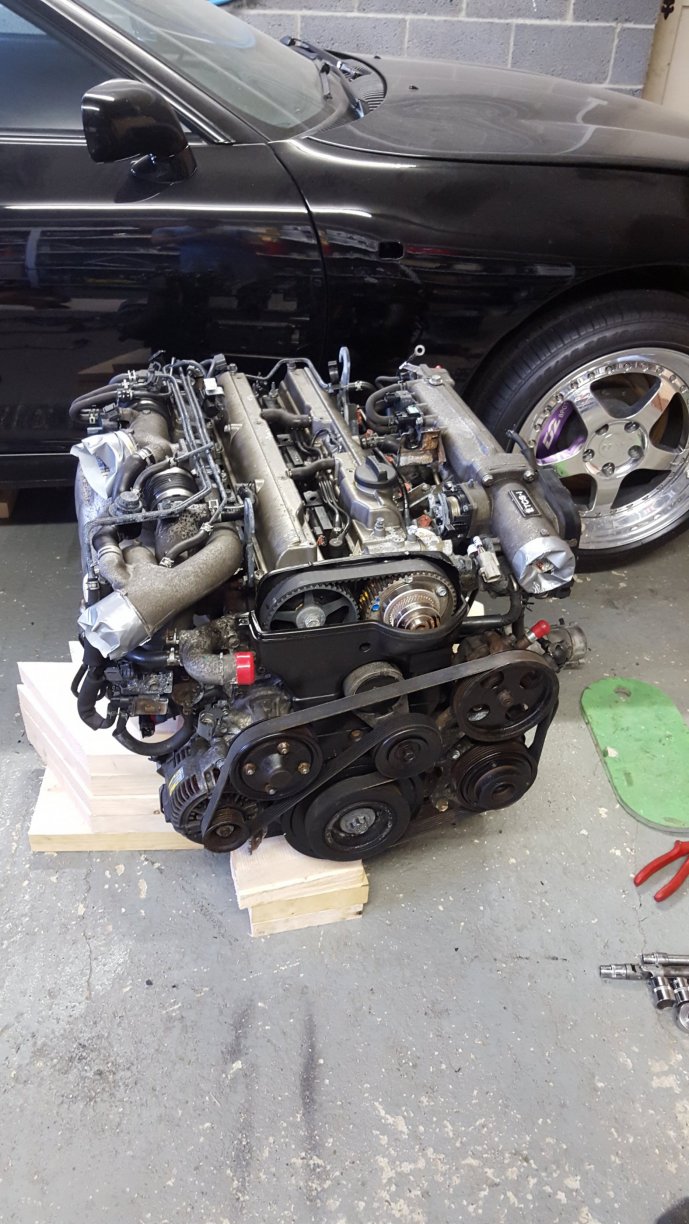
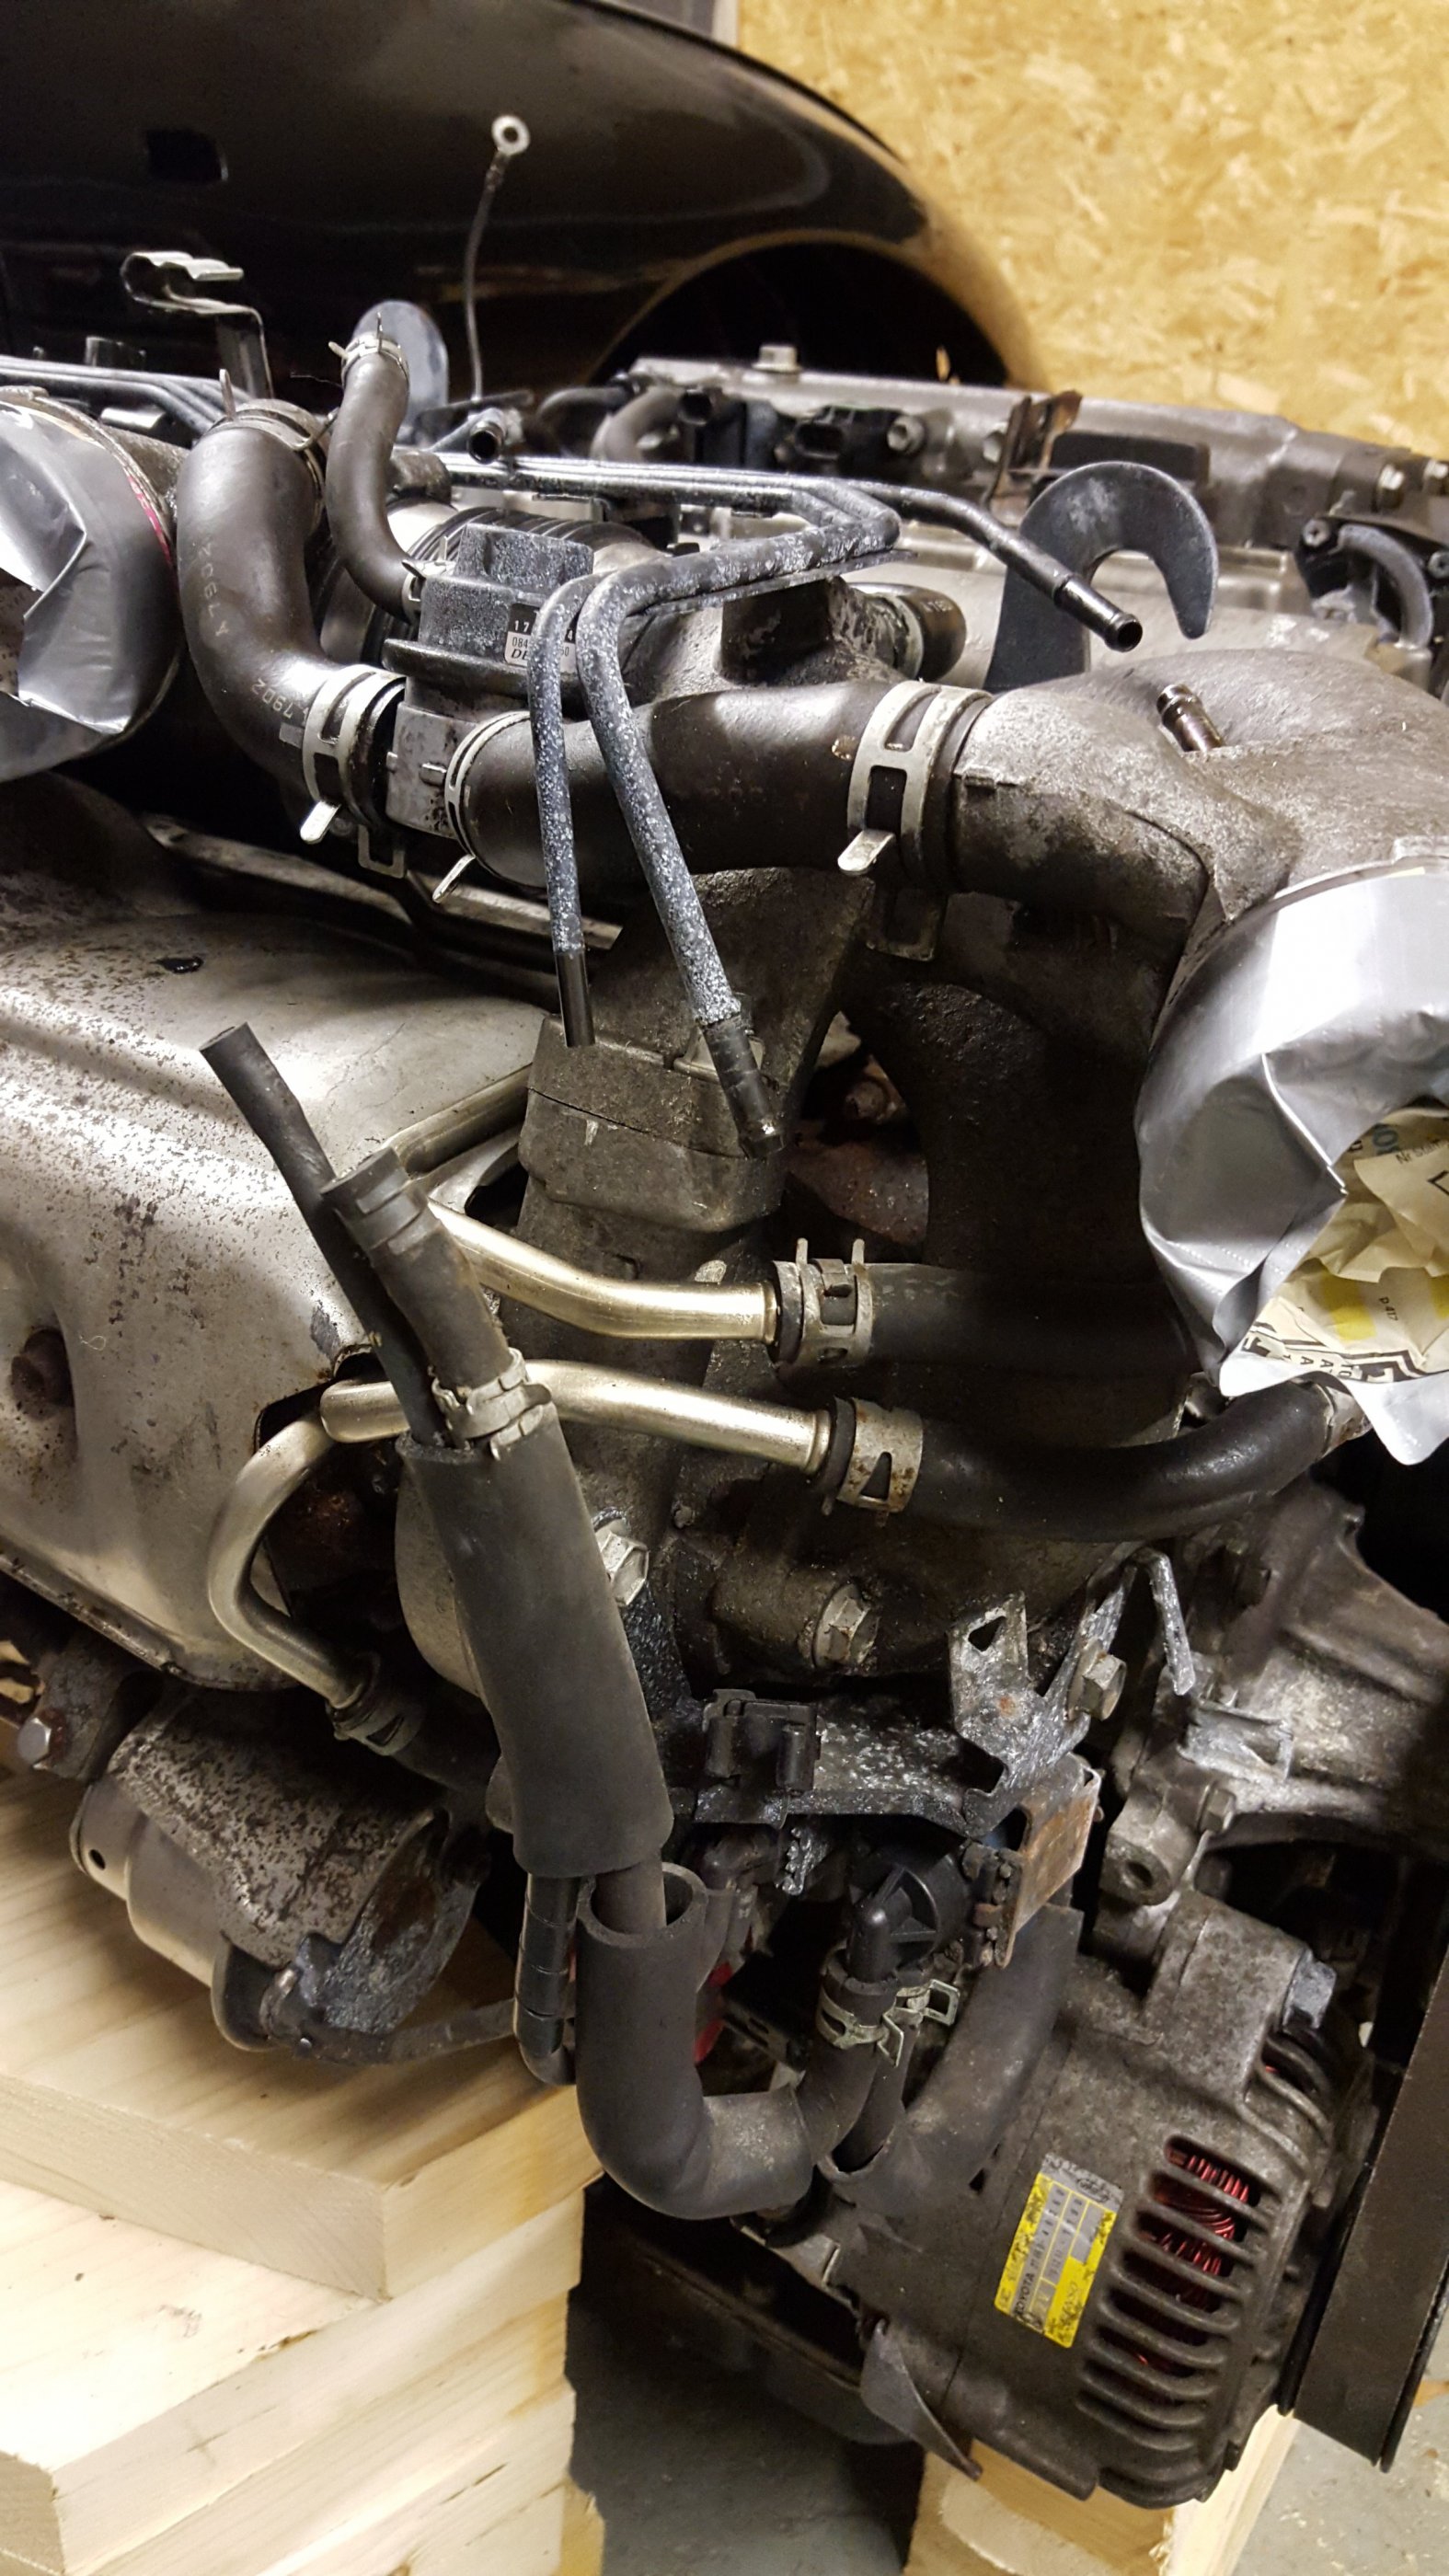
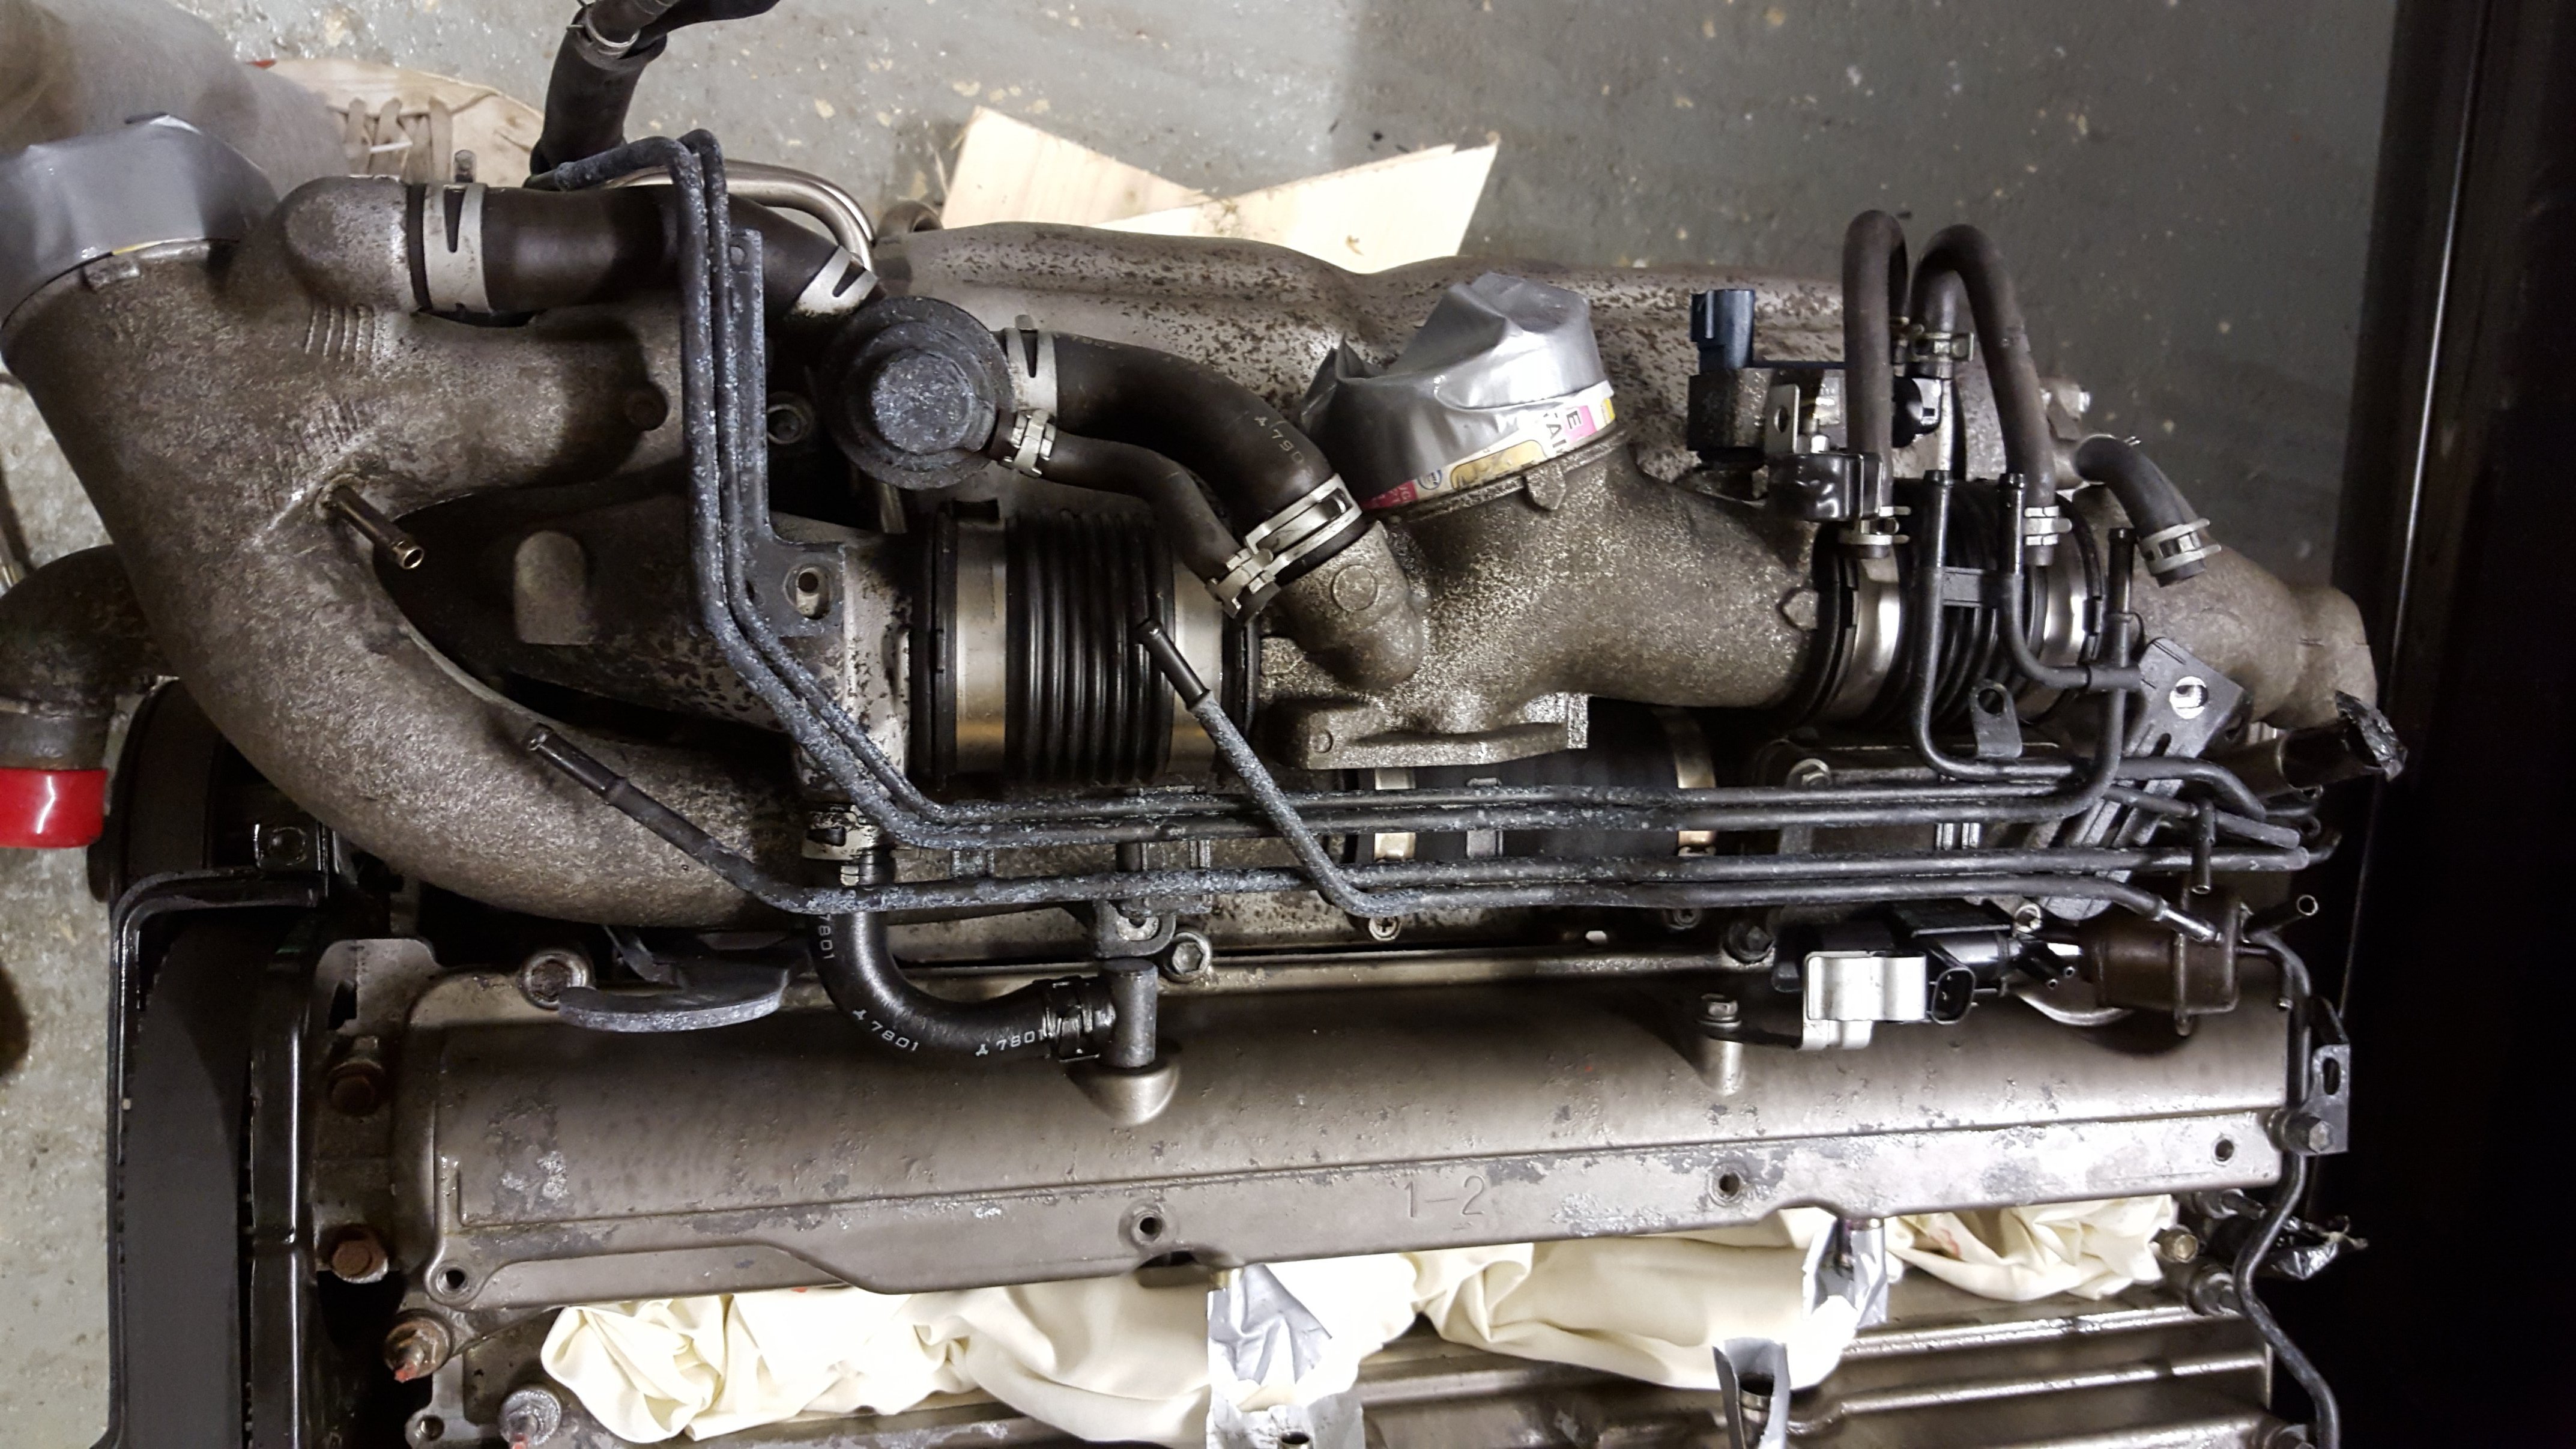
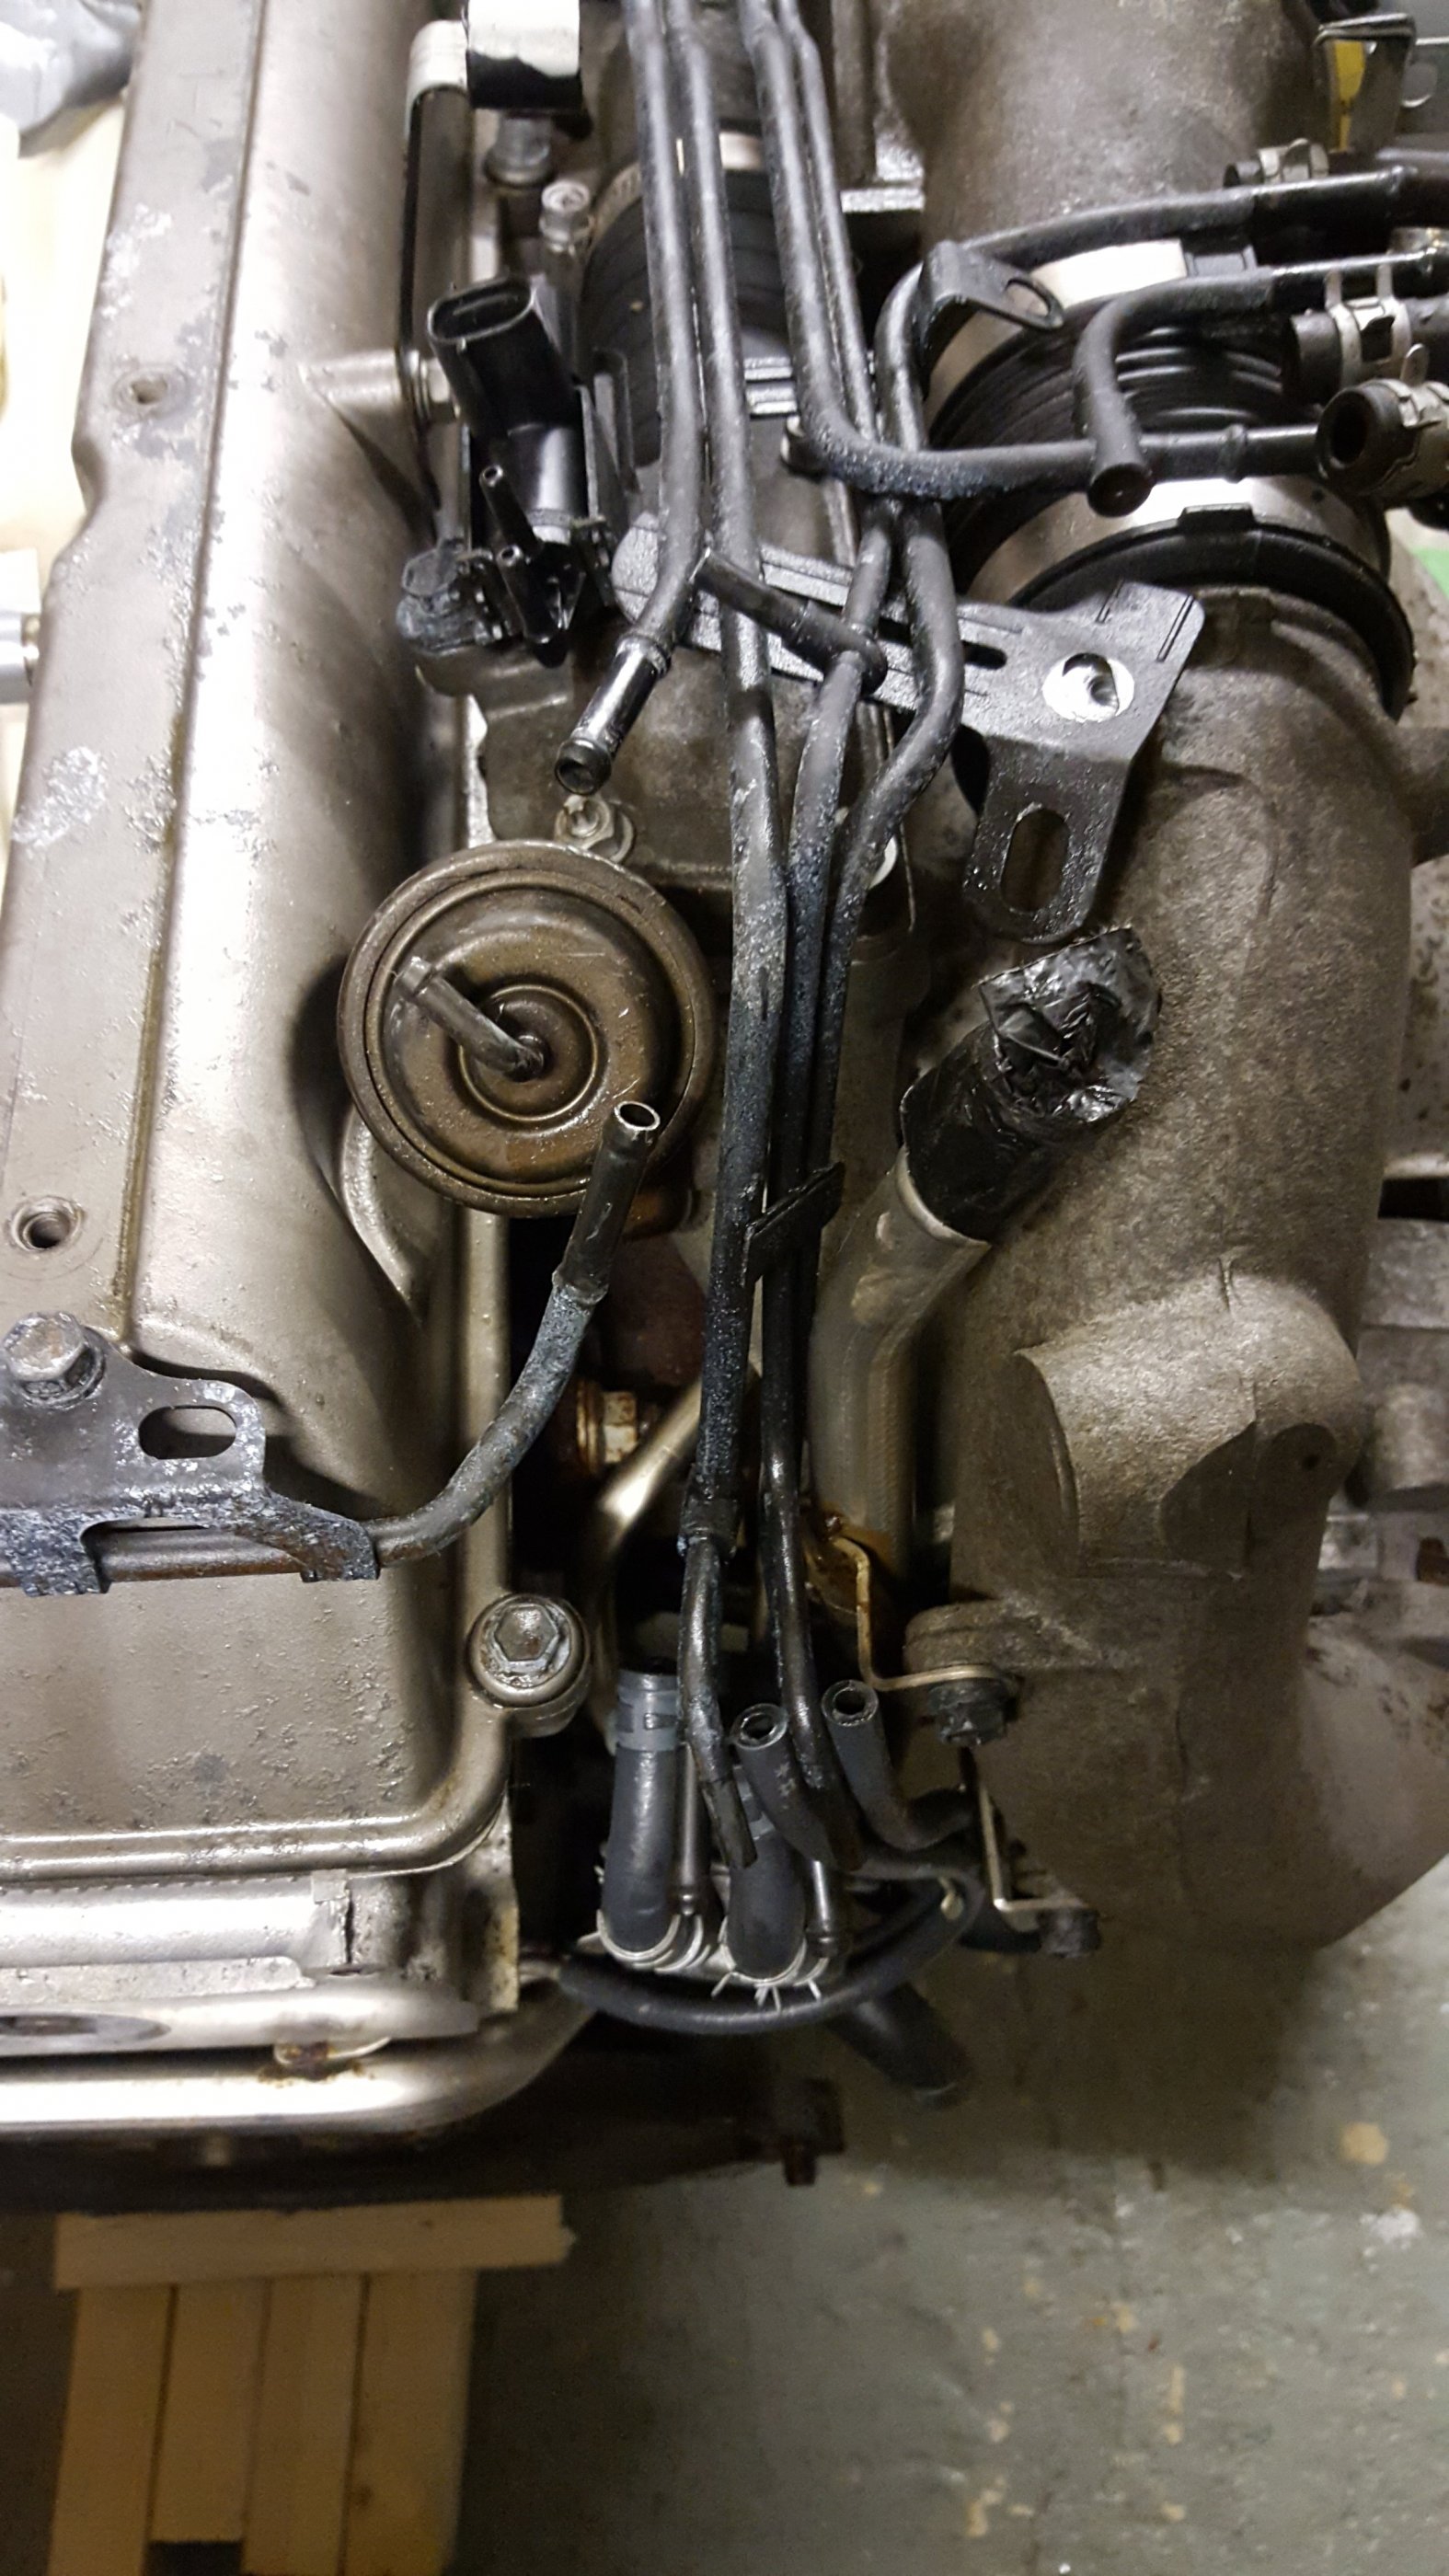
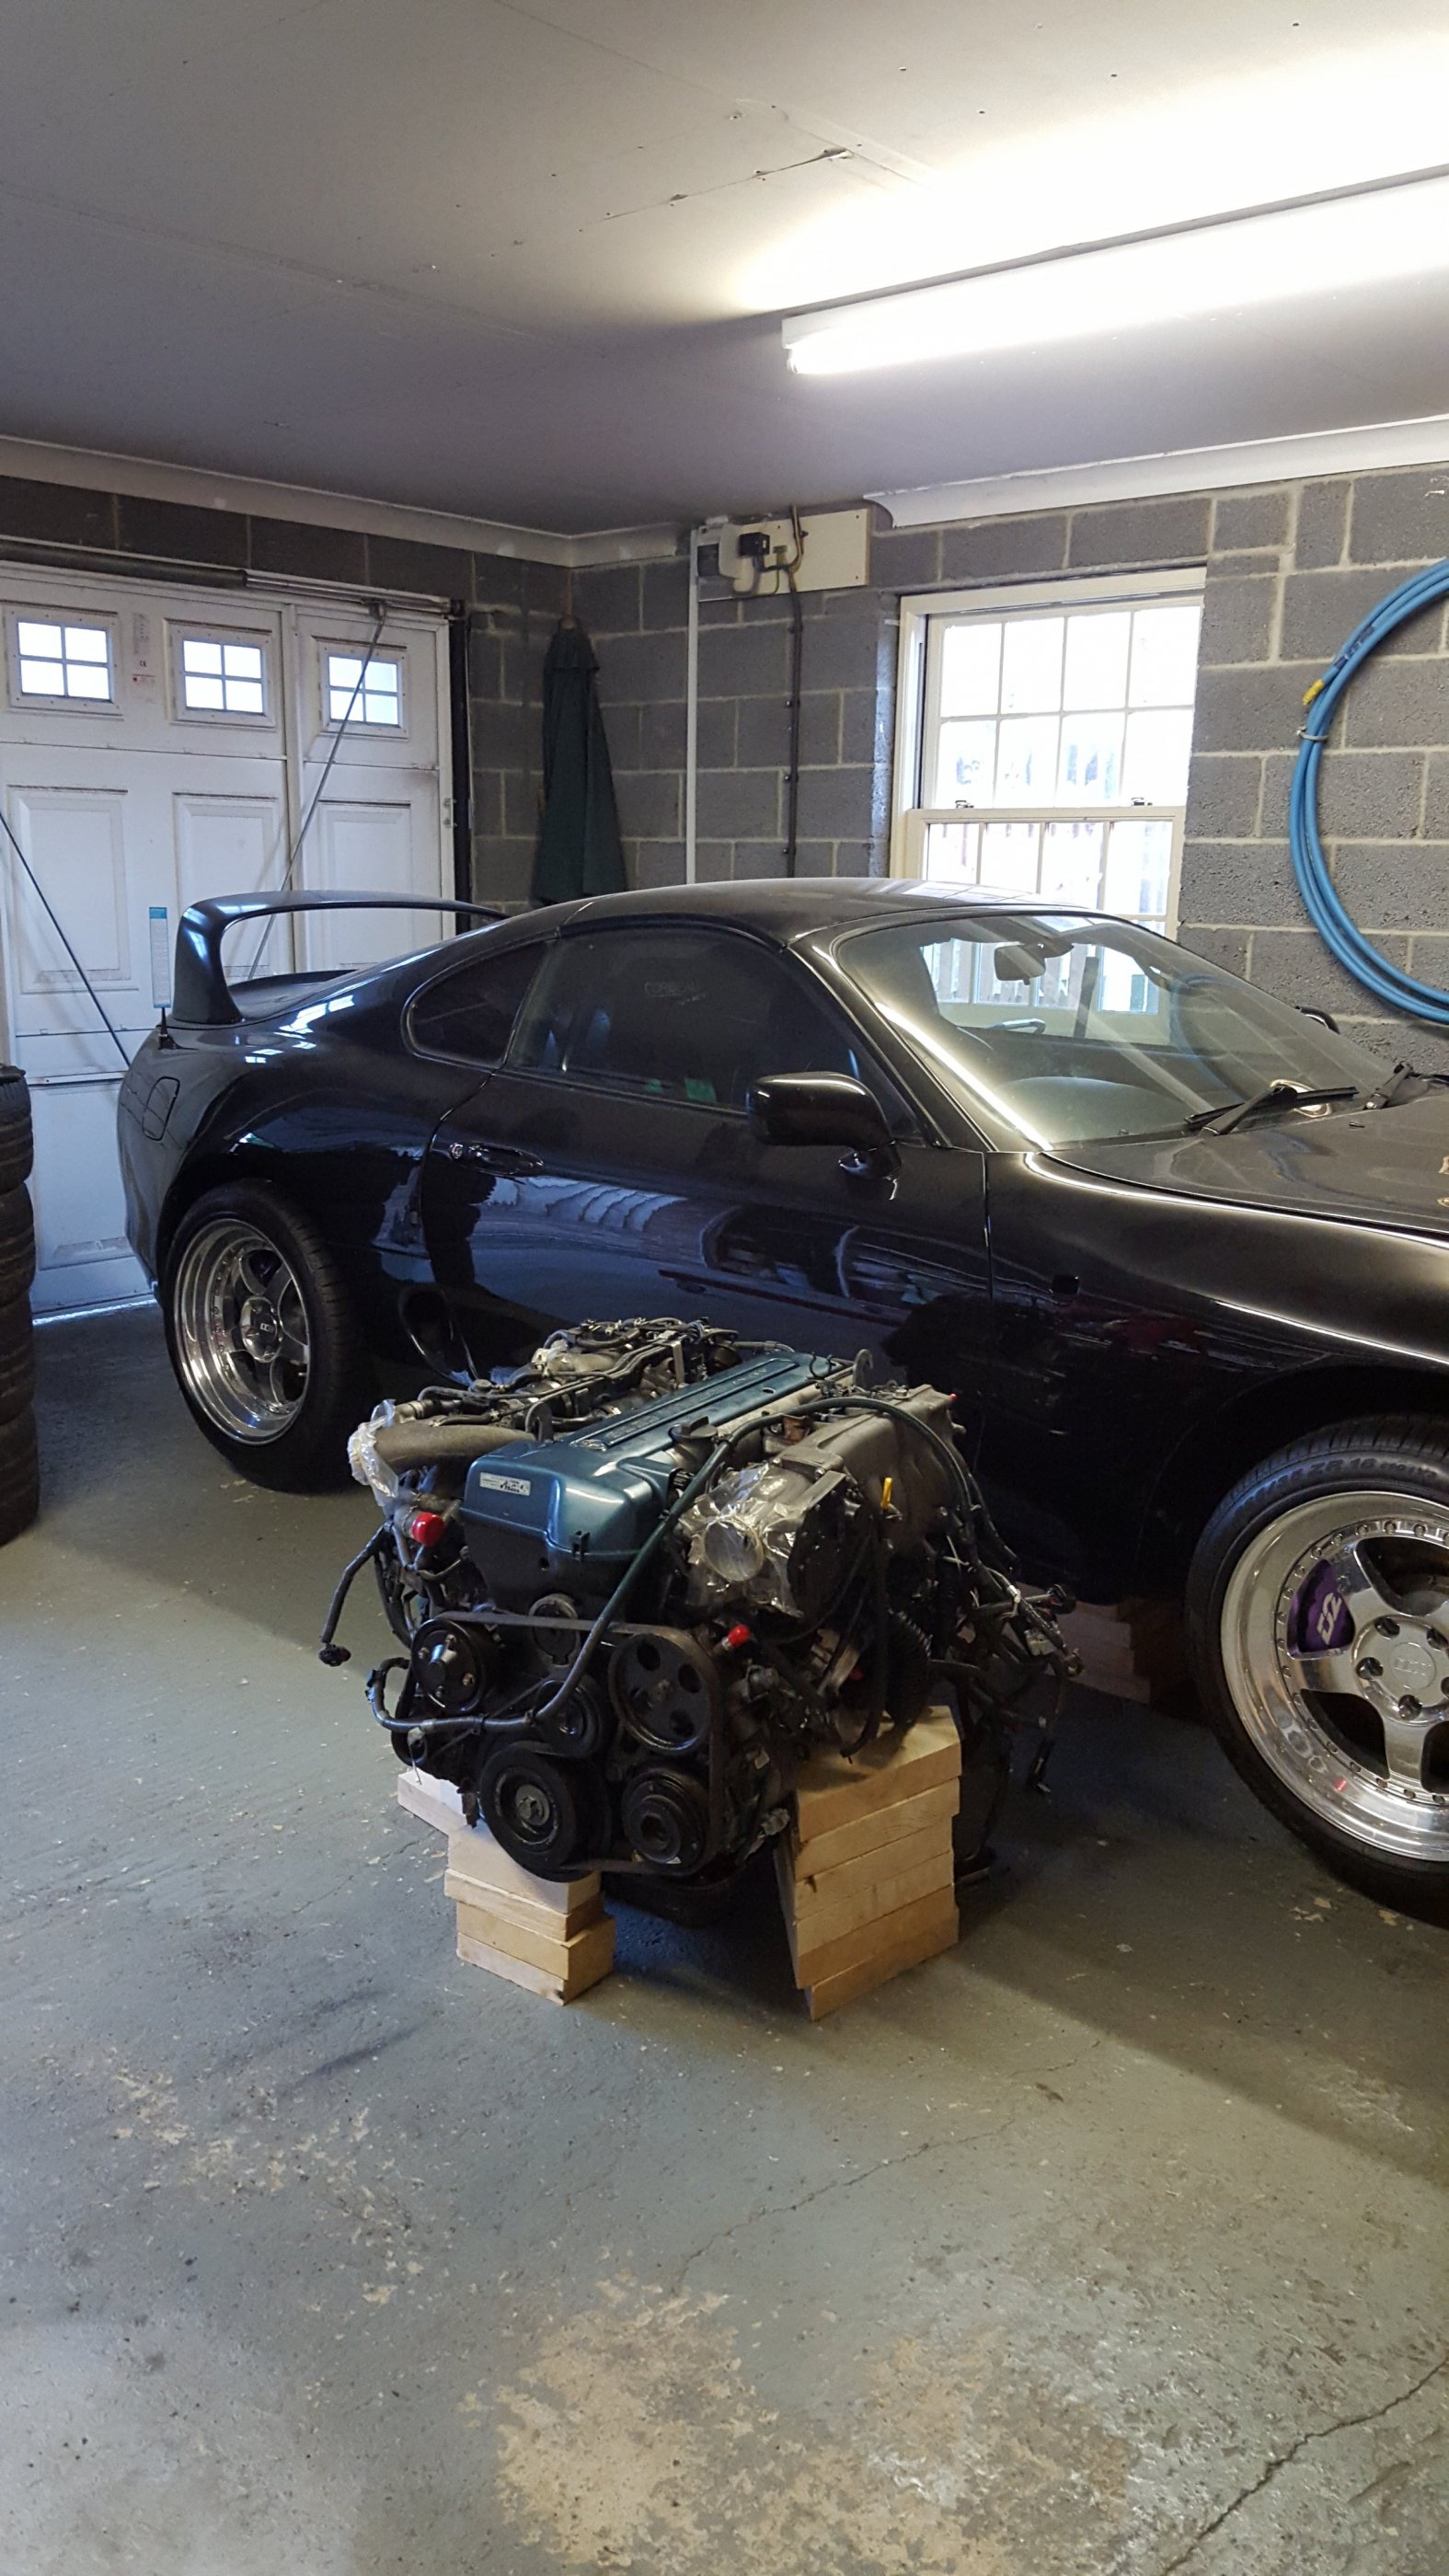
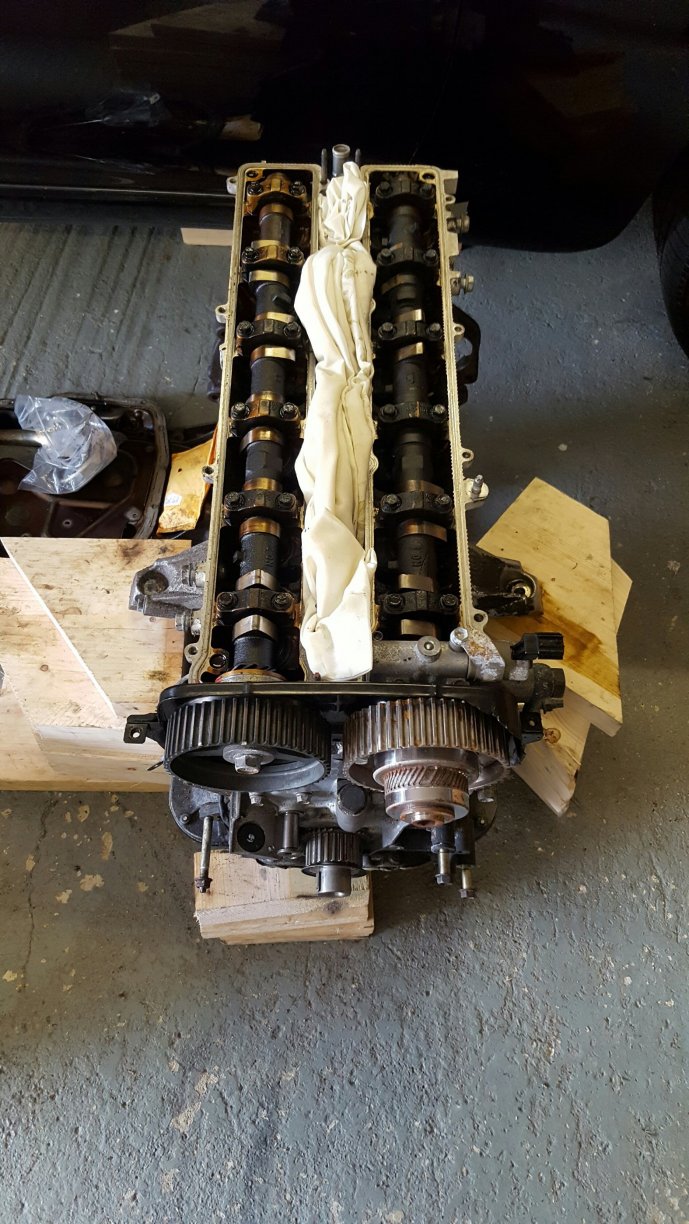
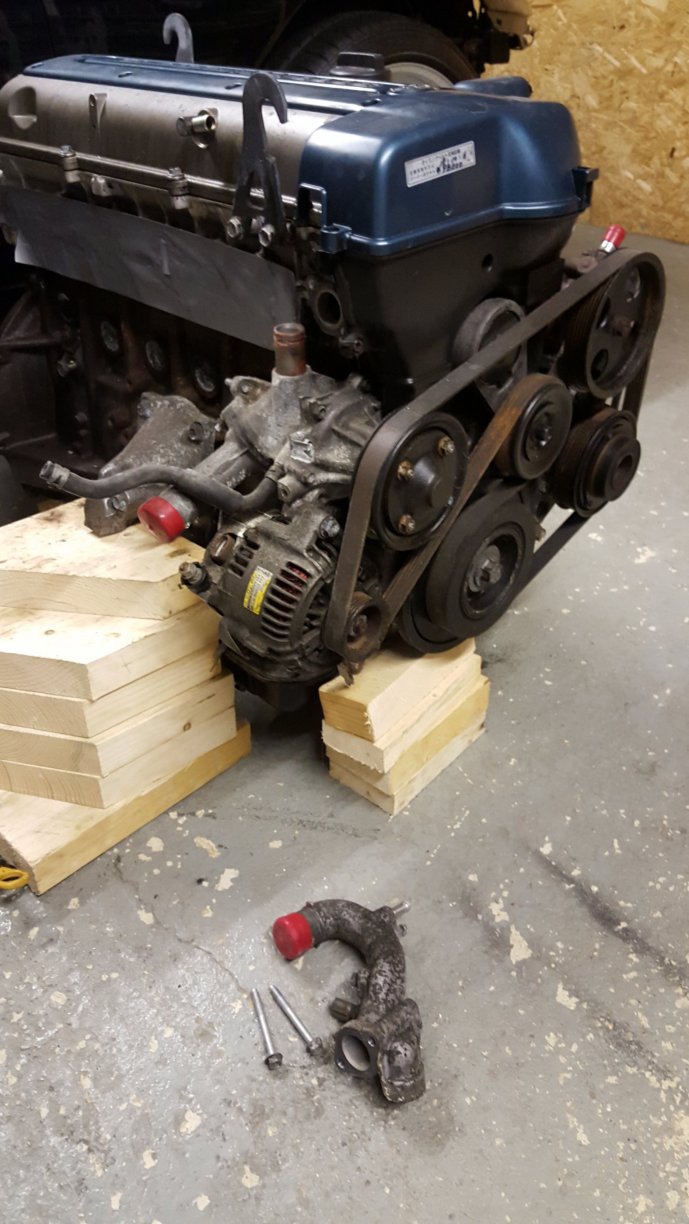
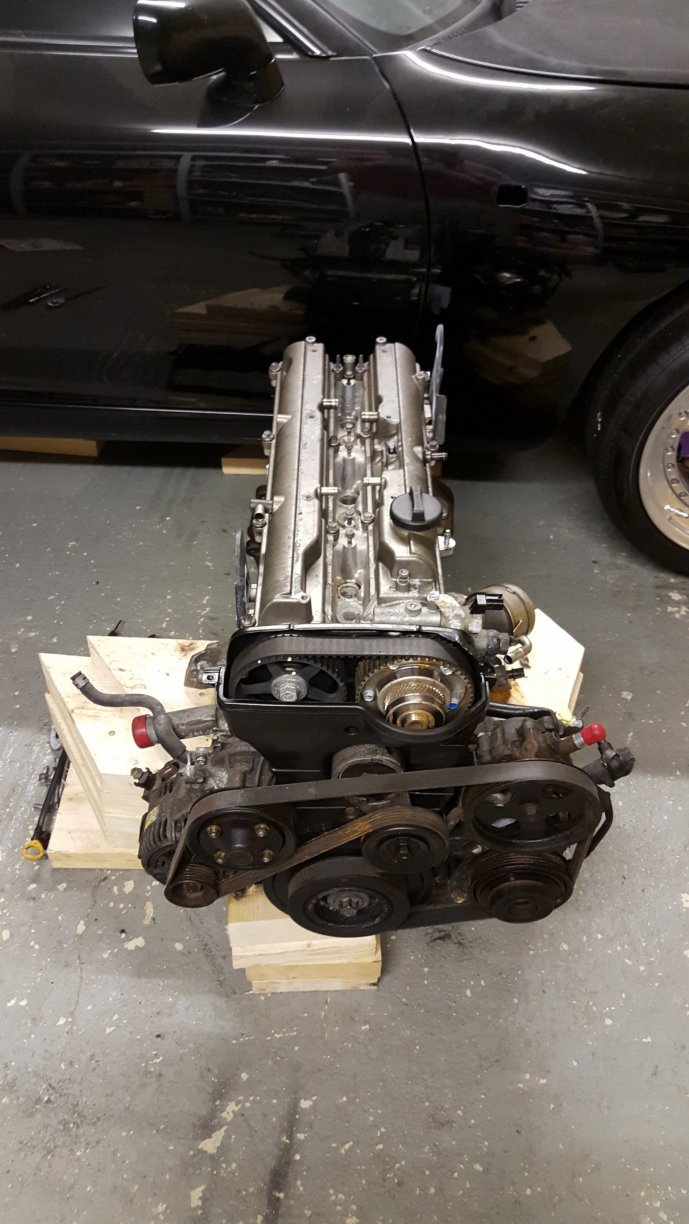
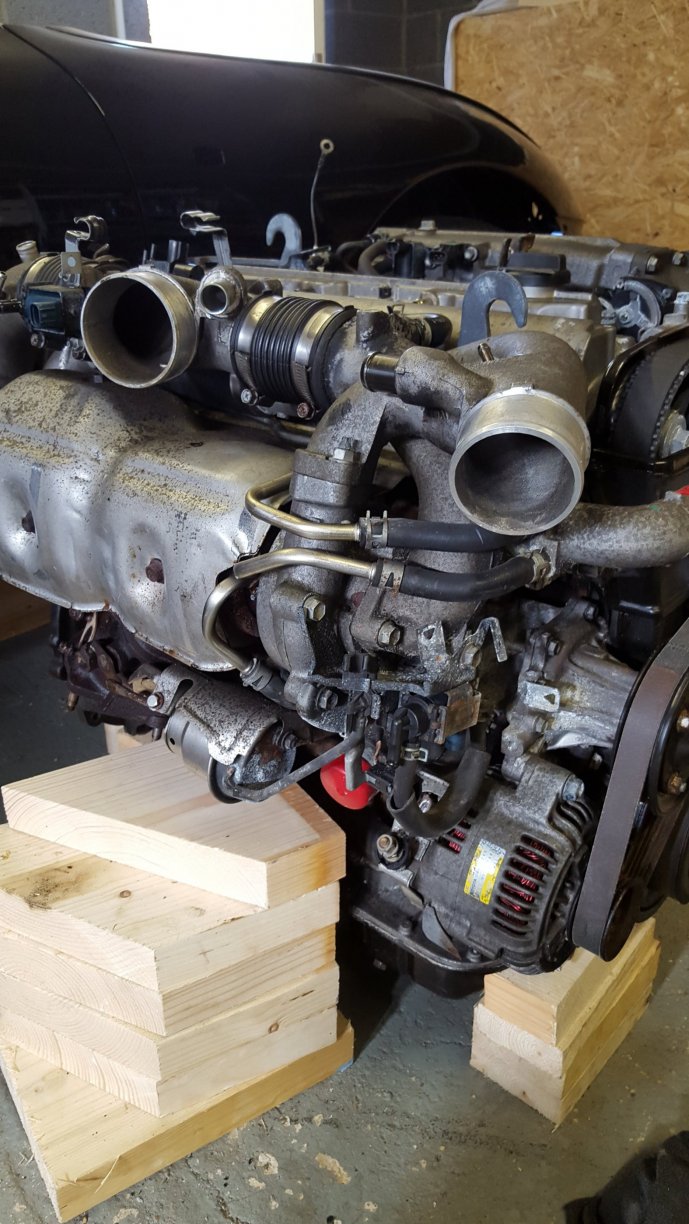
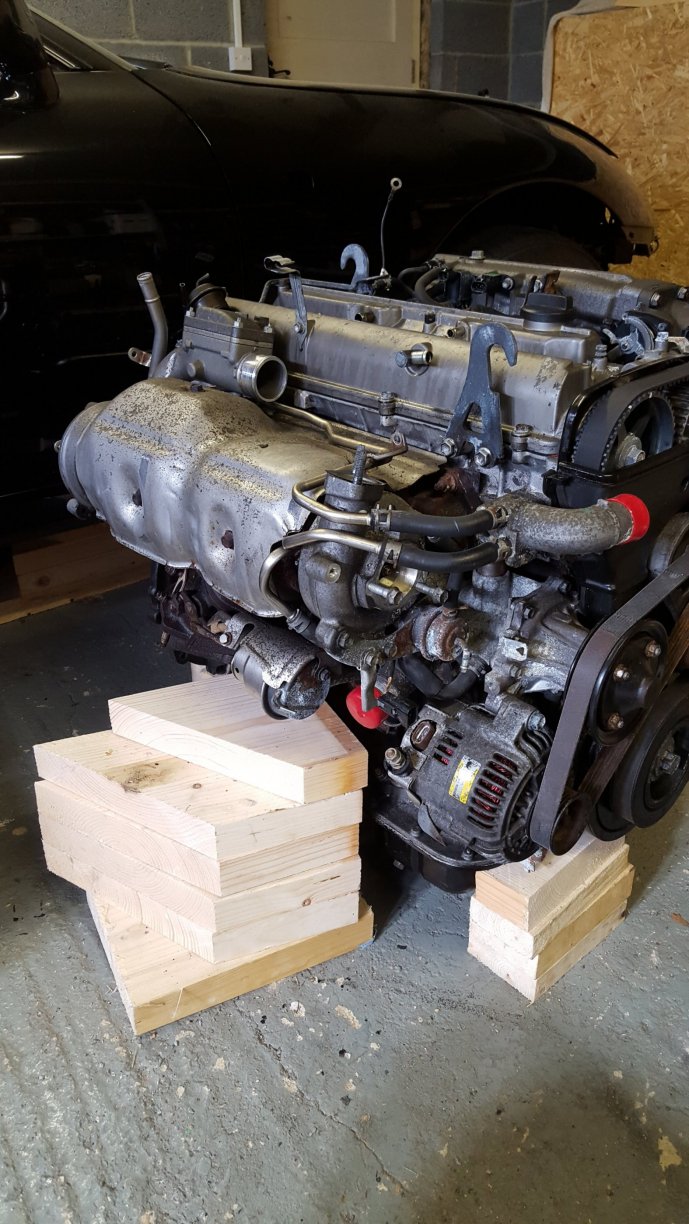
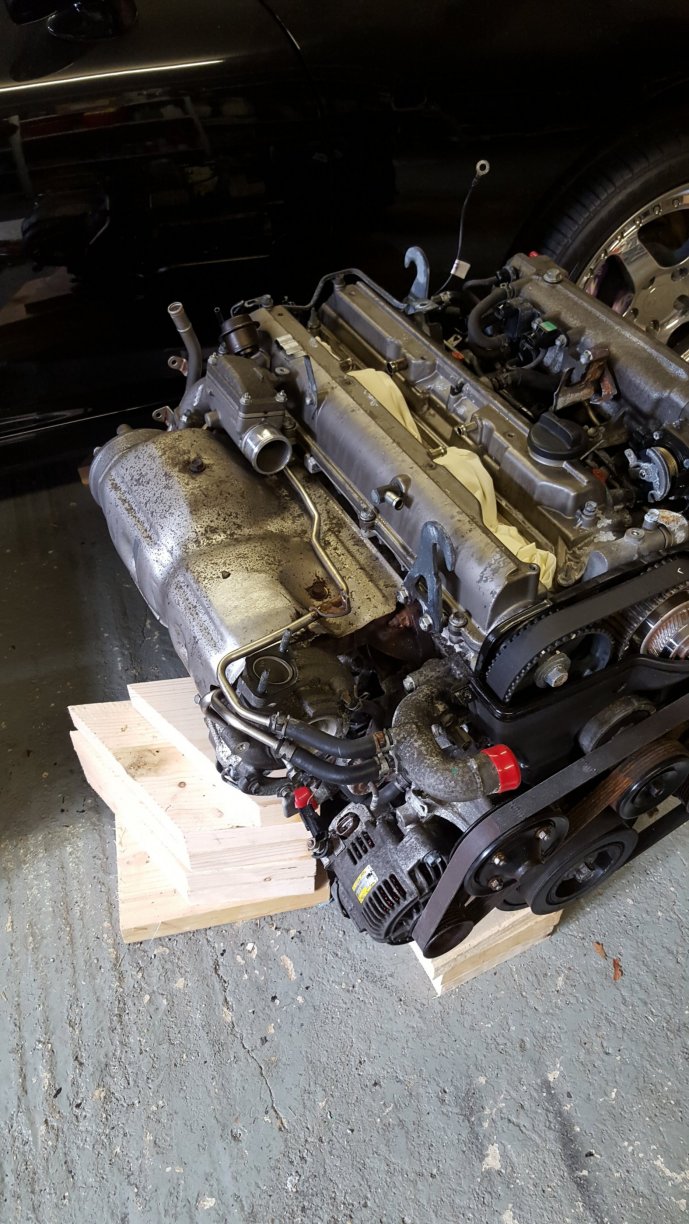
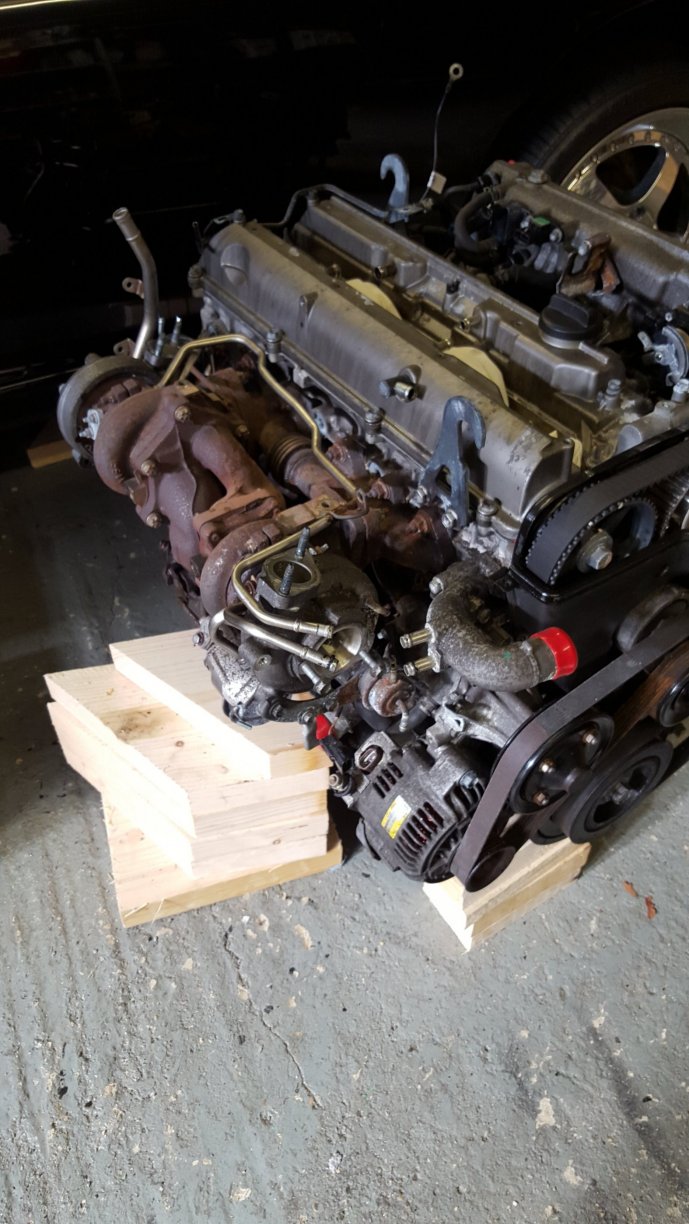
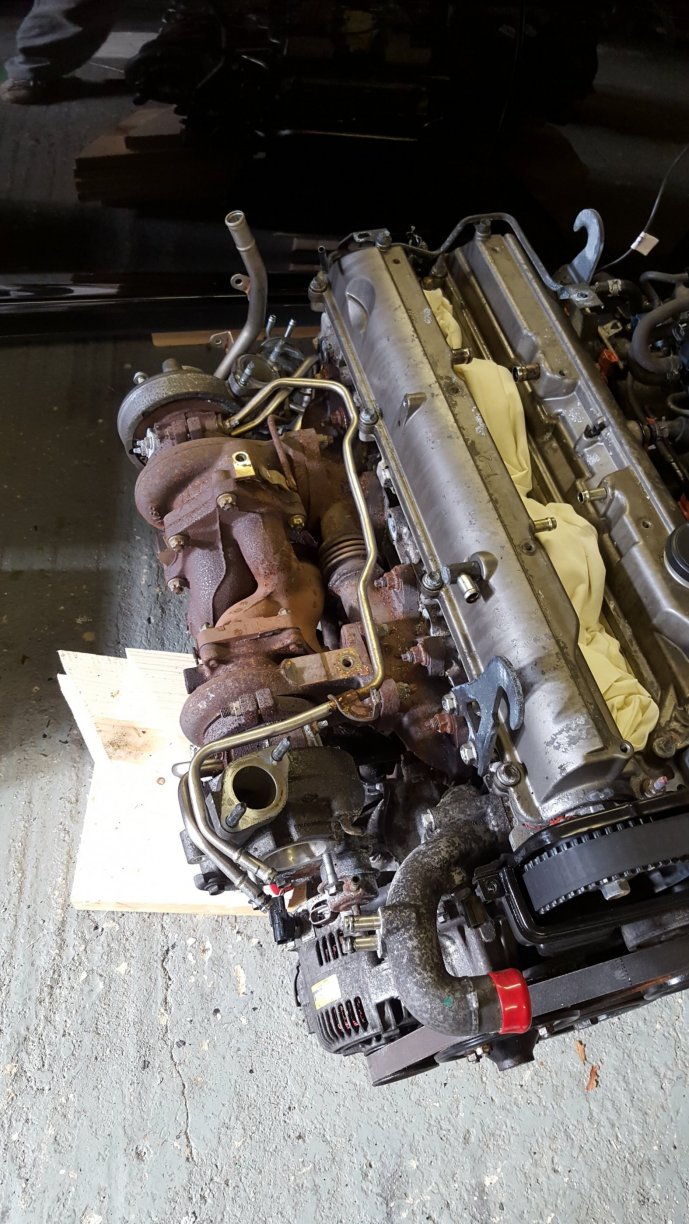
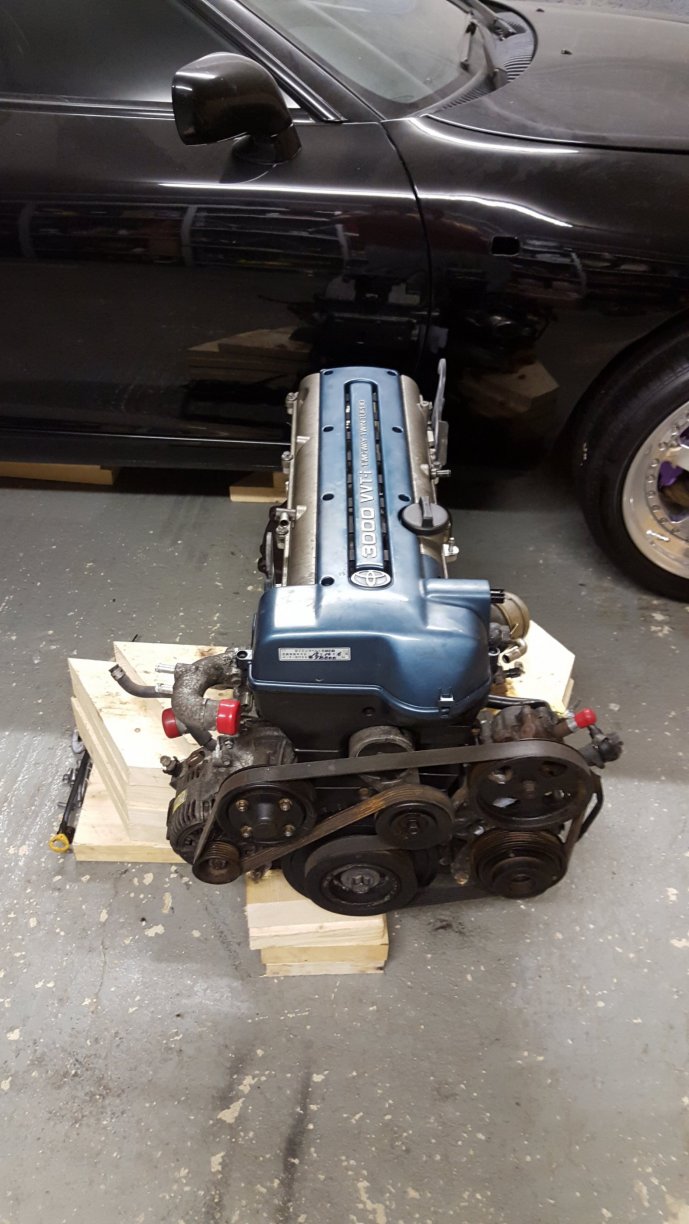
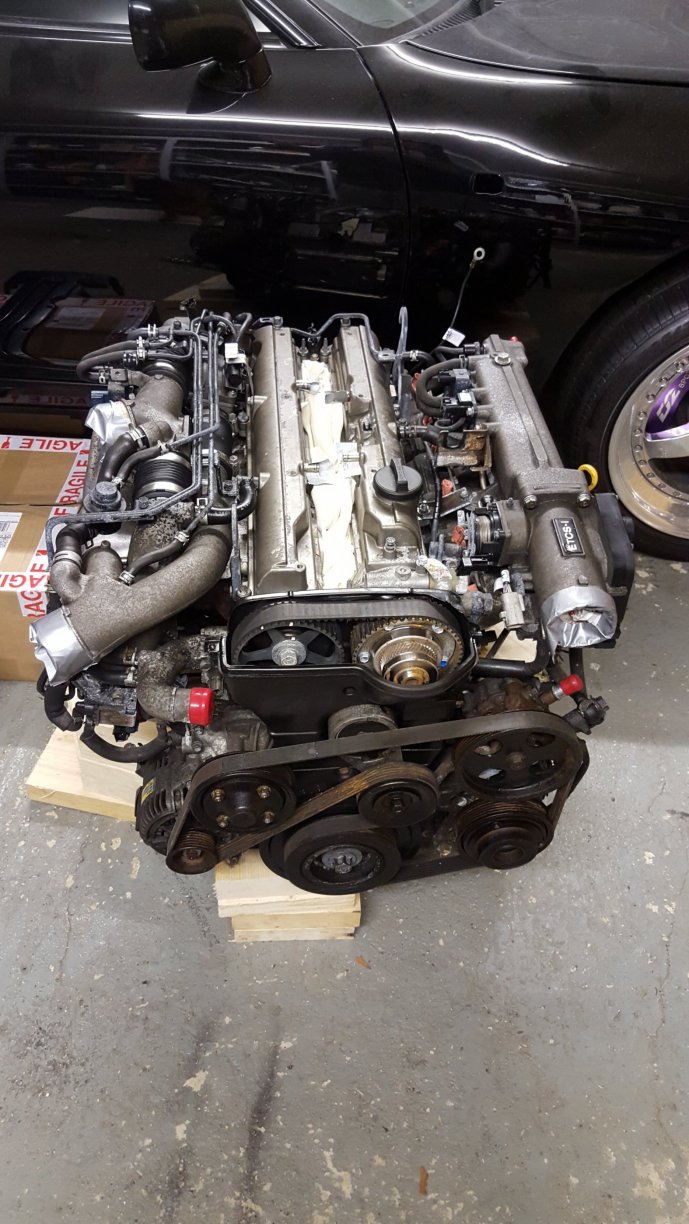
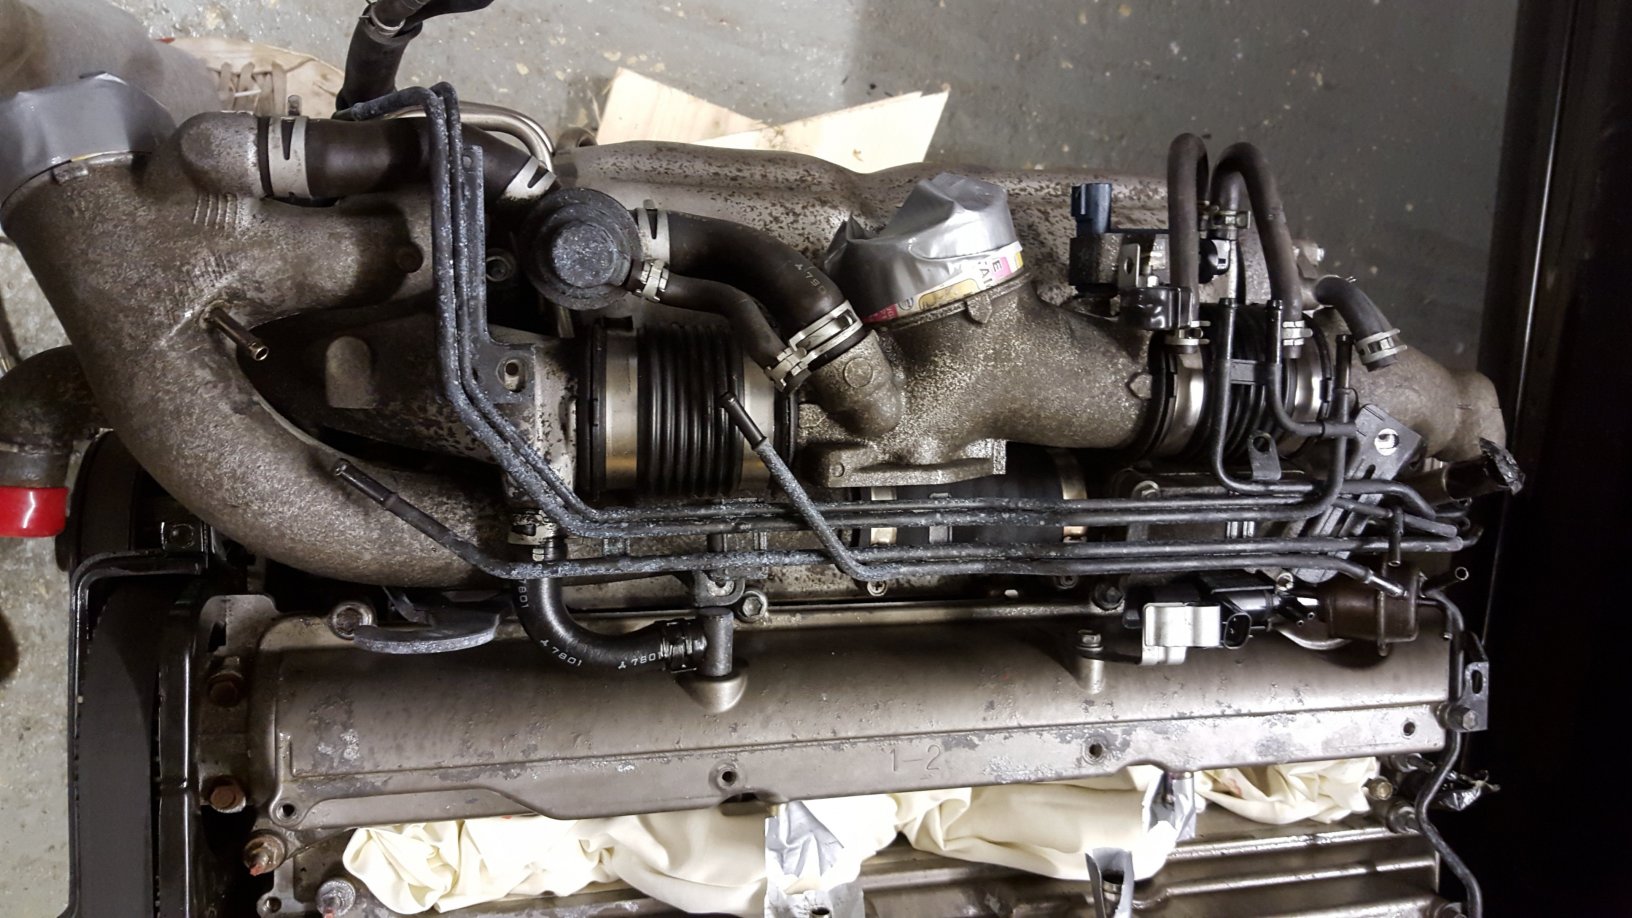
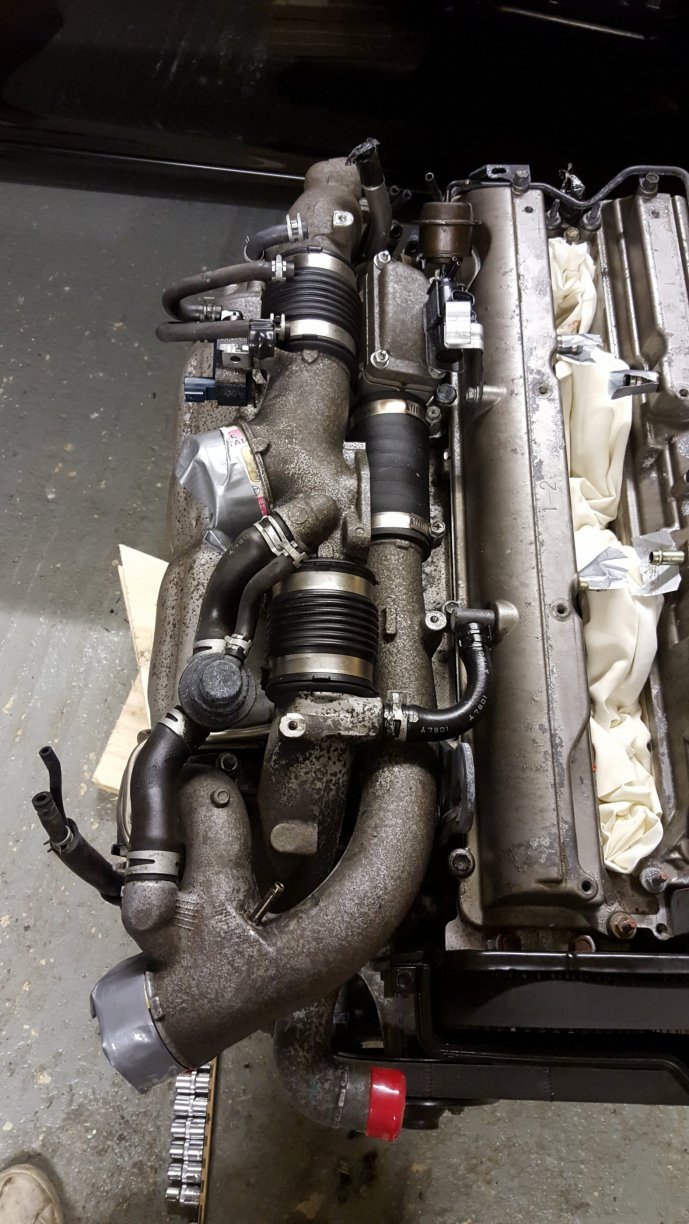
So I pick up this thread with the VVTi engine having arrived, and the engine tear down begun. At this point the idea was to go for a small single turbo with upgraded inlet manifold whilst refreshing the engine generally with new items including; Timing belt, water pump, gaskets, any o-rings etc. I was aiming for around 500bhp with a ‘fast road’ setup looking for good spool and long-term reliability, and a somewhat nice looking engine bay. Anyway, photo dump… At this point with the engine now stripped down, the slippery slope began.