Rob W
-
Posts
1361 -
Joined
-
Days Won
27
Content Type
Profiles
Forums
Store
Blogs
Events
Downloads
Supra Articles
Gallery
Everything posted by Rob W
-
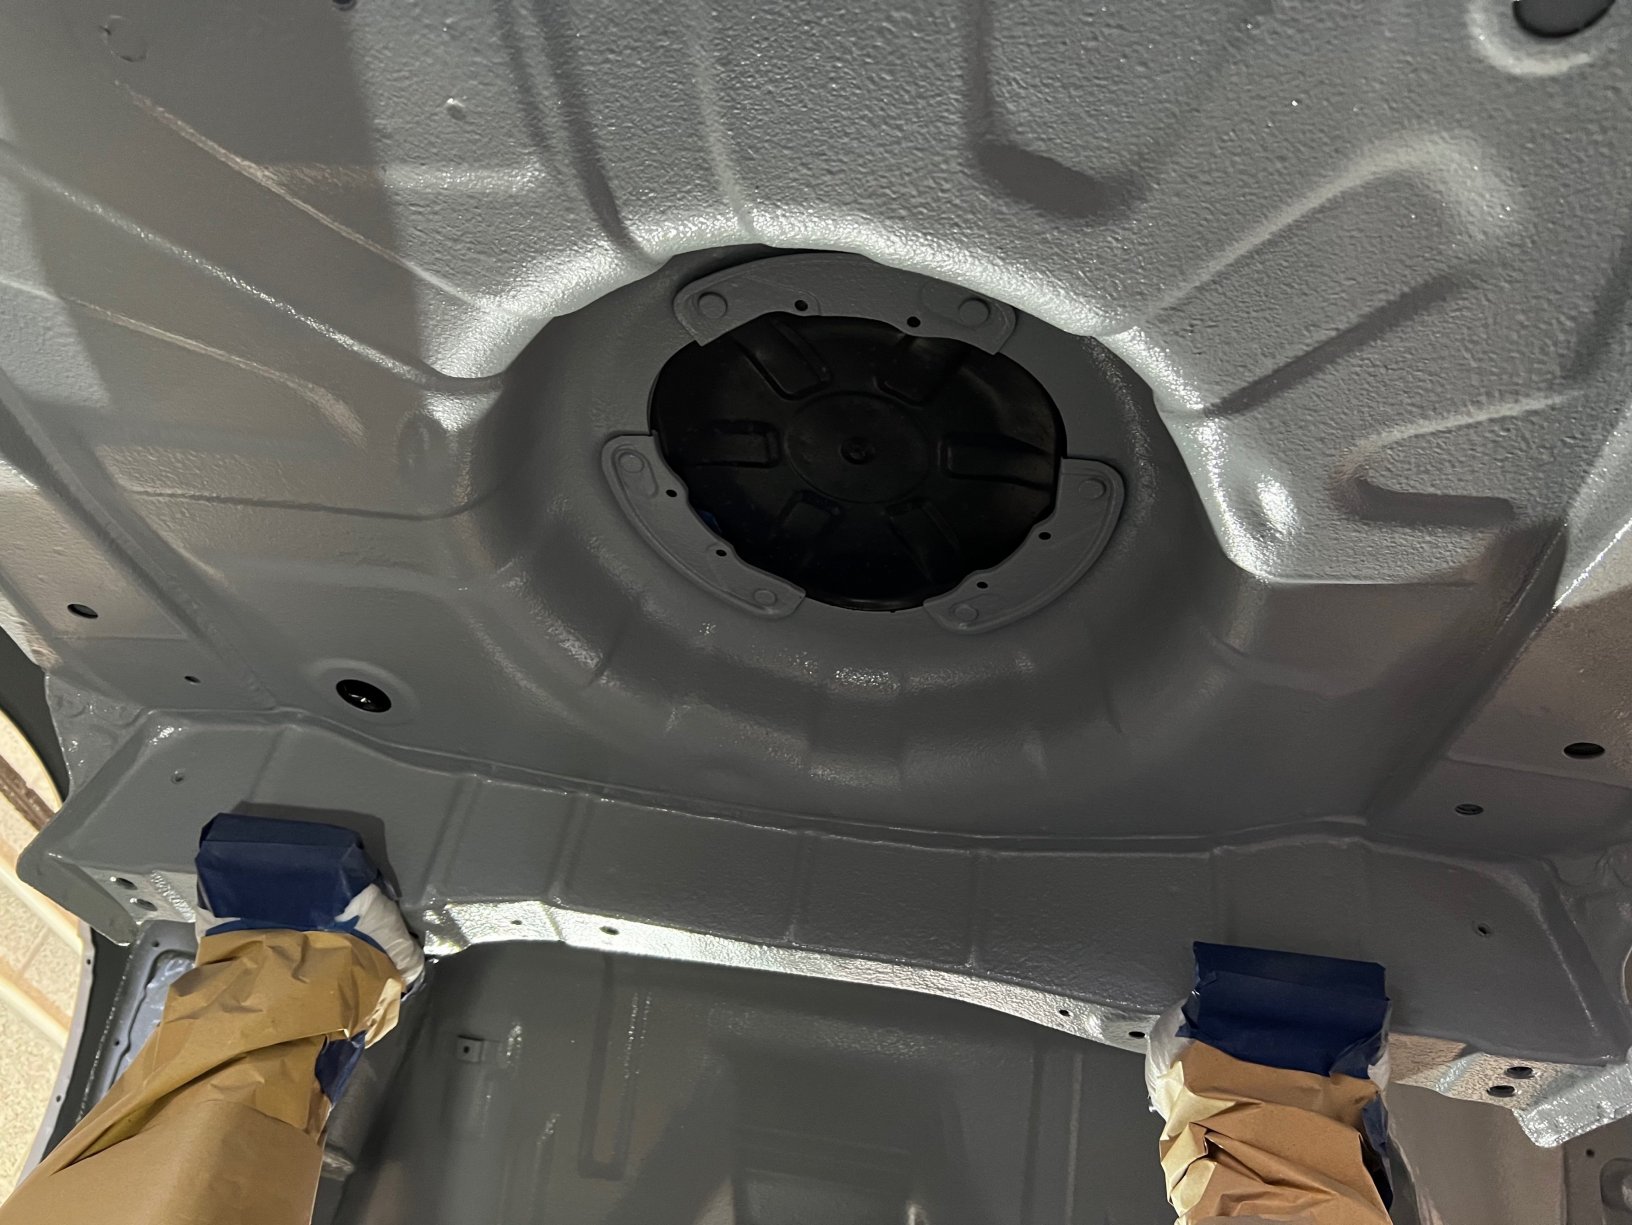
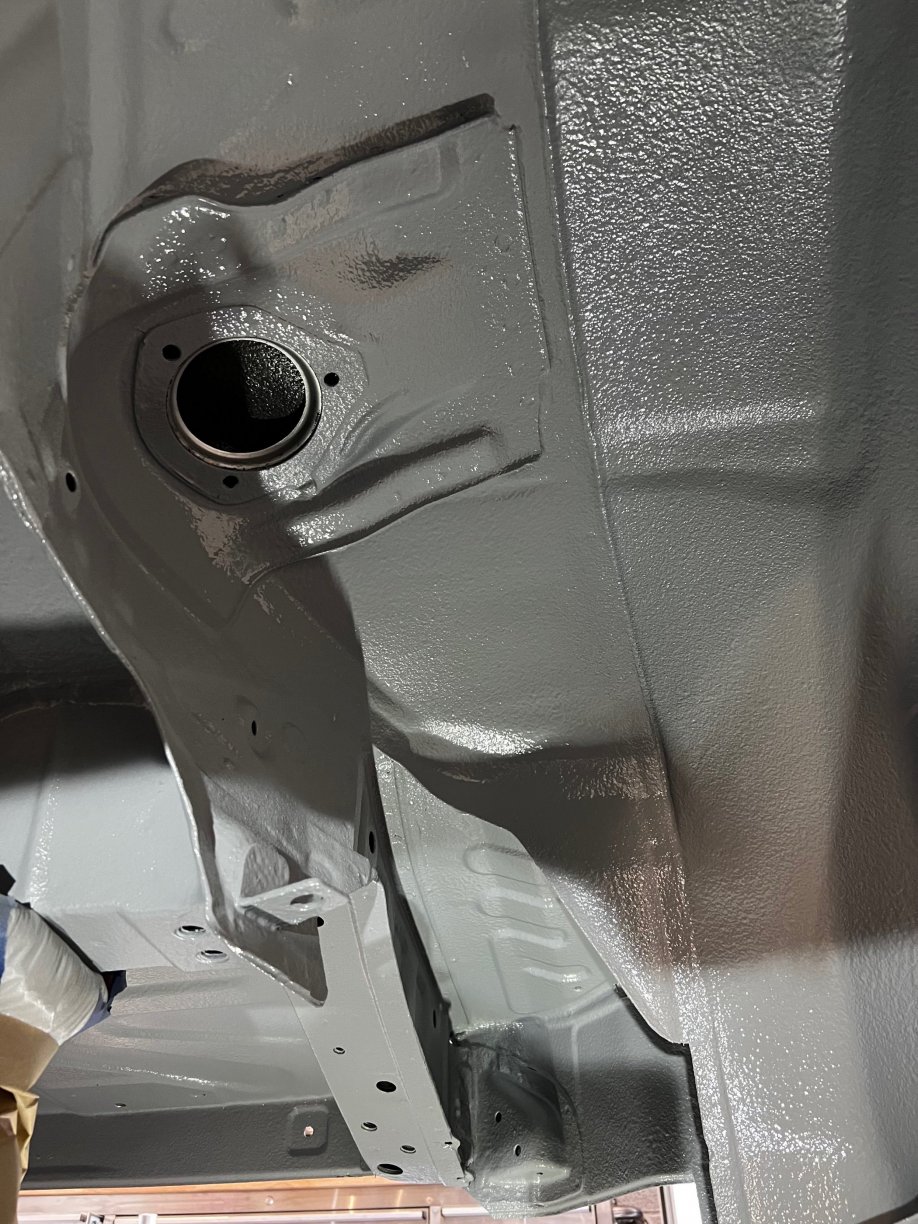
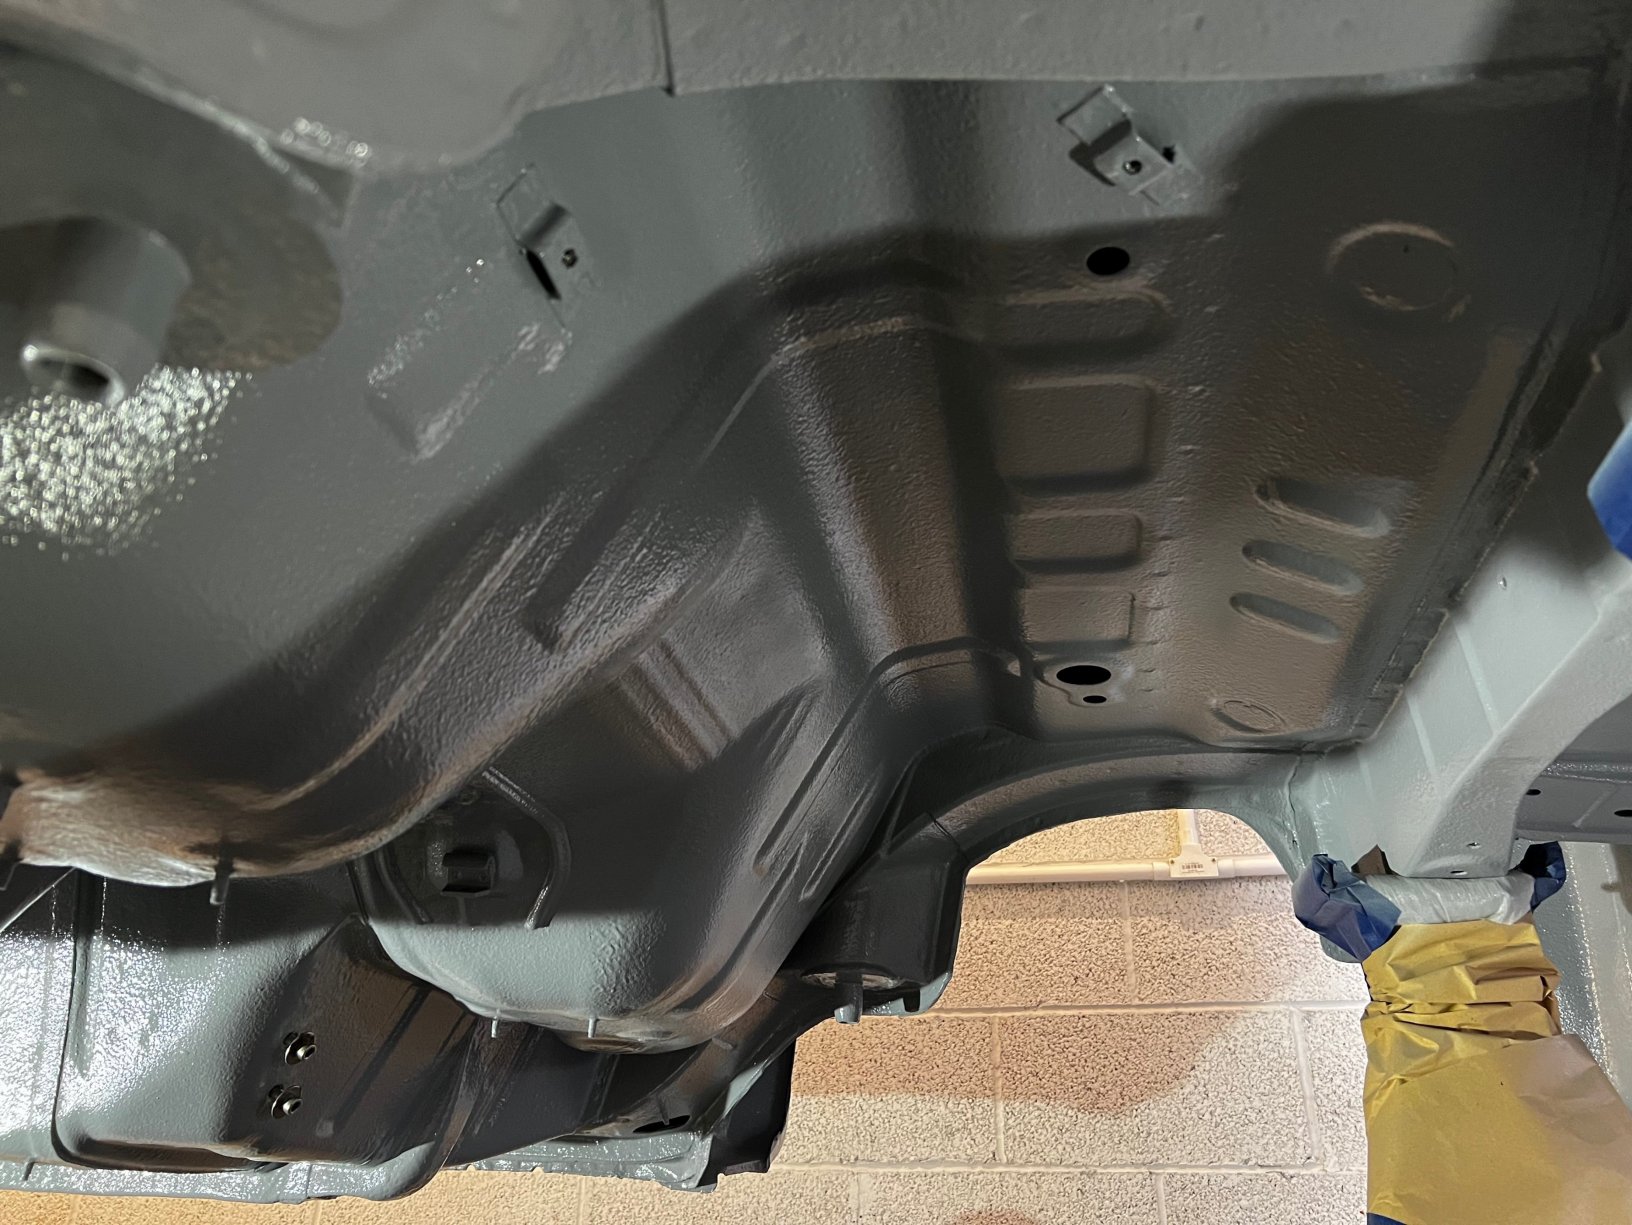
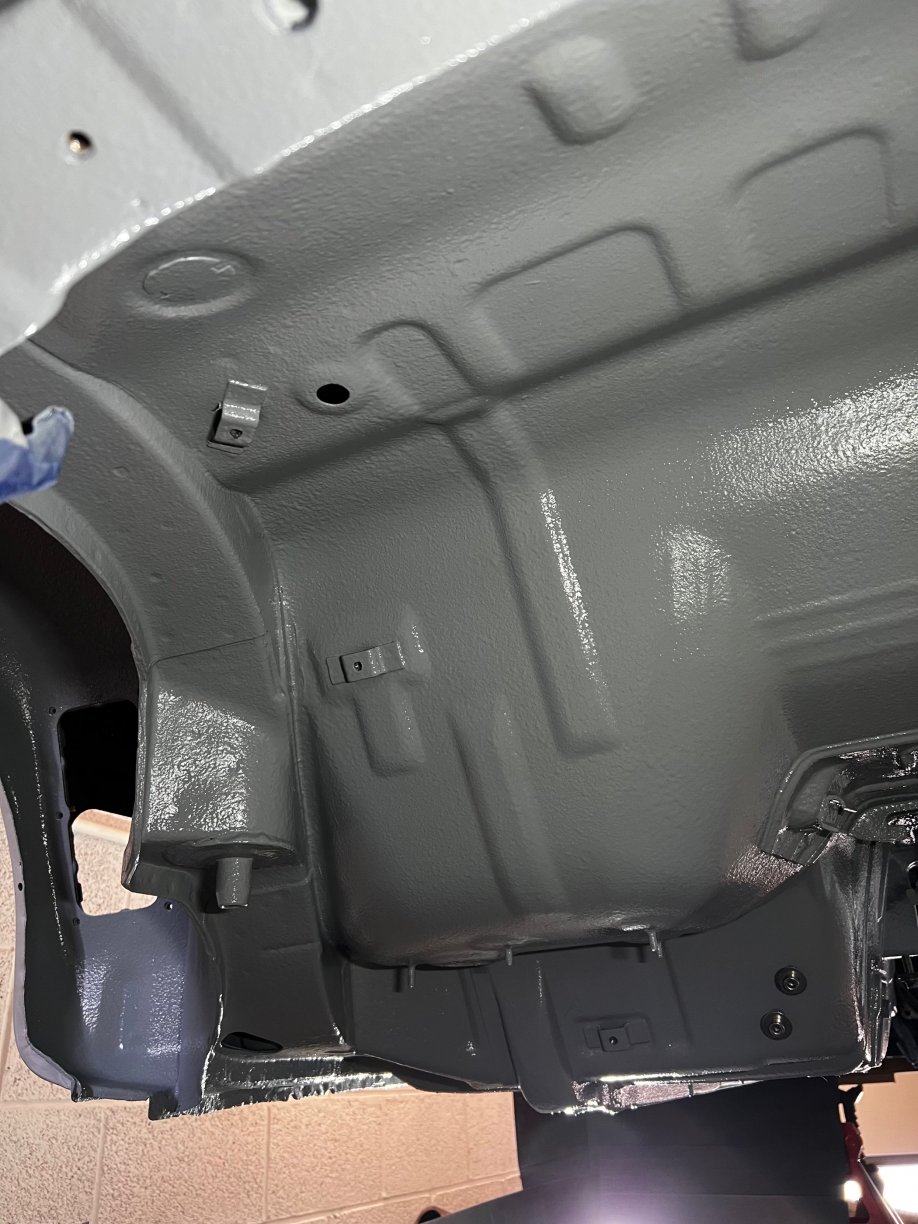
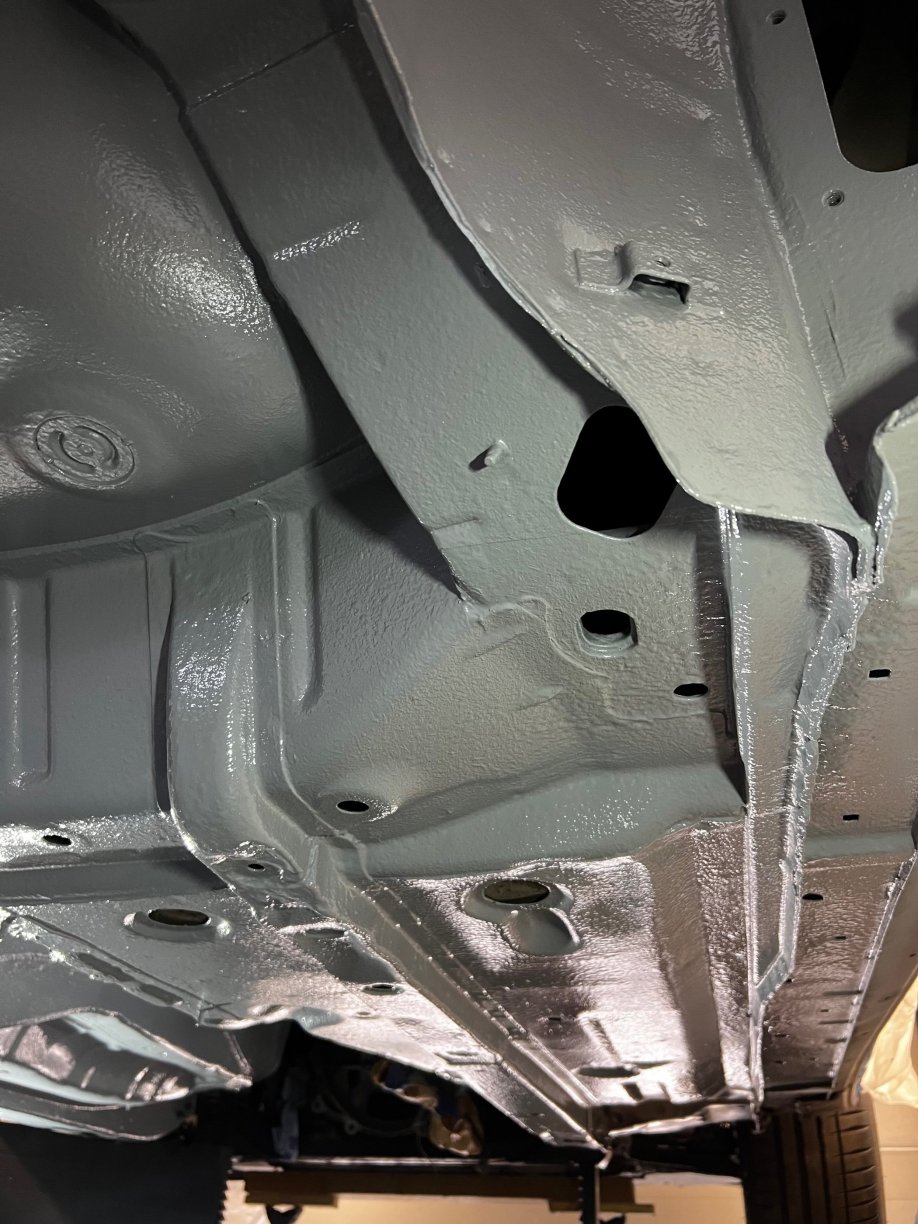
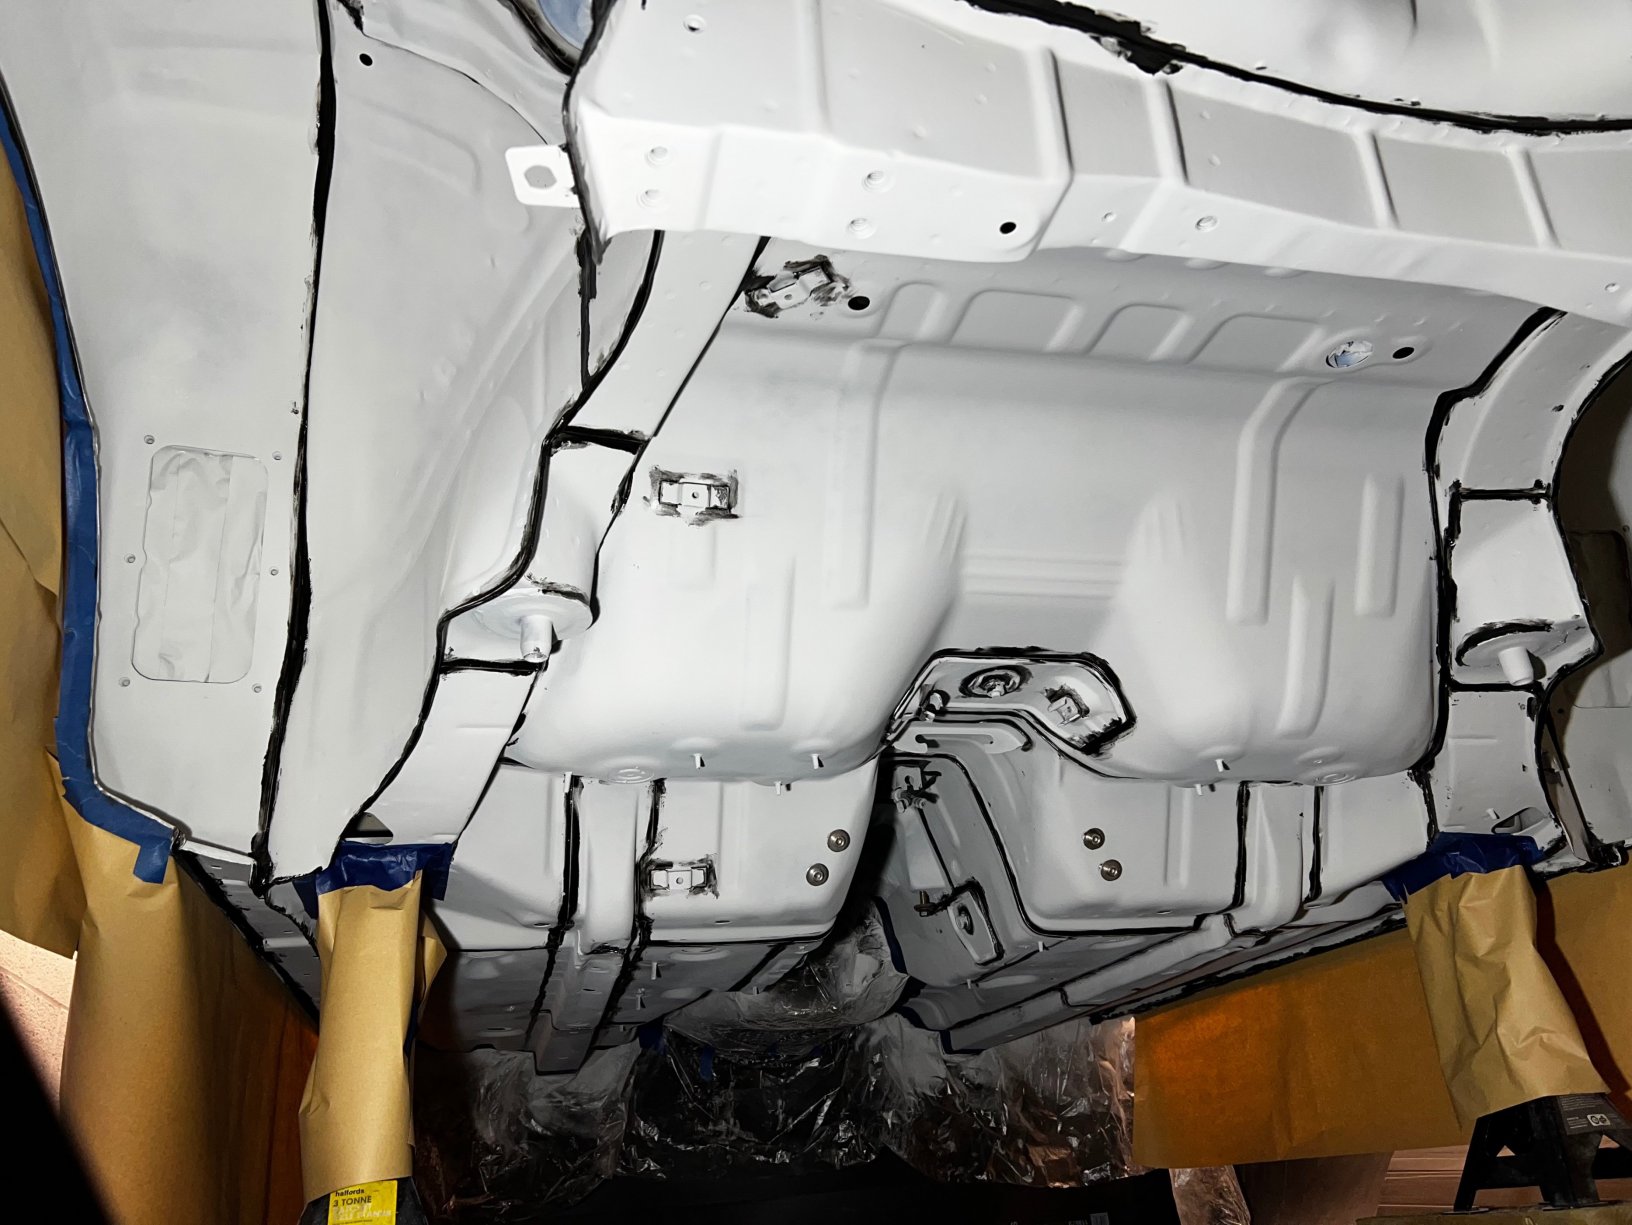
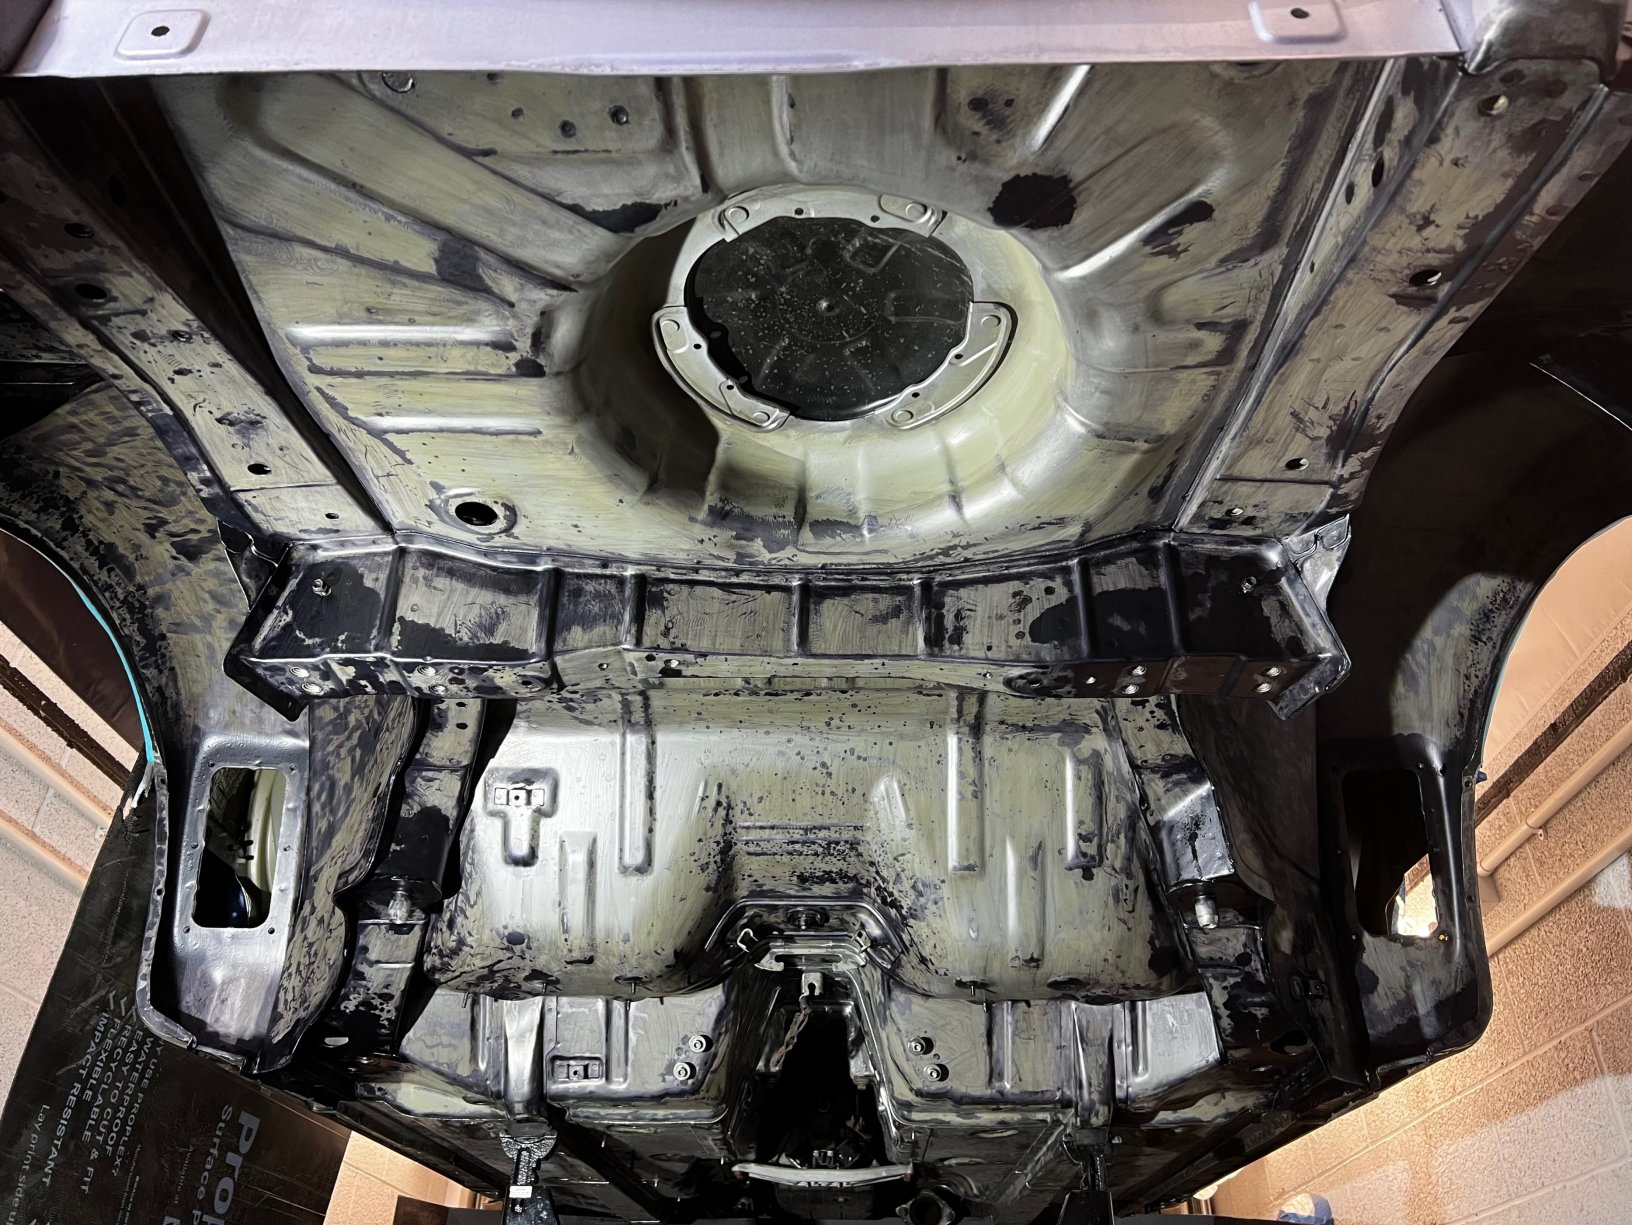
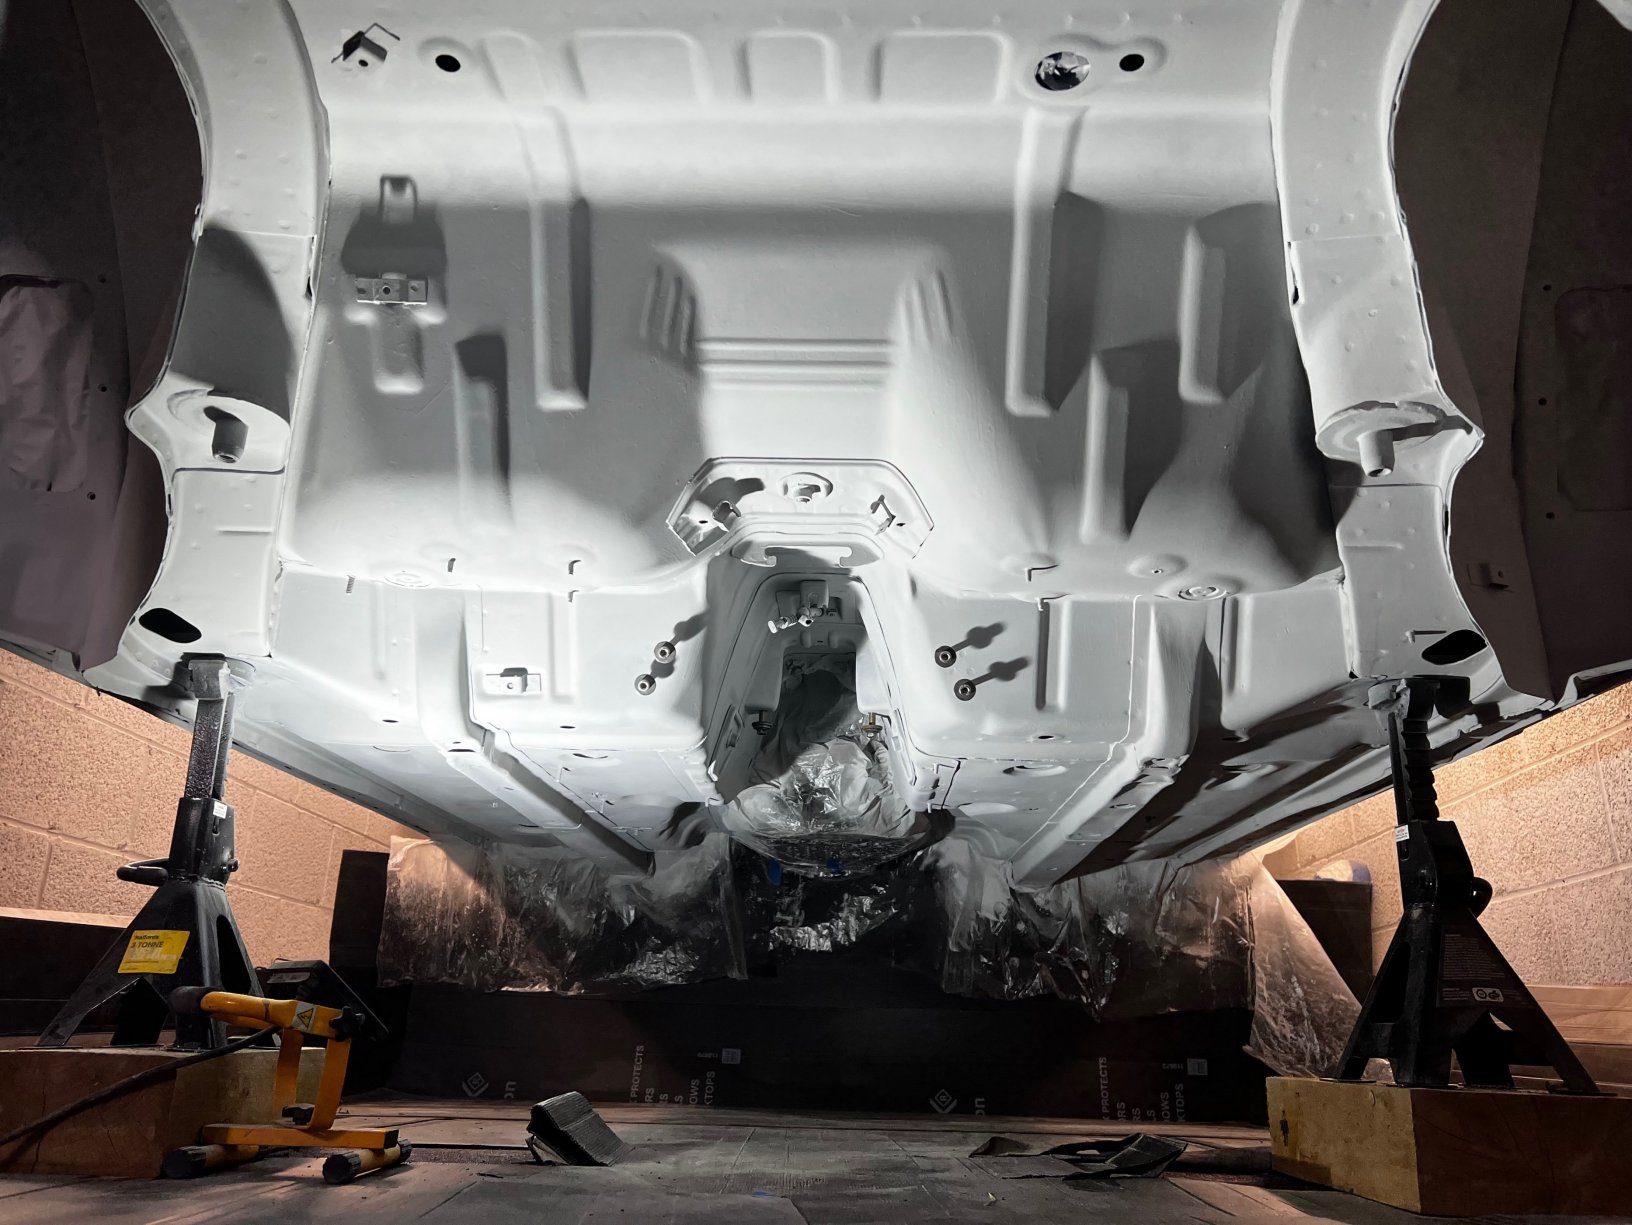
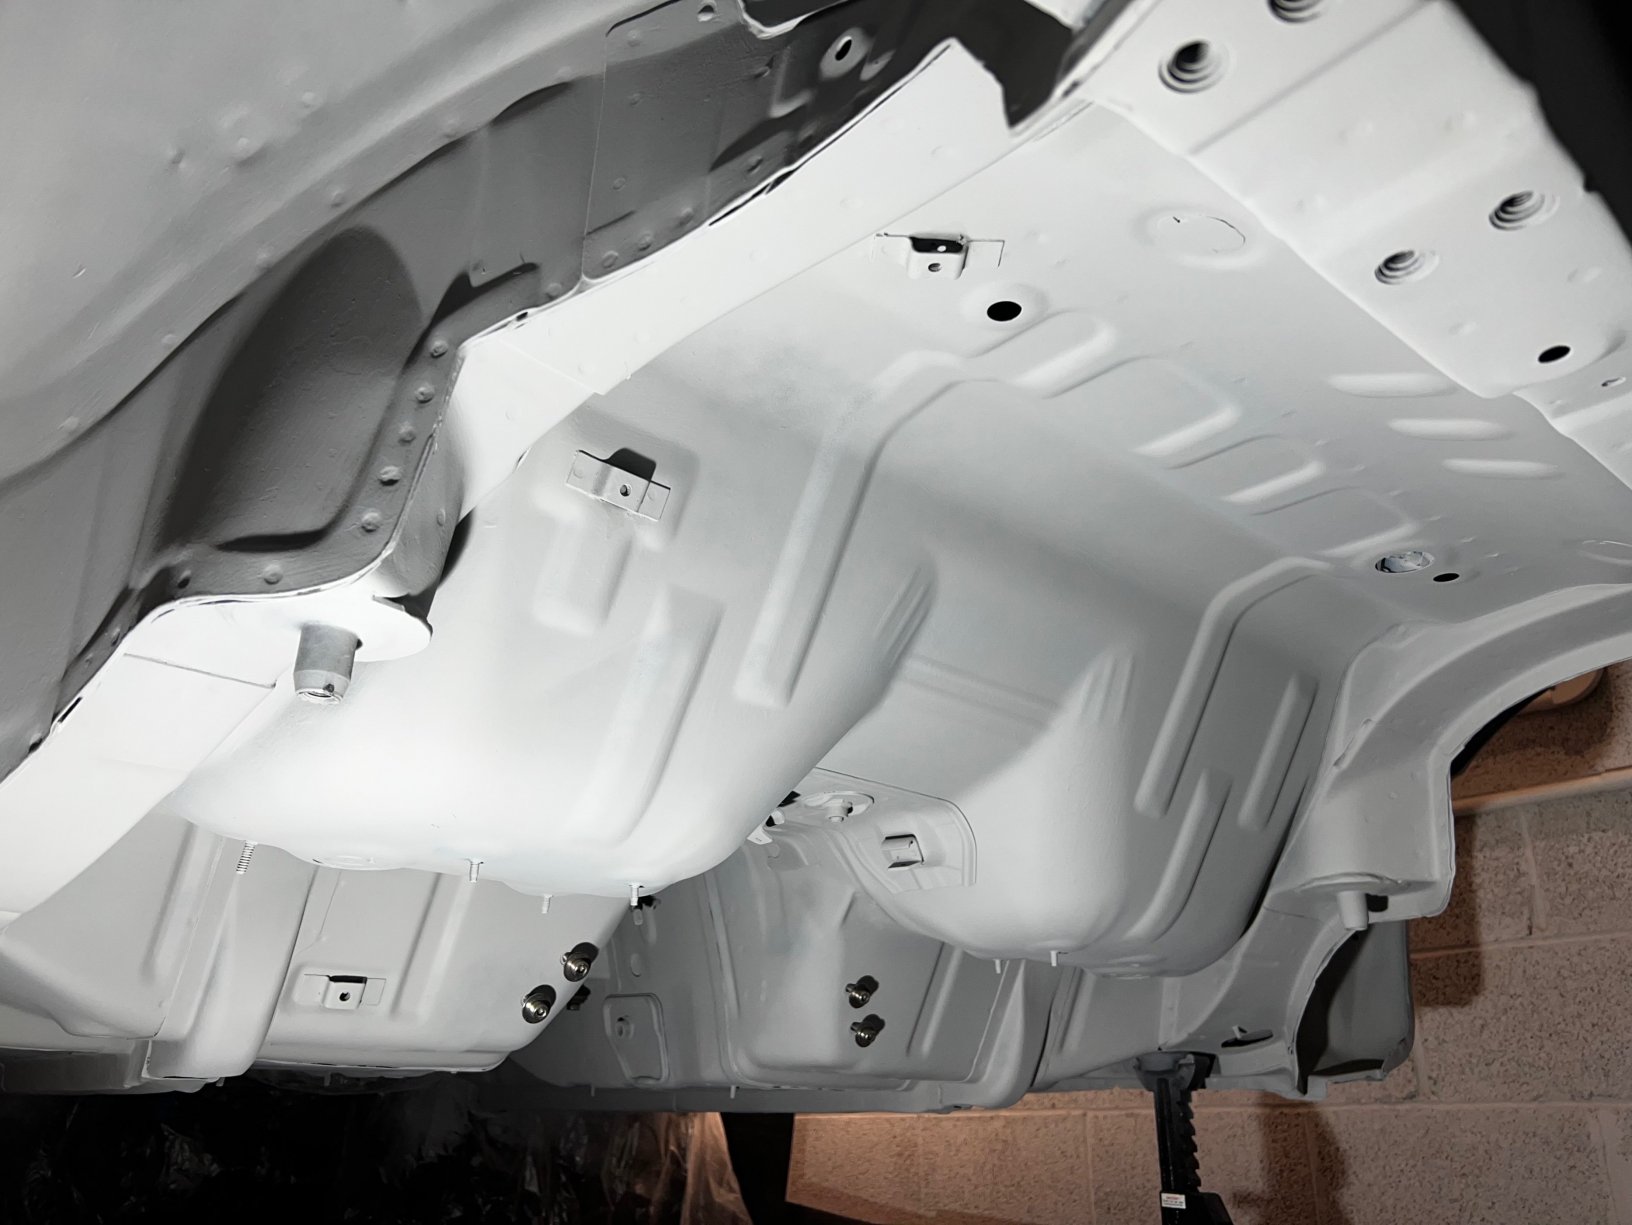
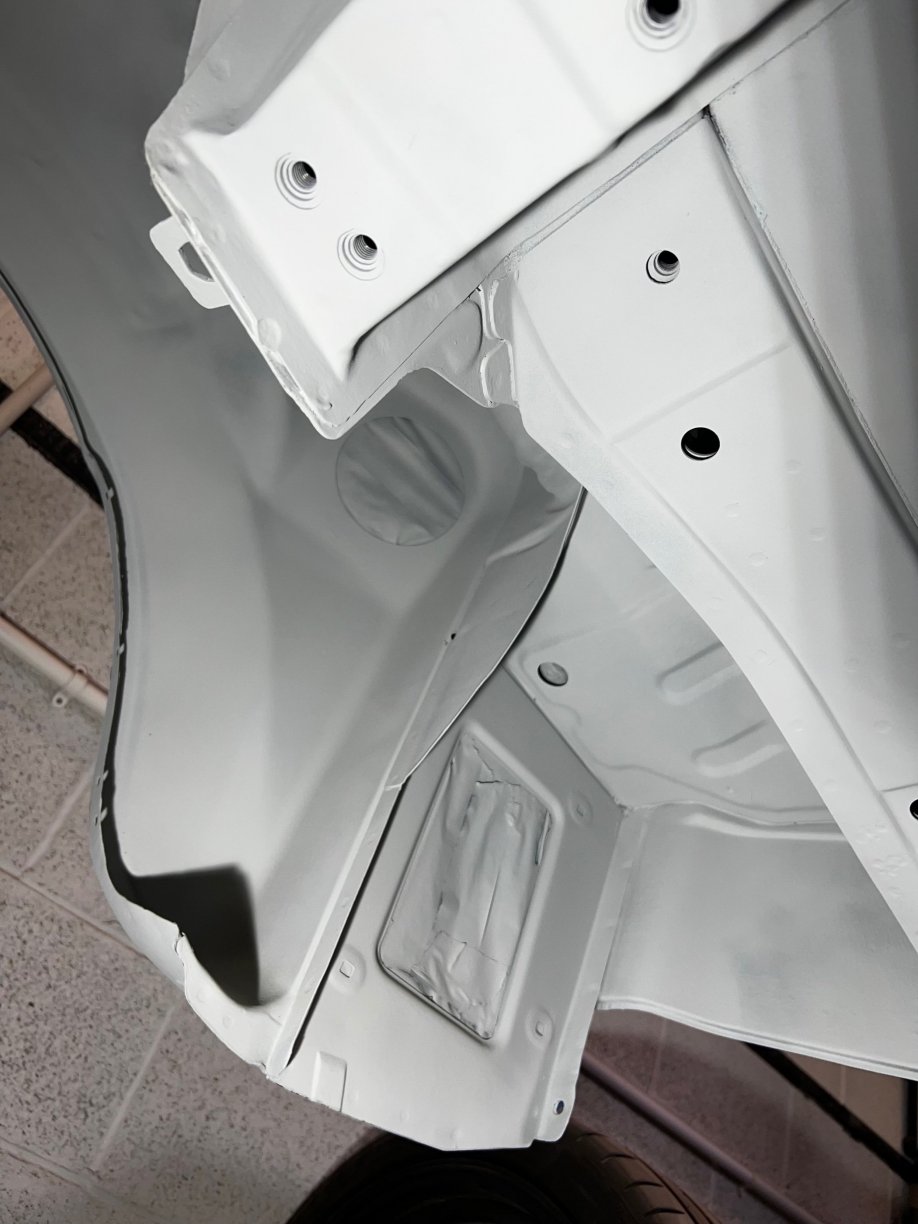
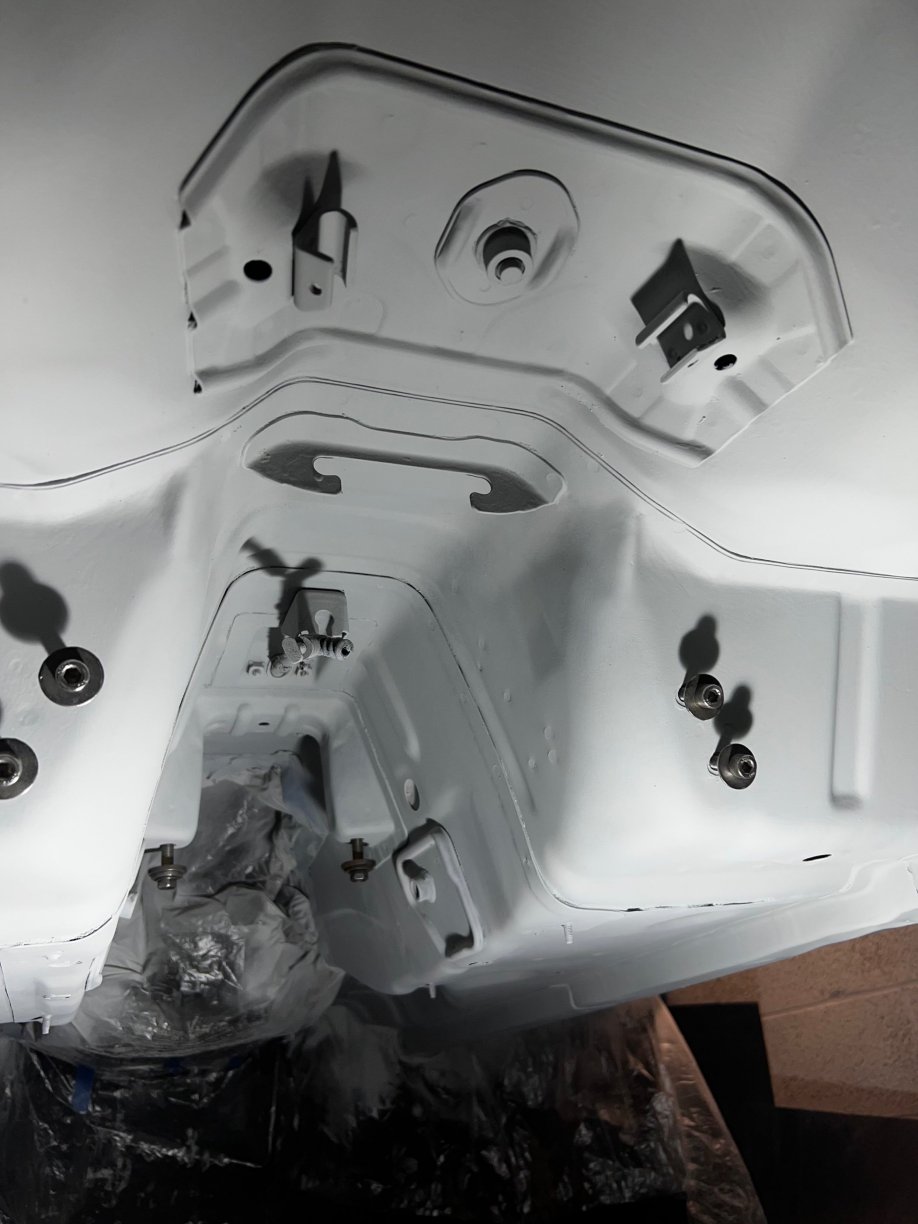
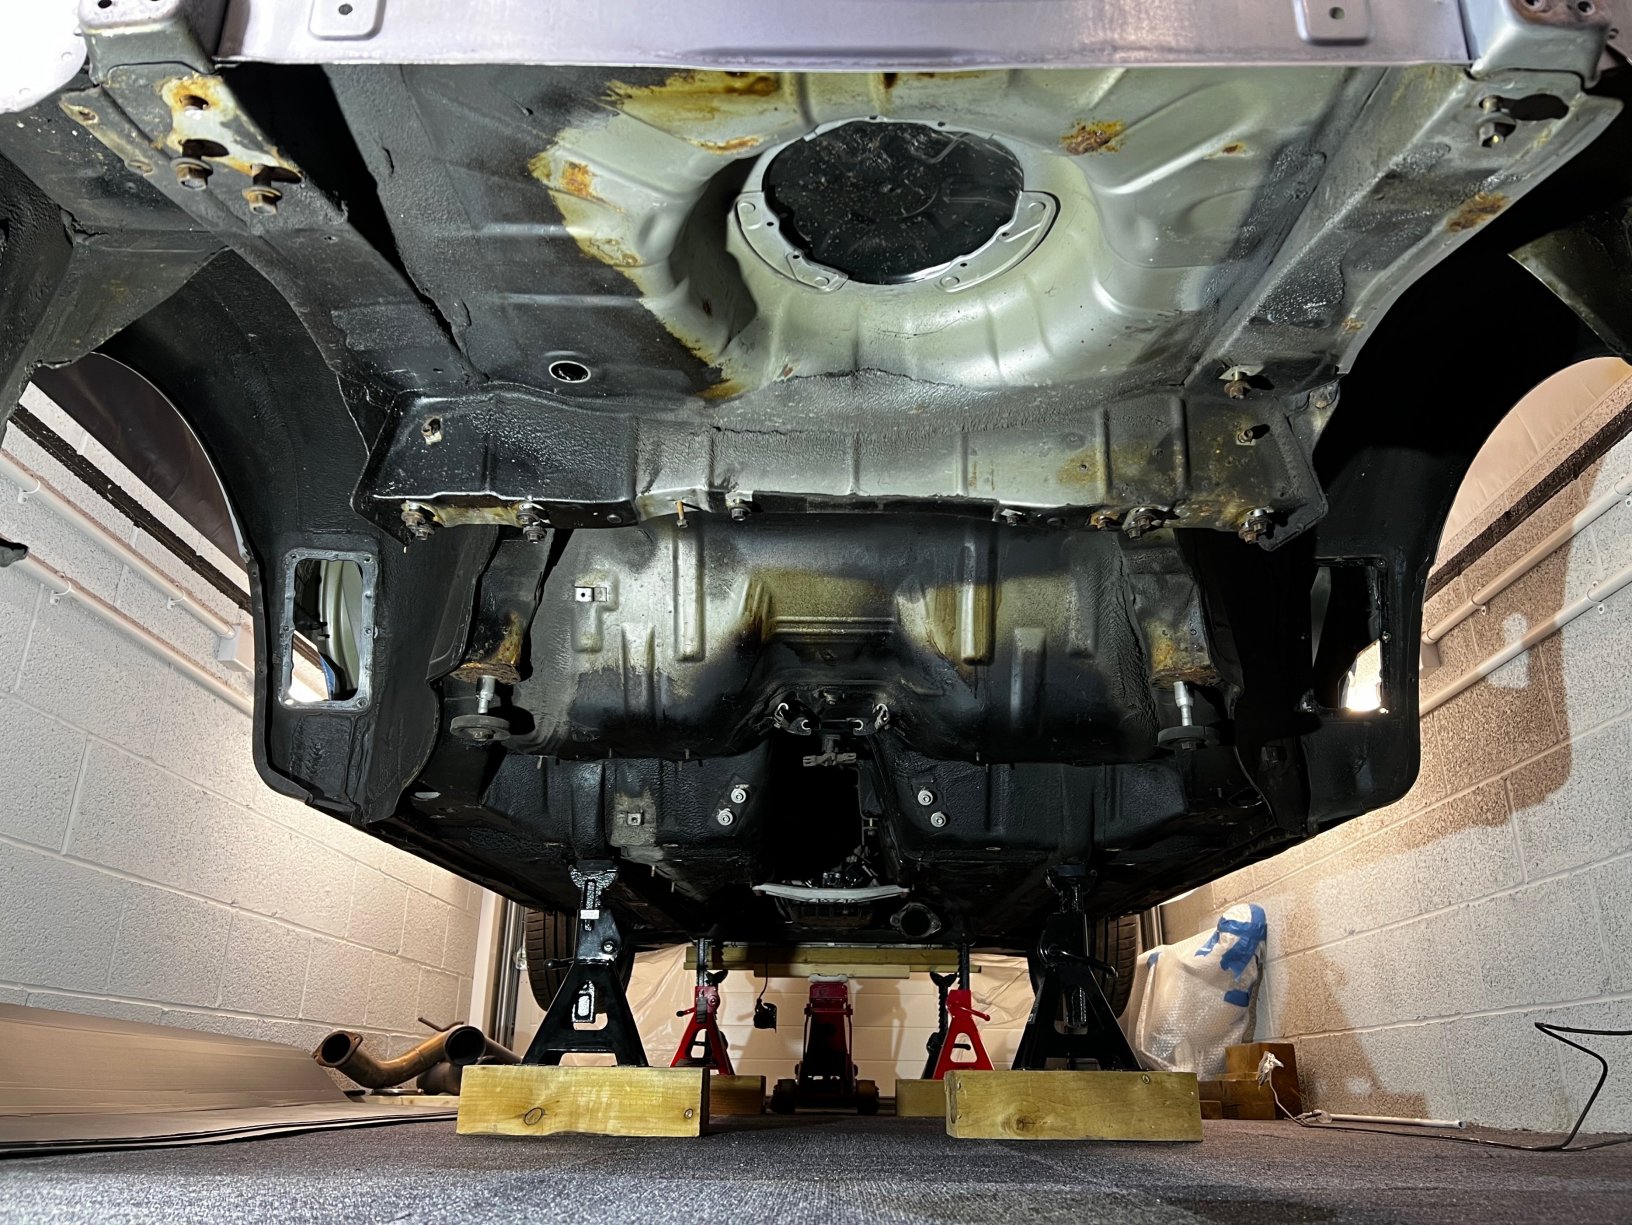
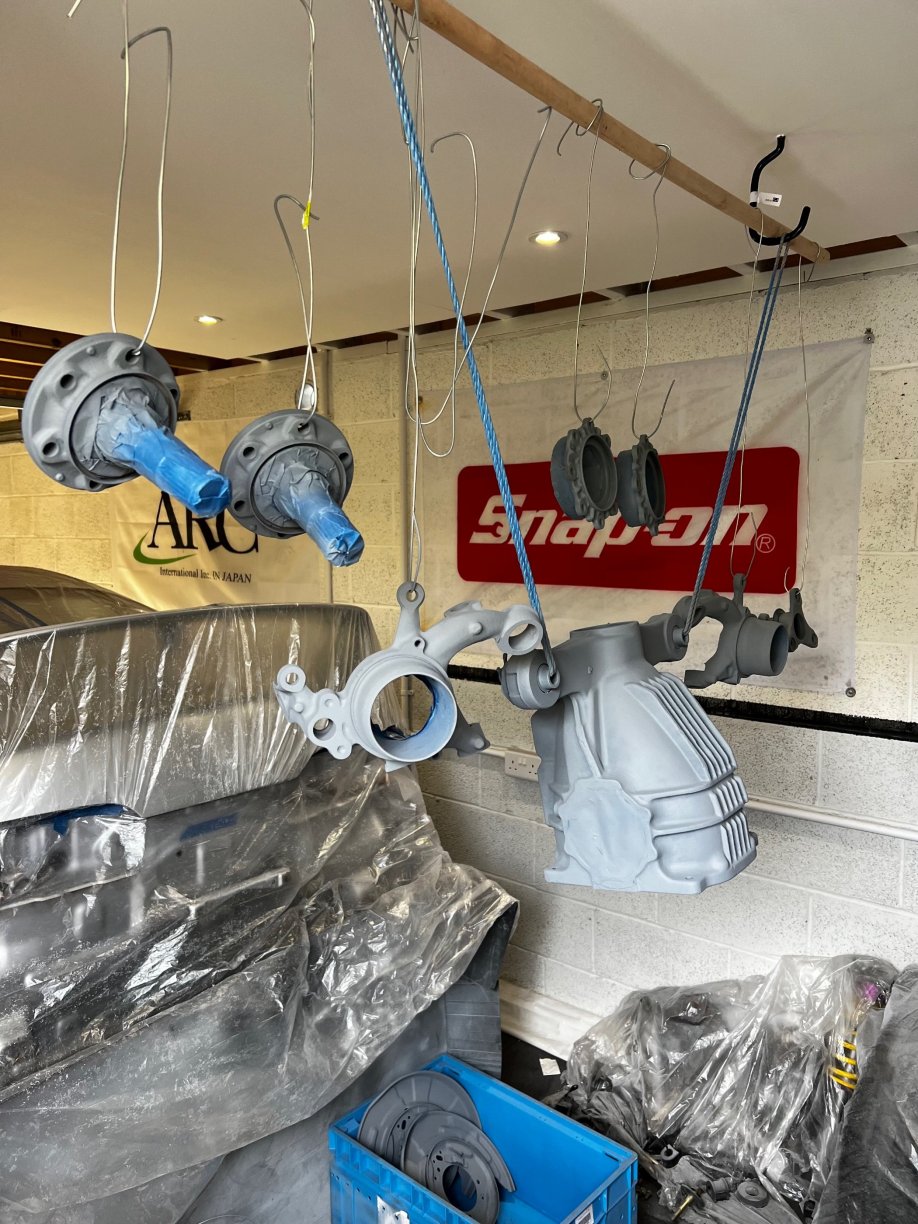
After leaving for about a week, I then got onto the top coat. Grey CP7465 2k paint, had to get a smaller gun with a 120ml pot due to space under the car and getting in all areas. This was abit of a pain as required about 4/5 full pots to complete, overall pretty happy how it’s come out. Sorted through the nuts/bolts/brackets today plus the new ones I have bought to drop off for blasting/yellow zinc plating next week so I can finally get some bits back on the car.
-
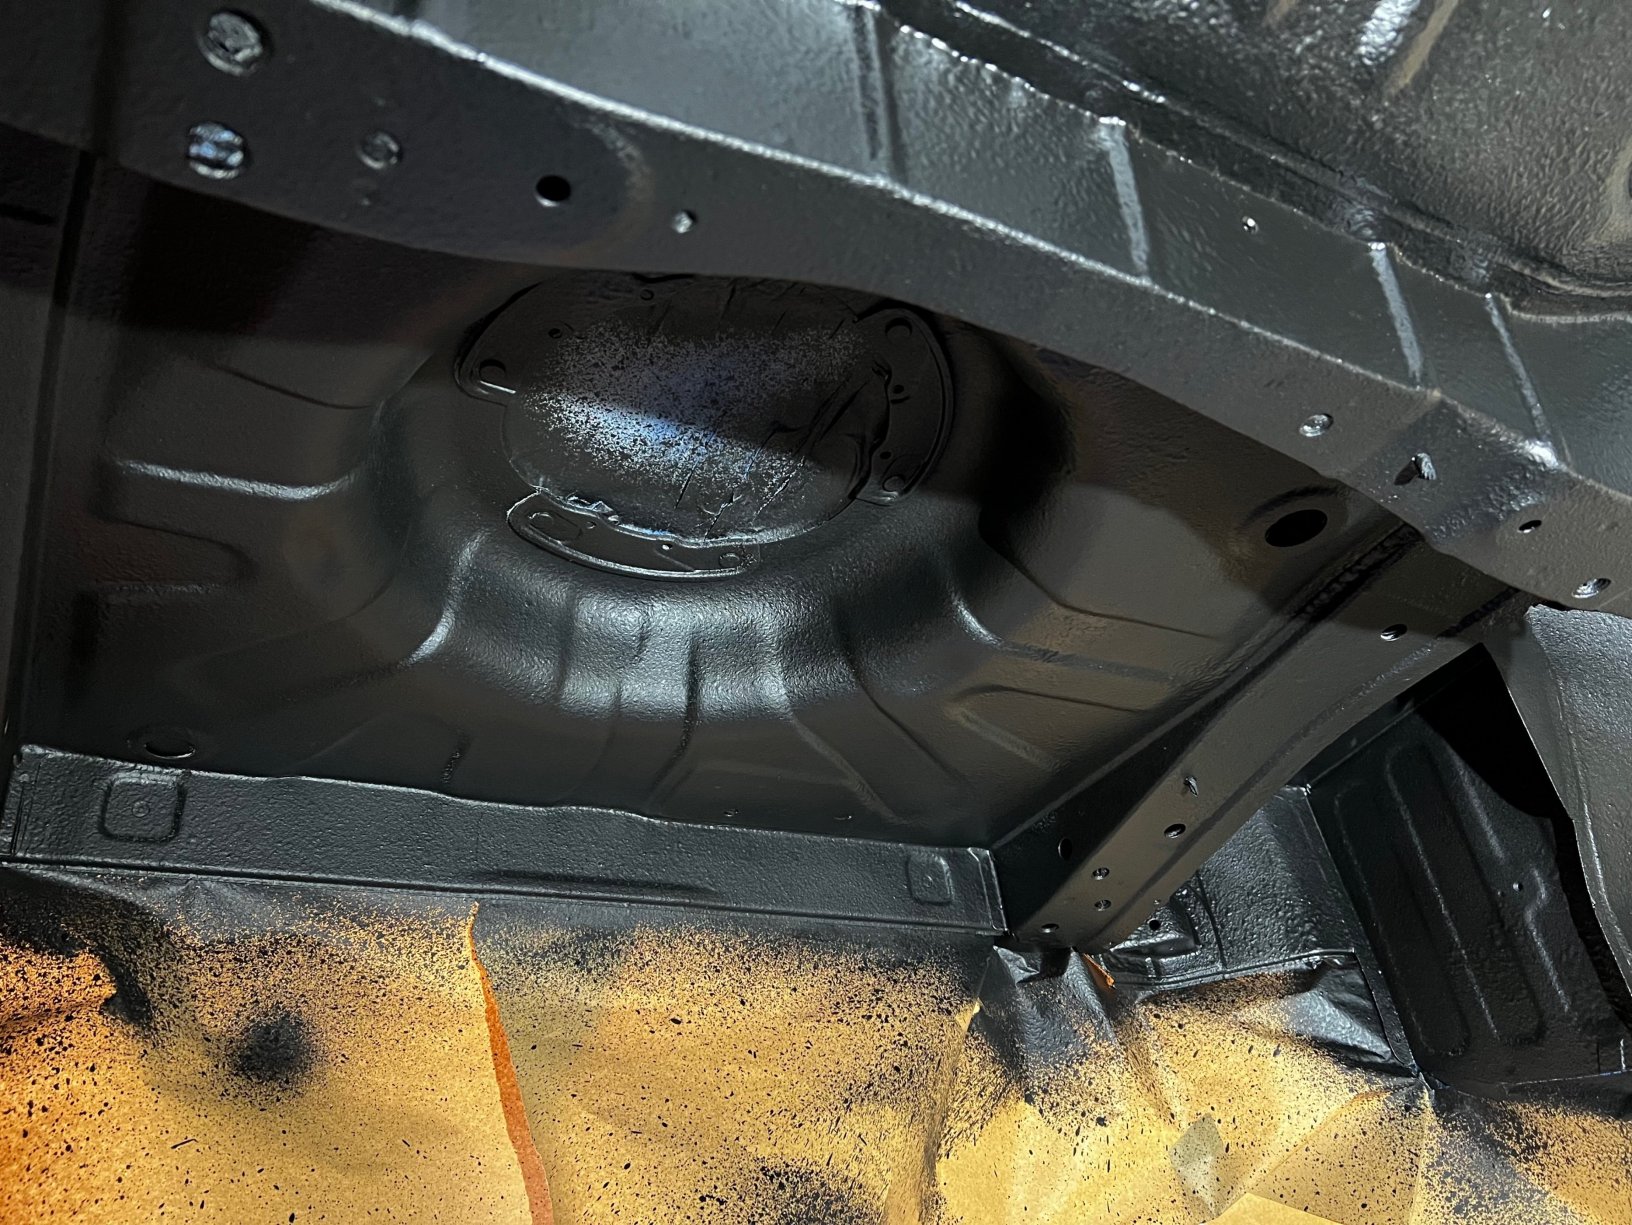
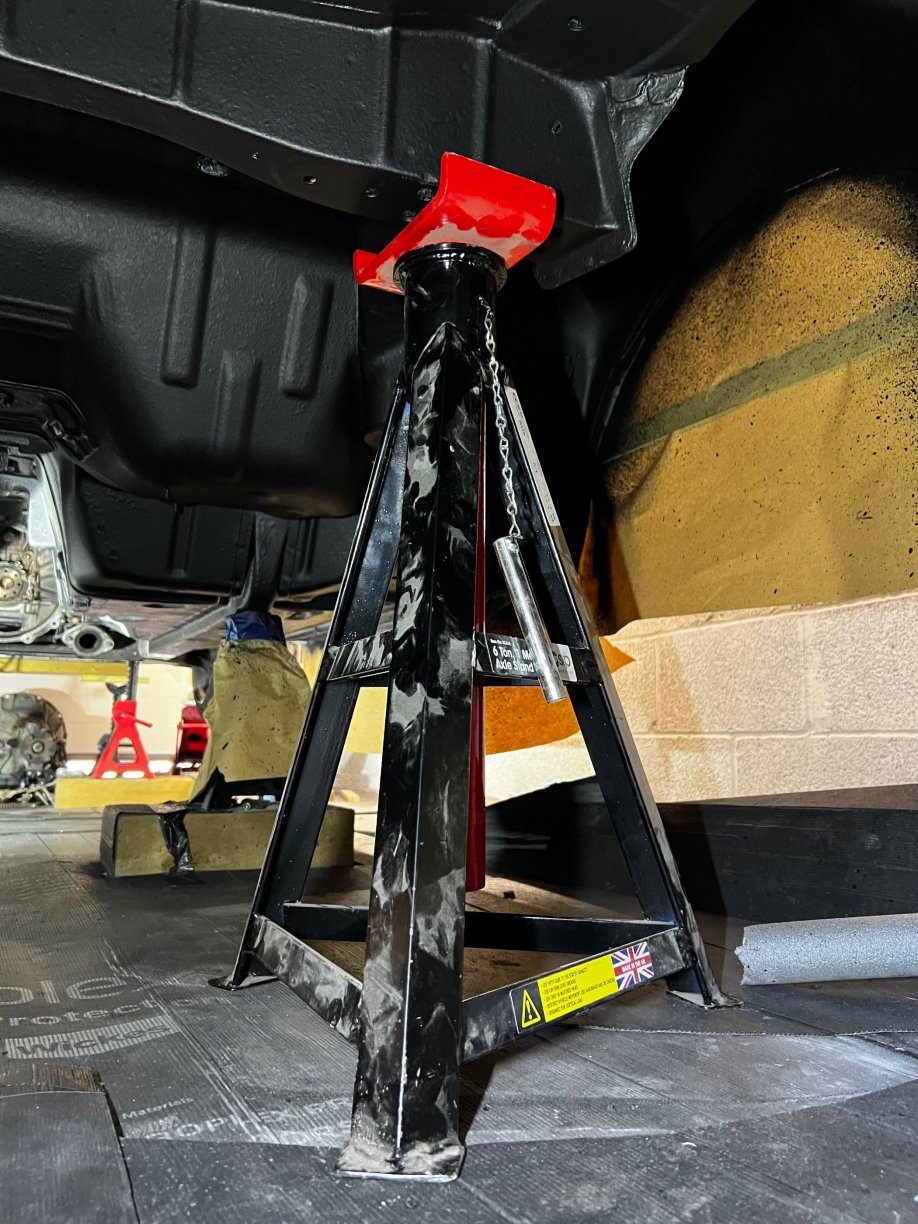
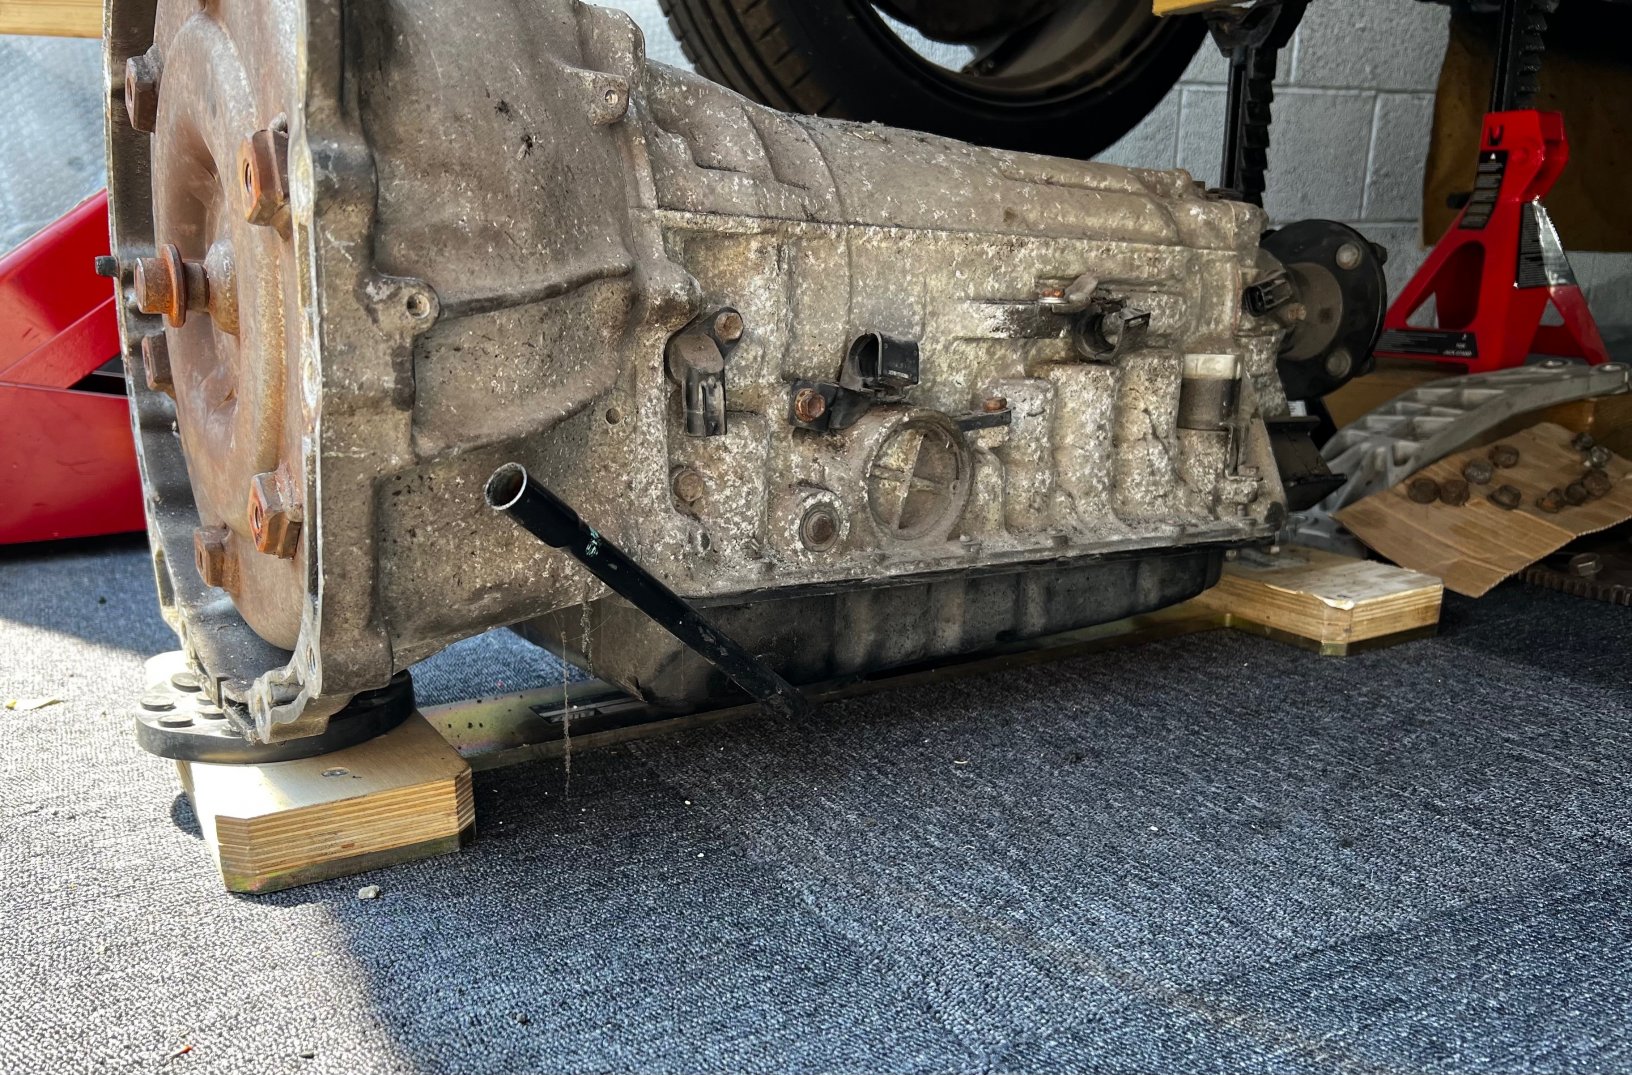
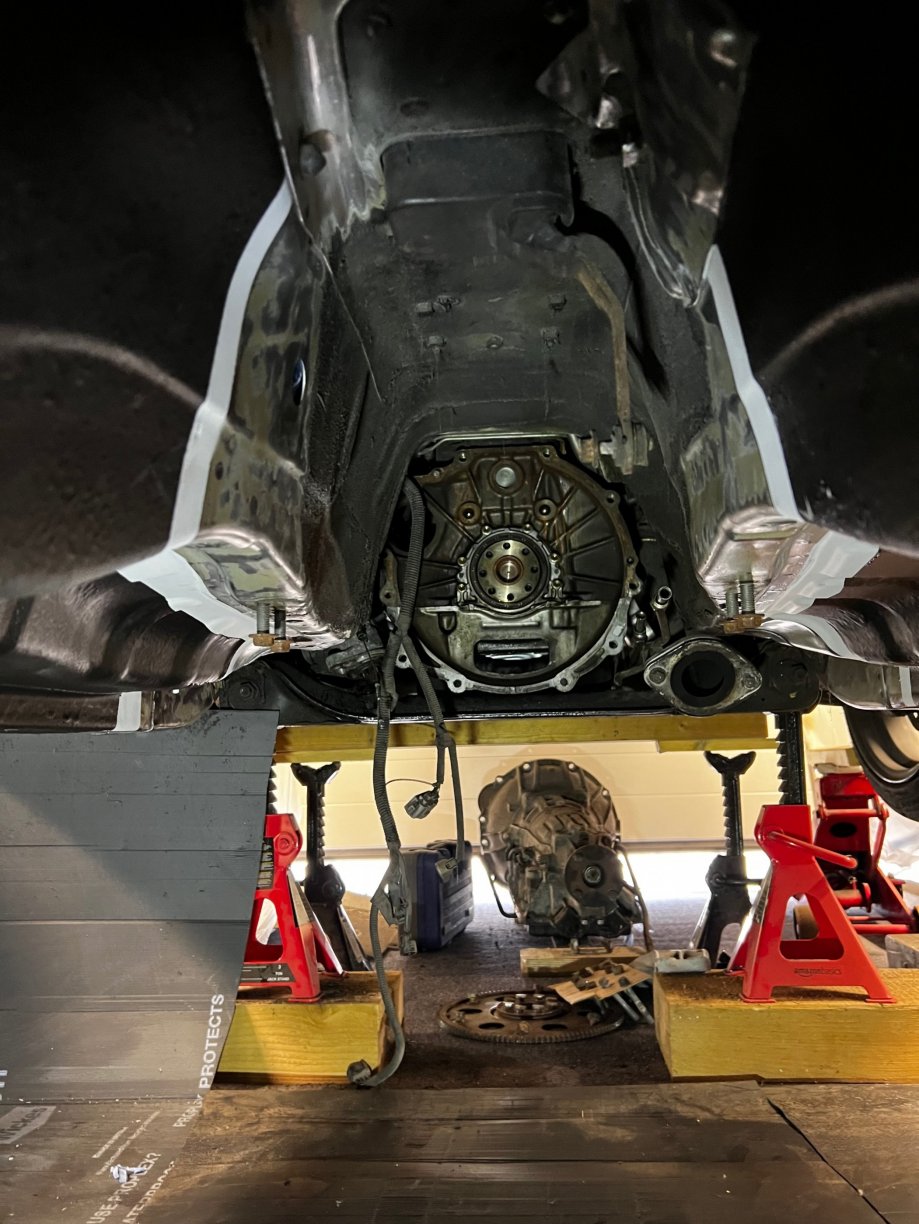
Small update. Seam sealing done, to get the back end stone chip on for moving the stands out the way. Then started on the Dinitrol 447, actually went better than expected. Done 2 layers on the arches to give a bit more protection, got to be quick and this stuff comes out quick and can easily go over the top causing runs. I bought a 50l 9.6cfm 2.5Hp Compressor to use which done the job spot on for what I needed it for. Didn’t take many photos of it, dries to a Matt black rubberised finish and extremely durable. My brother popped down with some tall axle stands and to help get the gearbox out, used his Porsche engine removal brace which ended up being the same length as the box which was a touch, just used it on the jack to wiggle and get it off. Out within an hour but I don’t think putting it back in will be as quick! Bought a new OEM rear seal as I noticed some oil mist so going to swap that out prior to the box going back in.
-
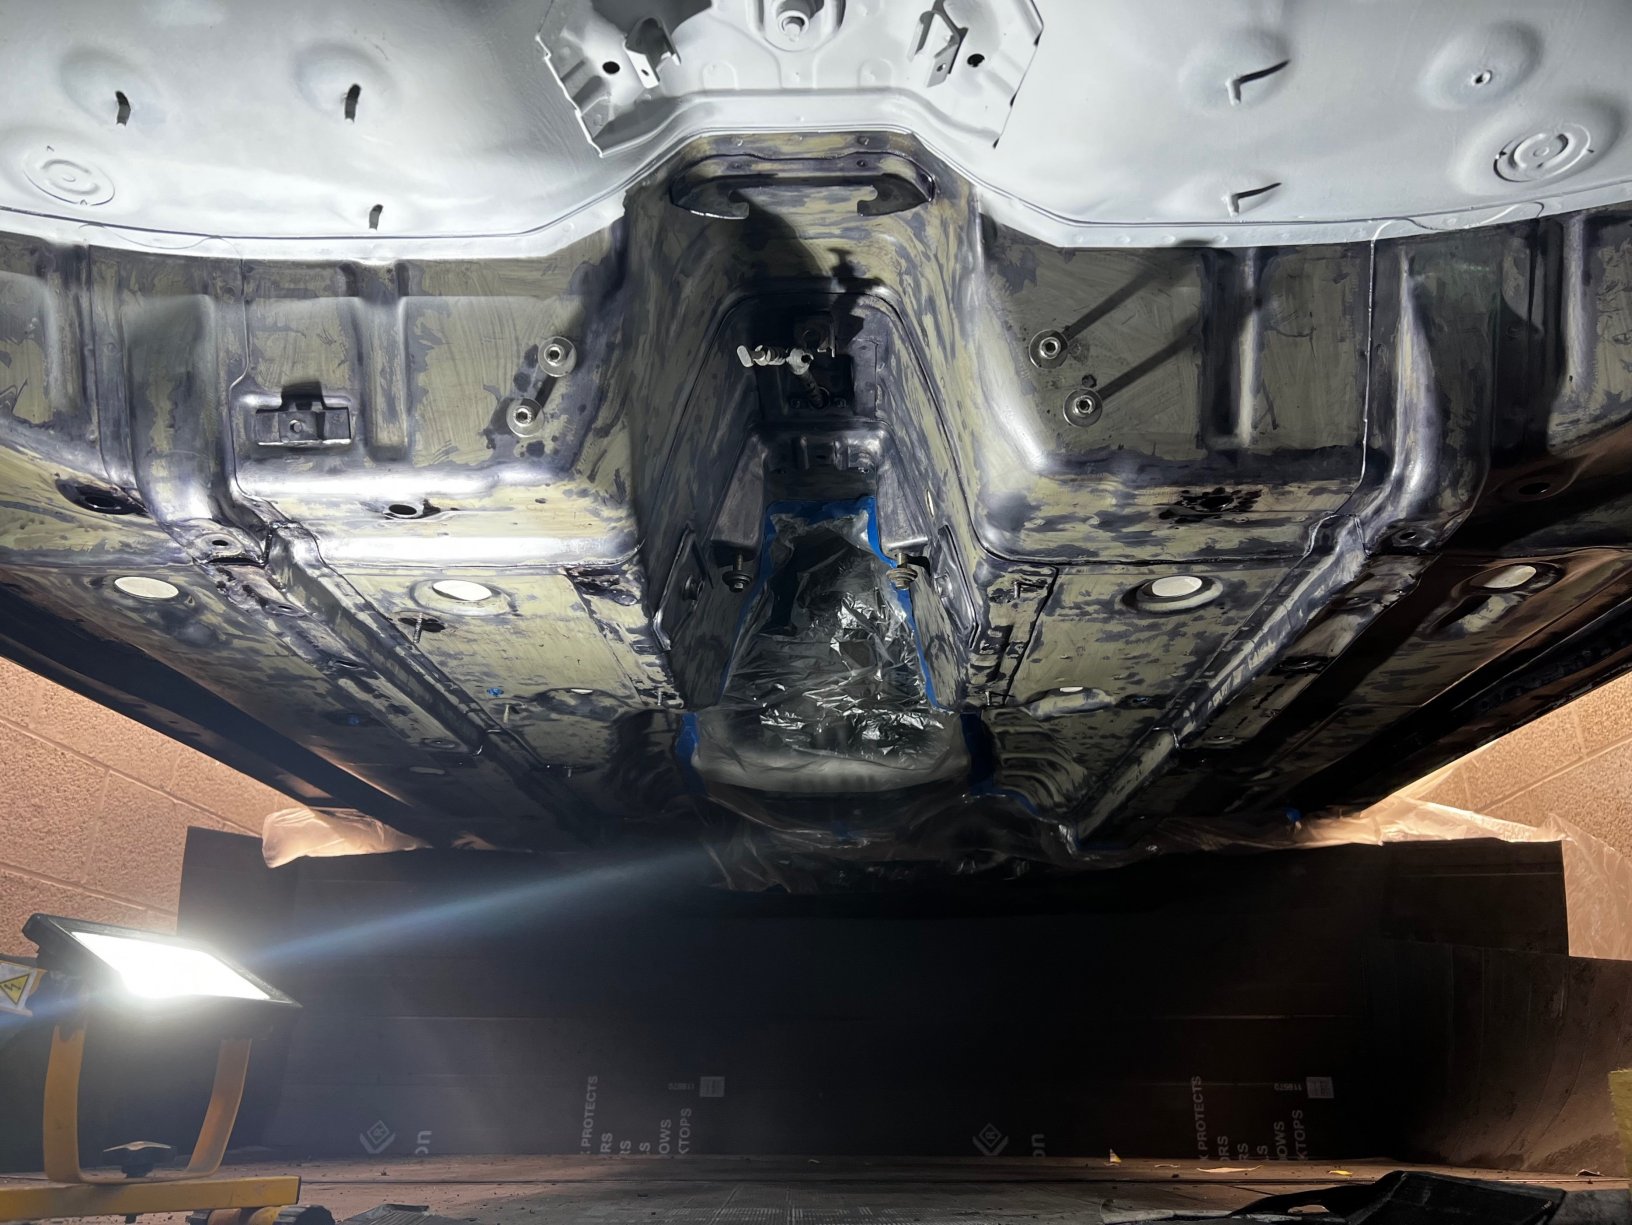
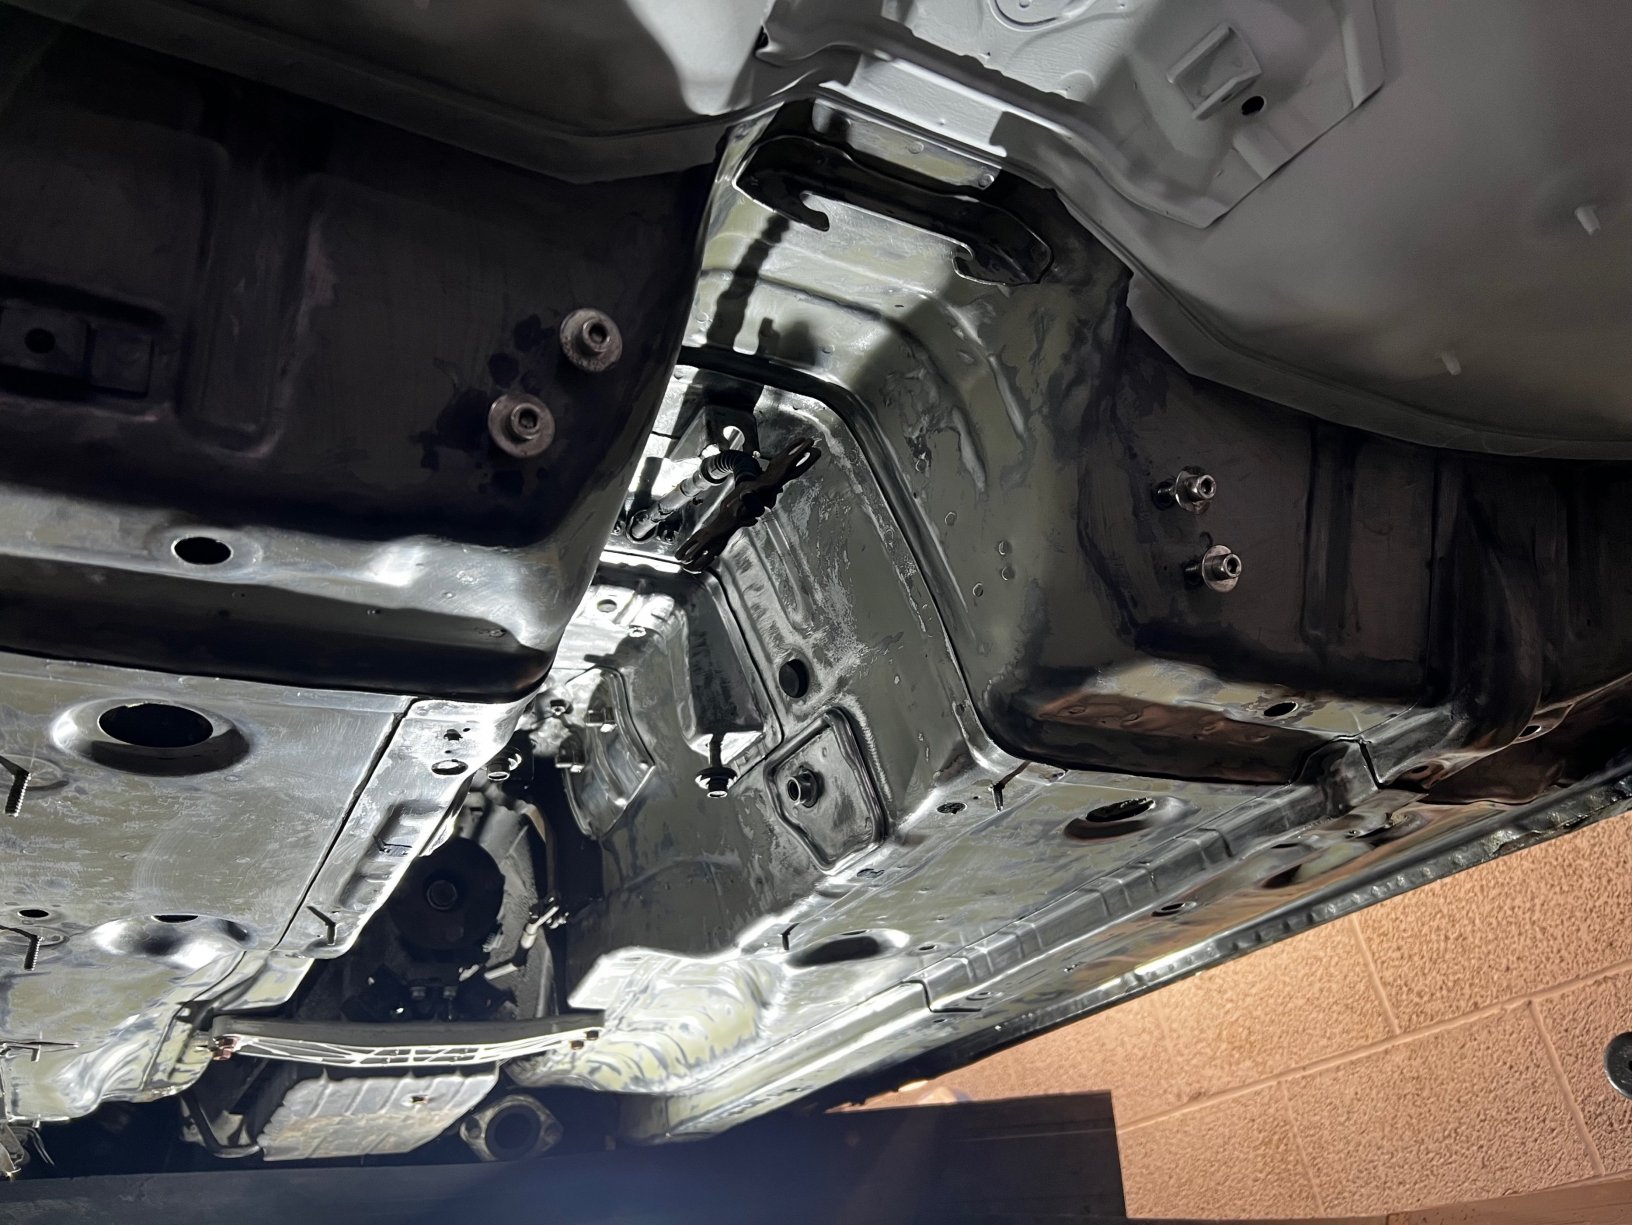
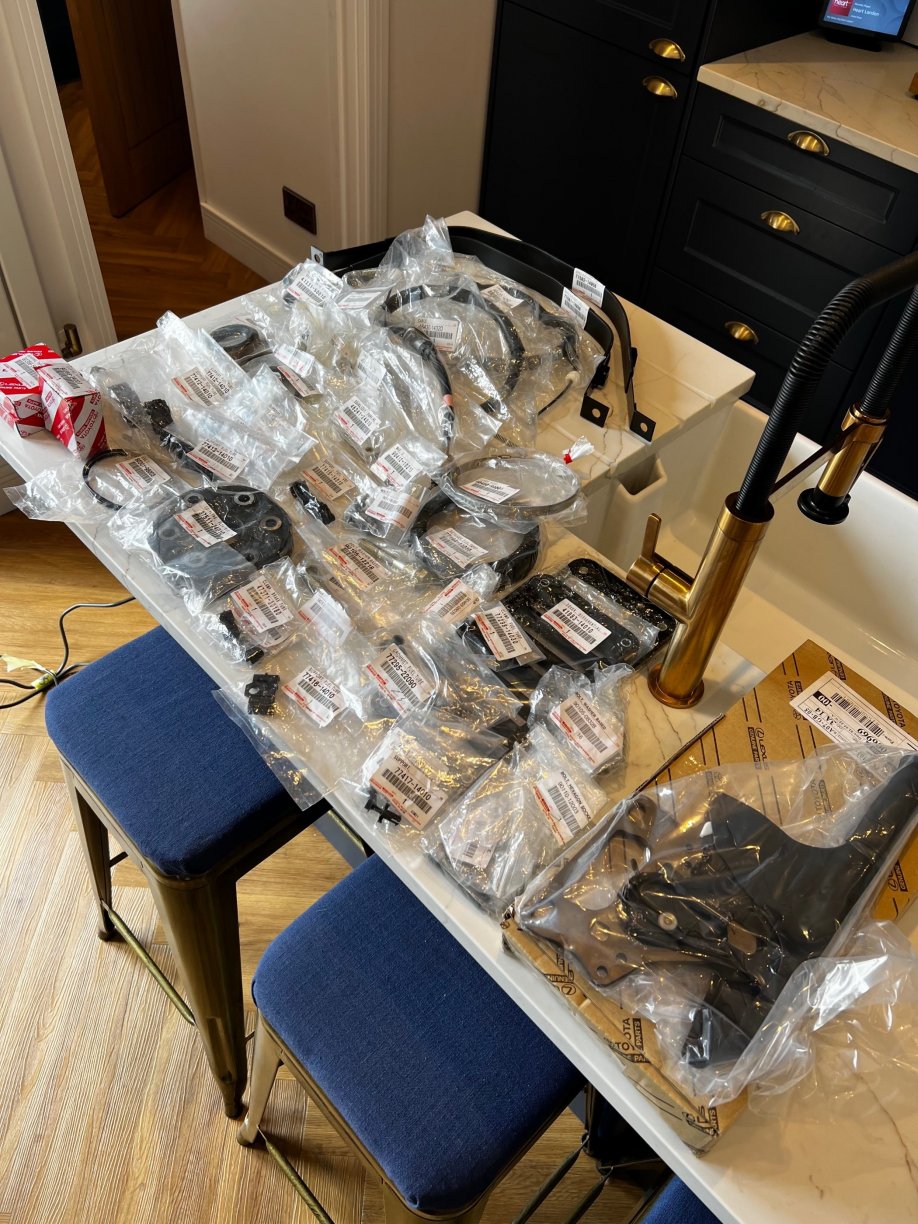
Small update, the twist knot wheel works great for getting the old underseal off but didn’t clean up the metal as well as a normal wire wheel. After going over all areas again with a normal wire wheel which wasn’t that time consuming as the bulk of the work was done, I degreased the area and went over using Hydrate 80 to seal the bare metal before the 2k epoxy primer. Did this in two stages just to feel like I was getting somewhere, back end/arches then the floor. Also took the underseal off within the tunnel up to the gearbox as wanted to do a much as possible with the 2k. Used Dinitrol RC900 as it’s a spray to get in any tight areas within the small panel gaps etc. Then following a couple of days on with the epoxy. Popped down to SRD today to pick up some bits, still a way off to install any but always good to have in hand as more bits getting discontinued. After a lot of researching I have decided to go with Dinitrol 447 Stone Chip, then I’ll over coat that with 2k silver/lacquer for some additional protection. Started on the seam sealing, still got the floor to do then hopefully have time this weekend to start with the stone chip!
-
Hi Russel, Thanks for the kind words, good to see a long time member still about. I doubt I’ll be able to get to the meet with trying to crack on with the car plus the normal things that need doing on a weekend unfortunately. Purchasing OEM parts I would try SRD, Keron or Paul at TCB parts. I haven’t used TCB this time around just due to not being able to get hold of him but the amount of effort SRD put in I’ll probably use them going forward. A new set of lights always improves any supra front end so definitely a worth while purchase! Drop us a PM if you ever want ask a question about something if needed and I can try and assist in any way mate.
-
Haha back, shoulders, neck you name it mate! It is not a fun job to do at all…
-
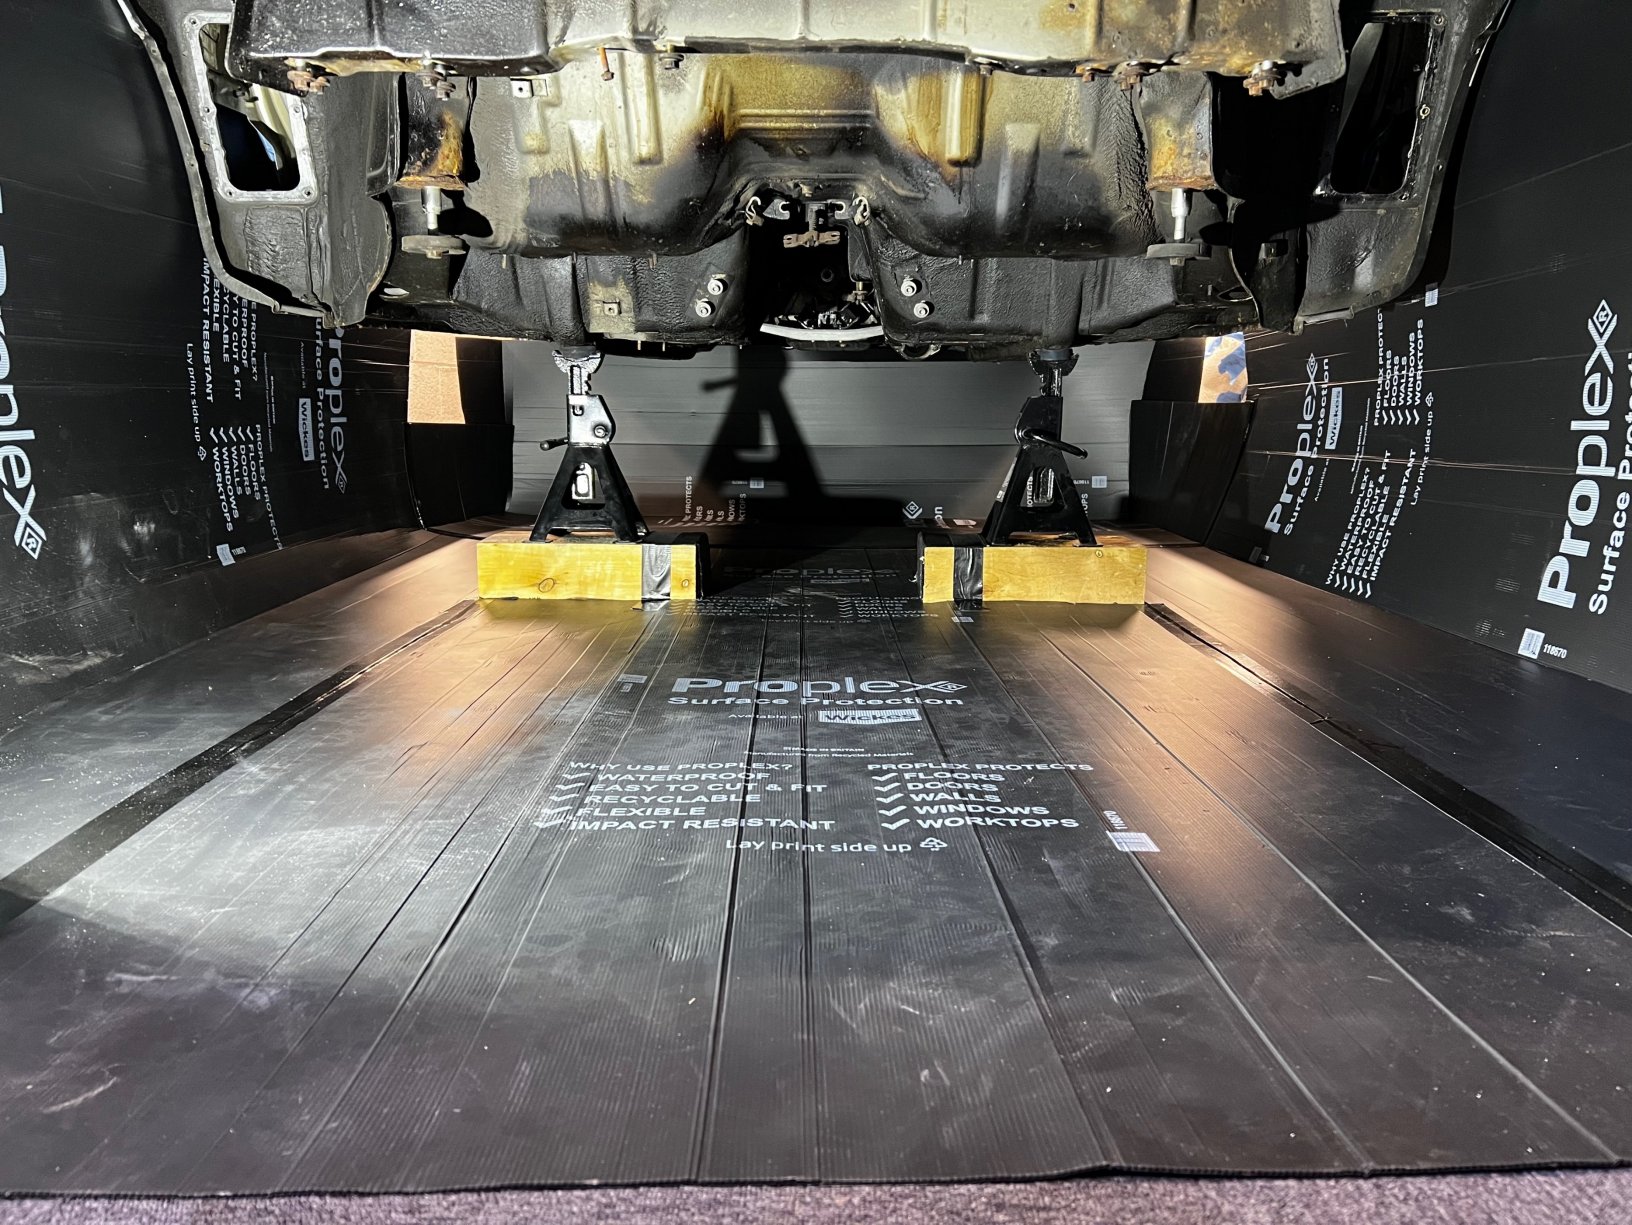
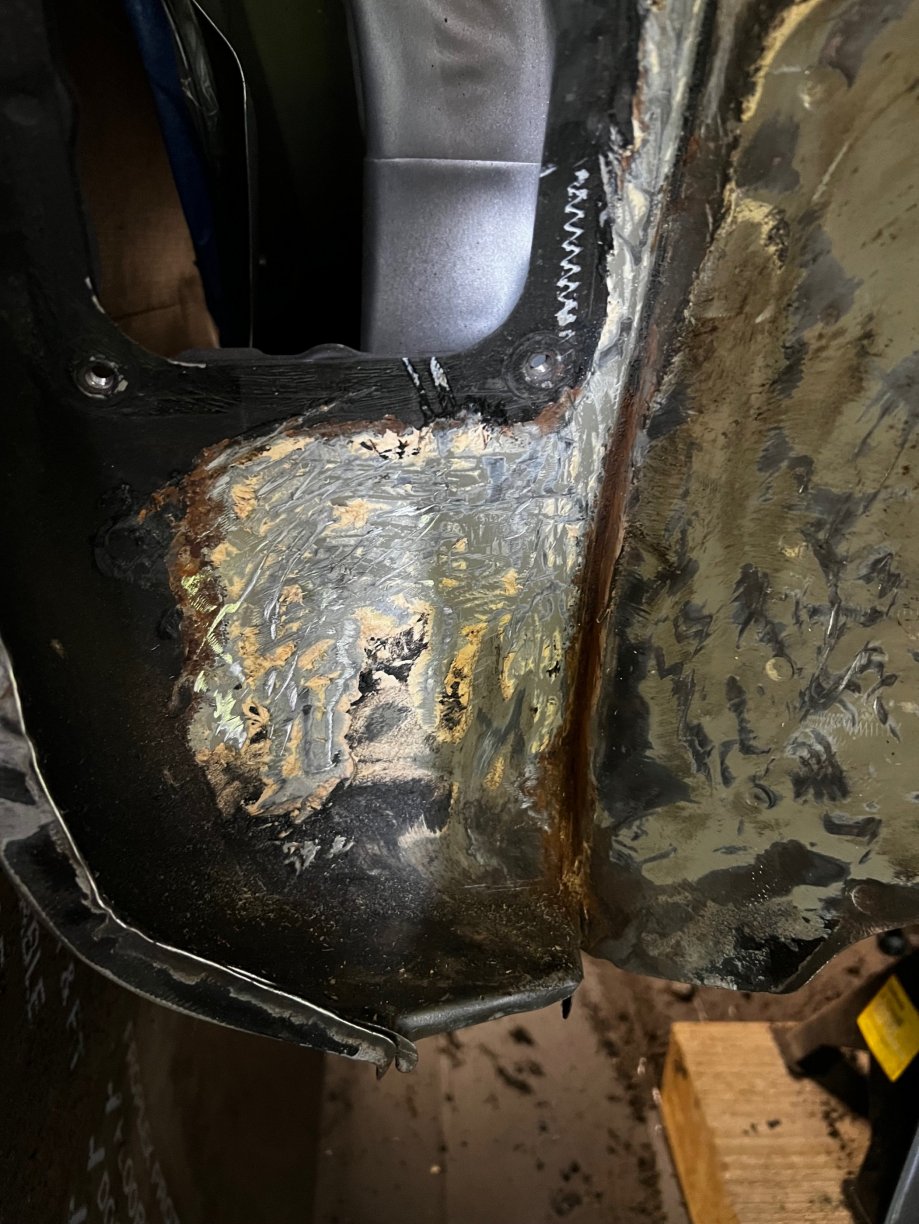
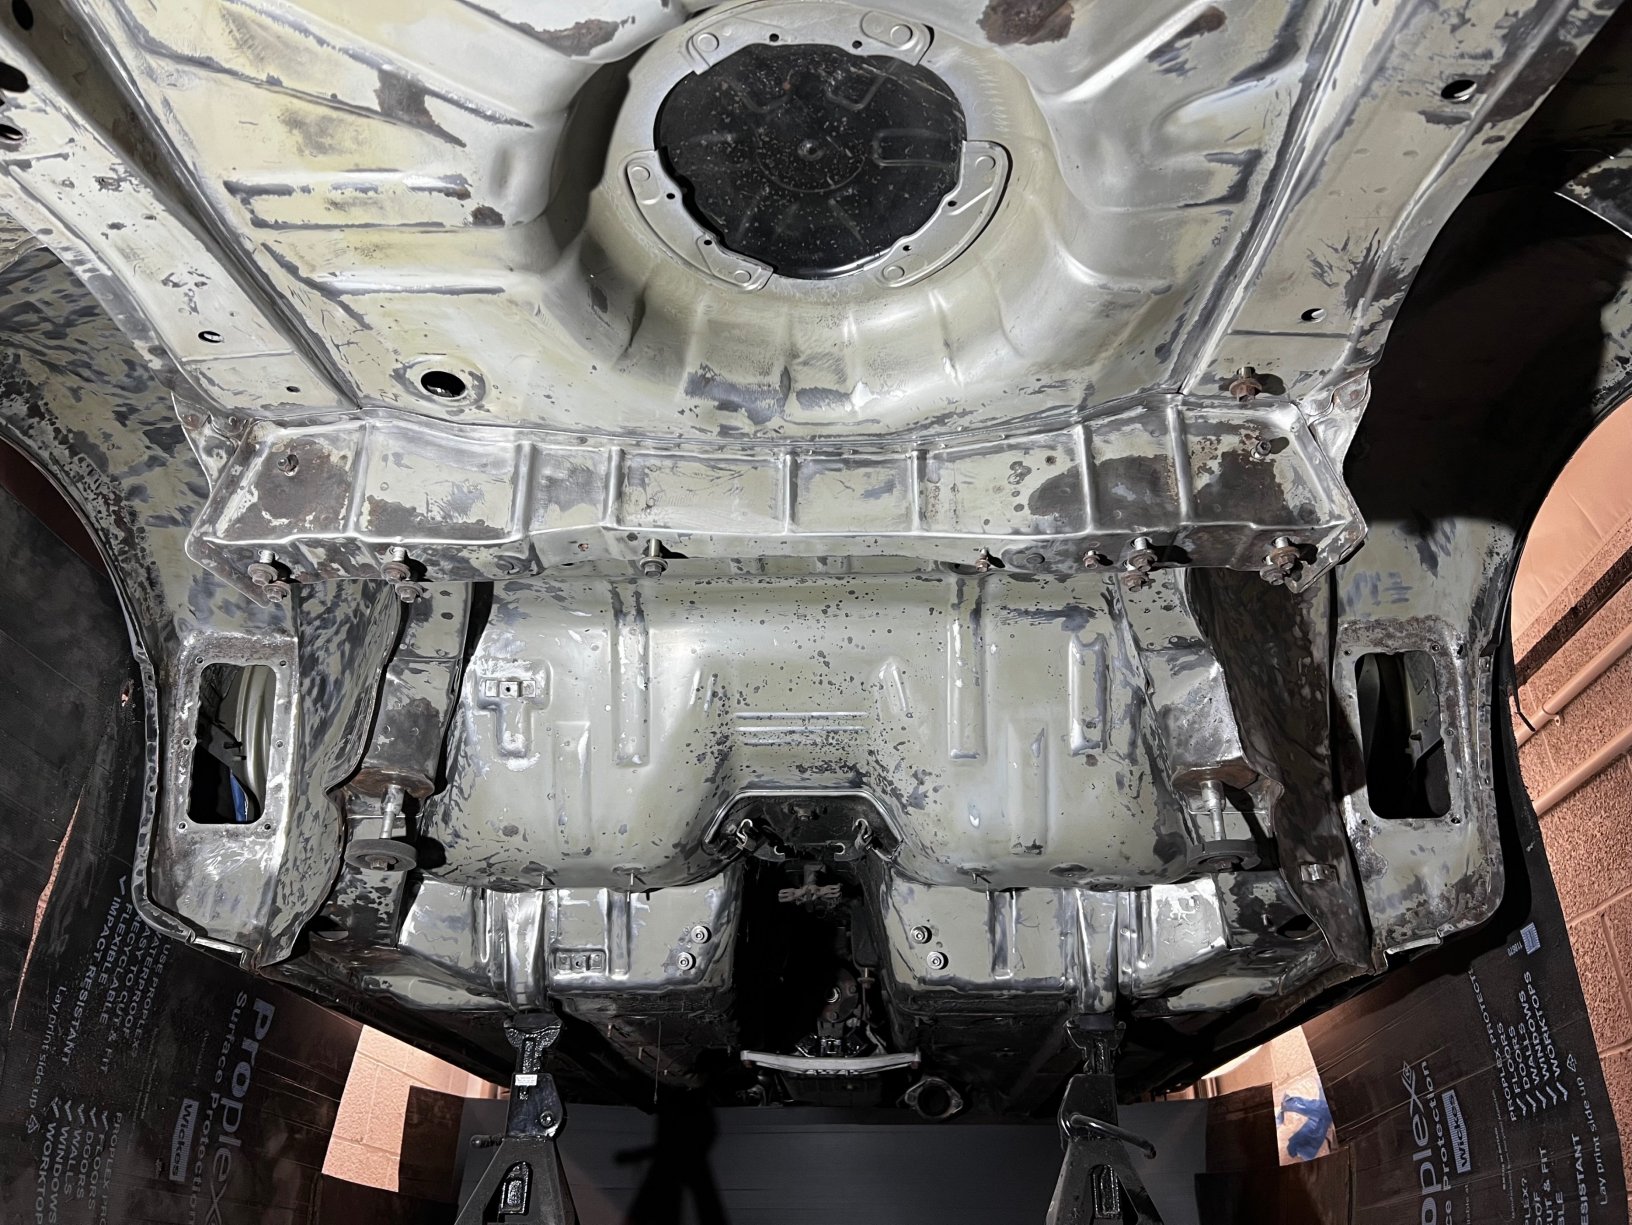
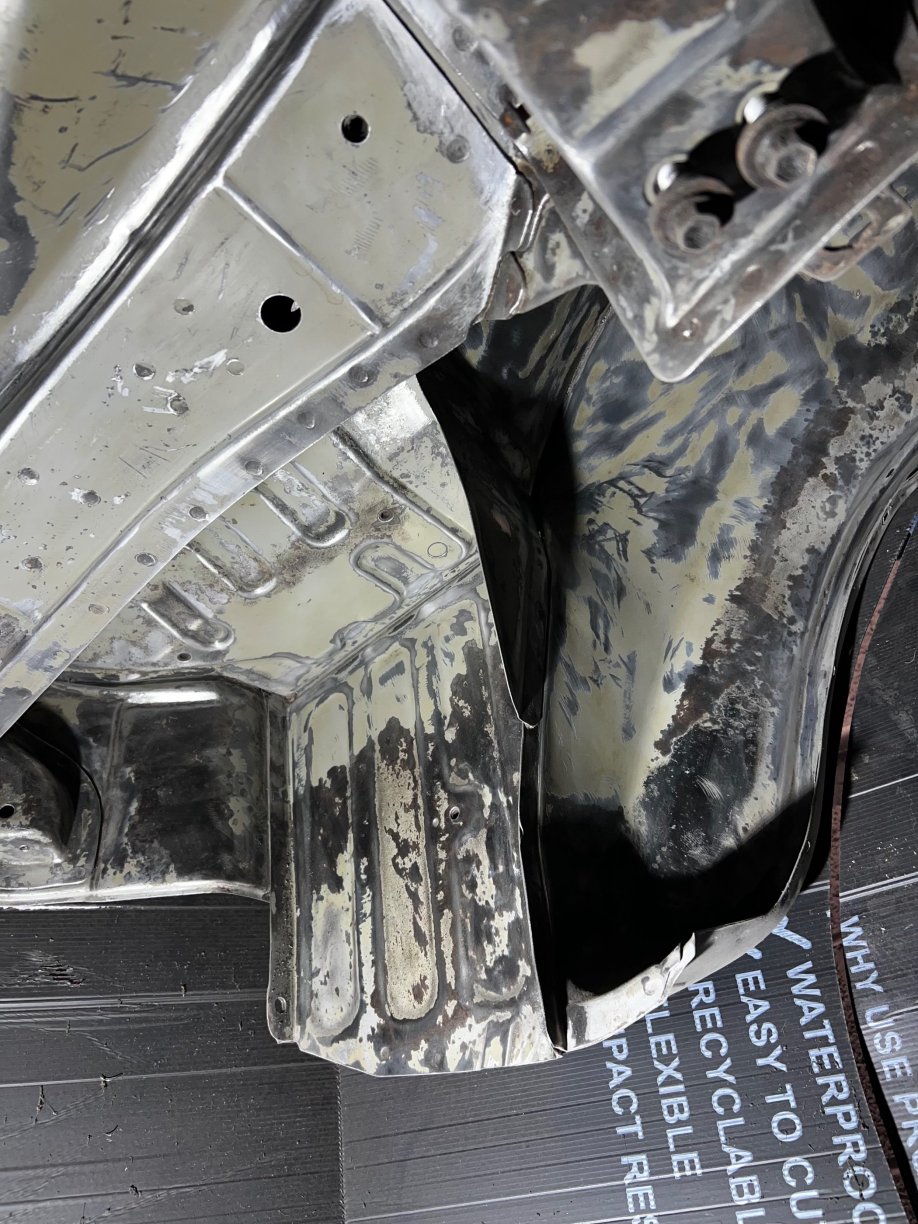
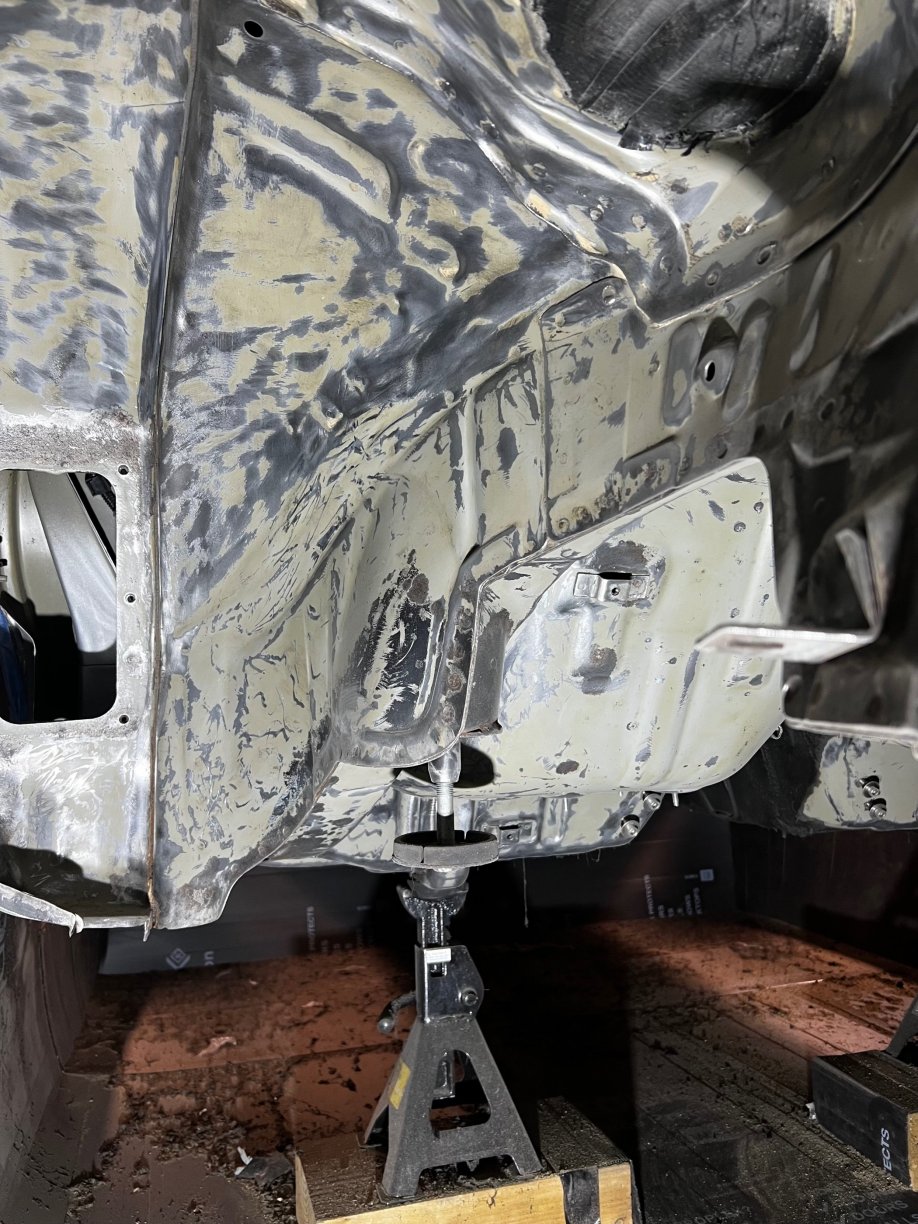
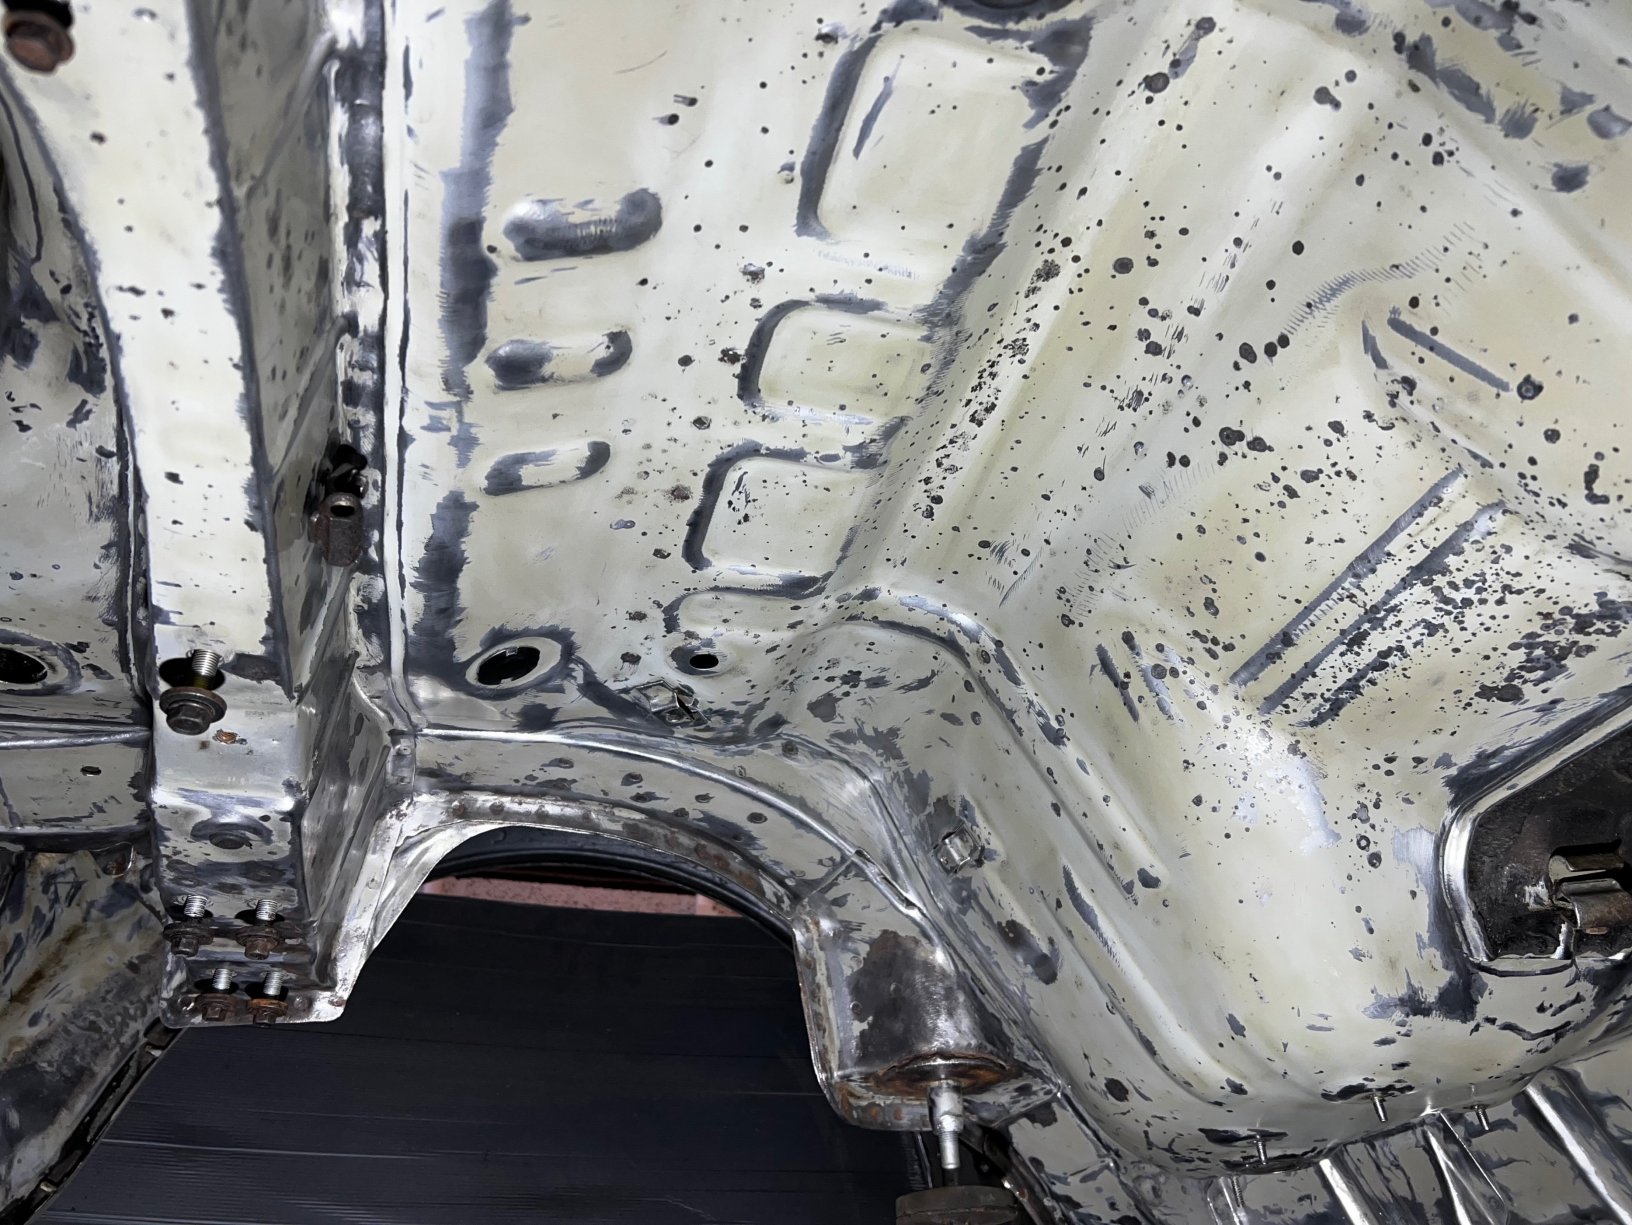
Time come to start with the underseal removal, got the car a little higher and put the correx around to try and keep most of the debris under the car which actually worked pretty well, plus easier to sweep up. Removed all the underseal section by section, the OEM stuff in the wheel arches was the worst it’s on so thick and takes a lot of time getting in to all the areas; also it did highlight surface rust hiding underneath in the same sections on both sides. Nothing major and cleaned up fine but still glad I took it all off as I was second guessing it half way through as it’s a horrible and painful job! This is where I am currently over the last 3 days, around 5-6 hours per day. Will go back over everything at a later stage once I’ve completed getting the underseal off up to the front.
-
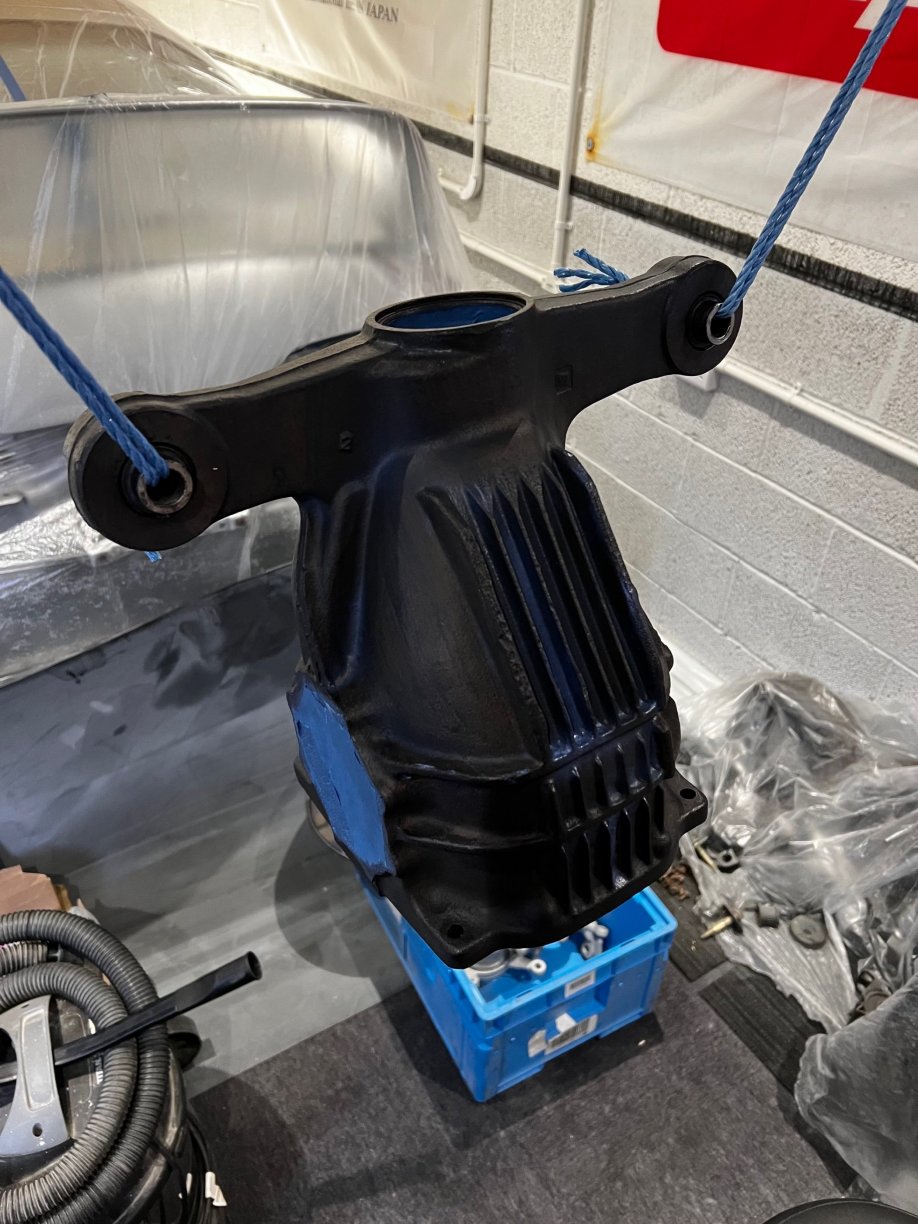
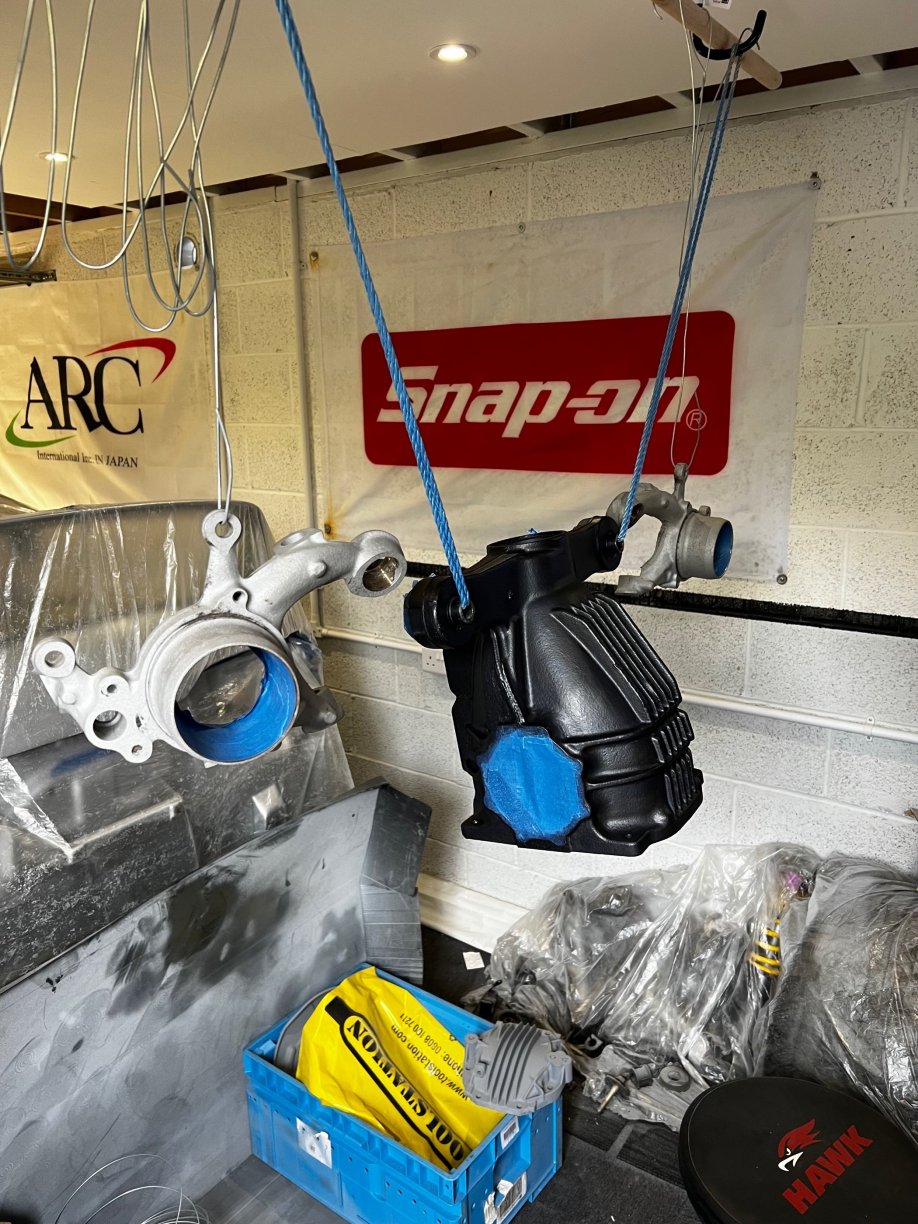
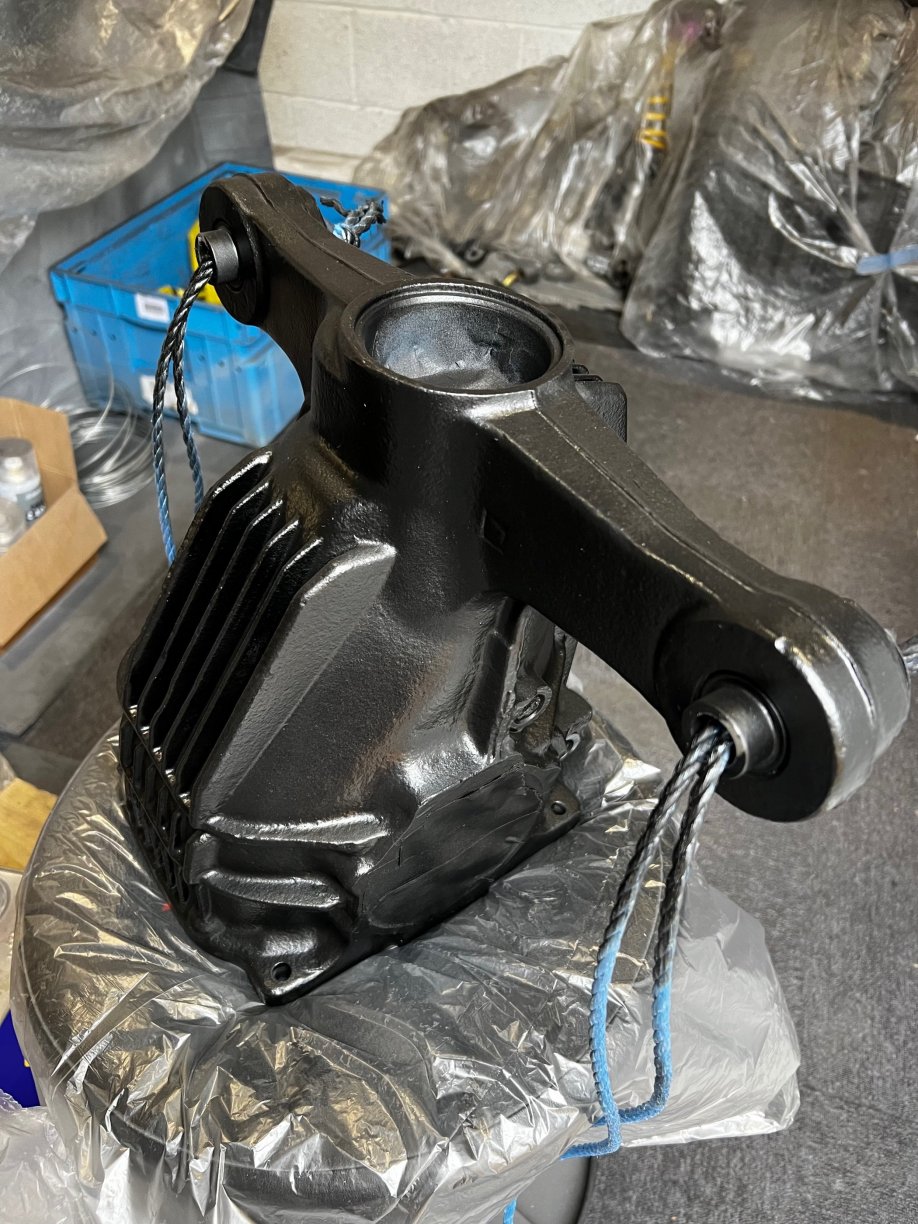
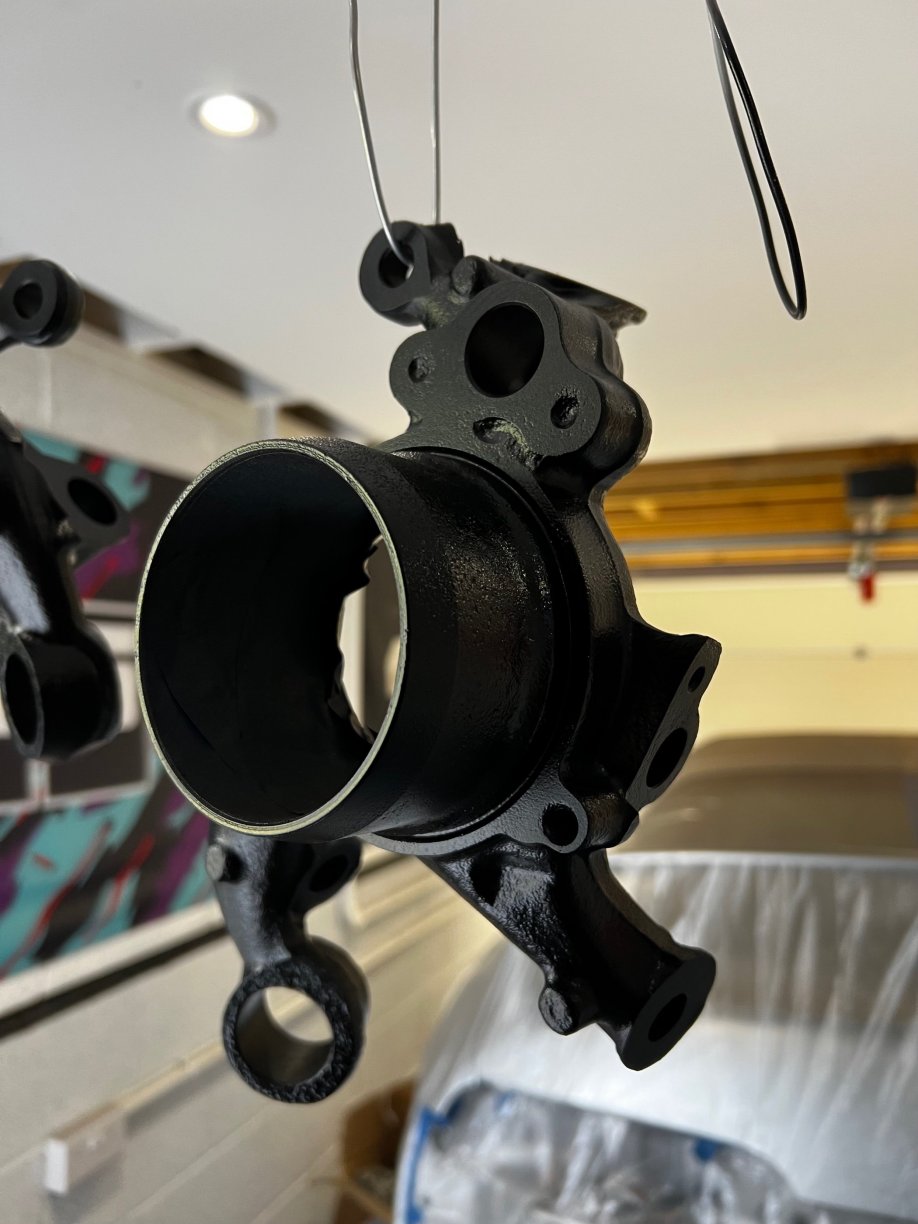
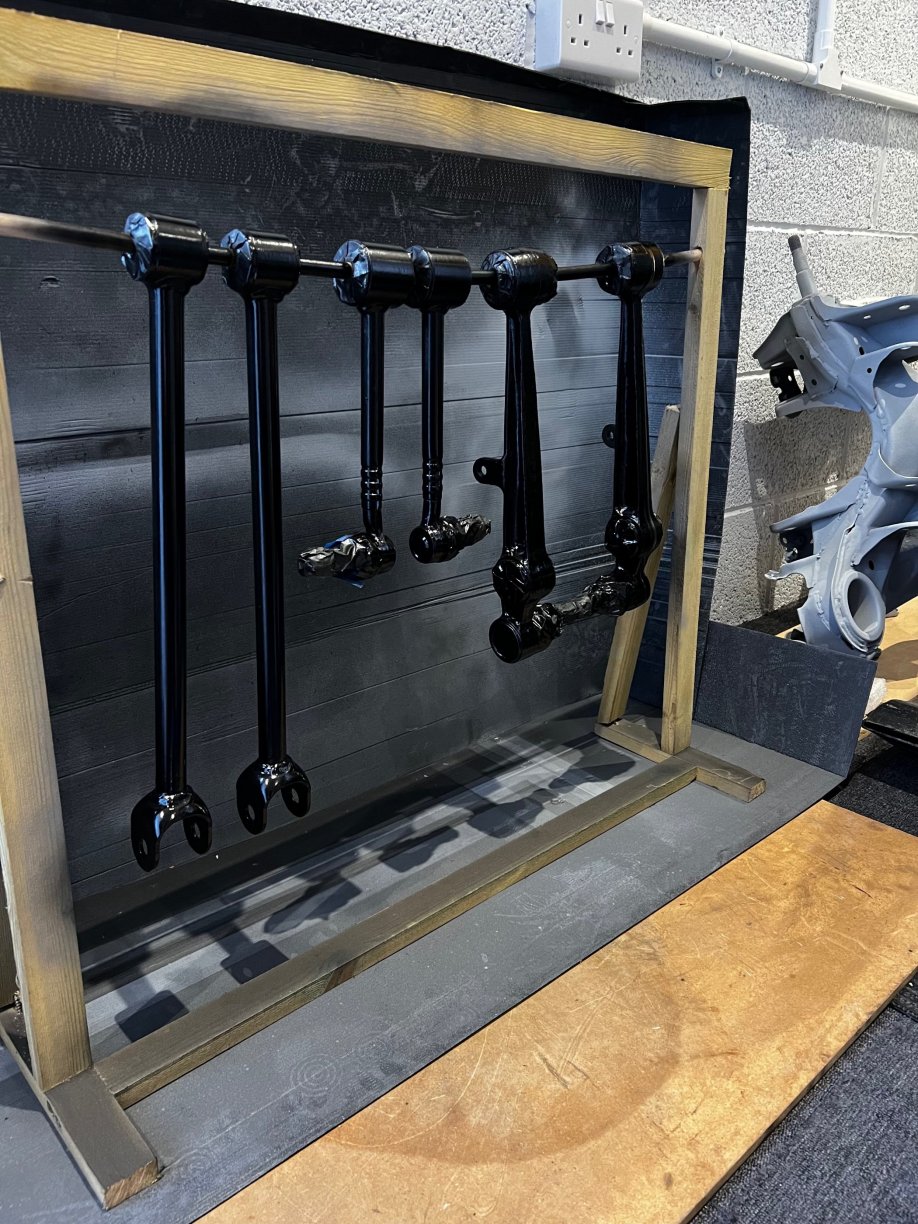
On to the Clearcoat… Happy how the turned out and was worth the effort in the end. Im going to give all the parts at least a week before wrapping up to store away so I can sort out the garage for starting the underside. Bought some Correx to put around the car as I know it’s going to be one messy job ahead!
-
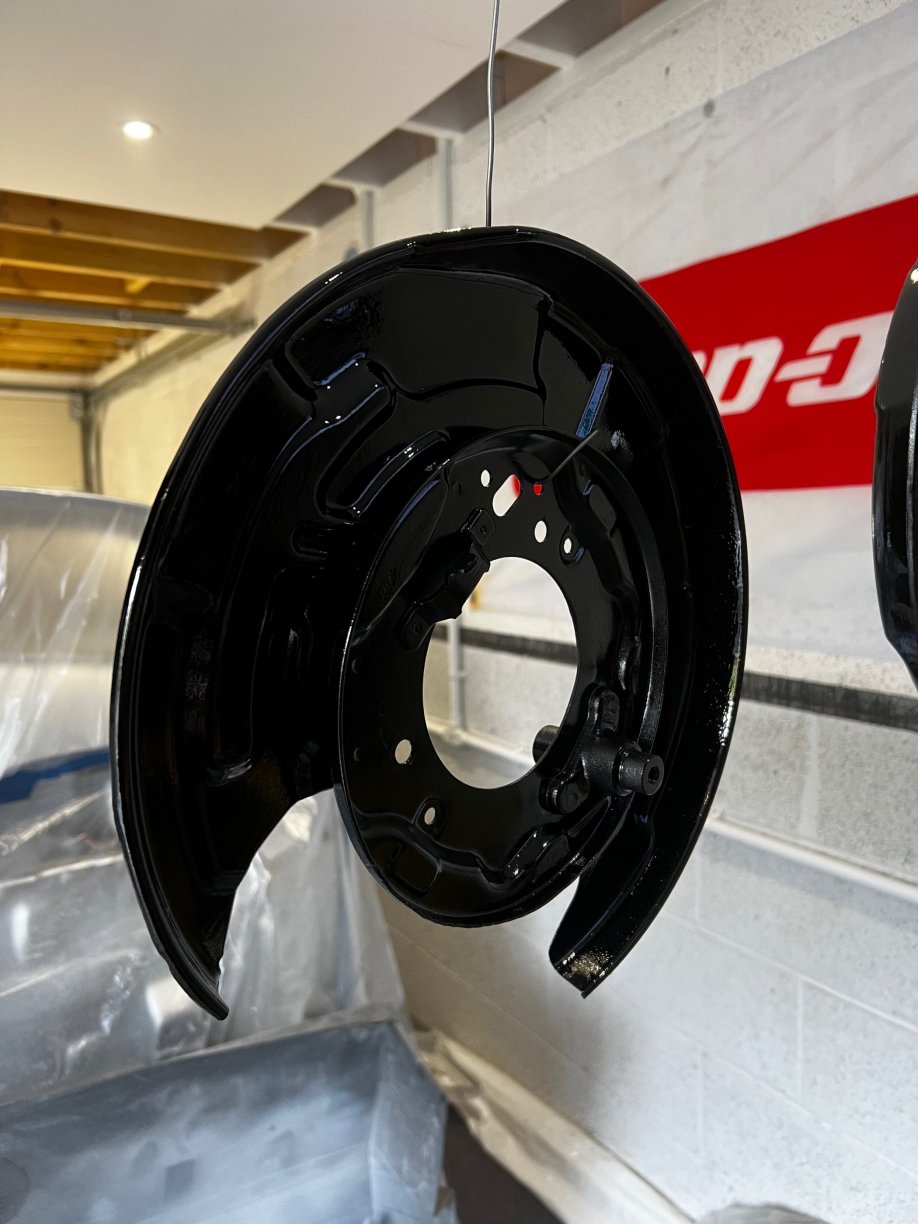
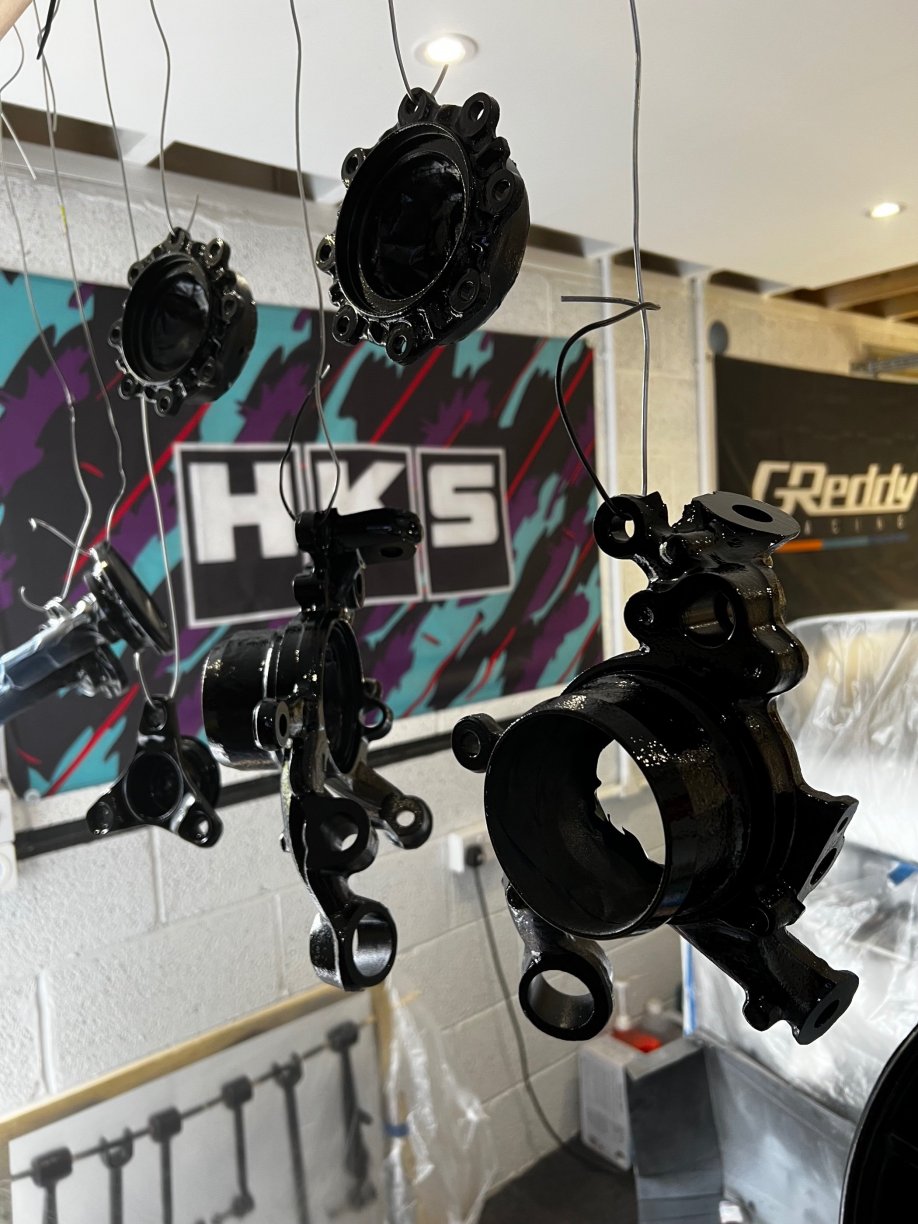
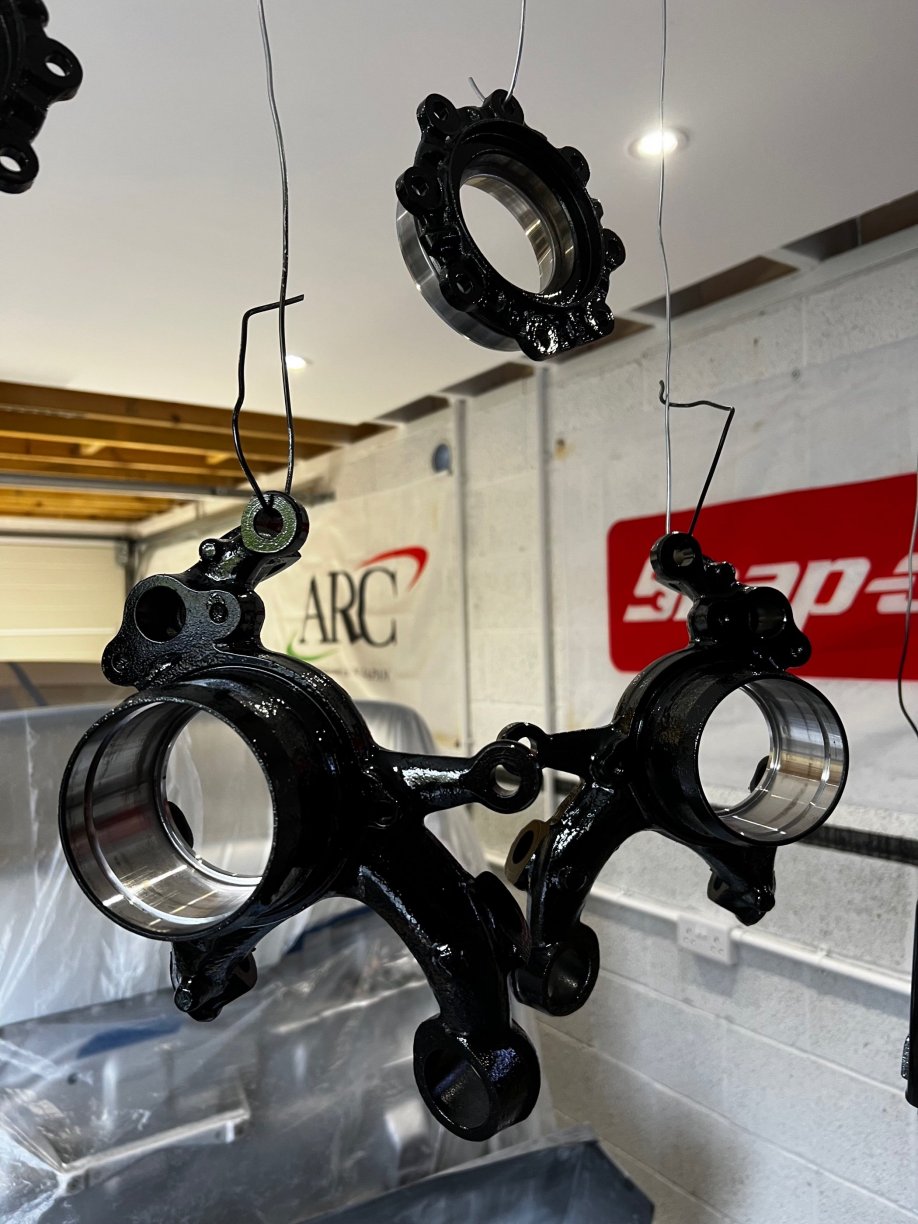
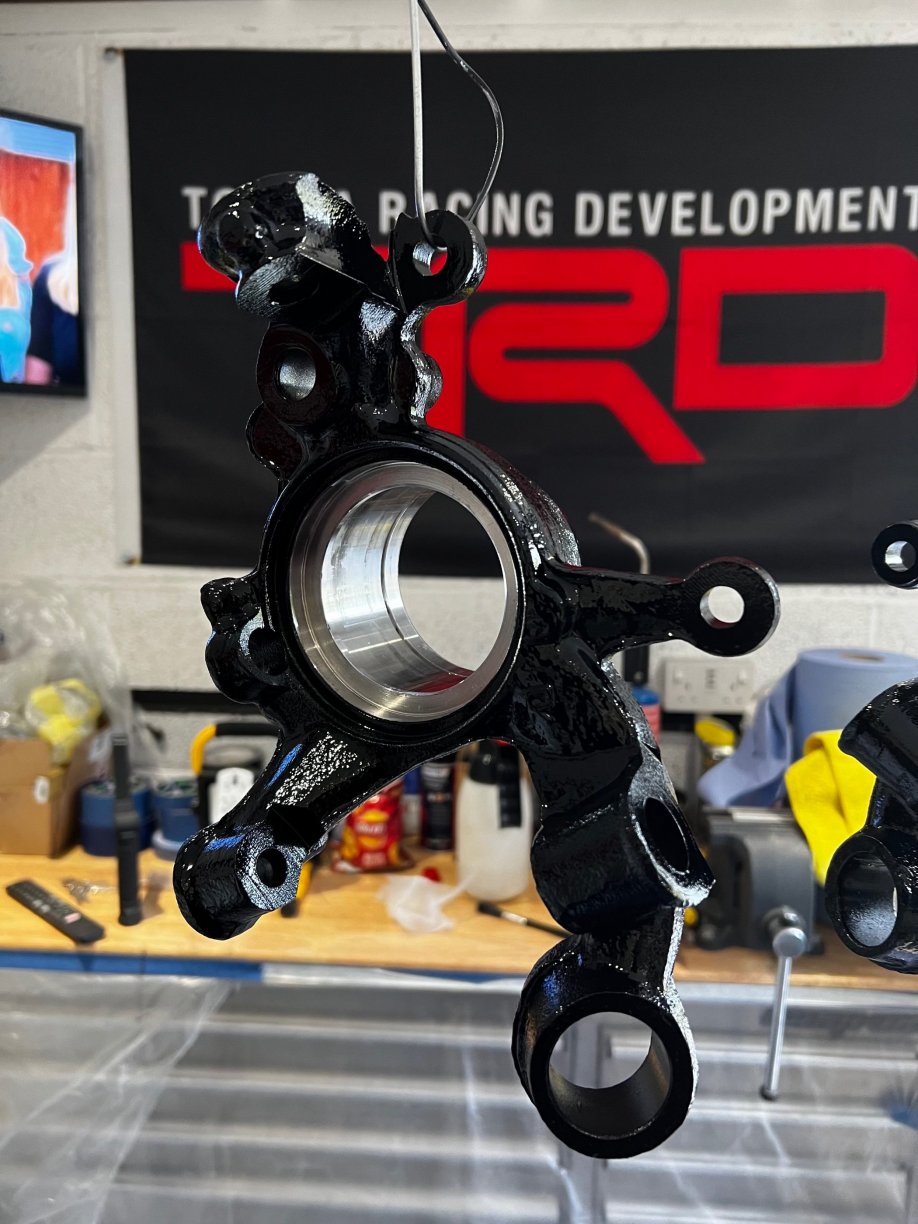
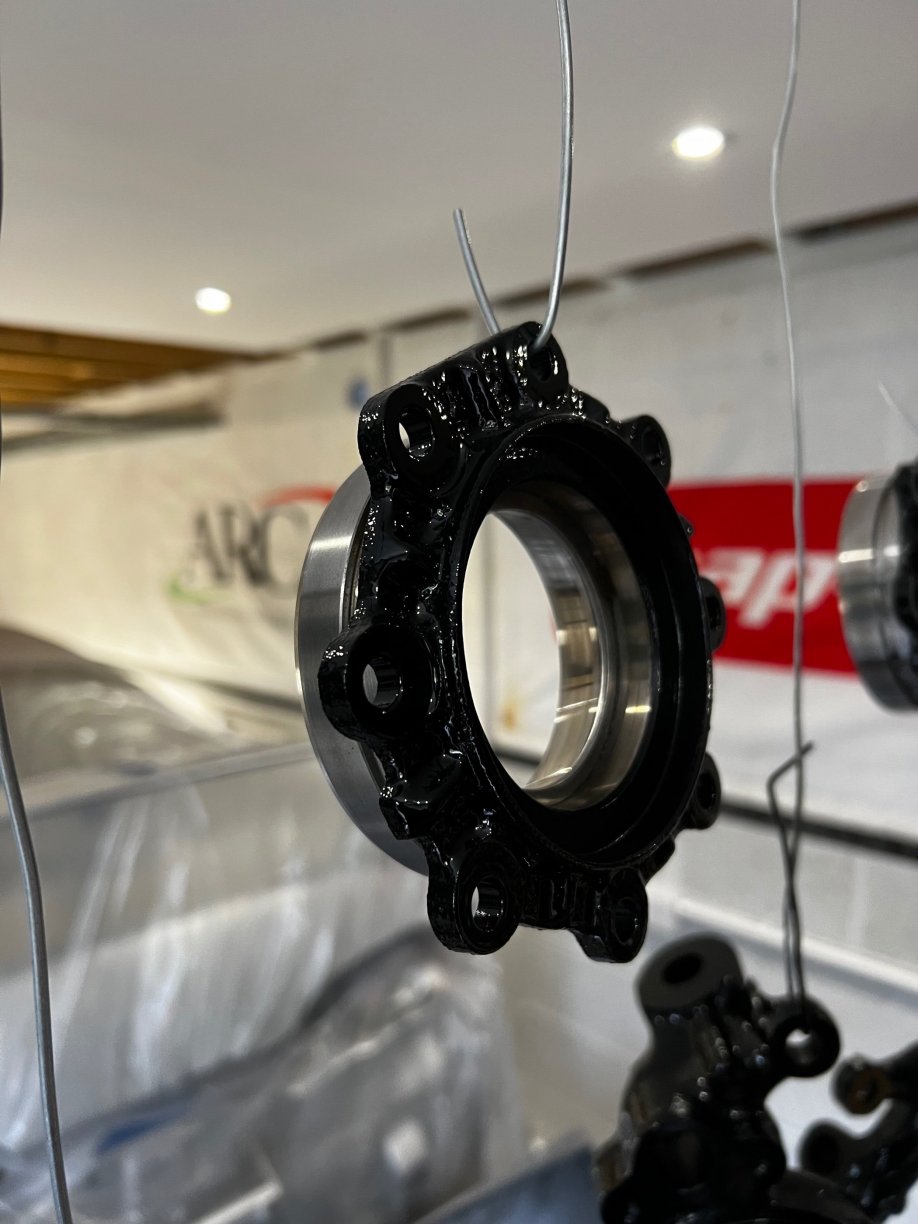
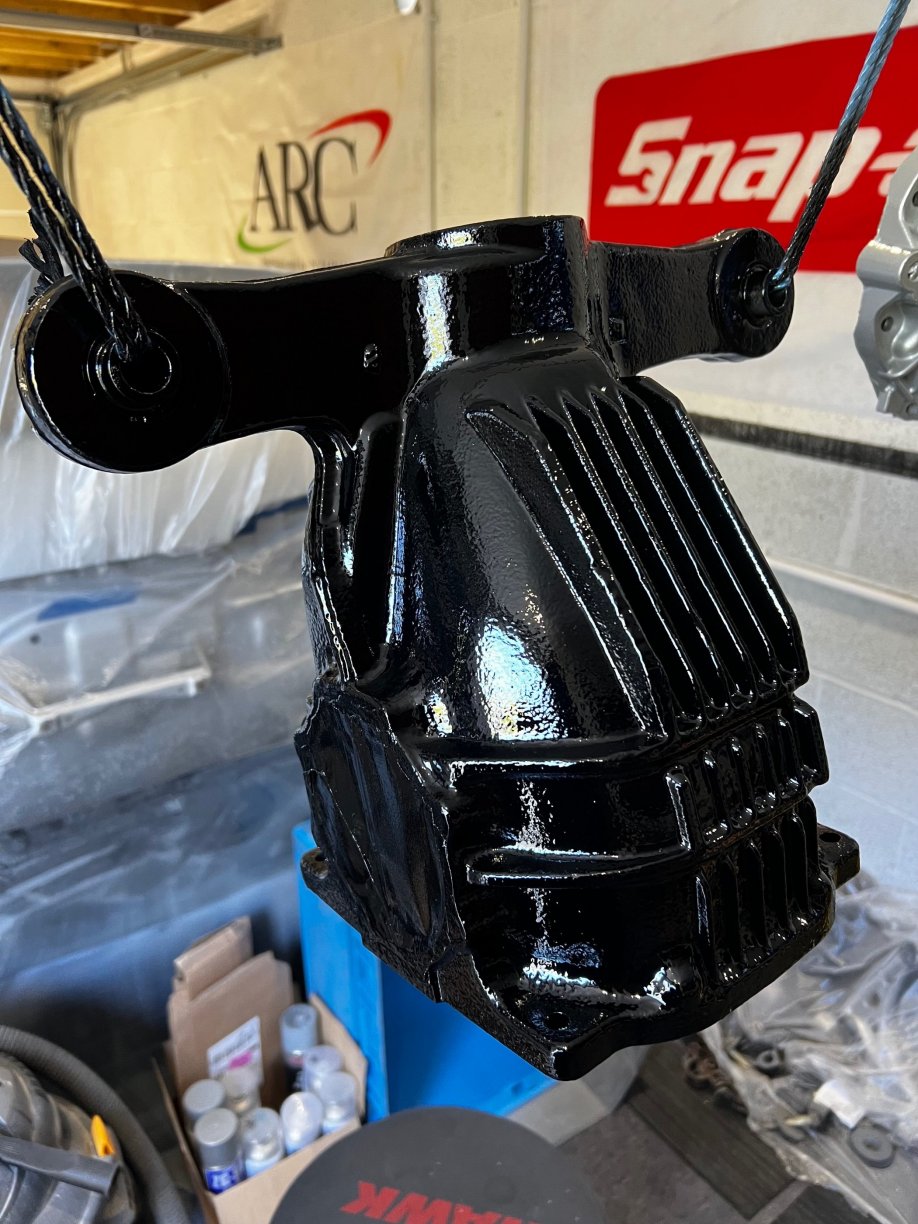
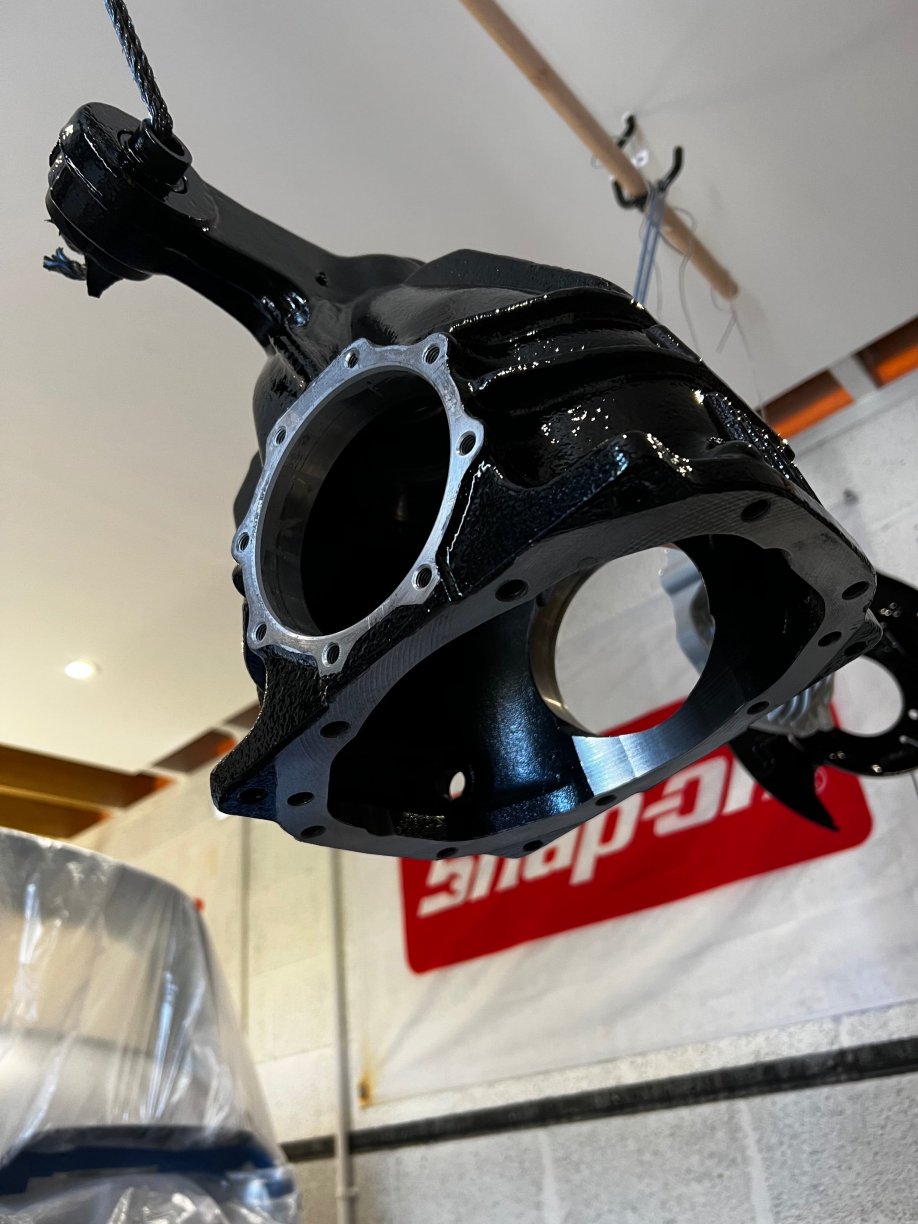
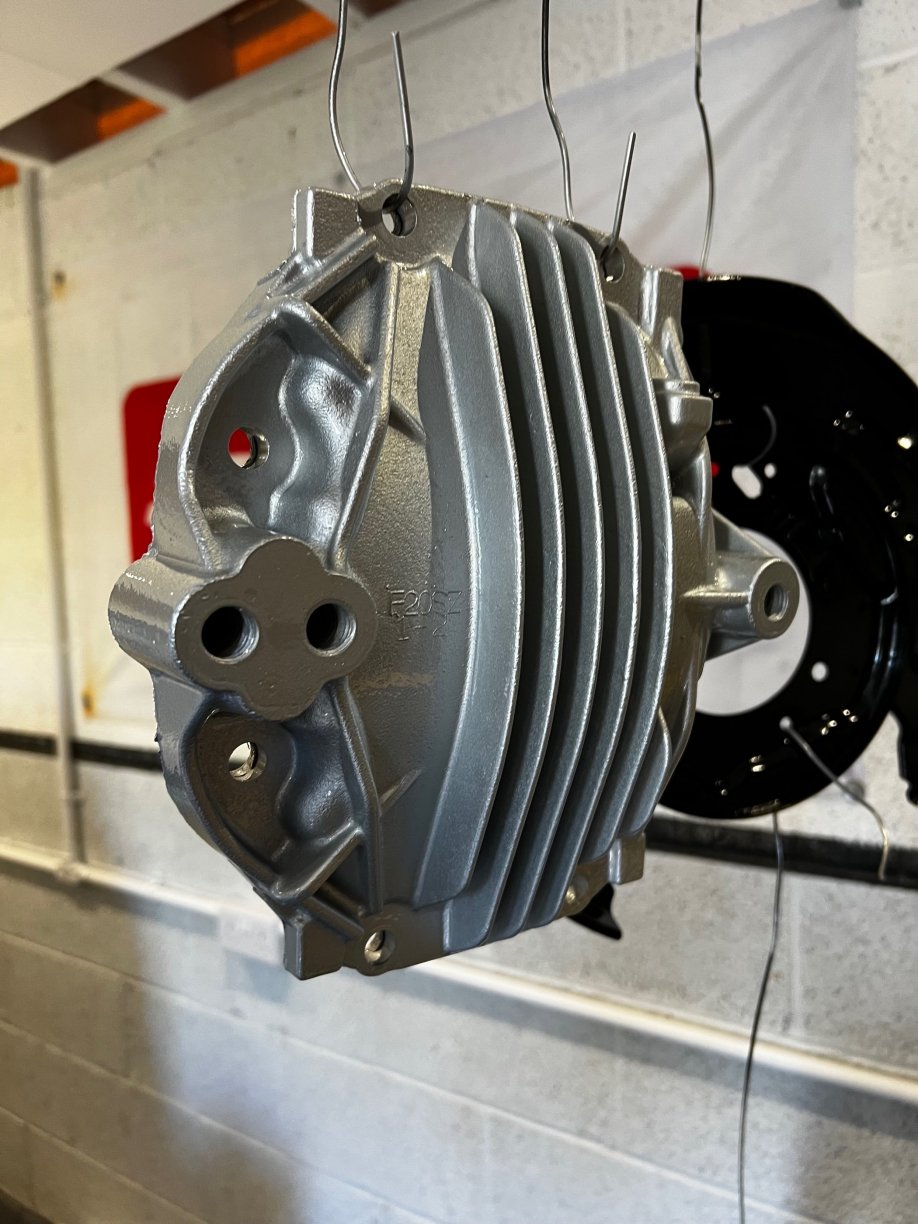
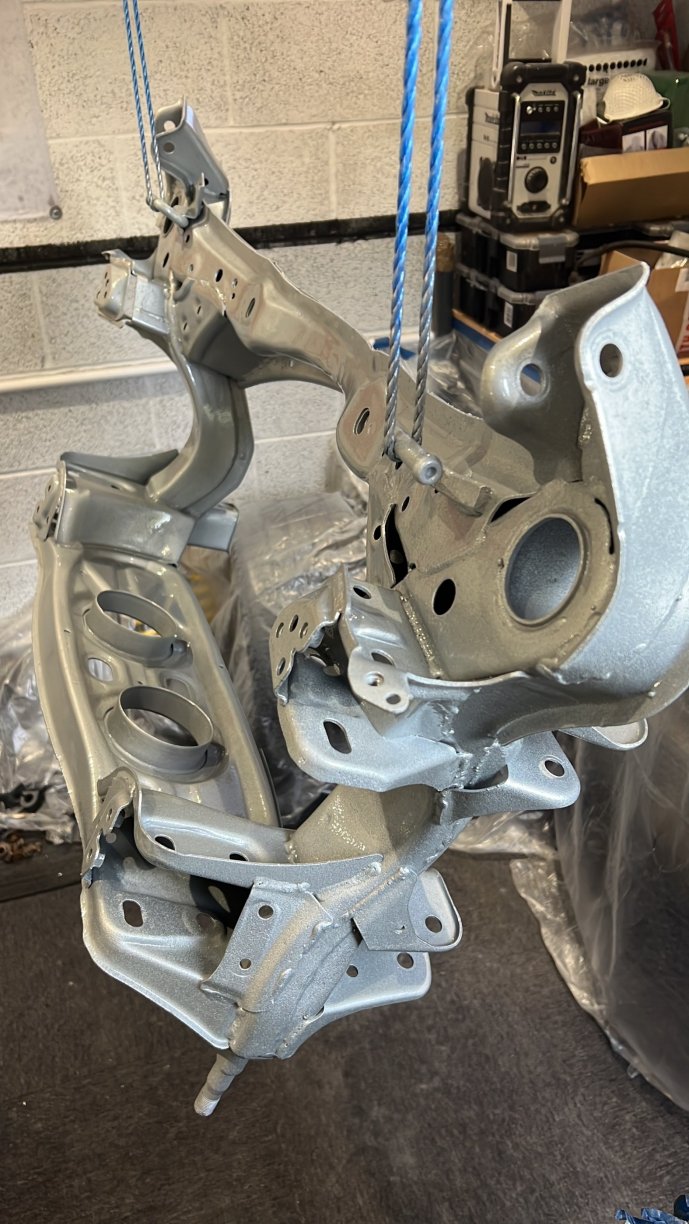
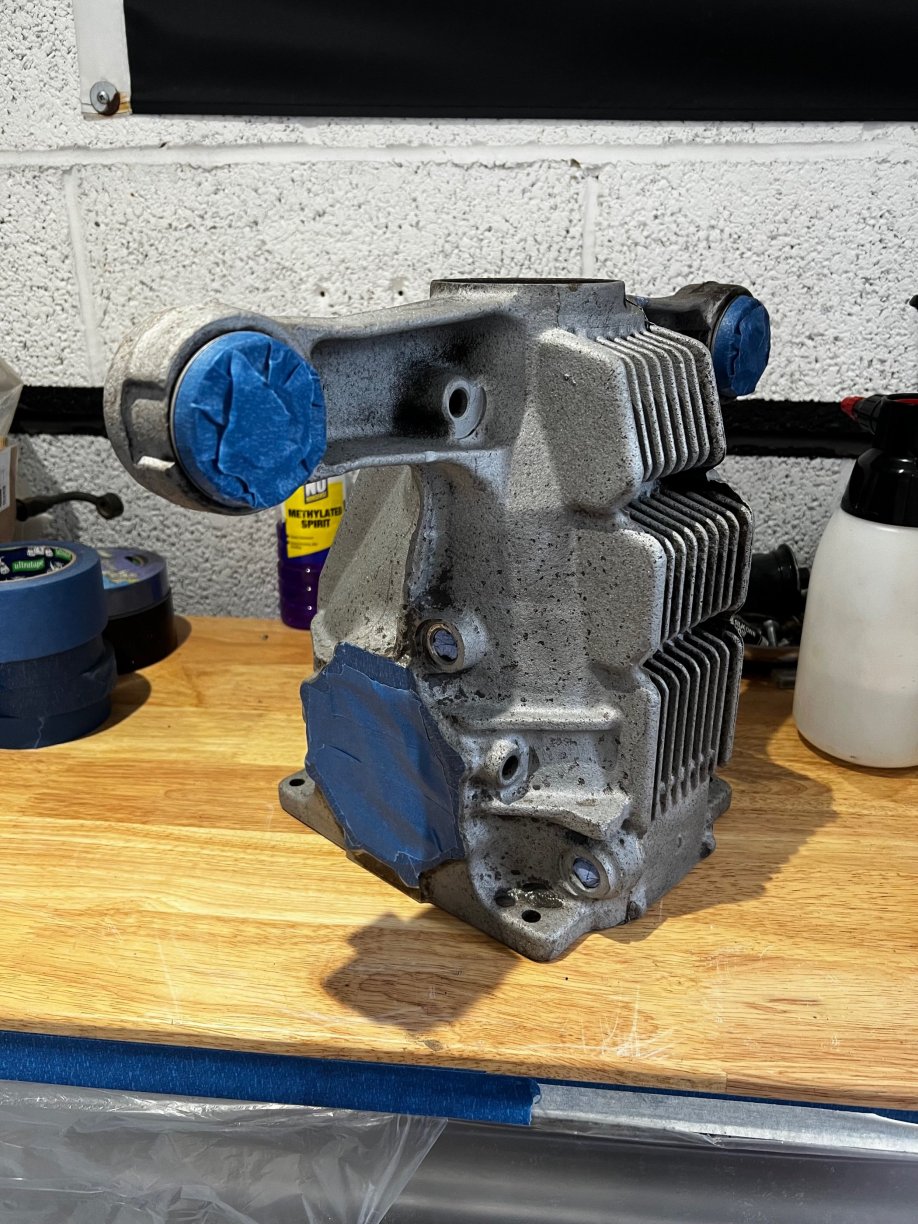
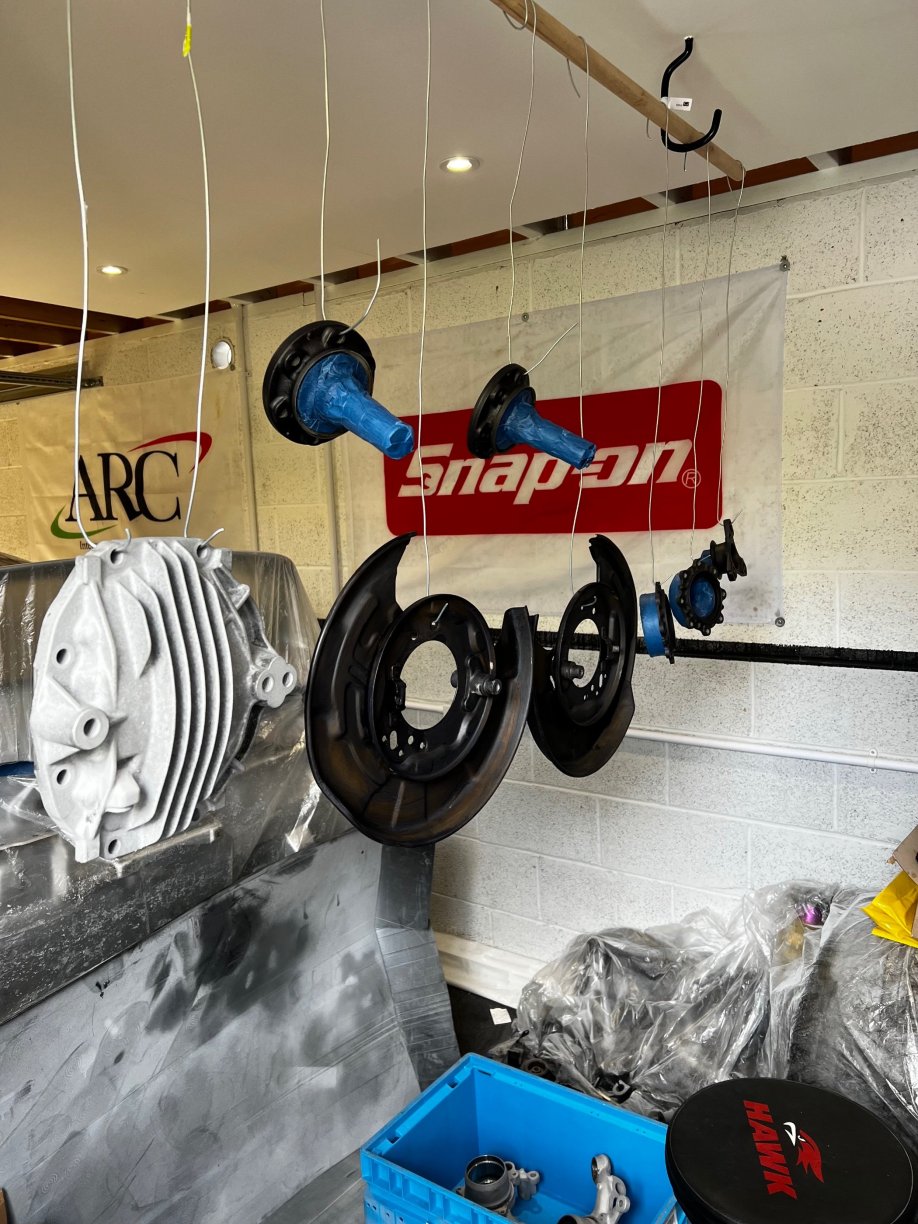
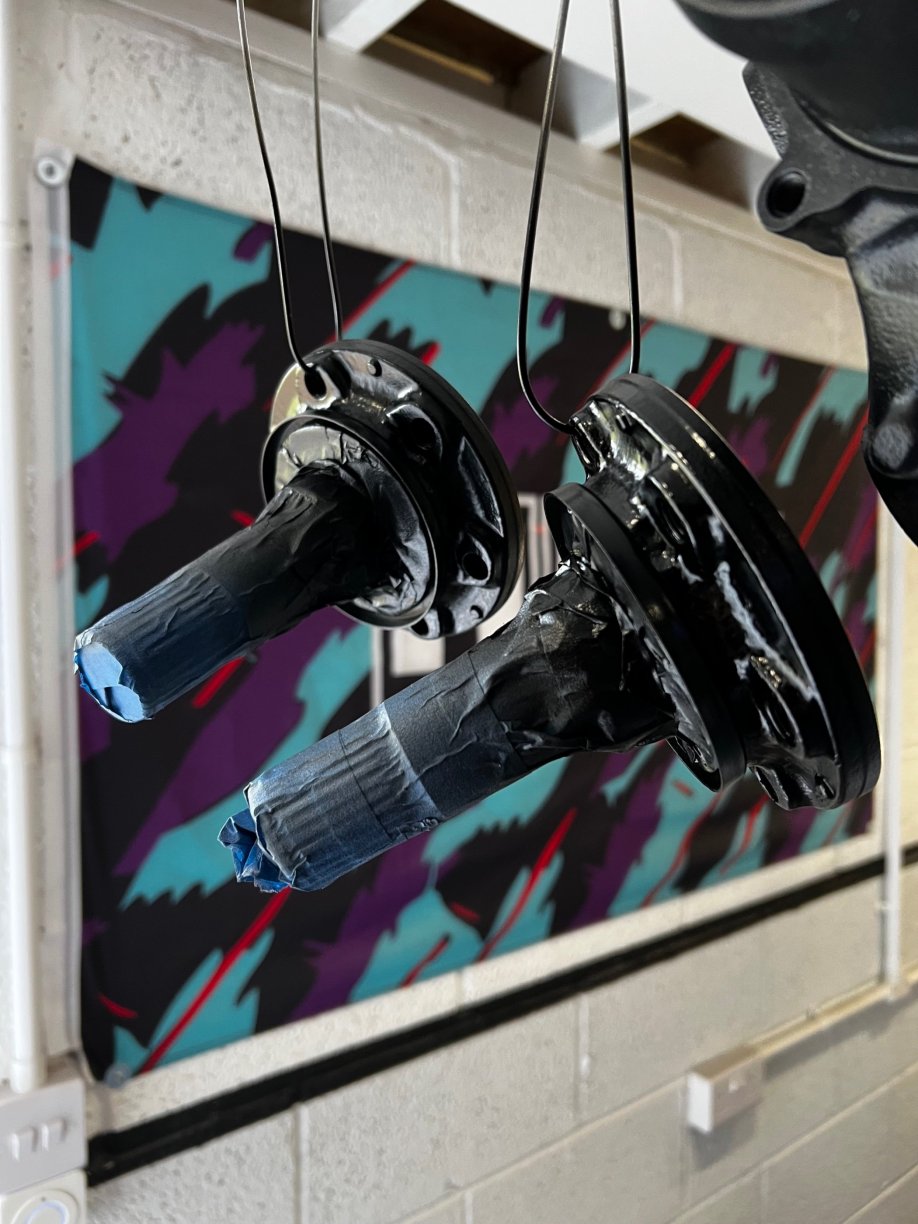
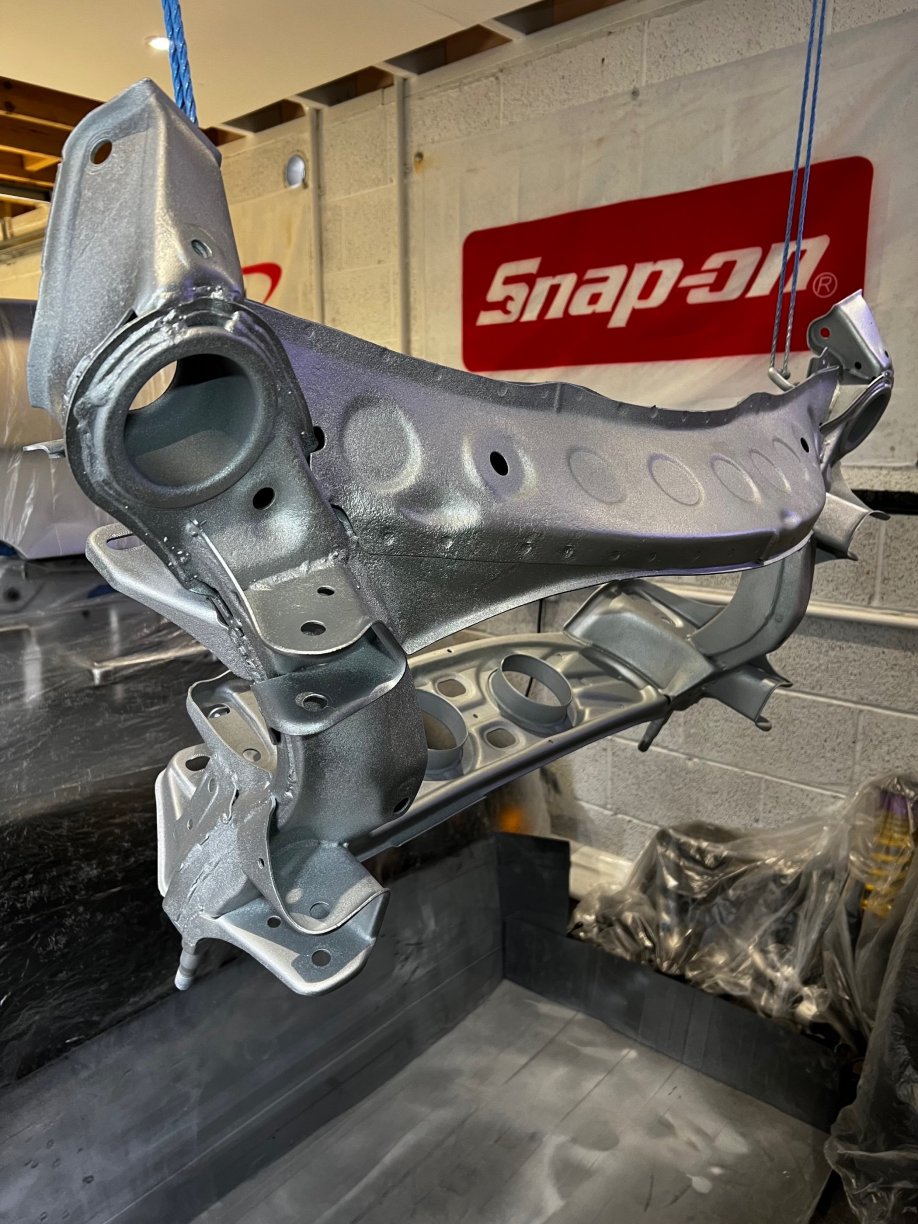
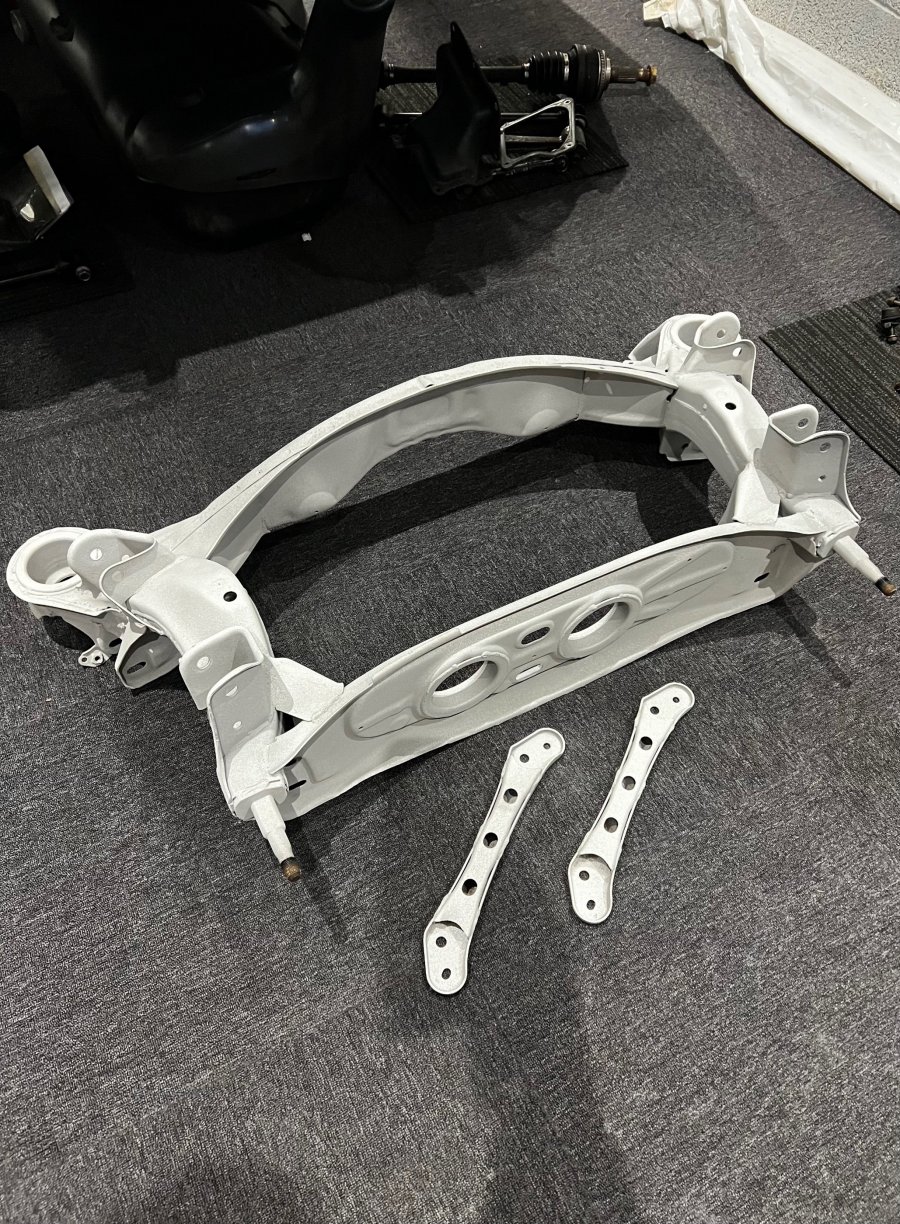
Got the diff parts, brake shields and hubs back from blasting which came up pretty well. Cracked on with getting all the bits painted including the Rear Subframe, still unsure about if 199 silver was the correct choice for the Subframe but it’s done now! Items used as below:- Bilt Hamber Hydrate 80. Etch Primer. 2k Black basecoat. 2k 199 Silver basecoat. 2k Spray Max Clear. Taking the time with the masking paid off, this Low Tack tape from Toolstation works really well and doesn’t lift at all. After leaving all parts for a couple of days it was time to crack on the the basecoat.


-
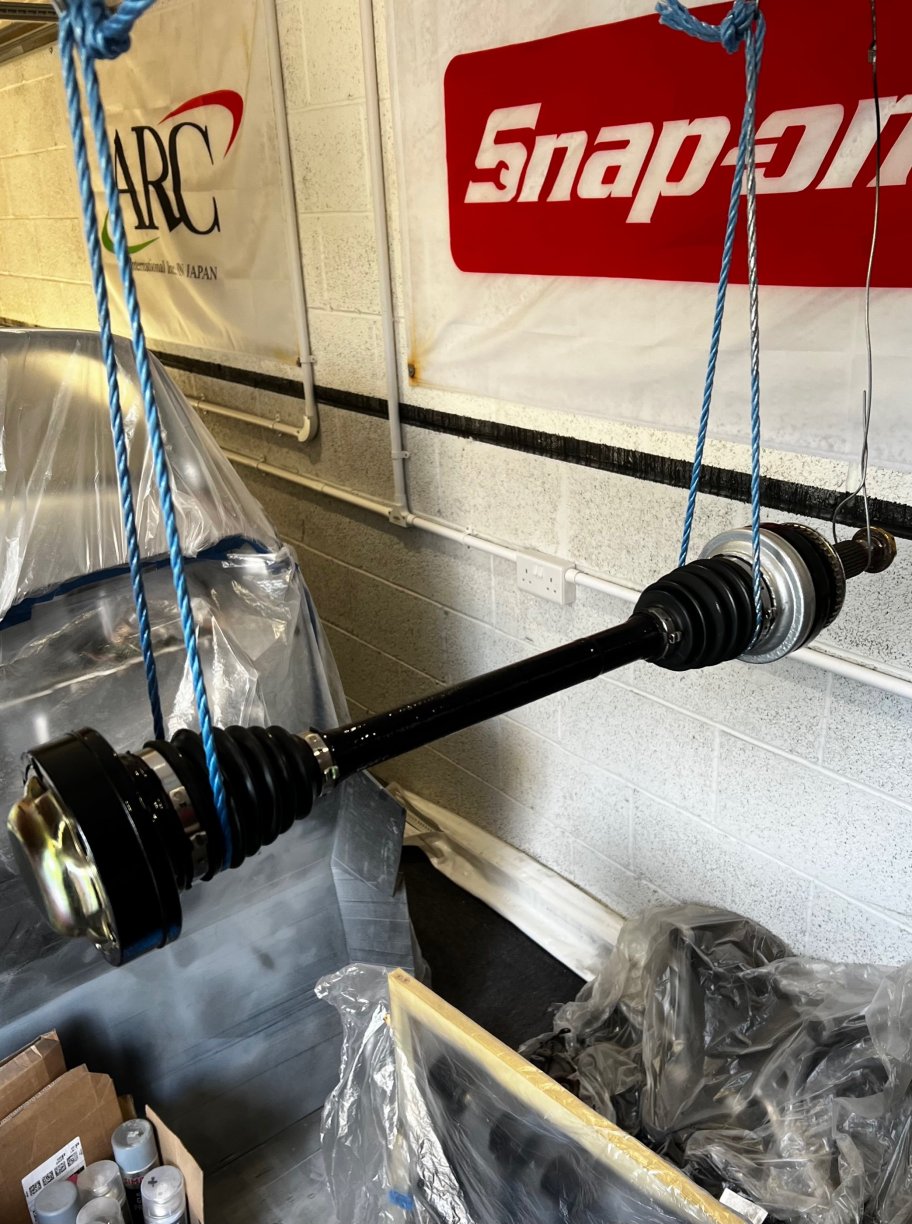
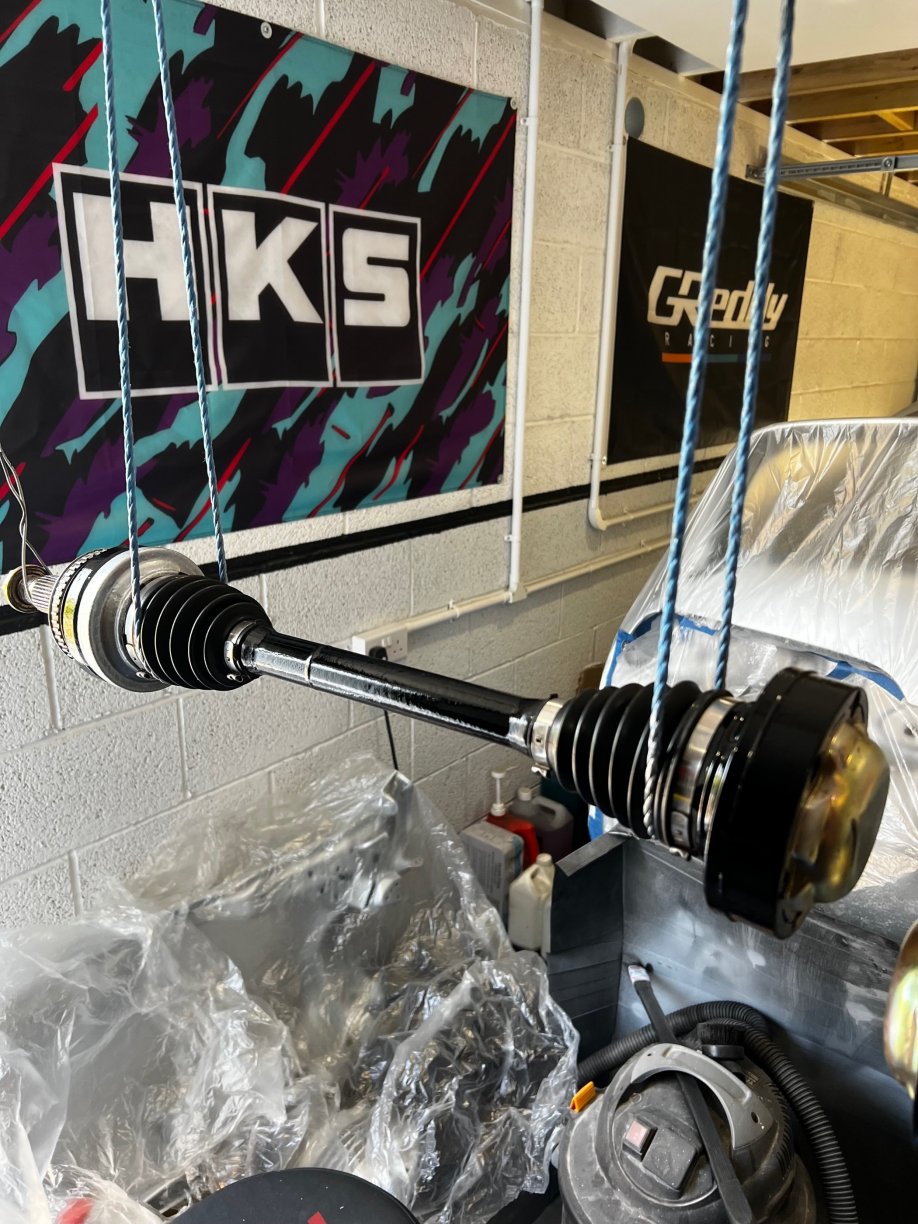
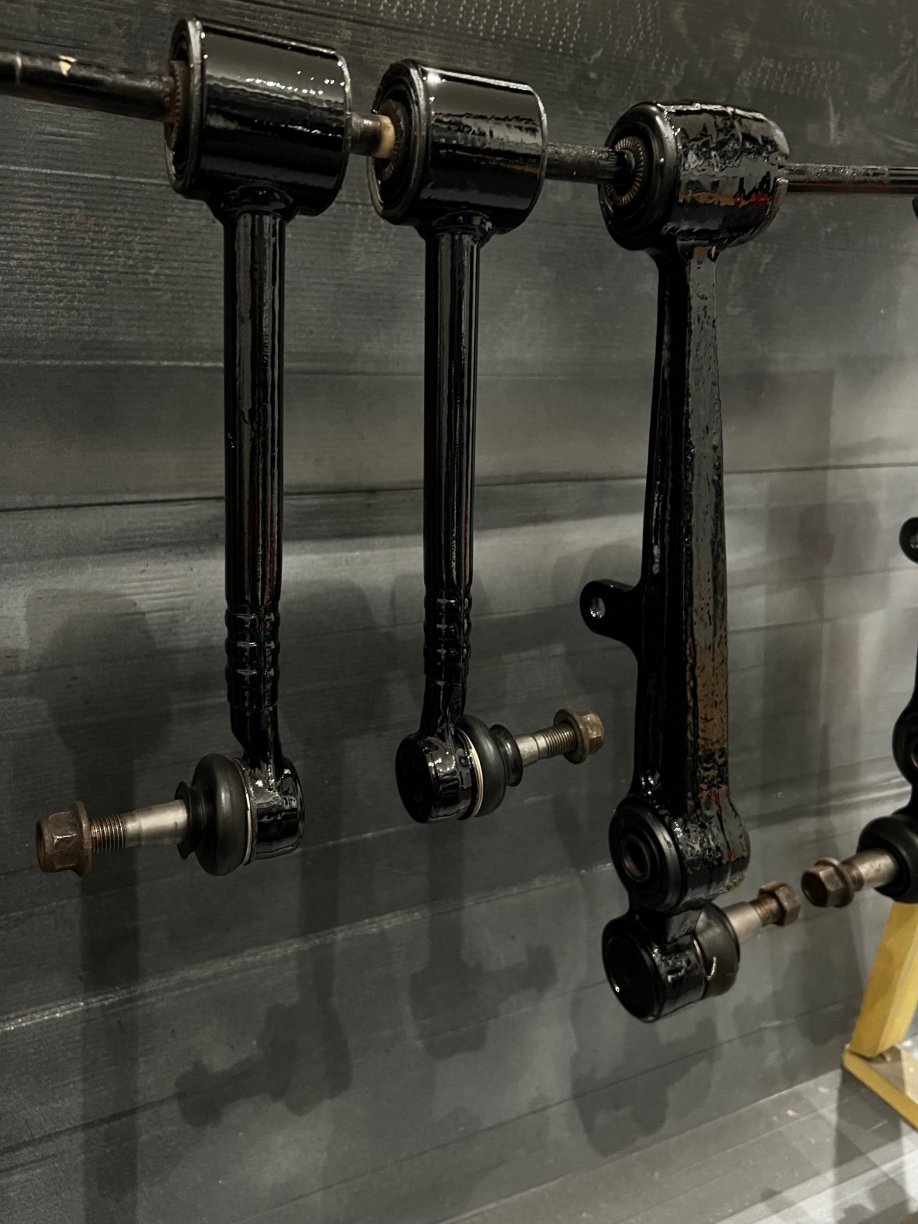
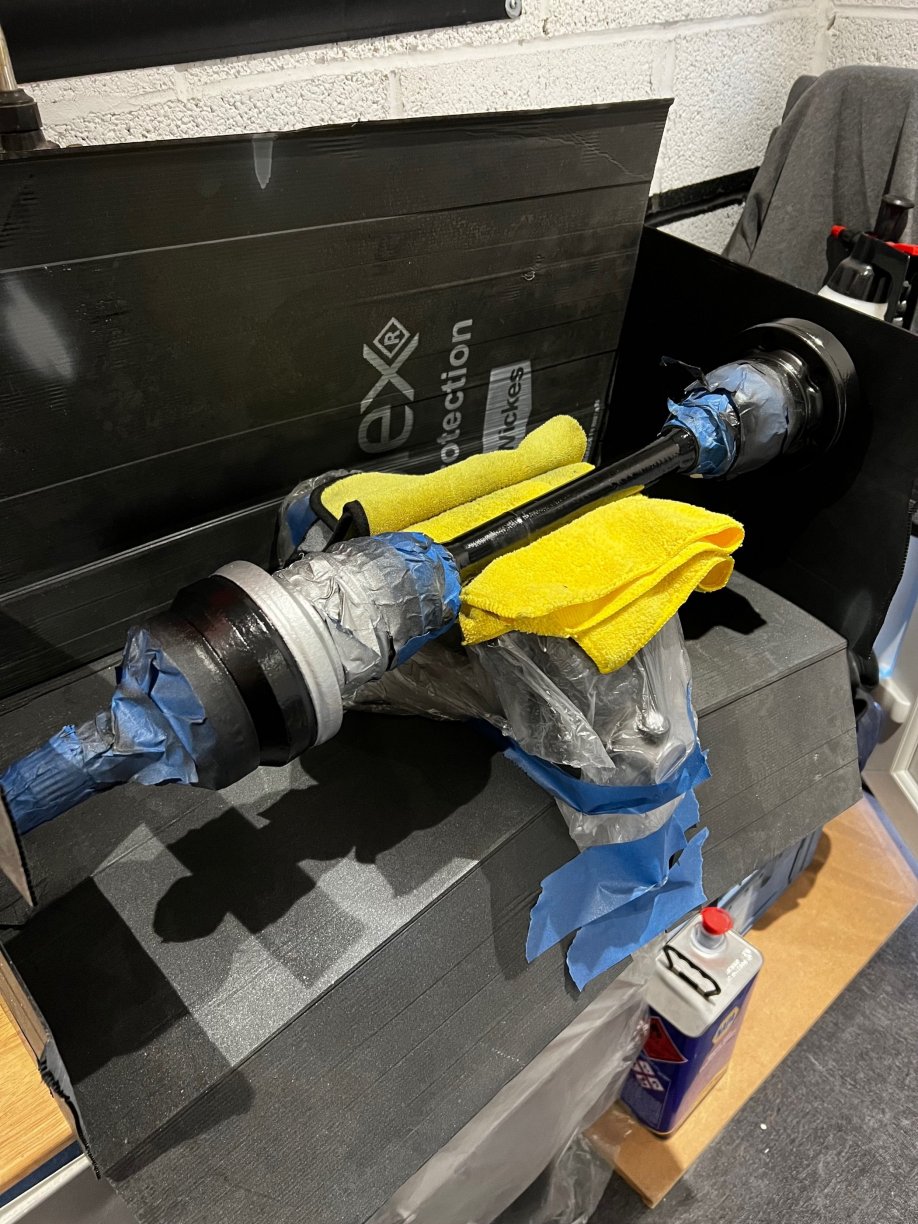
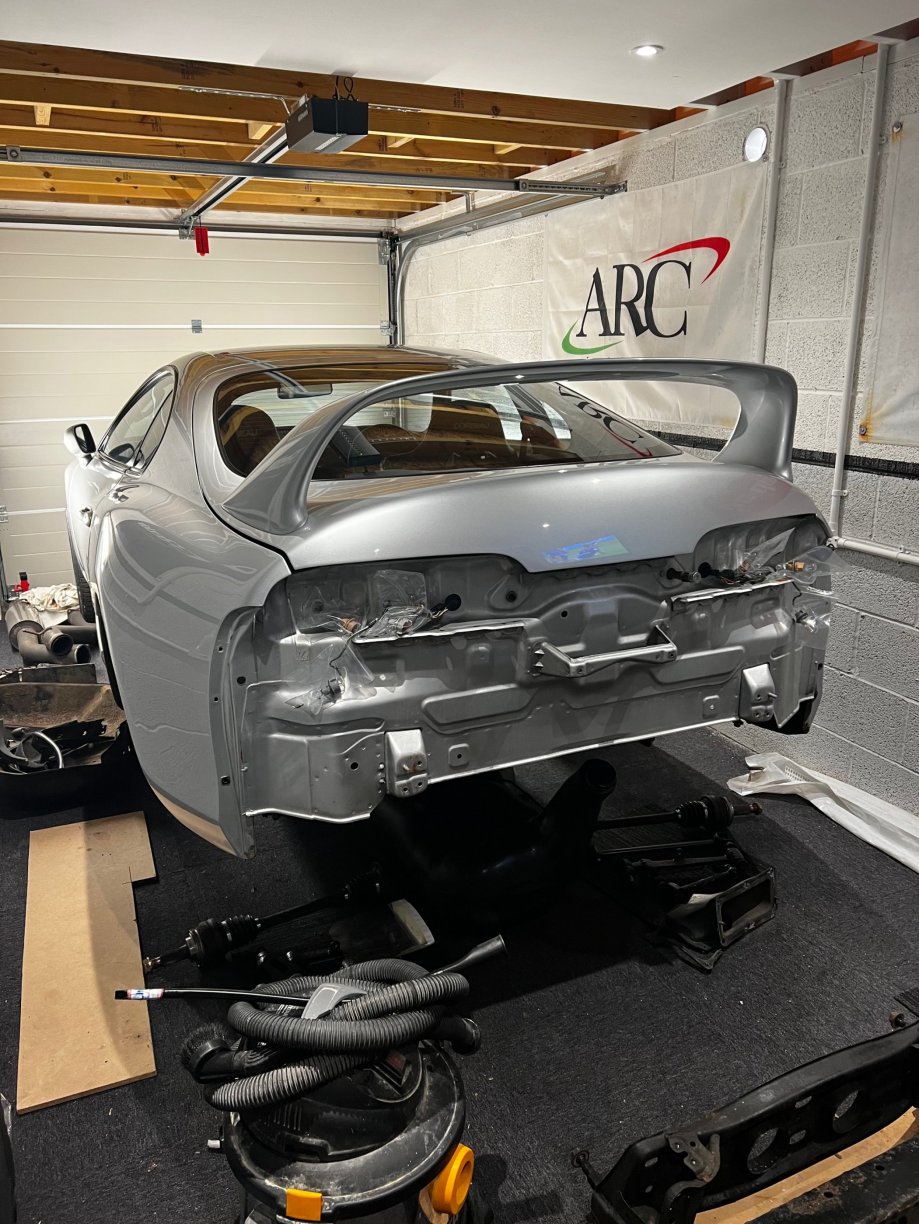
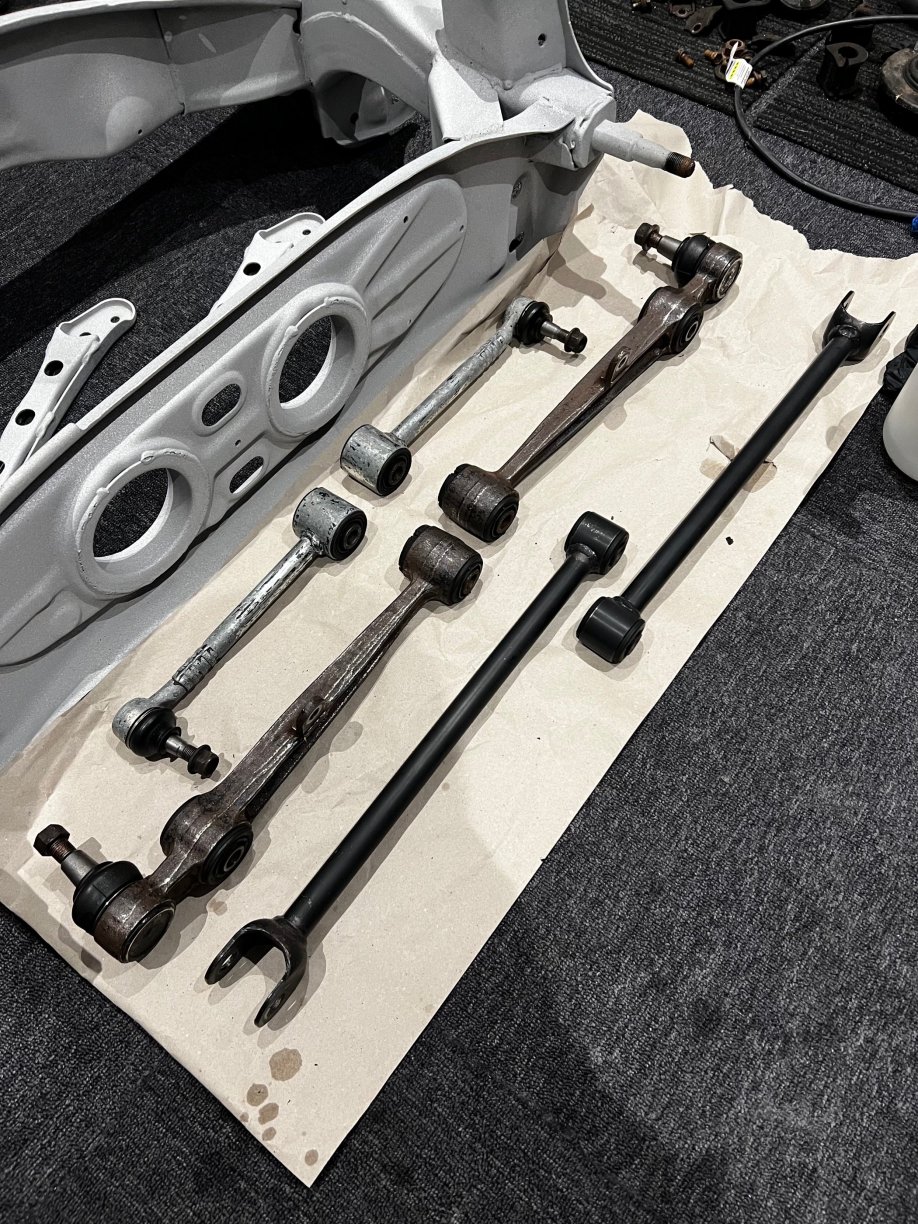
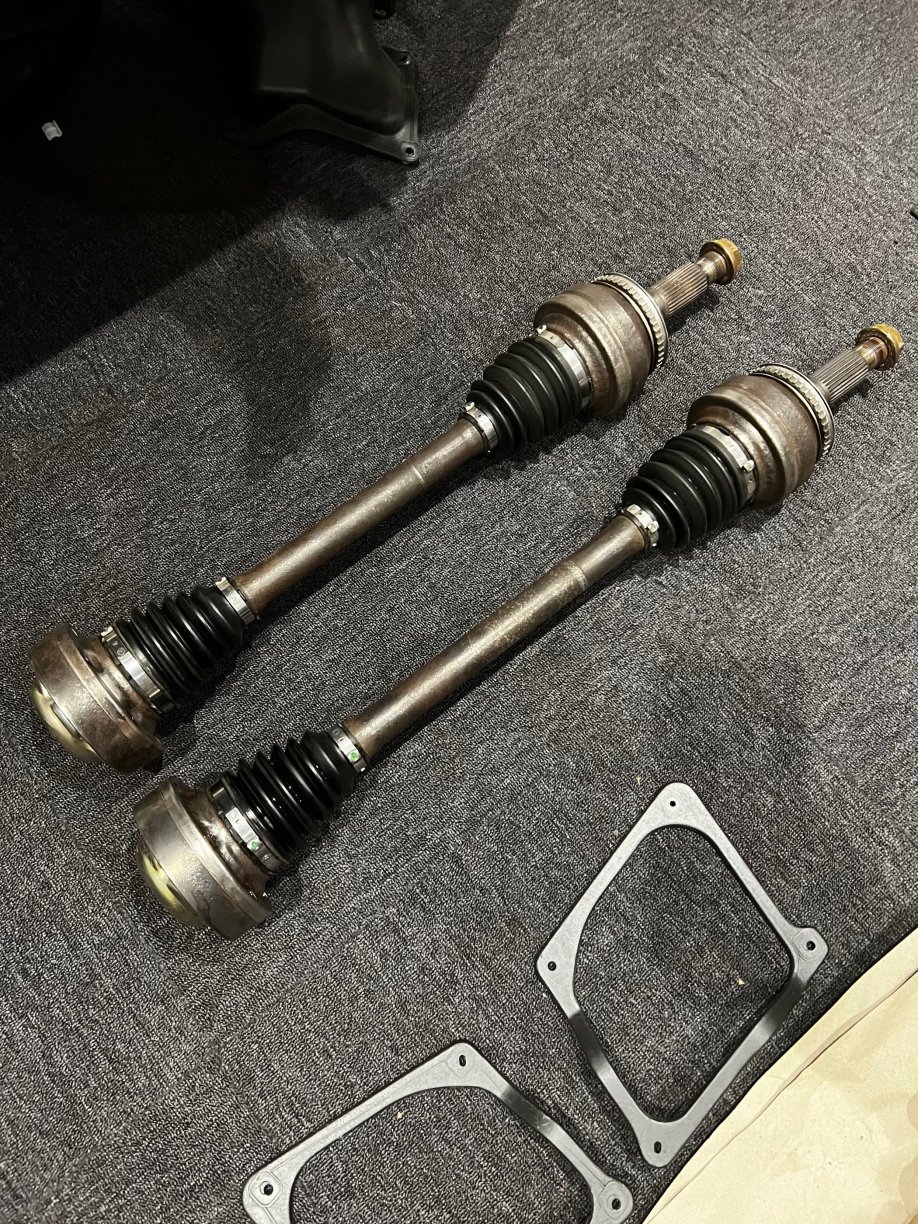
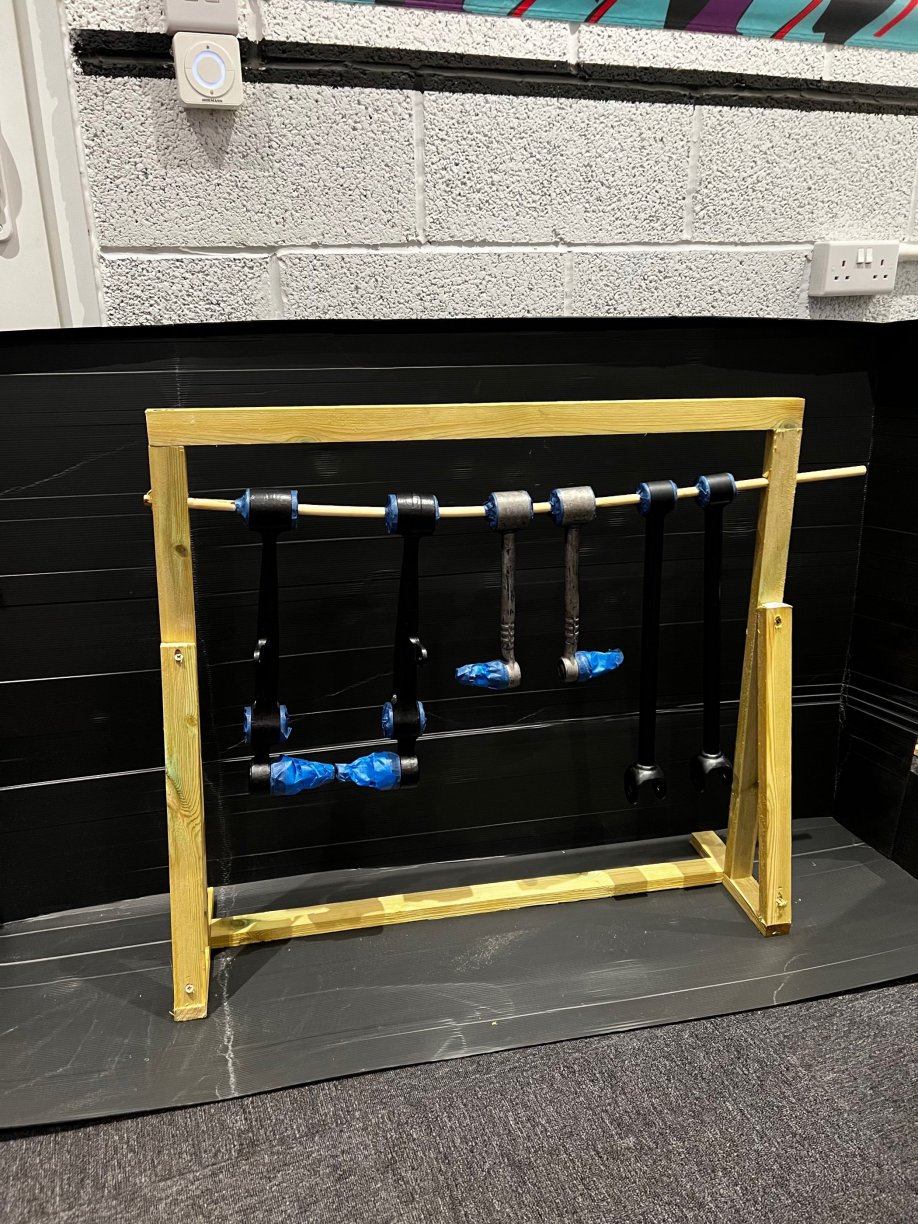
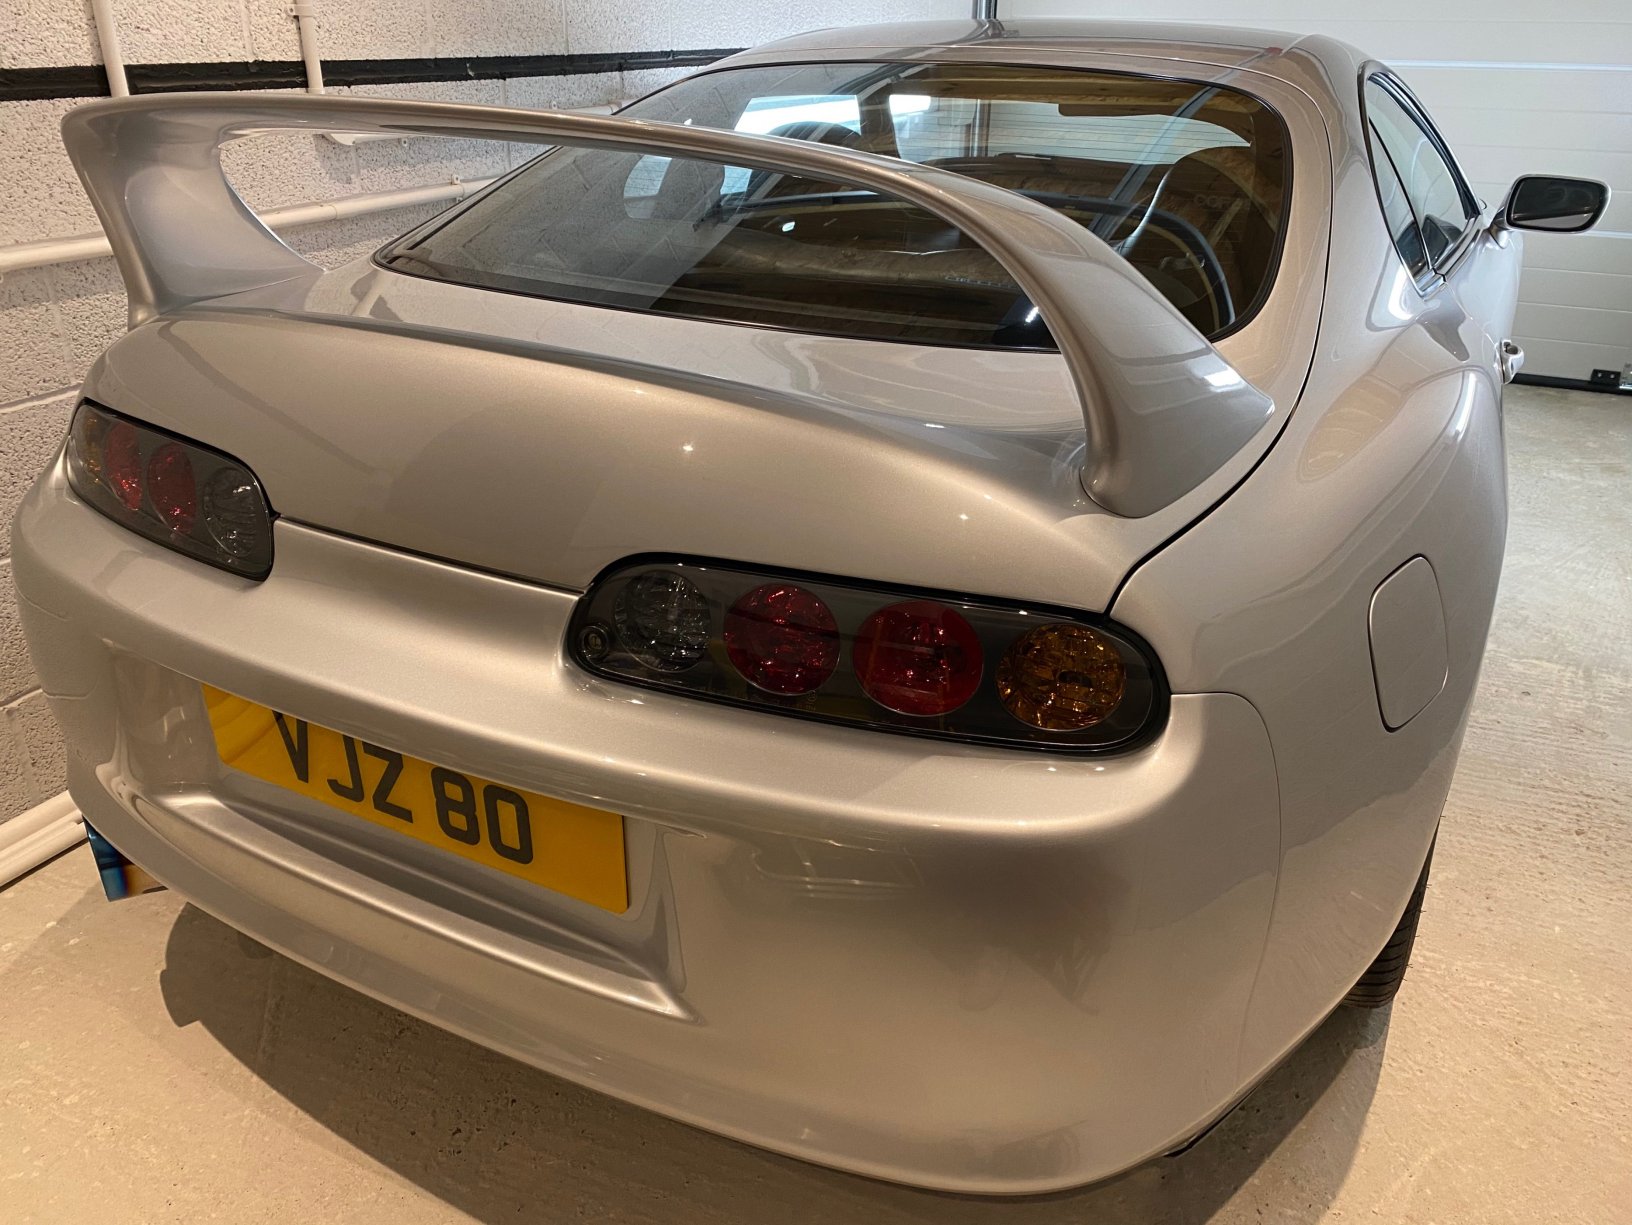
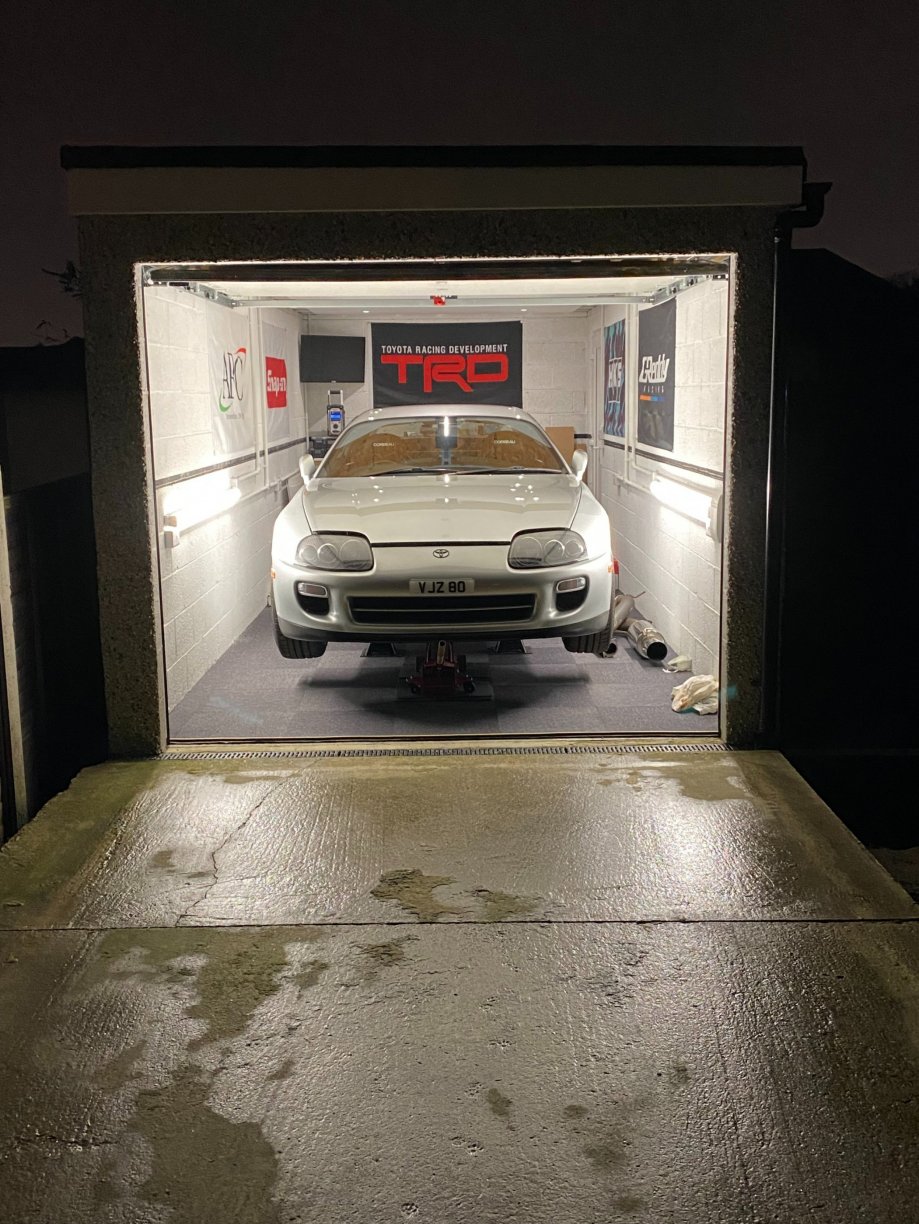
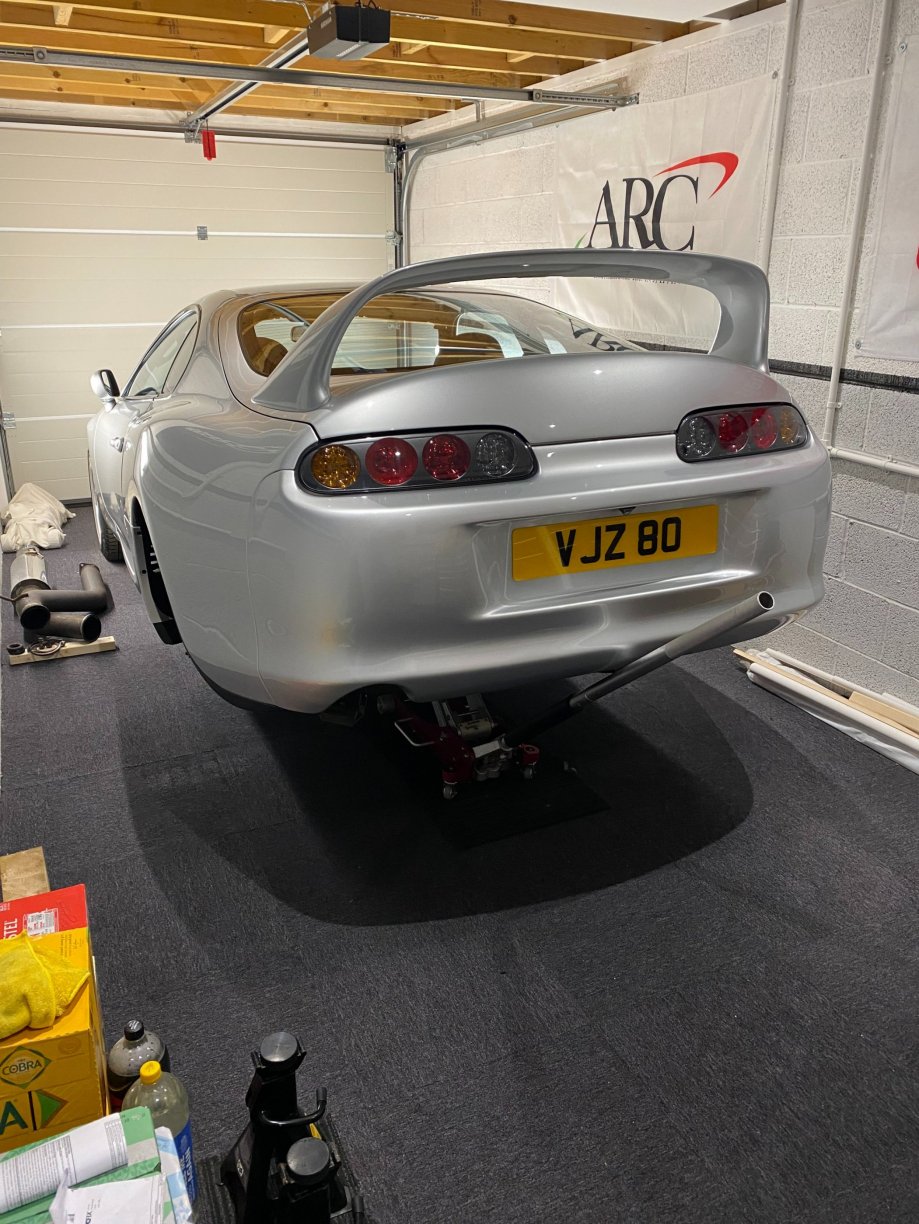
It’s been awhile! Thought I better put some effort in to get this moving again, whipped the rear bumper off to give more access to the underside when I get going under there. Finally found a local company for the Rear Subframe to be blasted and Hot Zinc Sprayed which came out really nice. Might get them to do the Petrol Tank guard but unsure if best just to buy new. Gave it a few coats of acrylic primer when I got it back, going to paint it in 2k just unsure if to go black or silver so it can sit in primer to I decide! I then started on prepping the rear arms and for spraying as the OEM paint didn’t last long at all. A slow process with removing all paint with wire wheel on the grinder and using small file/scotch pads in the small areas and right up to the bushes but got there in the end. Also gave the drive shafts a clean up while I was at it, these took a good hour or two each but worth it in the end. After degreasing, I used Hydrate 80 on all the parts with a couple of coats. First time using it and seemed pretty decent but time will only tell. Built a small frame to hang the arms off for spraying which done the trick, sheeted up the car and got going. 3 coats etch primer, then 4-5 light coats of 2k black which I’ll be finishing off with 2k clear tomorrow. Next on the list will be sending off various parts for blasting/gold zinc plating and then starting on the underside. Also need to get my OEM parts list ordered, SRD have confirmed what is still available just awaiting the quote to get it all ordered as I want to keep the ball rolling.
-
Couple of photos to give you an idea, everything gone.
-
Regarding getting the replacement damper in, I just changed over on the UK car the dampers from stock to Bilstein B6 which I had to lever the lower arm down quite abit further to get them in. ARB’s removed plus the upper arm bolt removed which you are struggling with. If you believe it has snapped, have you tried putting some pressure with a lever bar on the large washer using the upper arm to lever against whist using a socket to loosen, even if you get some movement it will confirm if it has broken in half. I’d be surprised if it has as it is quite a larger diameter bolt but always a chance I suppose.
-
Yes I have recently had this, I did get a response with good prices but tried calling the last two weeks to make payment but no answer. Bought a full set of UK spec brake disc for the other car from Keron as I rebuilt the callipers etc, responded the next day and they were shipped and delivered within 2 days. Great service. My local Toyota dealer cannot get near the prices given by others.
-
Yea but yours is not the average build so you have an excuse! Based in Welling, Kent mate. If anyone has any recommendations I’m all ears. I was meaning to message Phil (214Supra) as he was based near me last time we spoke which done a full rebuild on the RSP he had so maybe might have some places in mind.
-
Unfortunately not Matt, been carrying on with garden as the weather has been decent so the car hasn’t progressed. Also, just purchased my new daily Cupra Ateca with Comfort + Sport plus Design pack which is an absolute weapon that’s been keeping me entertained! This has reminded me that I sent Paul at TCB a long list of parts required but haven’t heard anything back so I’ll chase him to get things moving again. I’m struggling to find someone local to strip and galvanise the rear subframe currently.
-
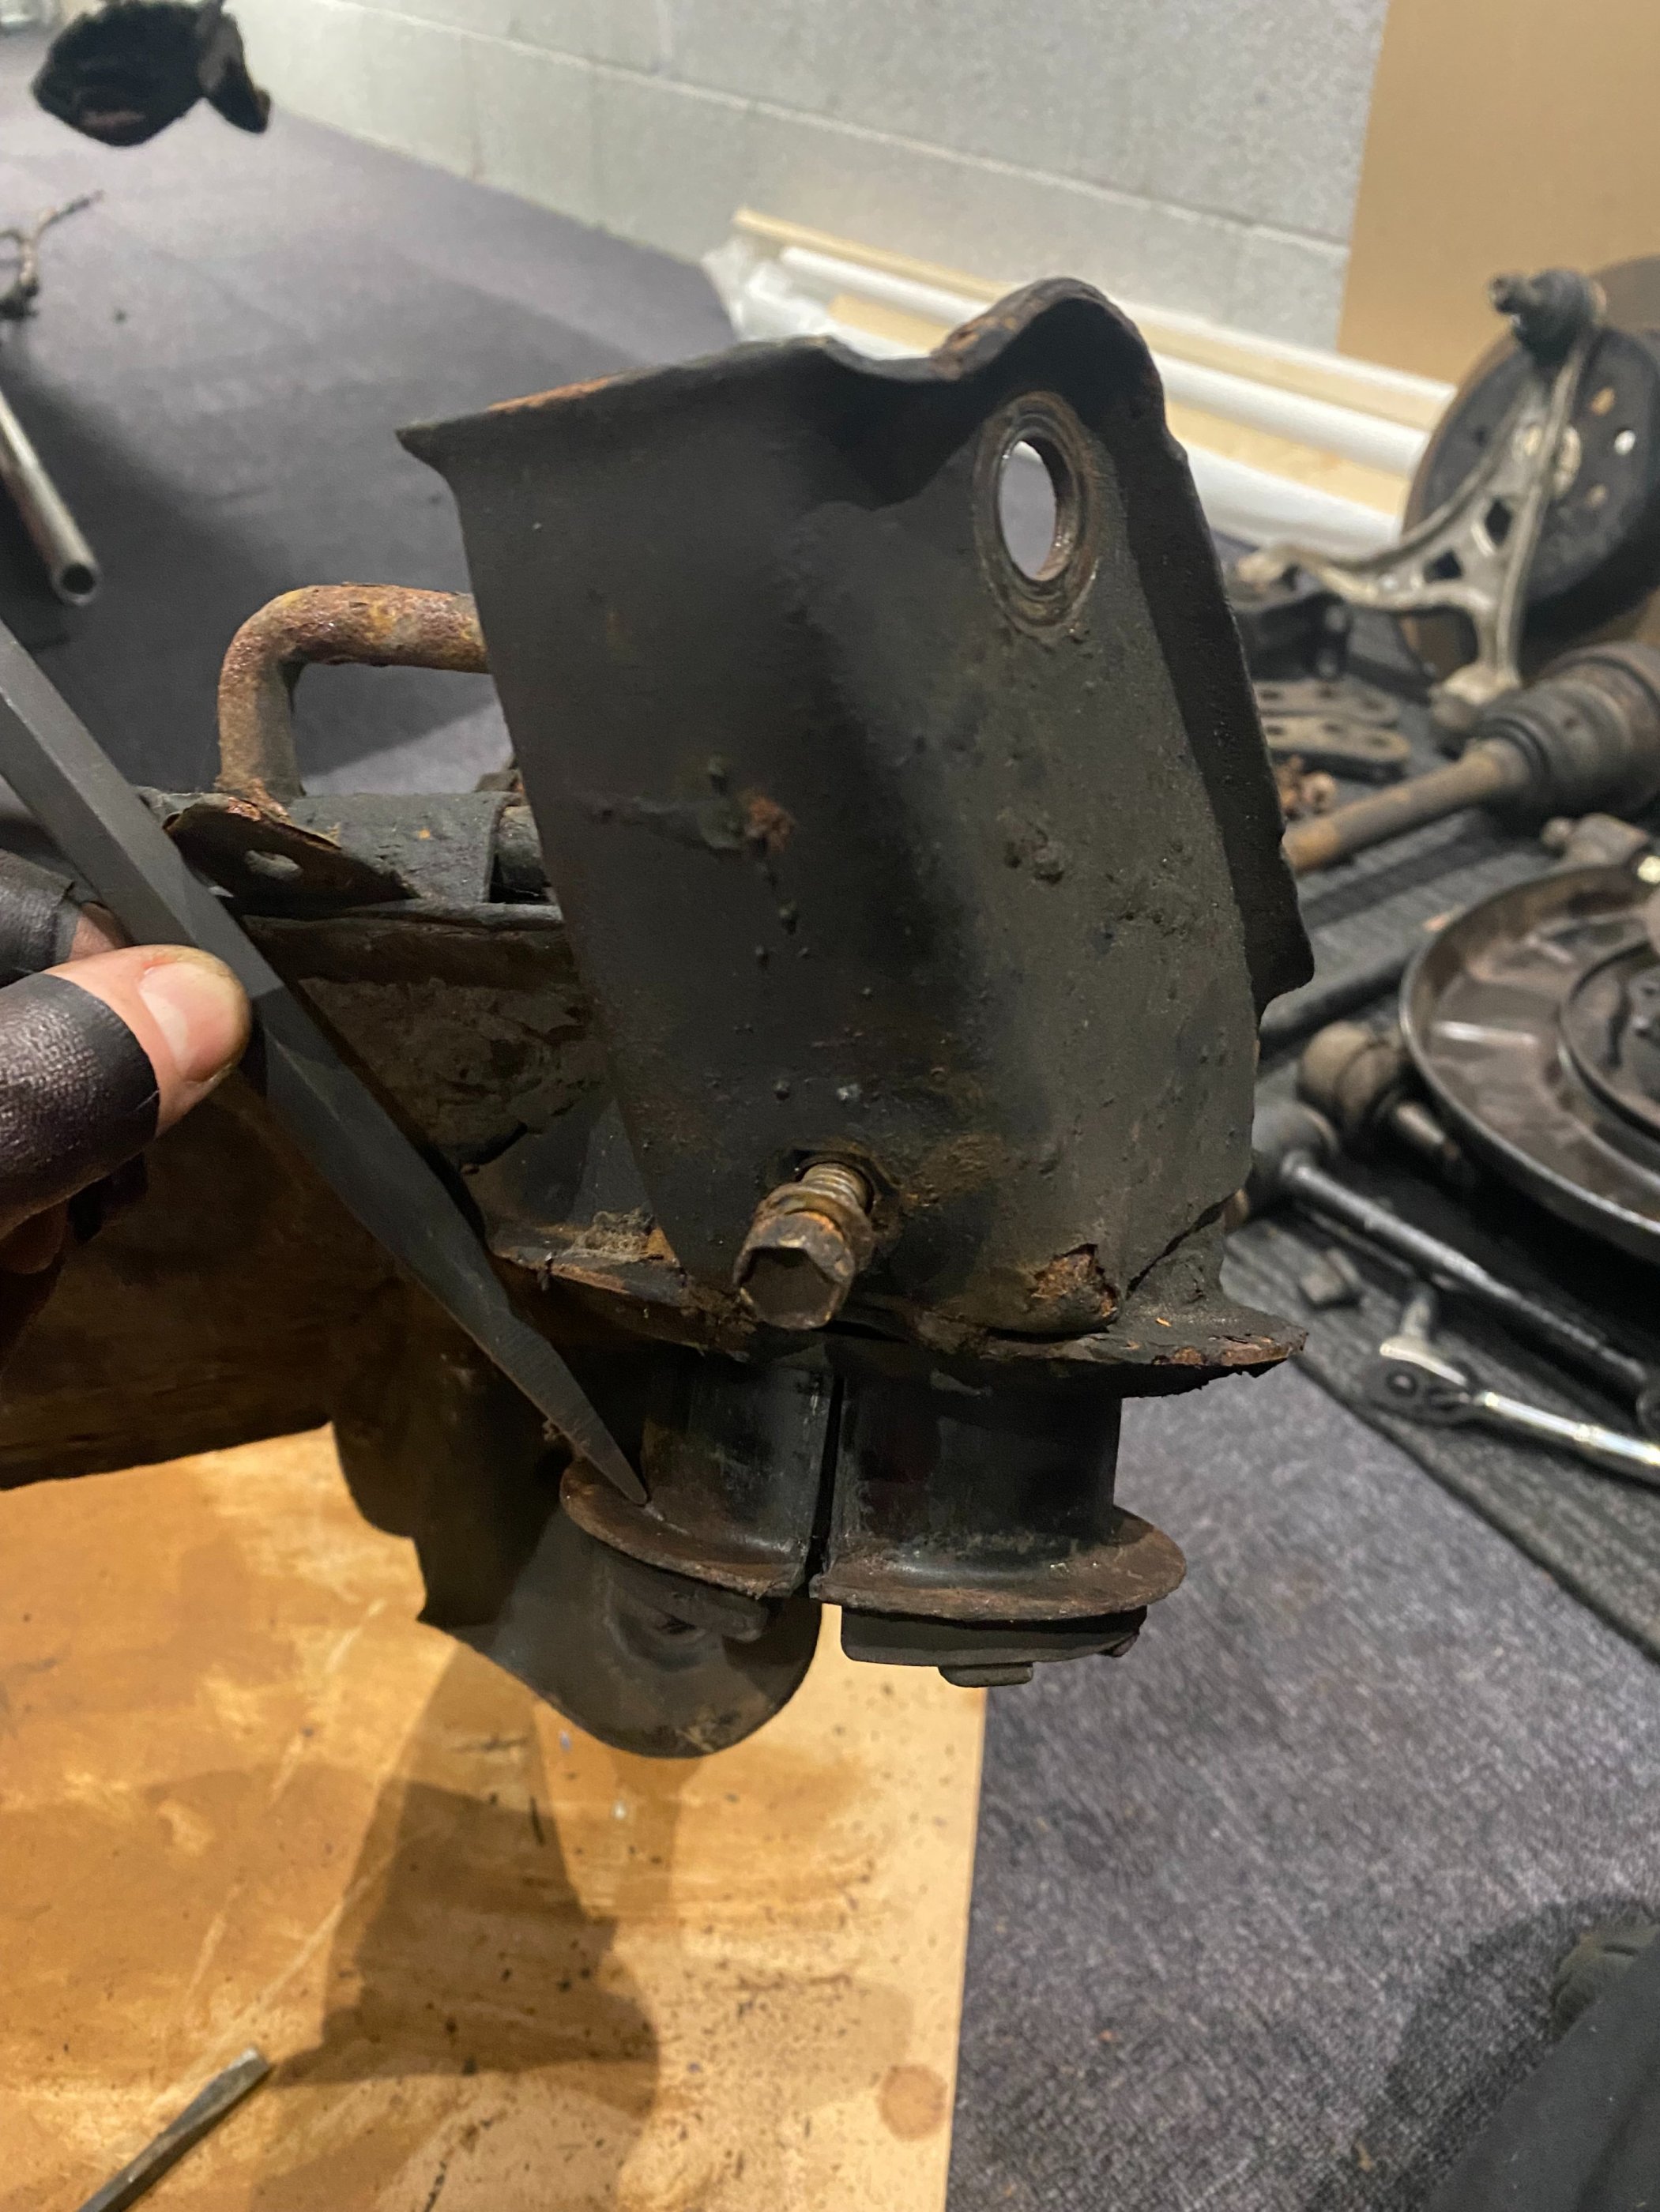
12360-46070 Pre-Facelift 12360-46111 Facelift. When changing my facelift mounts I went with the Vibra Technic brand first but where too stiff for my auto, still have them somewhere with about 150 miles only of use. I managed to get hold of a set of pre-facelift brackets and bought new OEM pre-facelift mounts which were a night and day difference. If you have facelift mounts, nothing wrong with new ones but just don’t last as long as pre-facelift.
-
Pioneer SPH-230DAB here, looks smart and works spot on with Apple Car play. All touch screen though so can be a-bit hard to see in the rare situation of direct sunlight. I had the older Pioneer version before which was also a great unit. I have heard the Alpine units are decent also, might be worth a look.
-
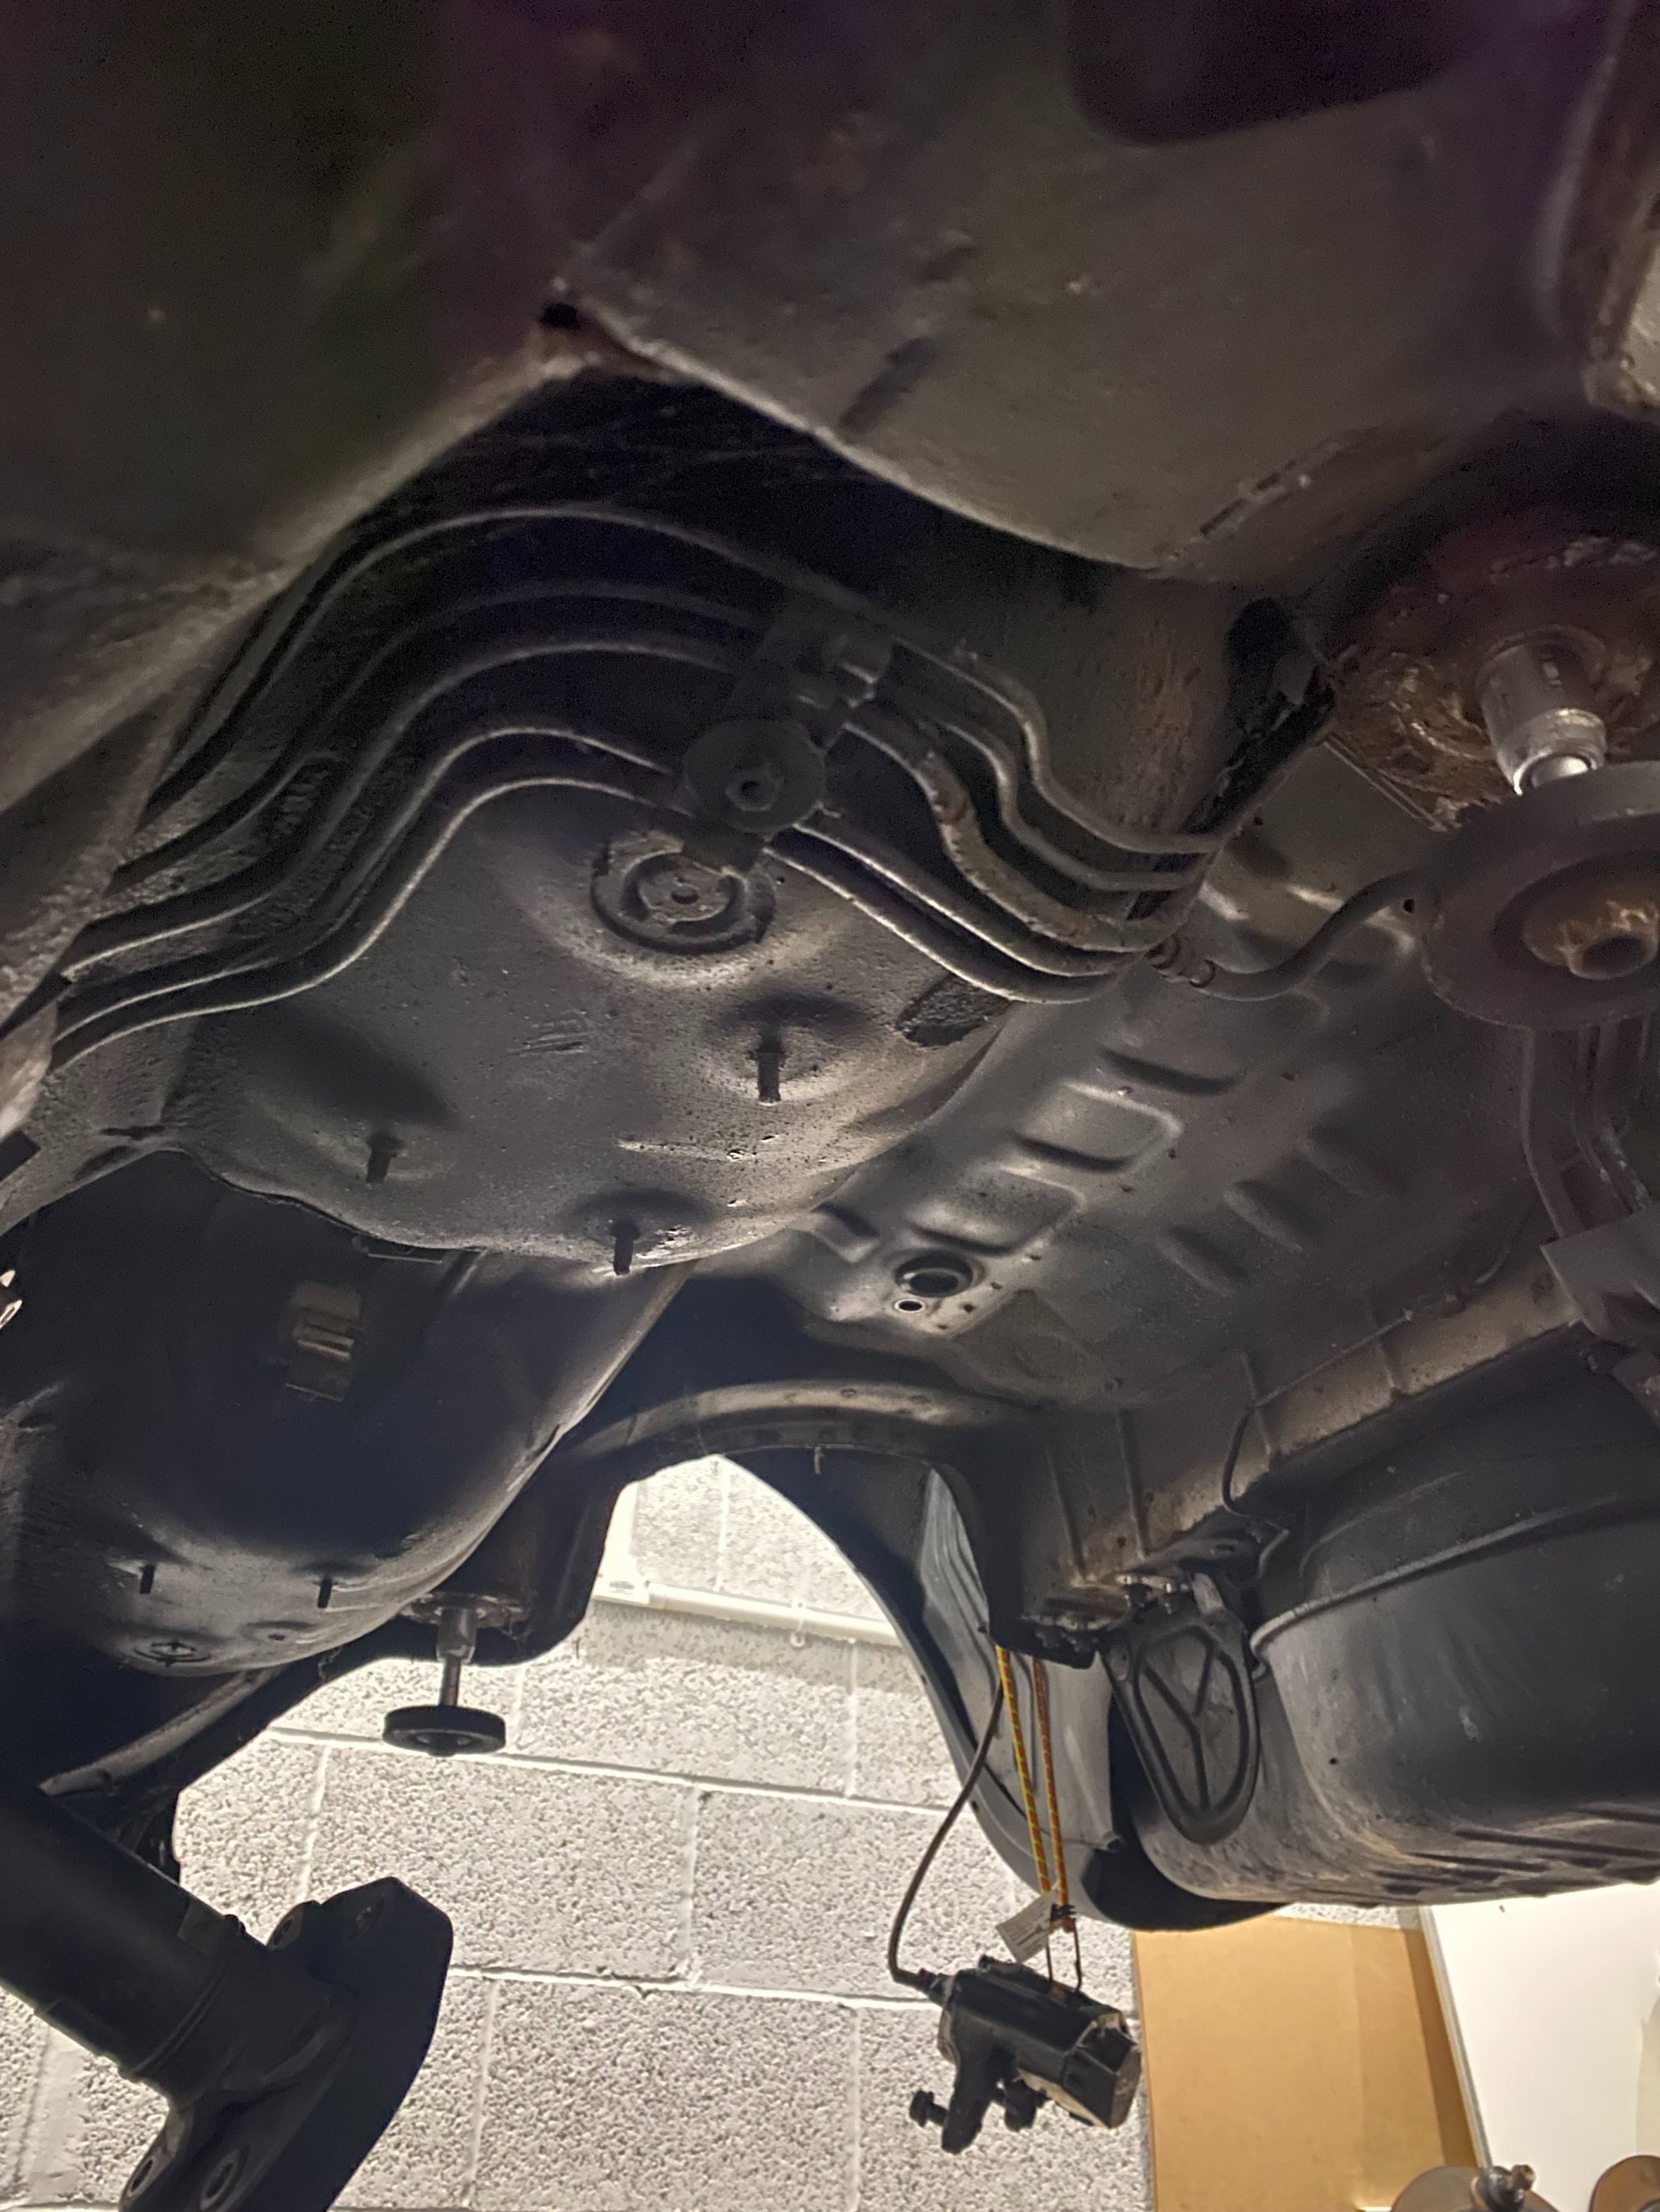
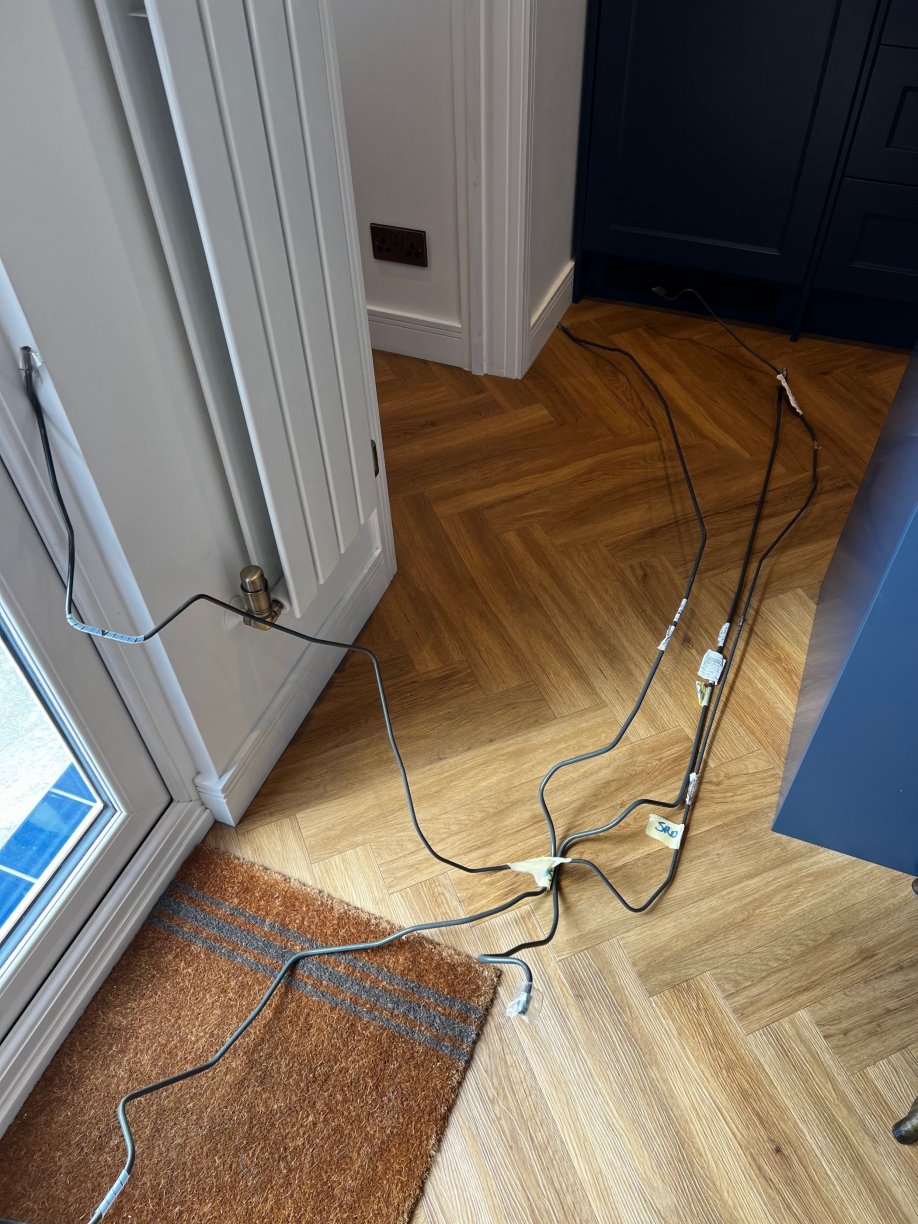
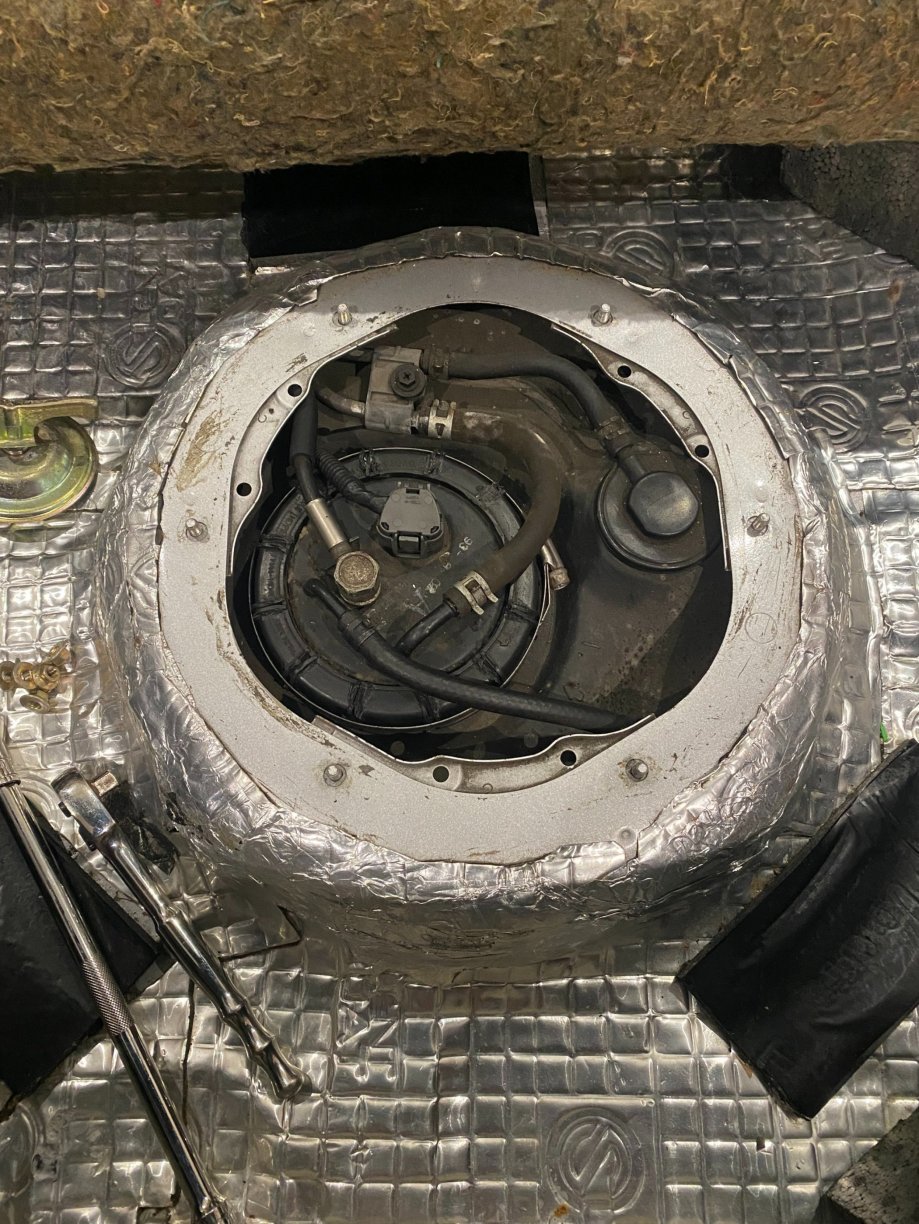
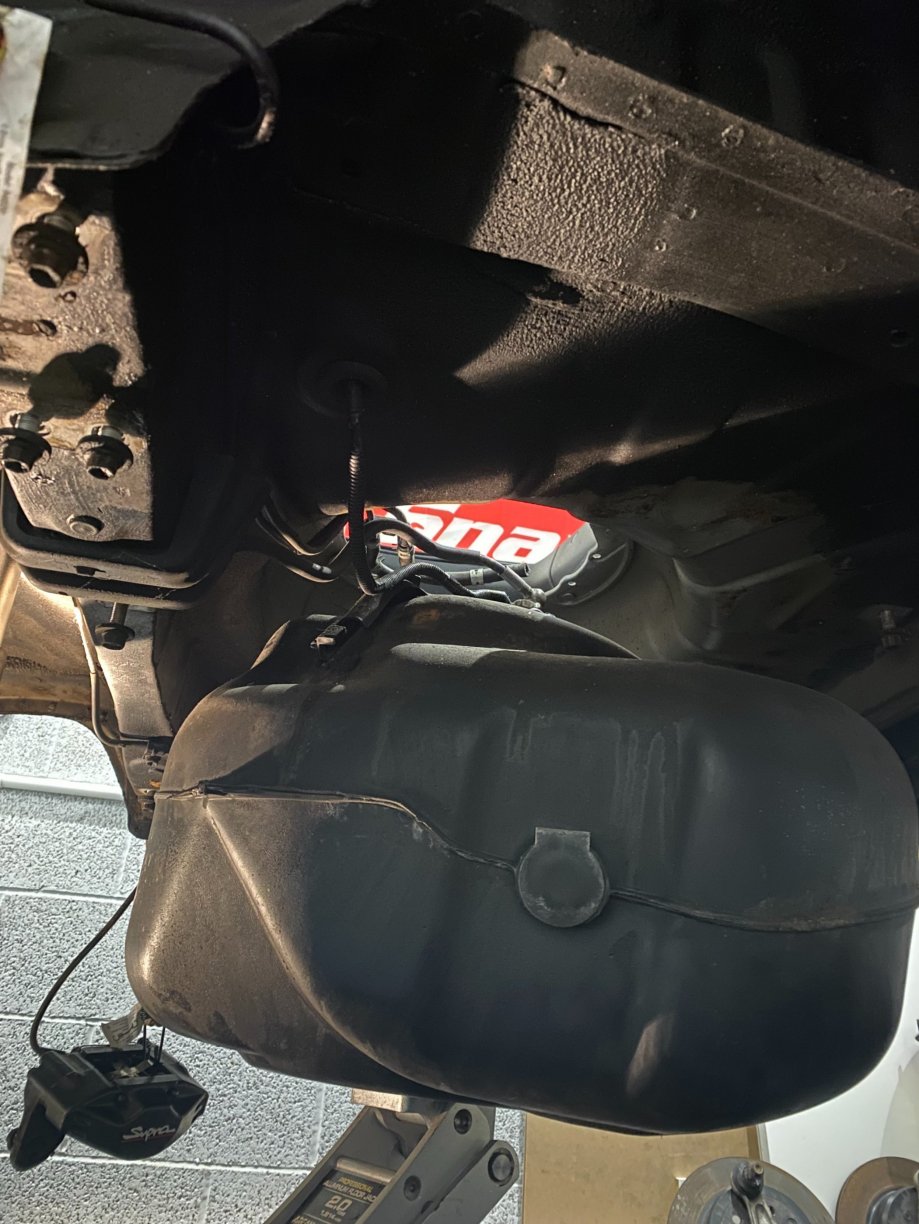
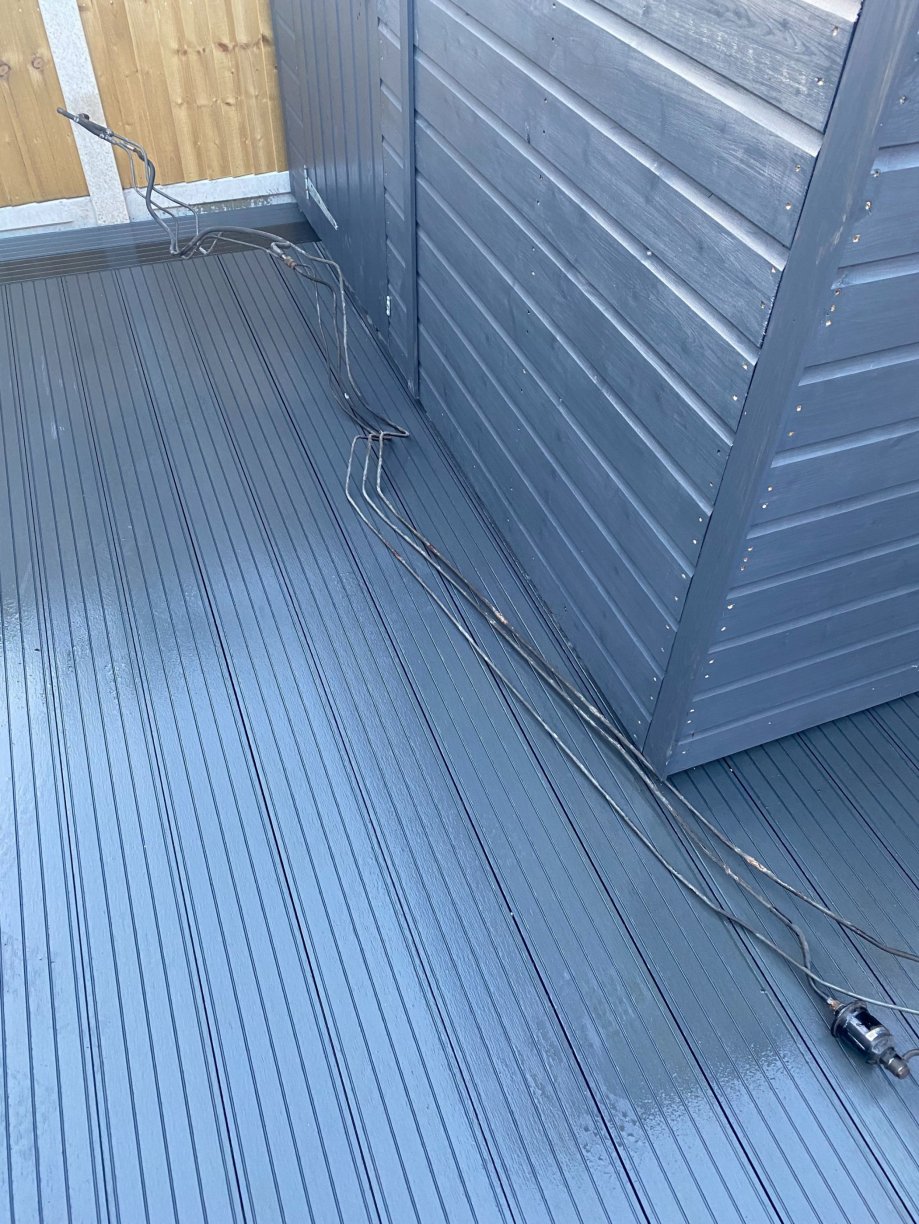
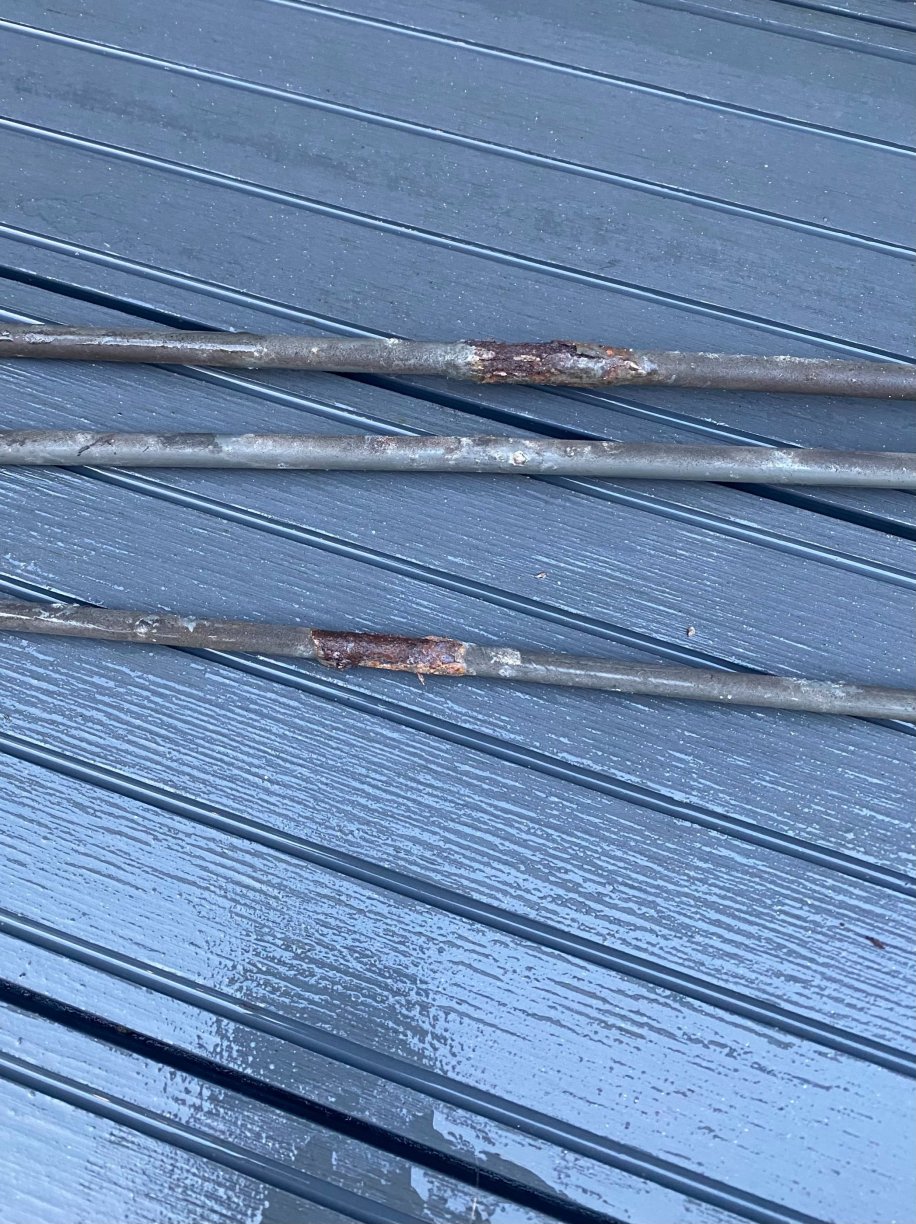
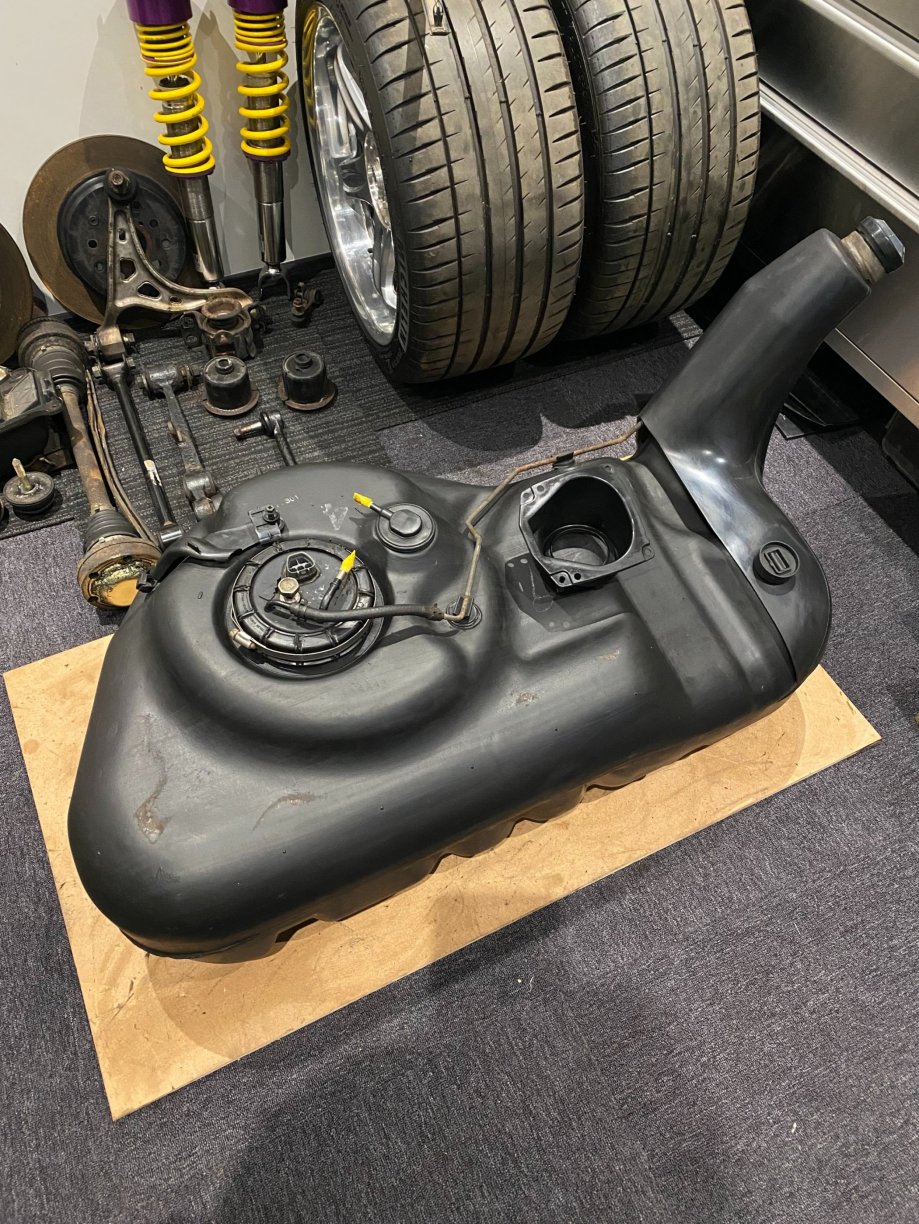
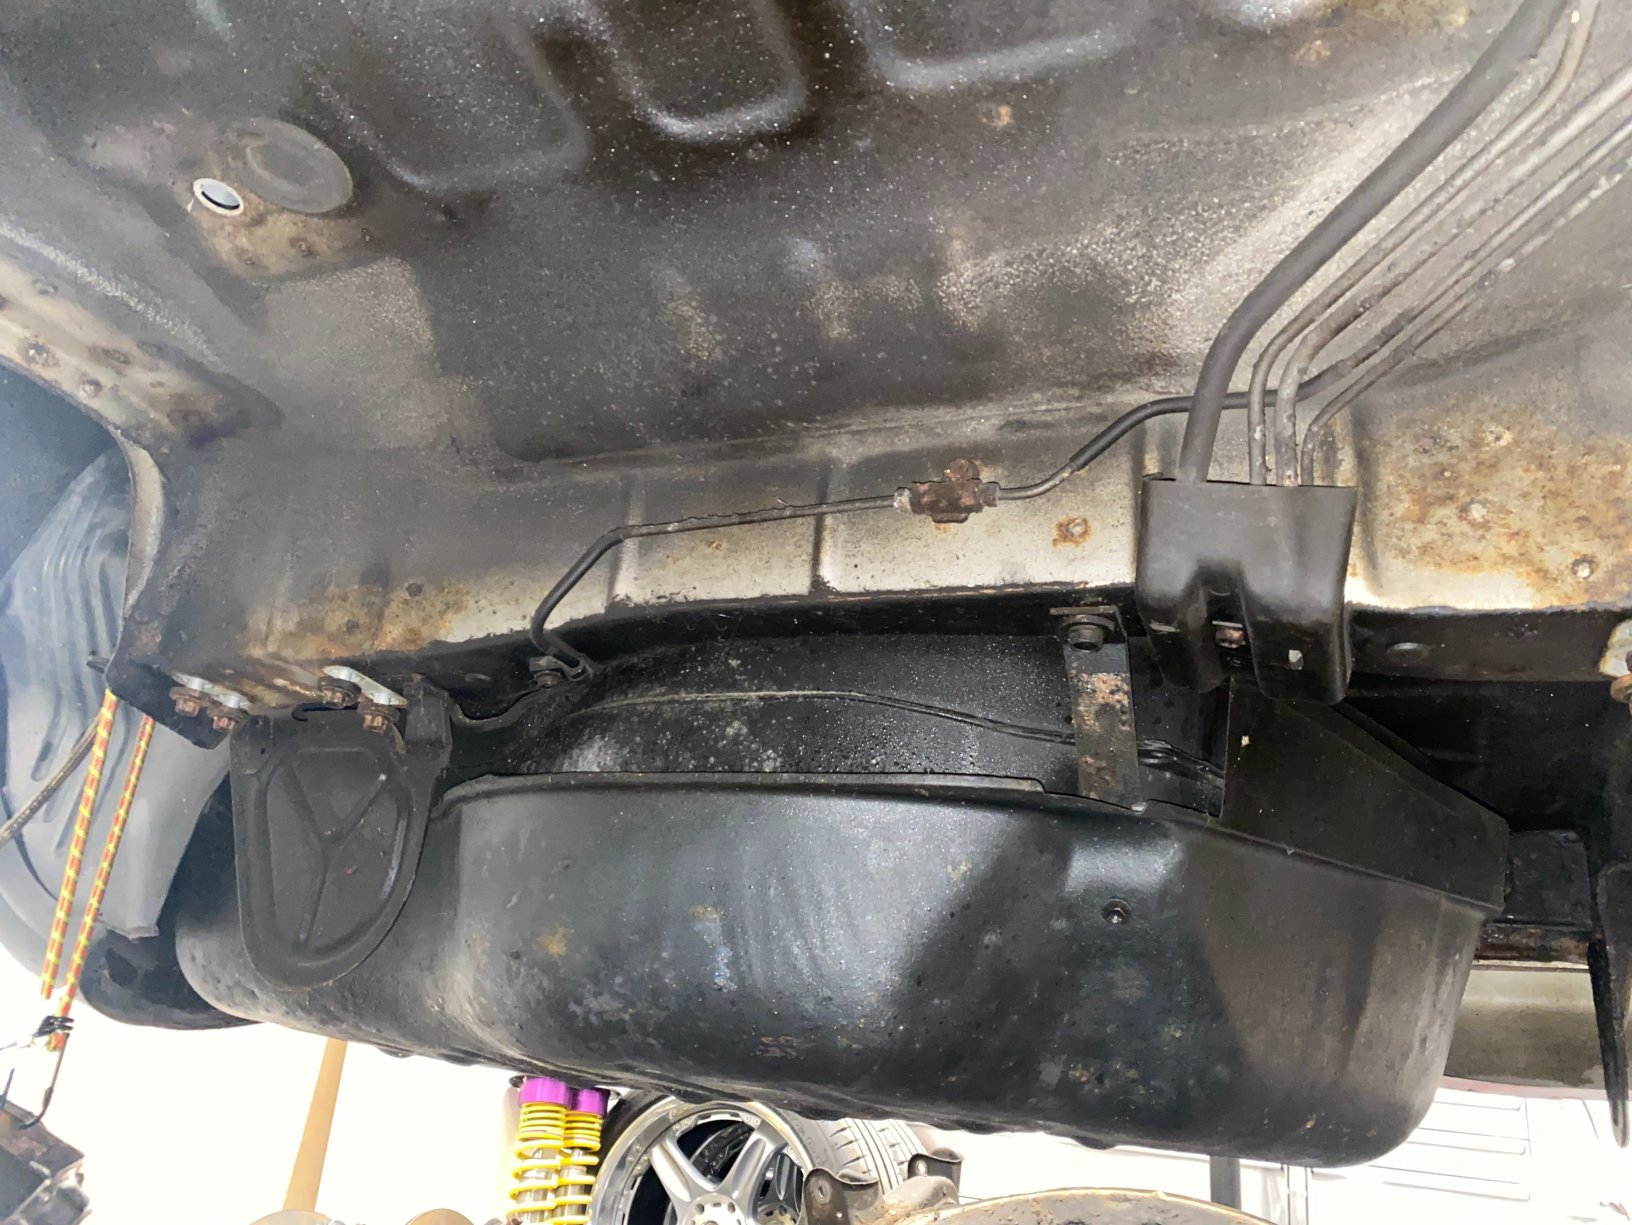
On to dropping the petrol tank this afternoon, you can do this without removing the rear bumper which was handy. Remove spare wheel, cover 6 x nuts, 19mm banjo, screw for line clamp, 2 x spring clips/hoses and the power connector. You don't need to remove the filler next surround etc only the fuel filler neck cap to remove the petrol tank, I did just to give it a clean. Under the car I took the petrol tank shield off 4 x bolts and the 2 x petrol tank straps. I didn't think I had that much fuel still left in it, and that was a mistake as it was quite heavy I suddenly realised Removing the rear bolts of the 2 x petrol tank straps first, the tank dropped straight away and luckily had my trolley jack near to support it. When lowering you have a cable clip which holds the power connector which you have to unclip before you lower the tank all the way down. Once removed I made the decision to replace the fuel lines as they were looking worse for wear at the point of the plastic mounting brackets to the chassis . The brake lines do not have any corrosion on the surface at all which I found odd as you would assume both would corrode in the same area. Being naïve I didn't think the fuel lines would be holding as much fuel as they were, pissed out everywhere! Remove the plastic cover that protects the line and then at the front you have the 3 lines to connect, 19mm banjo (Need an extension and universal socket) and 2 x spring clips. Gave the tank a clean up as it was coated in dirt over the years as I could even think about putting it back in like that! Need to replace the breather pipe as that has quite bad corrosion, might try and make one like Rider had to as these are discontinued. After that I called it a day, need to start looking at getting all the bits blasted, zinc coated and somewhere for the rear subframe to be acid dipped and galvanised which is local
-
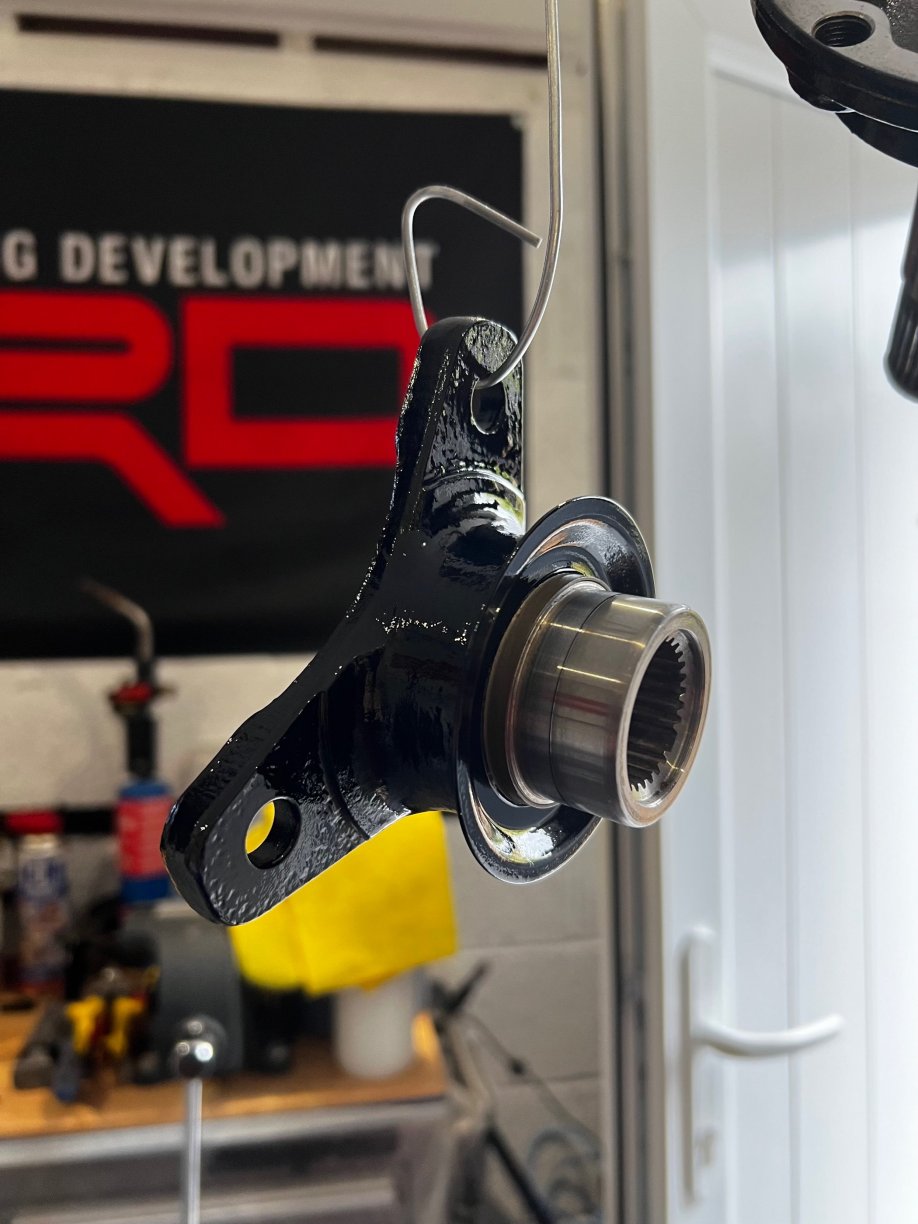
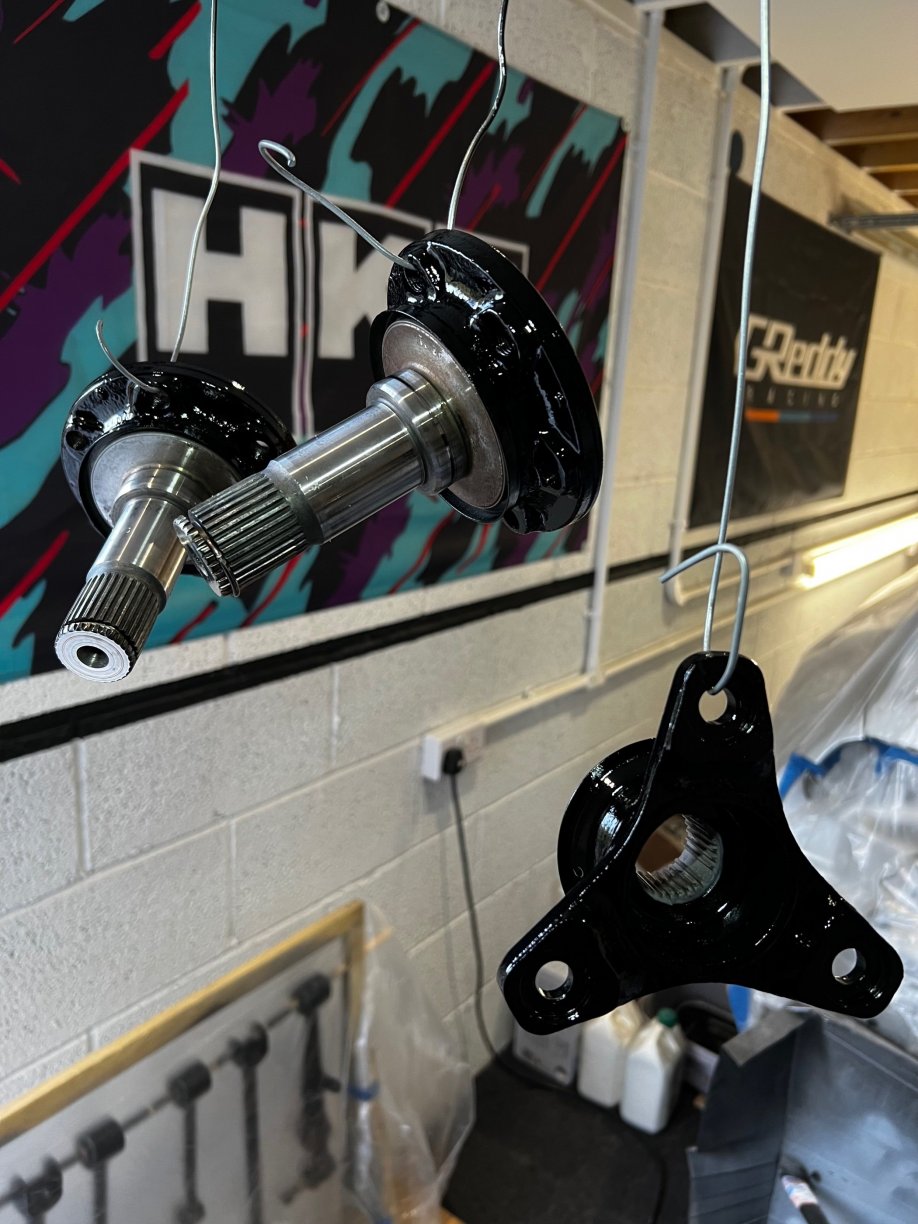
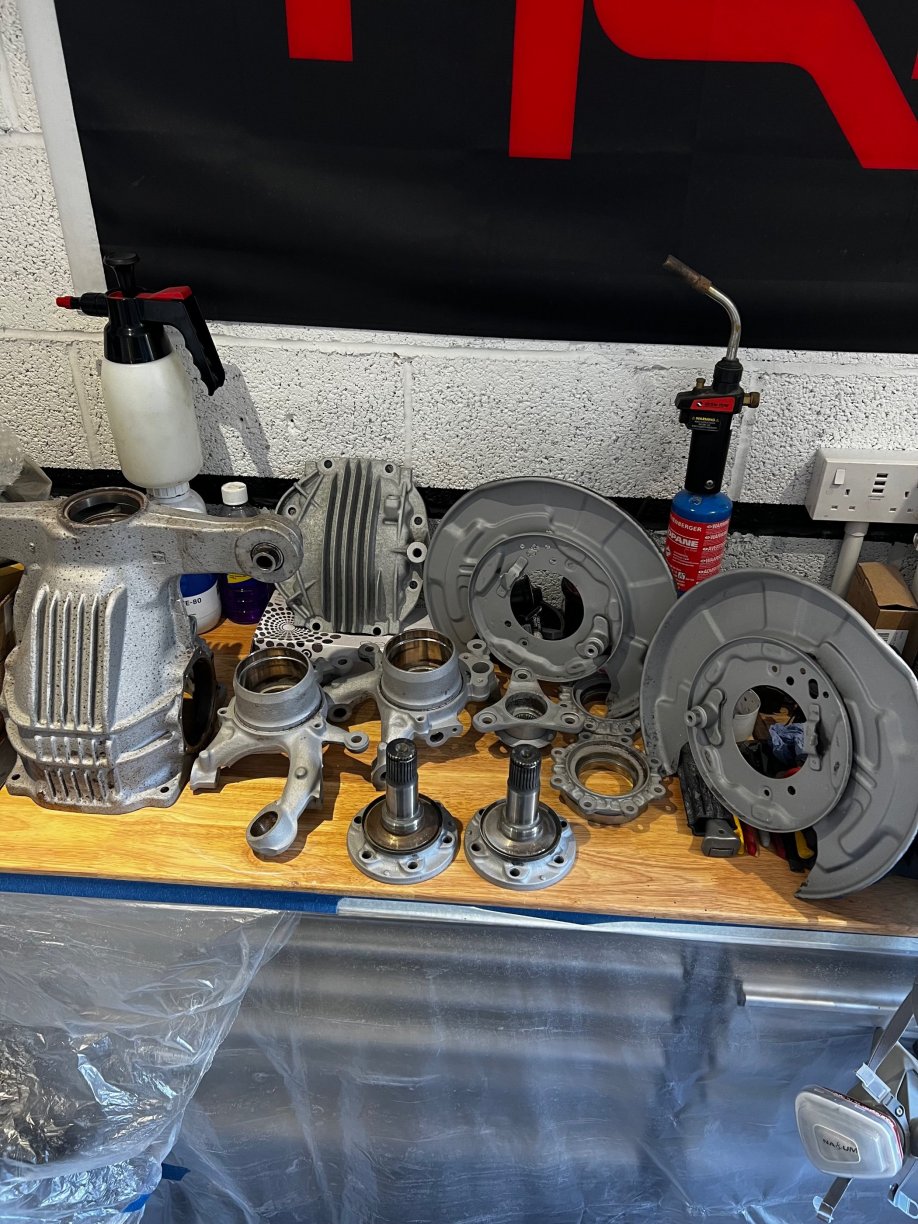
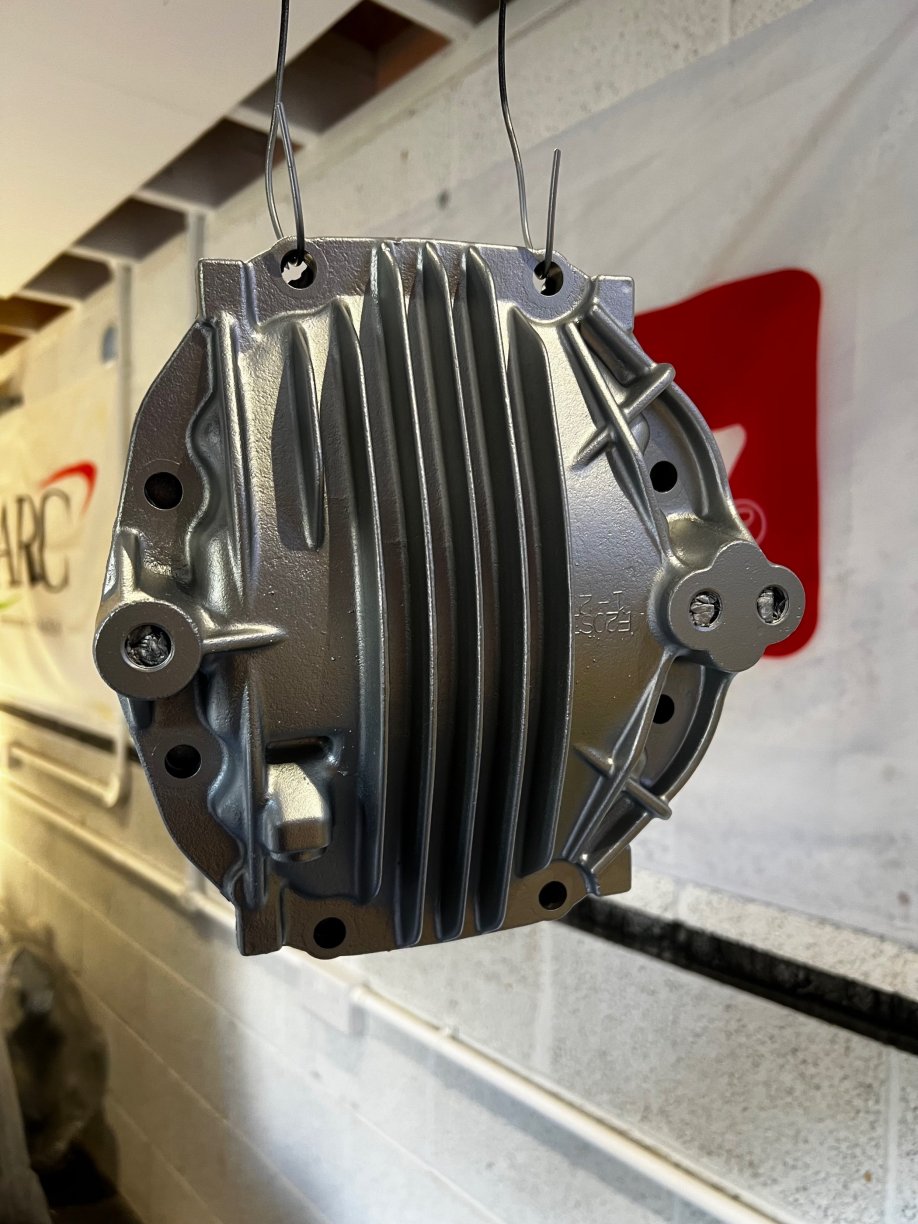
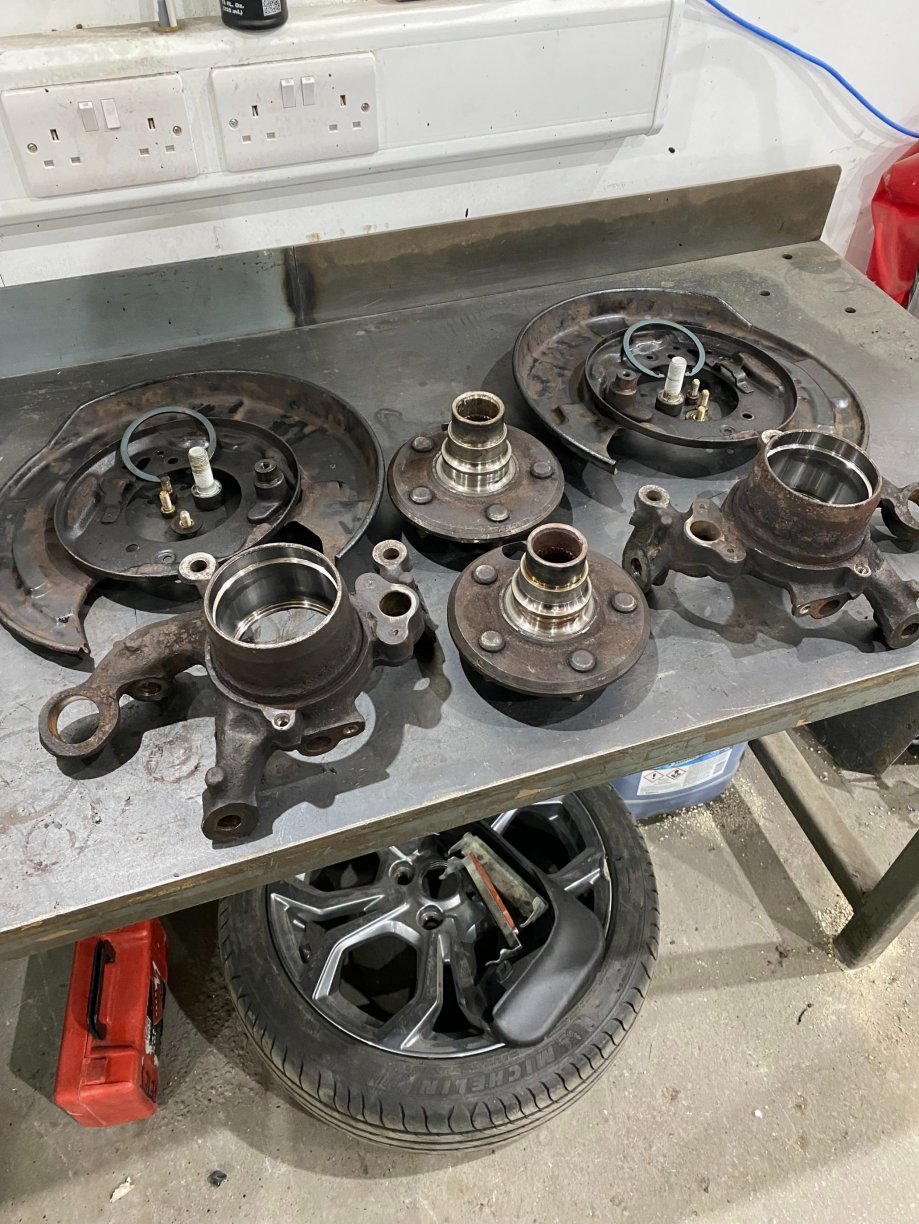
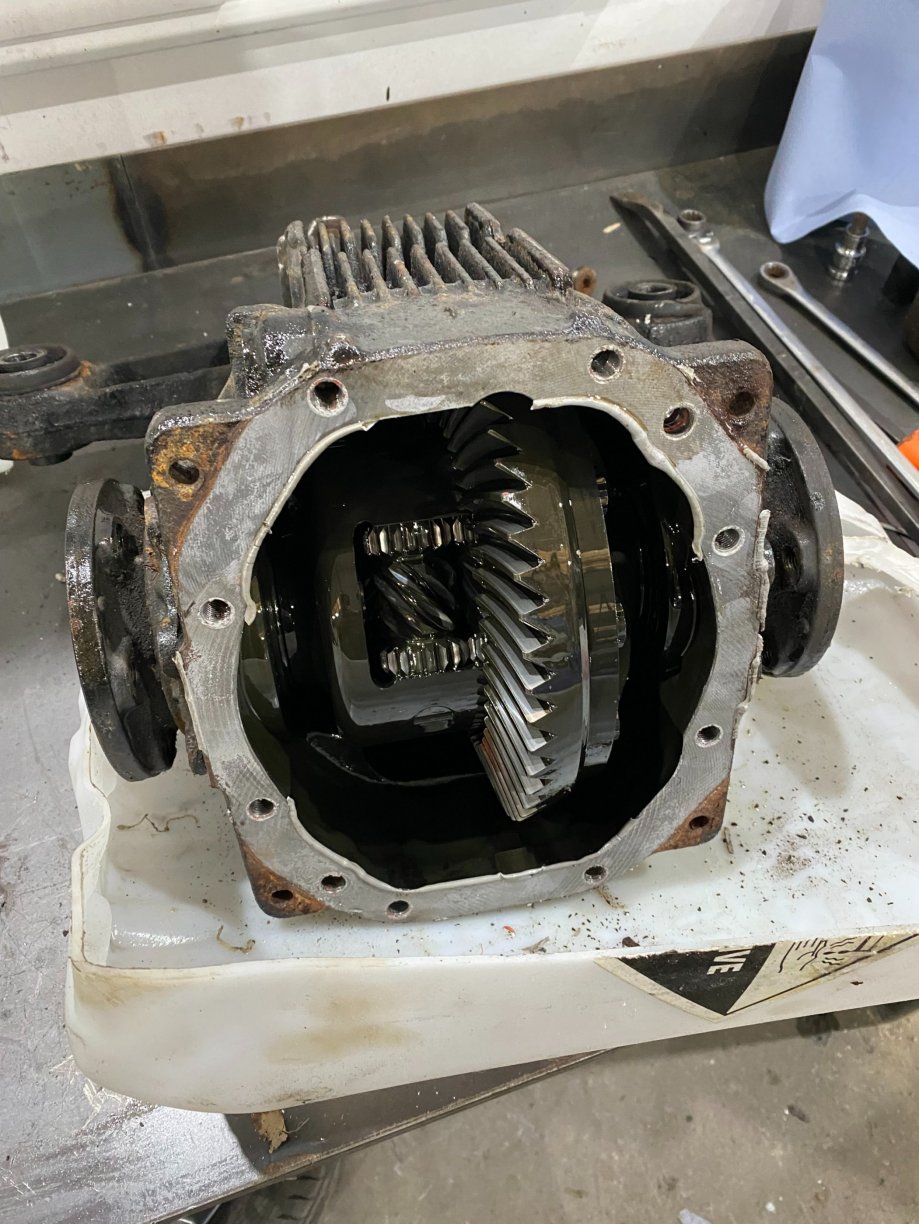
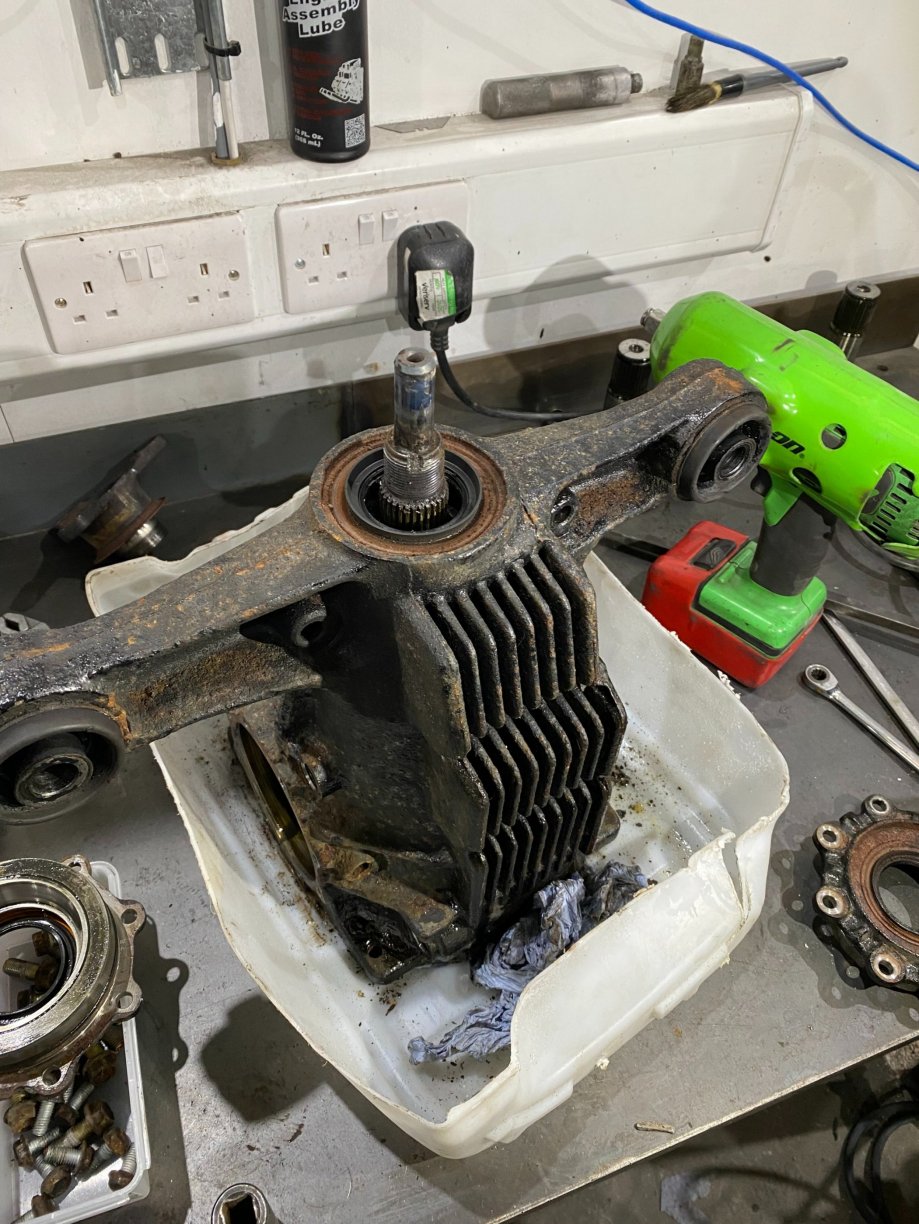
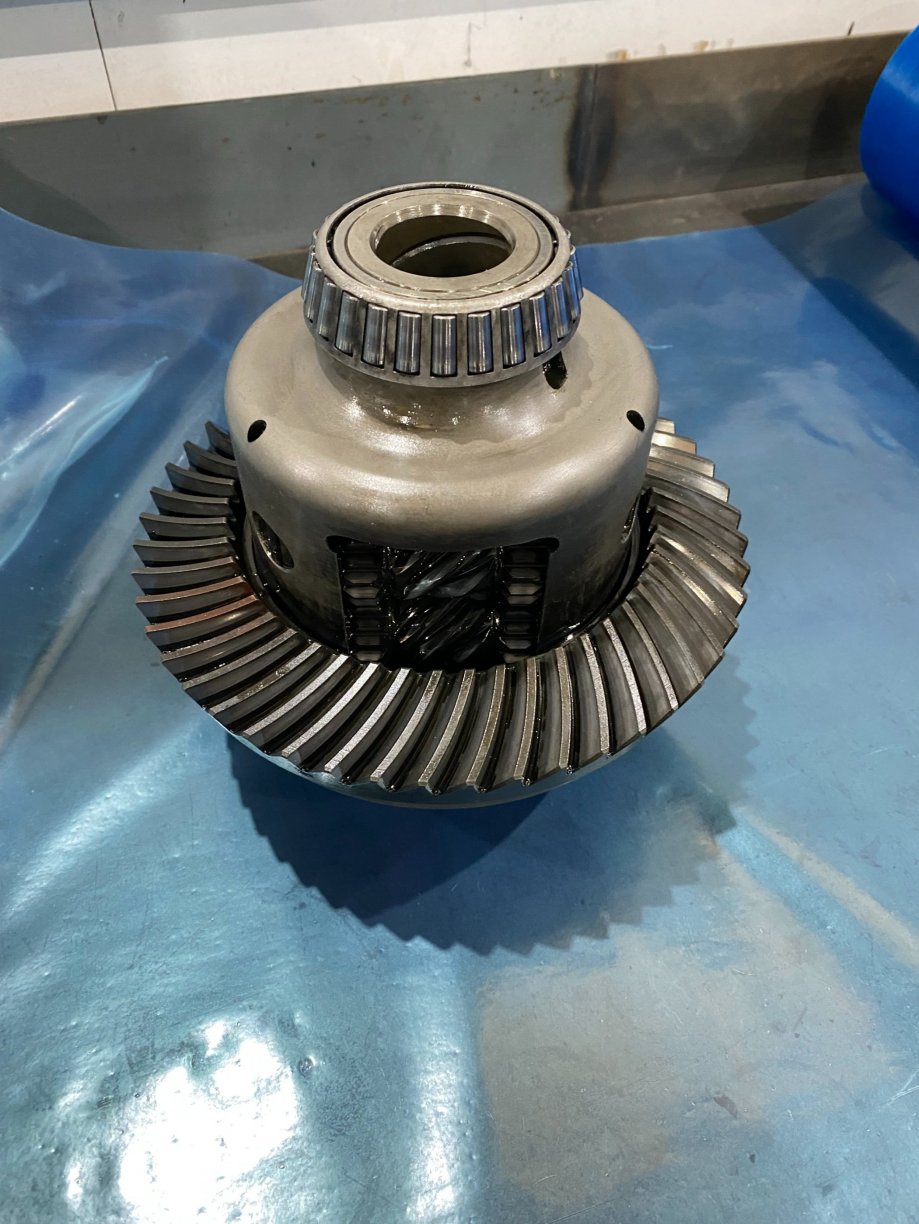
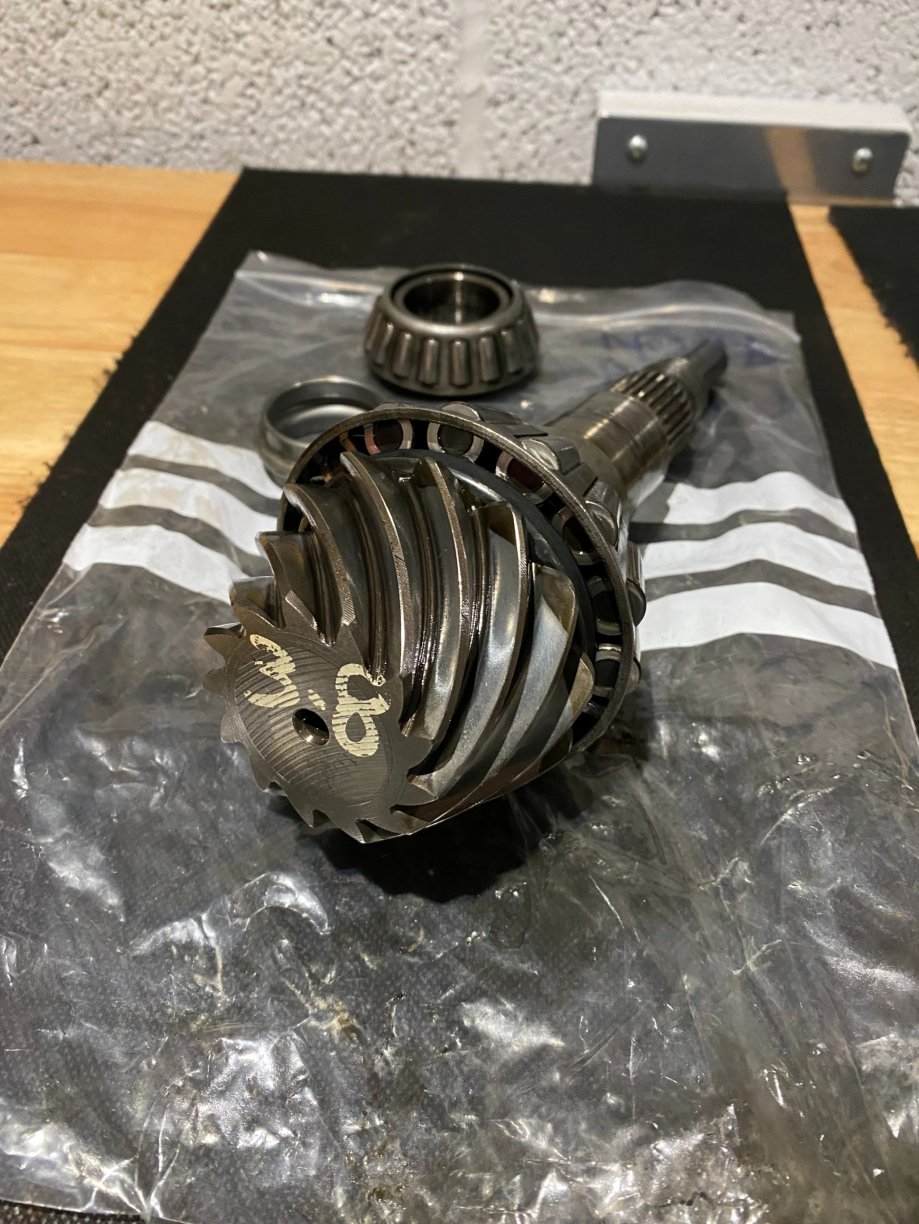
Popped down to my brothers today to start on splitting the hubs and diff, the 10 ton press was definitely required! Removed the hub flange from behind, inner raced stayed firmly on splitting the bearing whilst removing as expected. You can then removed the brake shield 2 x bolts and 1 x Hex bolt. With the hub flange removed, you can locate the circlip and remove to allow to press the remaining outer race/bearings from behind. This required around 9 ton of pressure but with some heat it finally went. Also, removed the small rubber bushes in the hub which one of the rear lower arms bolt to just by burning them out and removing the metal sleeve with a punch. All done, you can see the inner race still attached to the hub flanges. I have bought new hub flanges so won't have to bother grinding a groove into them to release and remove. Next was the diff, drained the oil out and removed rear cover plate. Using a long pry bar with a little angle as possible, we tapped out the sub shafts with not a major amount of force for the snap-ring to free. Once the sub shafts were out, removed the side retainers 8 x bolts each side which the seals sit in to allow removal of the diff by manoeuvring out. Outer races remained within, will press these out at reassembly stage. Diff out, simple case of pinion flange removal by removing nut and pulling off; then pressing the pinion shaft into the diff housing. Again both pinion bearing outer races stayed within the diff housing, I'll leave these in whilst it goes off to be blasted and remove once the new diff will be installed. Cleaned all the parts up when I got back, hate the smell of diff oil maybe worse that AFT fluid! This is going to be fun trying to get the bearing off when rebuilding!

-
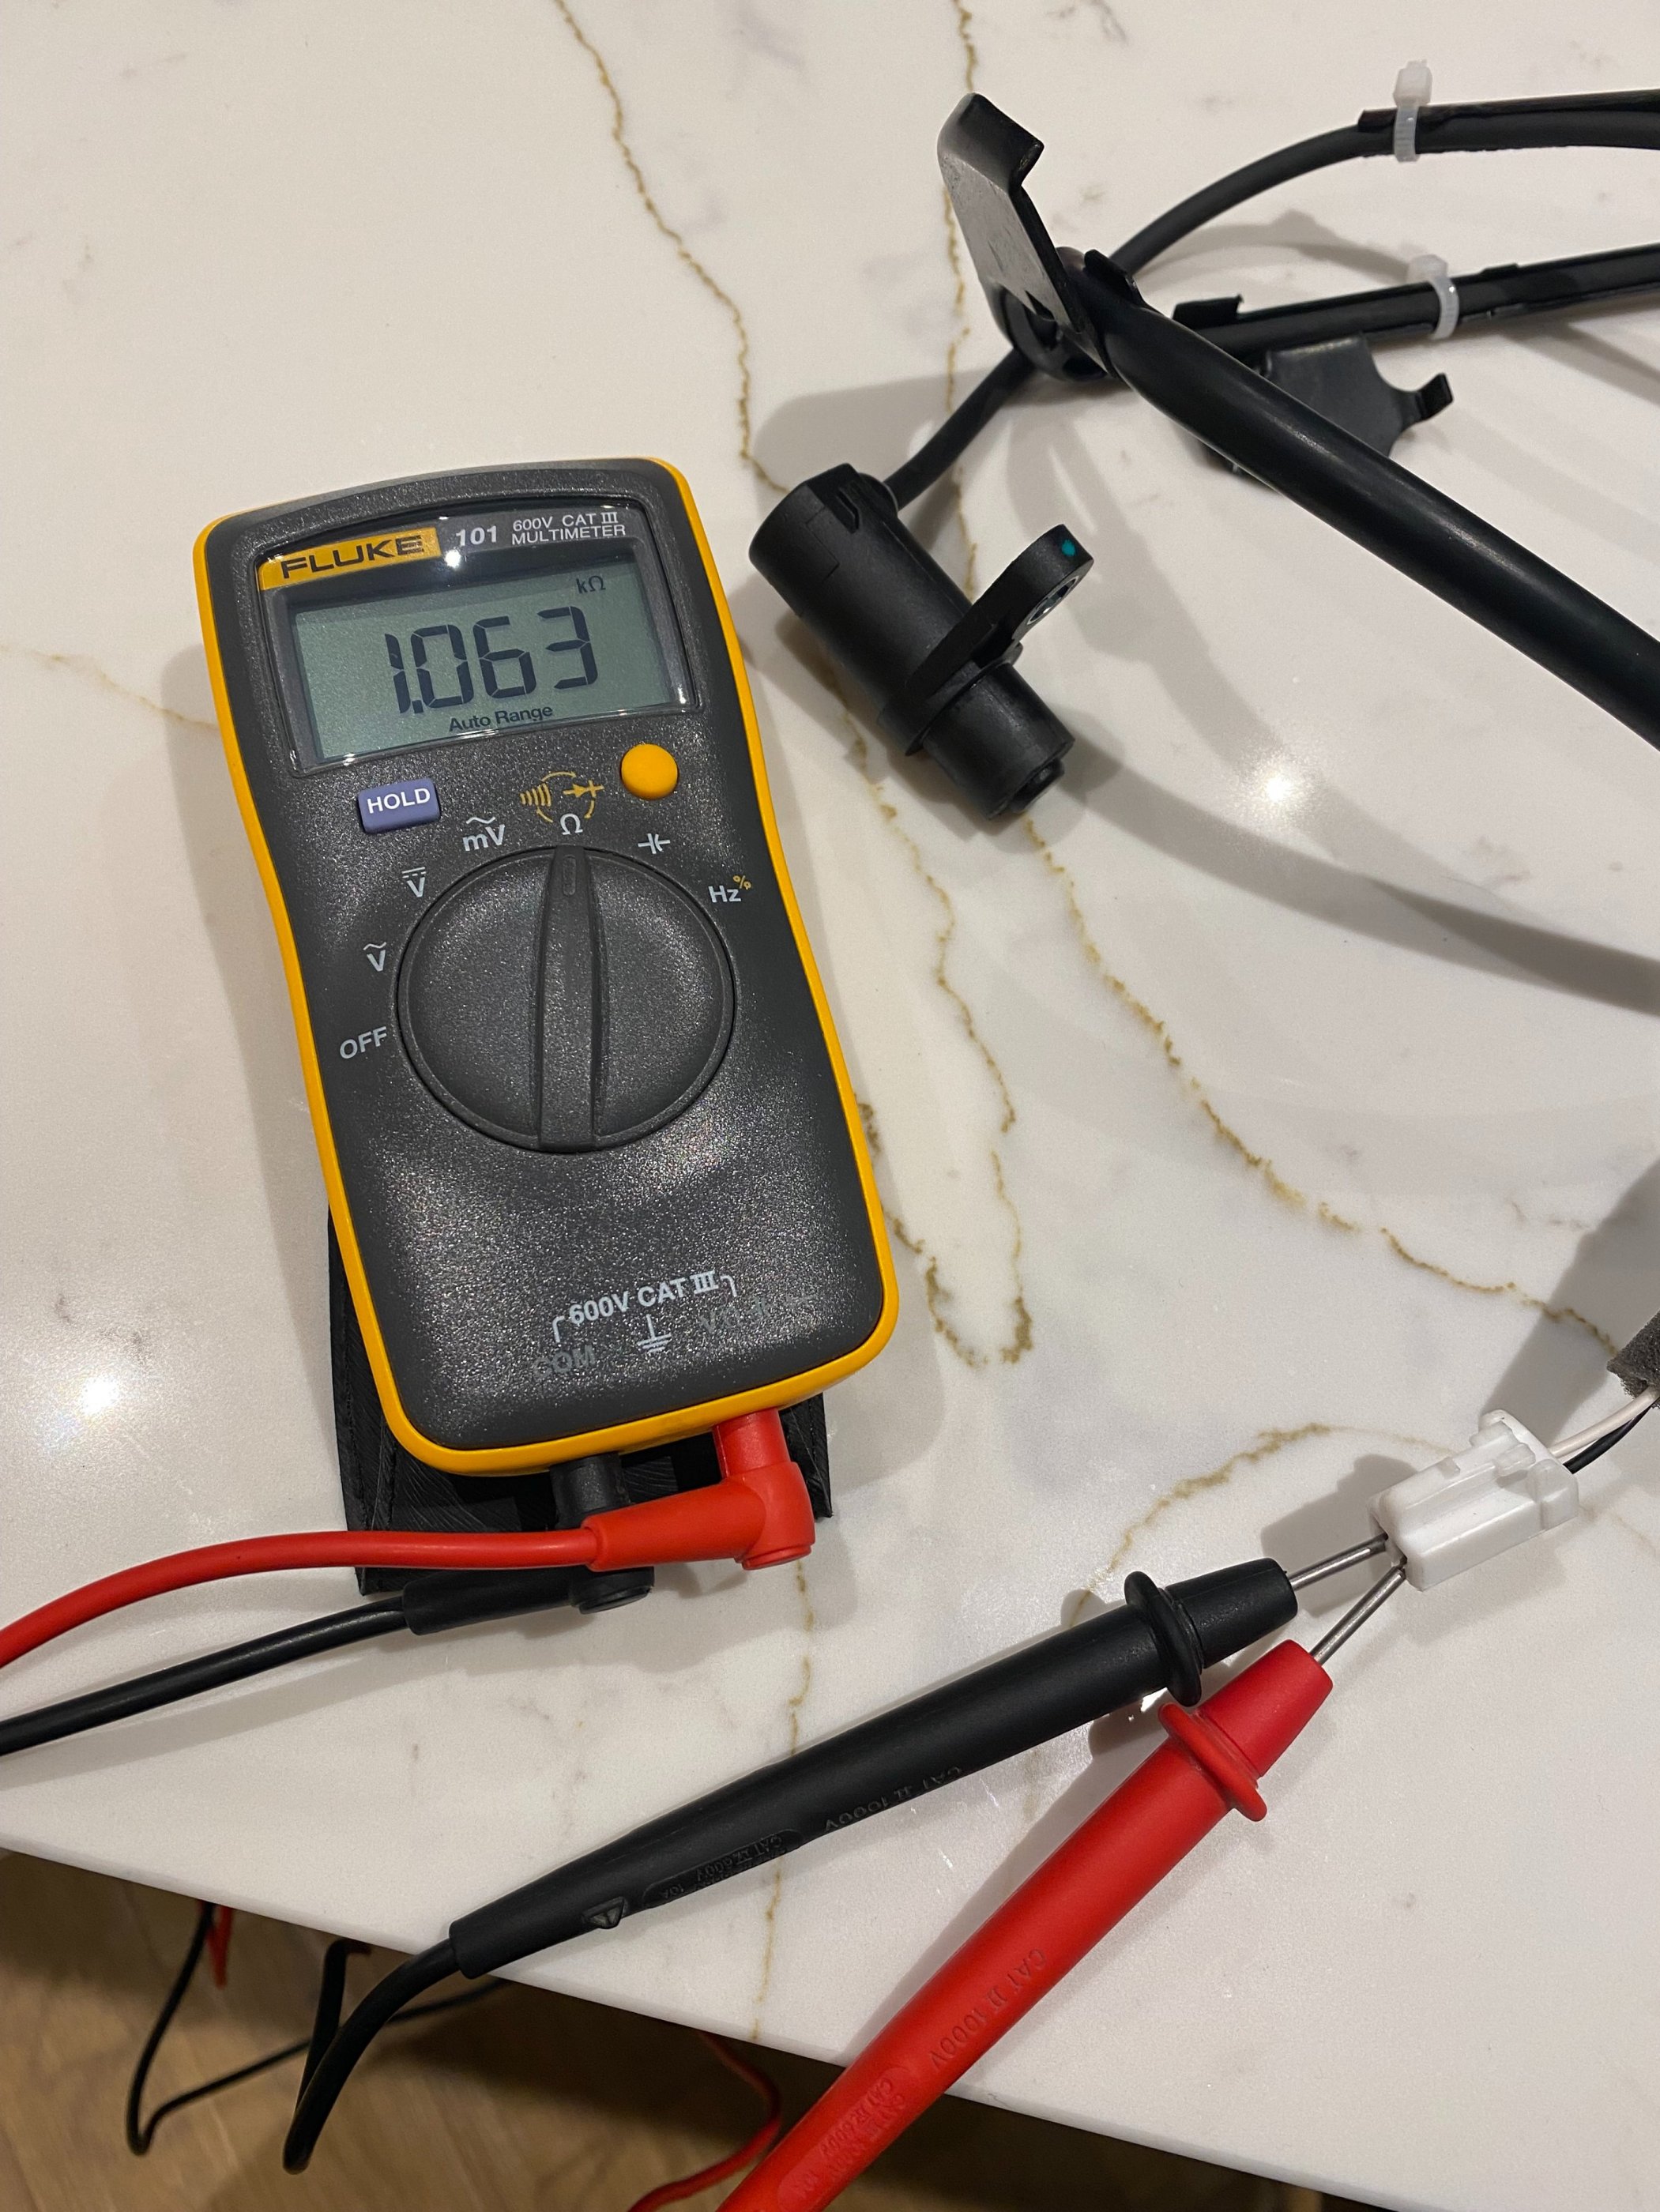
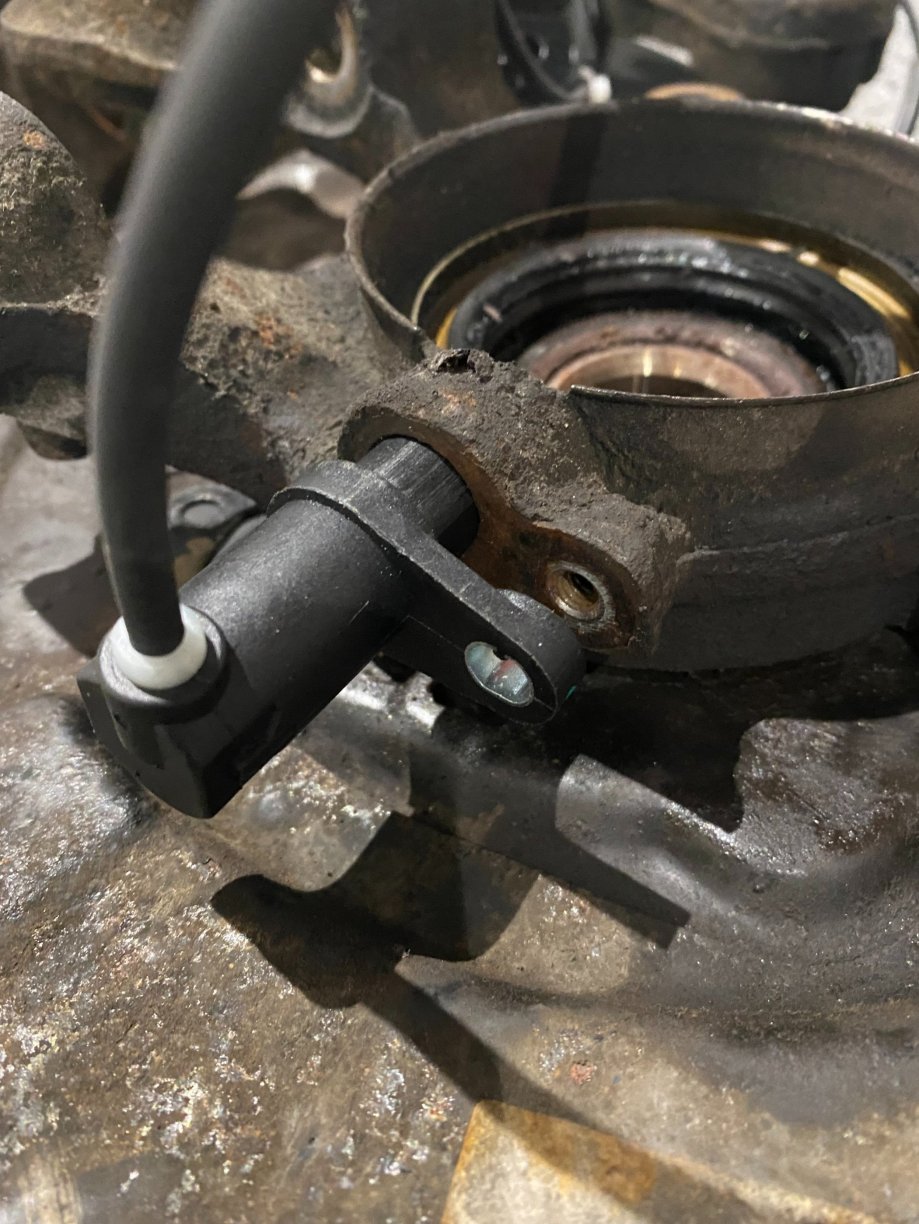
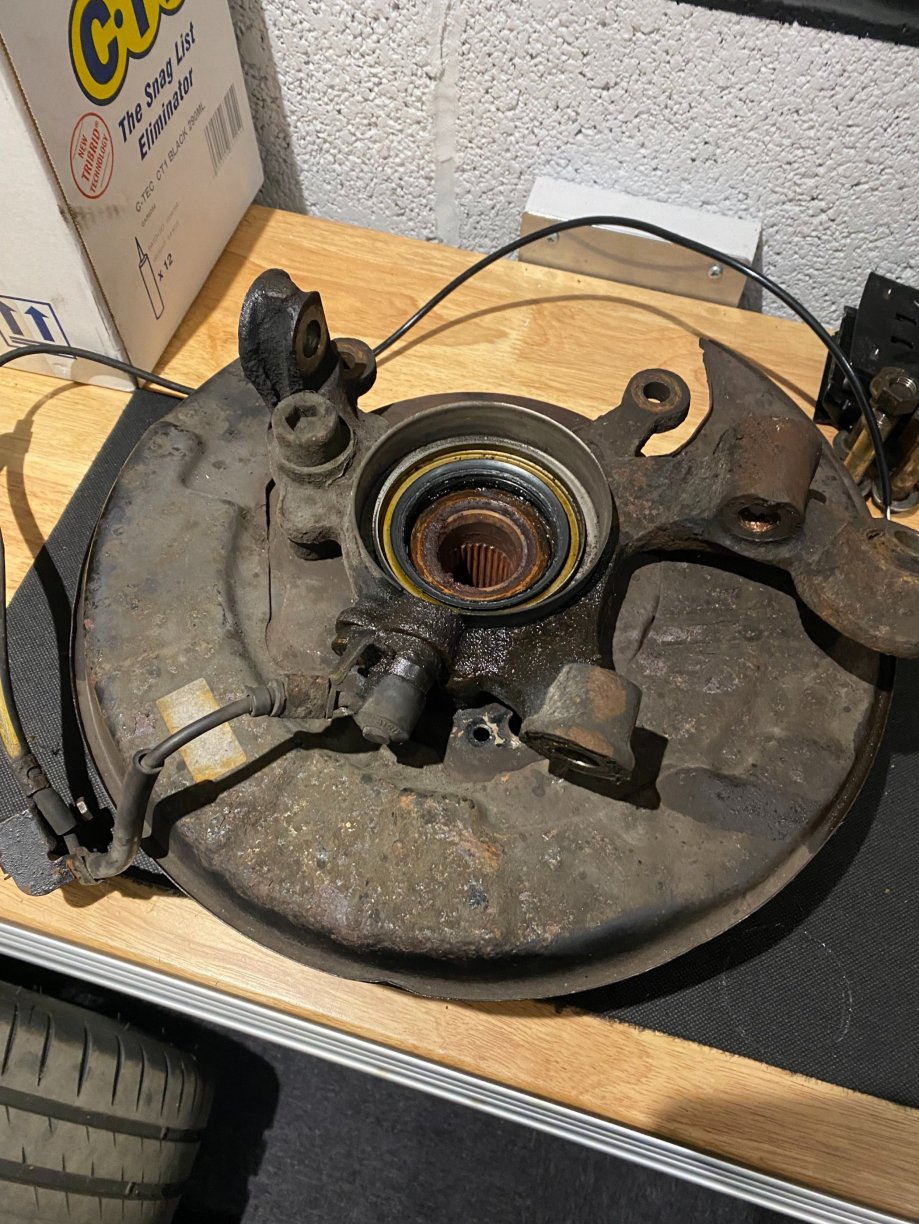
Due to me obliterating an ABS sensor and only one being still available which I believed none were (Thanks Matt - MWilkinson), I started looking at different Toyota models of sensors. Came across one for £25 delivered and thought it was worth a punt, sensor arrived today which seems to tick the boxes. My current rear ABS sensor reads around 0.9 Ohms which comparing to the new reads around 1.1 Ohms. Reading the ABS thread that Rider started, Toyota spec is 0.7-1.7 Ohms so I would presume all is good. OH Sensor does fit within hub and is the same tightness as OEM, cable connector looks identical and is around 50-60mm longer in cable length. As picture below, I didn't fit the sensor in all the way as I didn't want to struggle getting it out again without damaging. As they are the same diameter and length as OEM I don't see any fitment issues occurring. I'm going to buy the O/S/R ABS sensor which I have found for £32ish and try these out, worst way they don't work or promote fault codes they are fairly easy to replace at a later stage. Once I know these do fit, work correctly and without any fault codes I will update Riders thread with the sensor details.

-
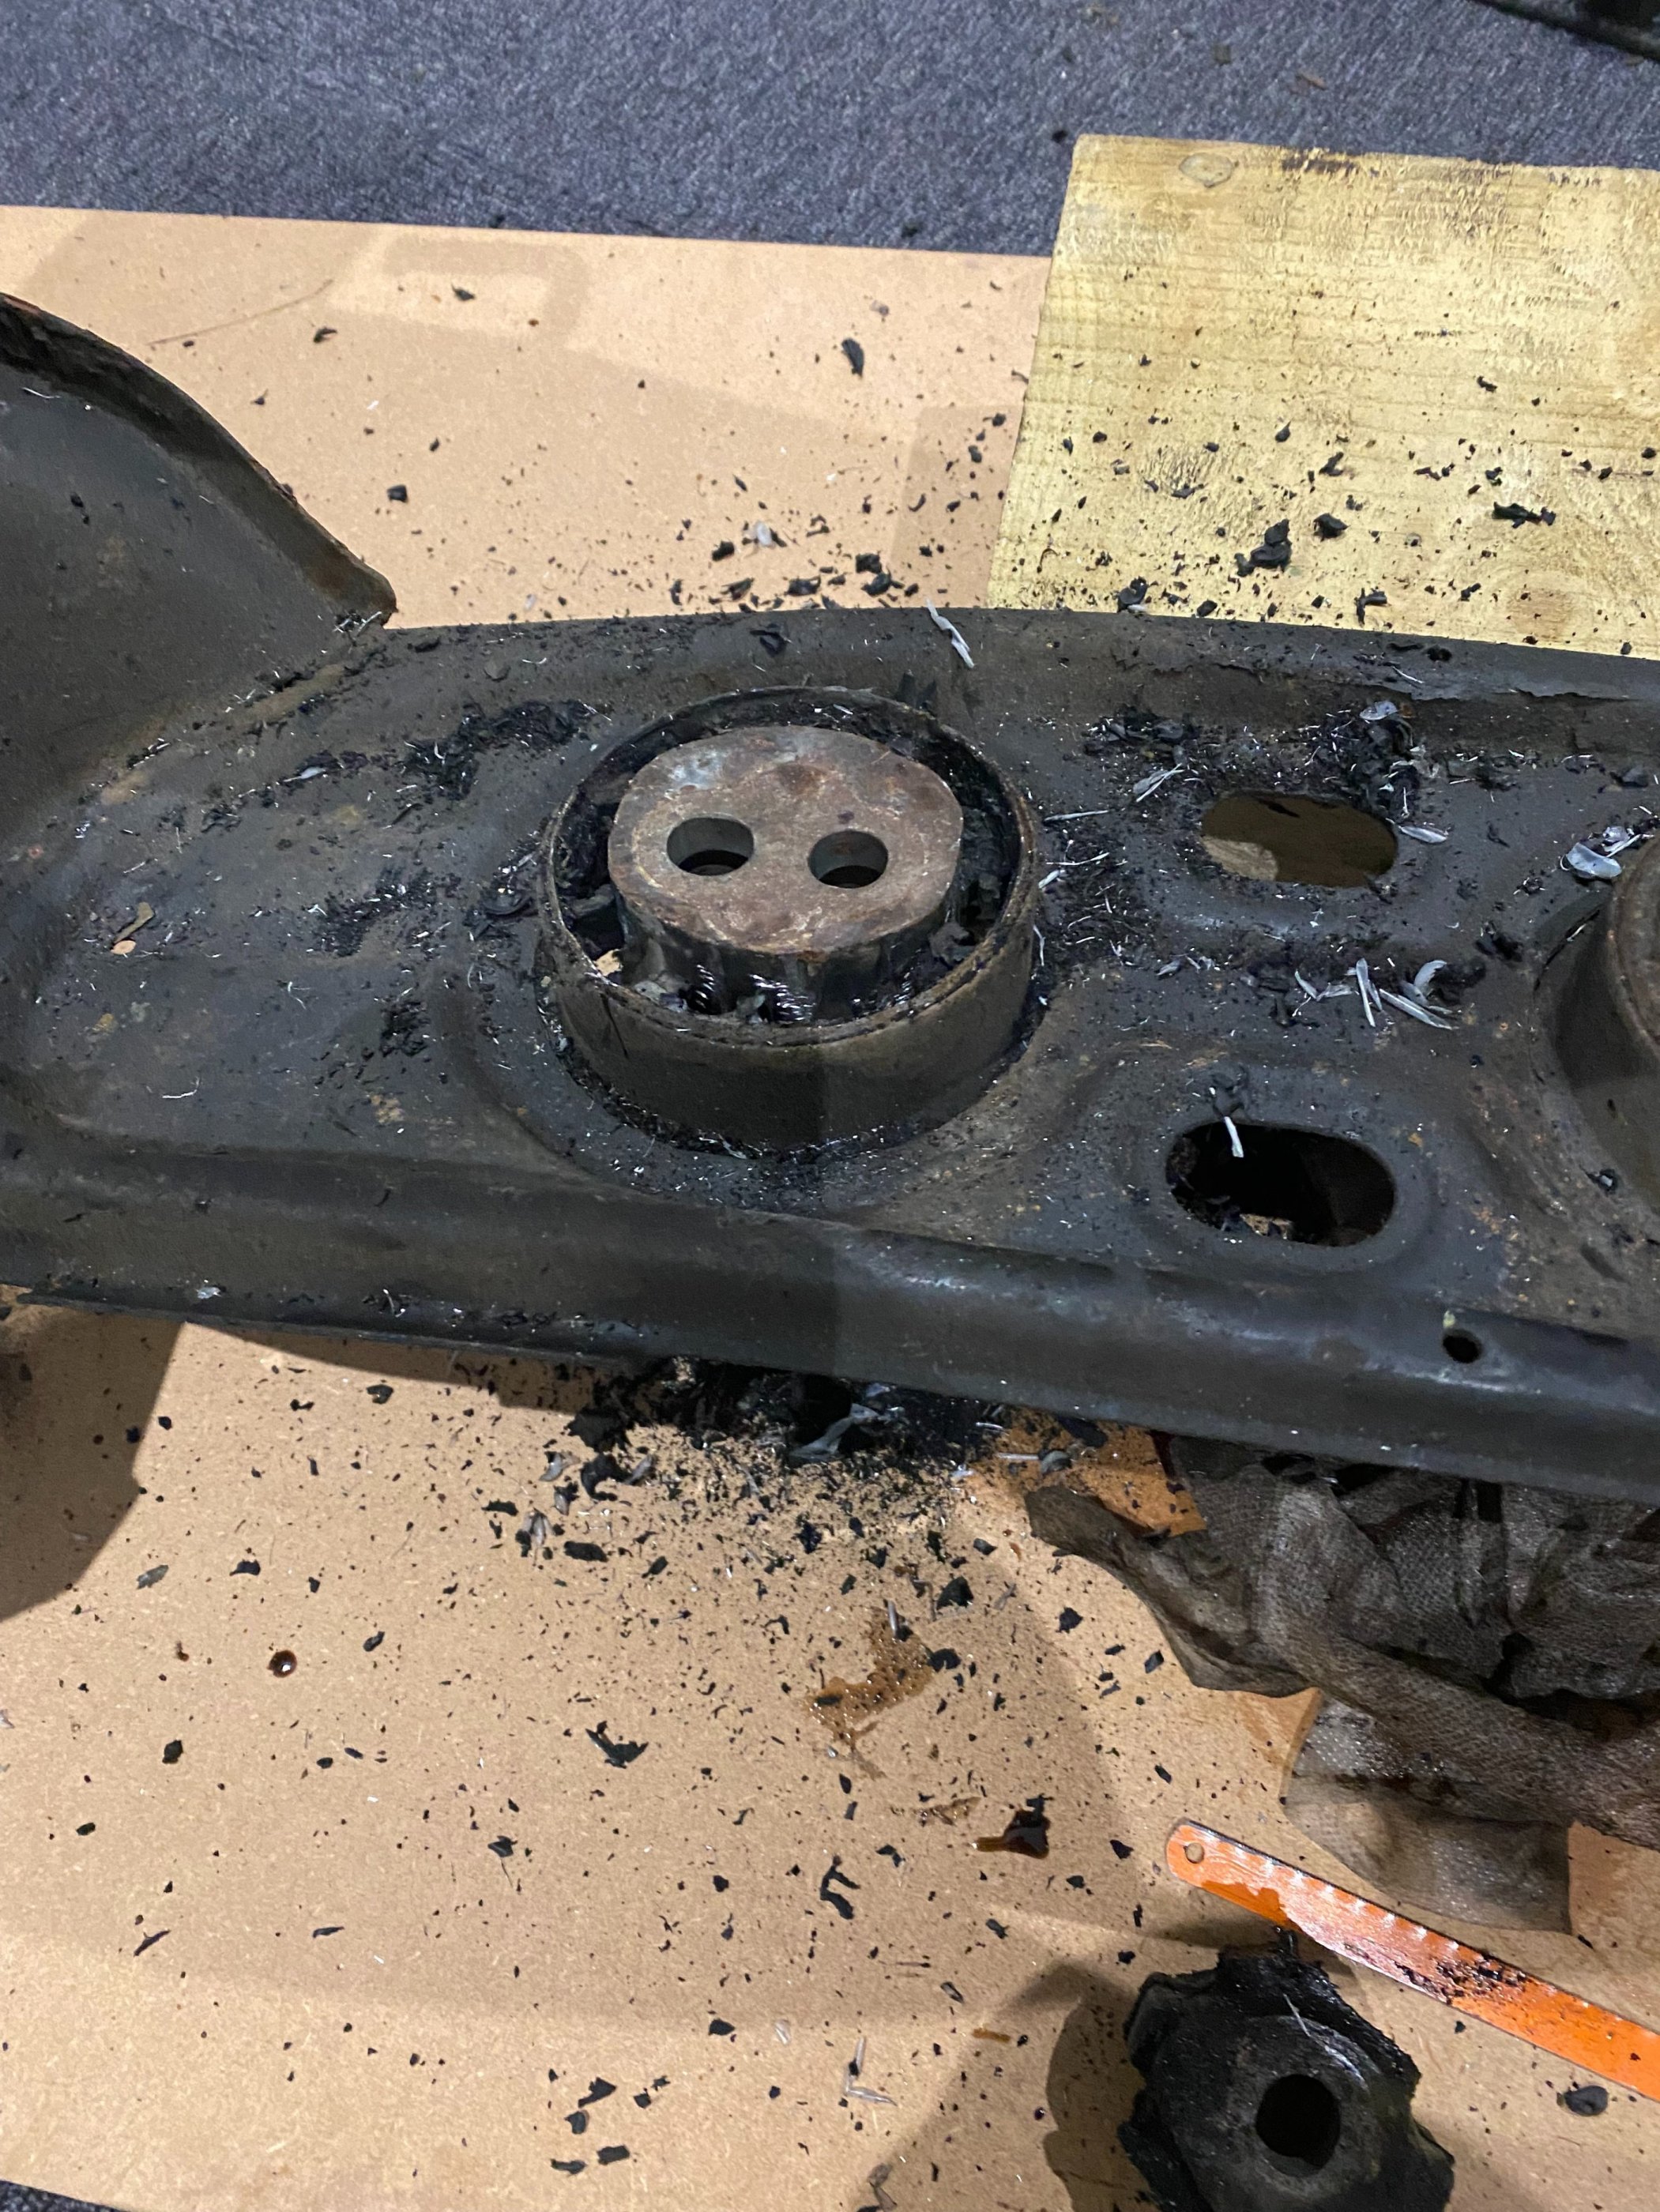
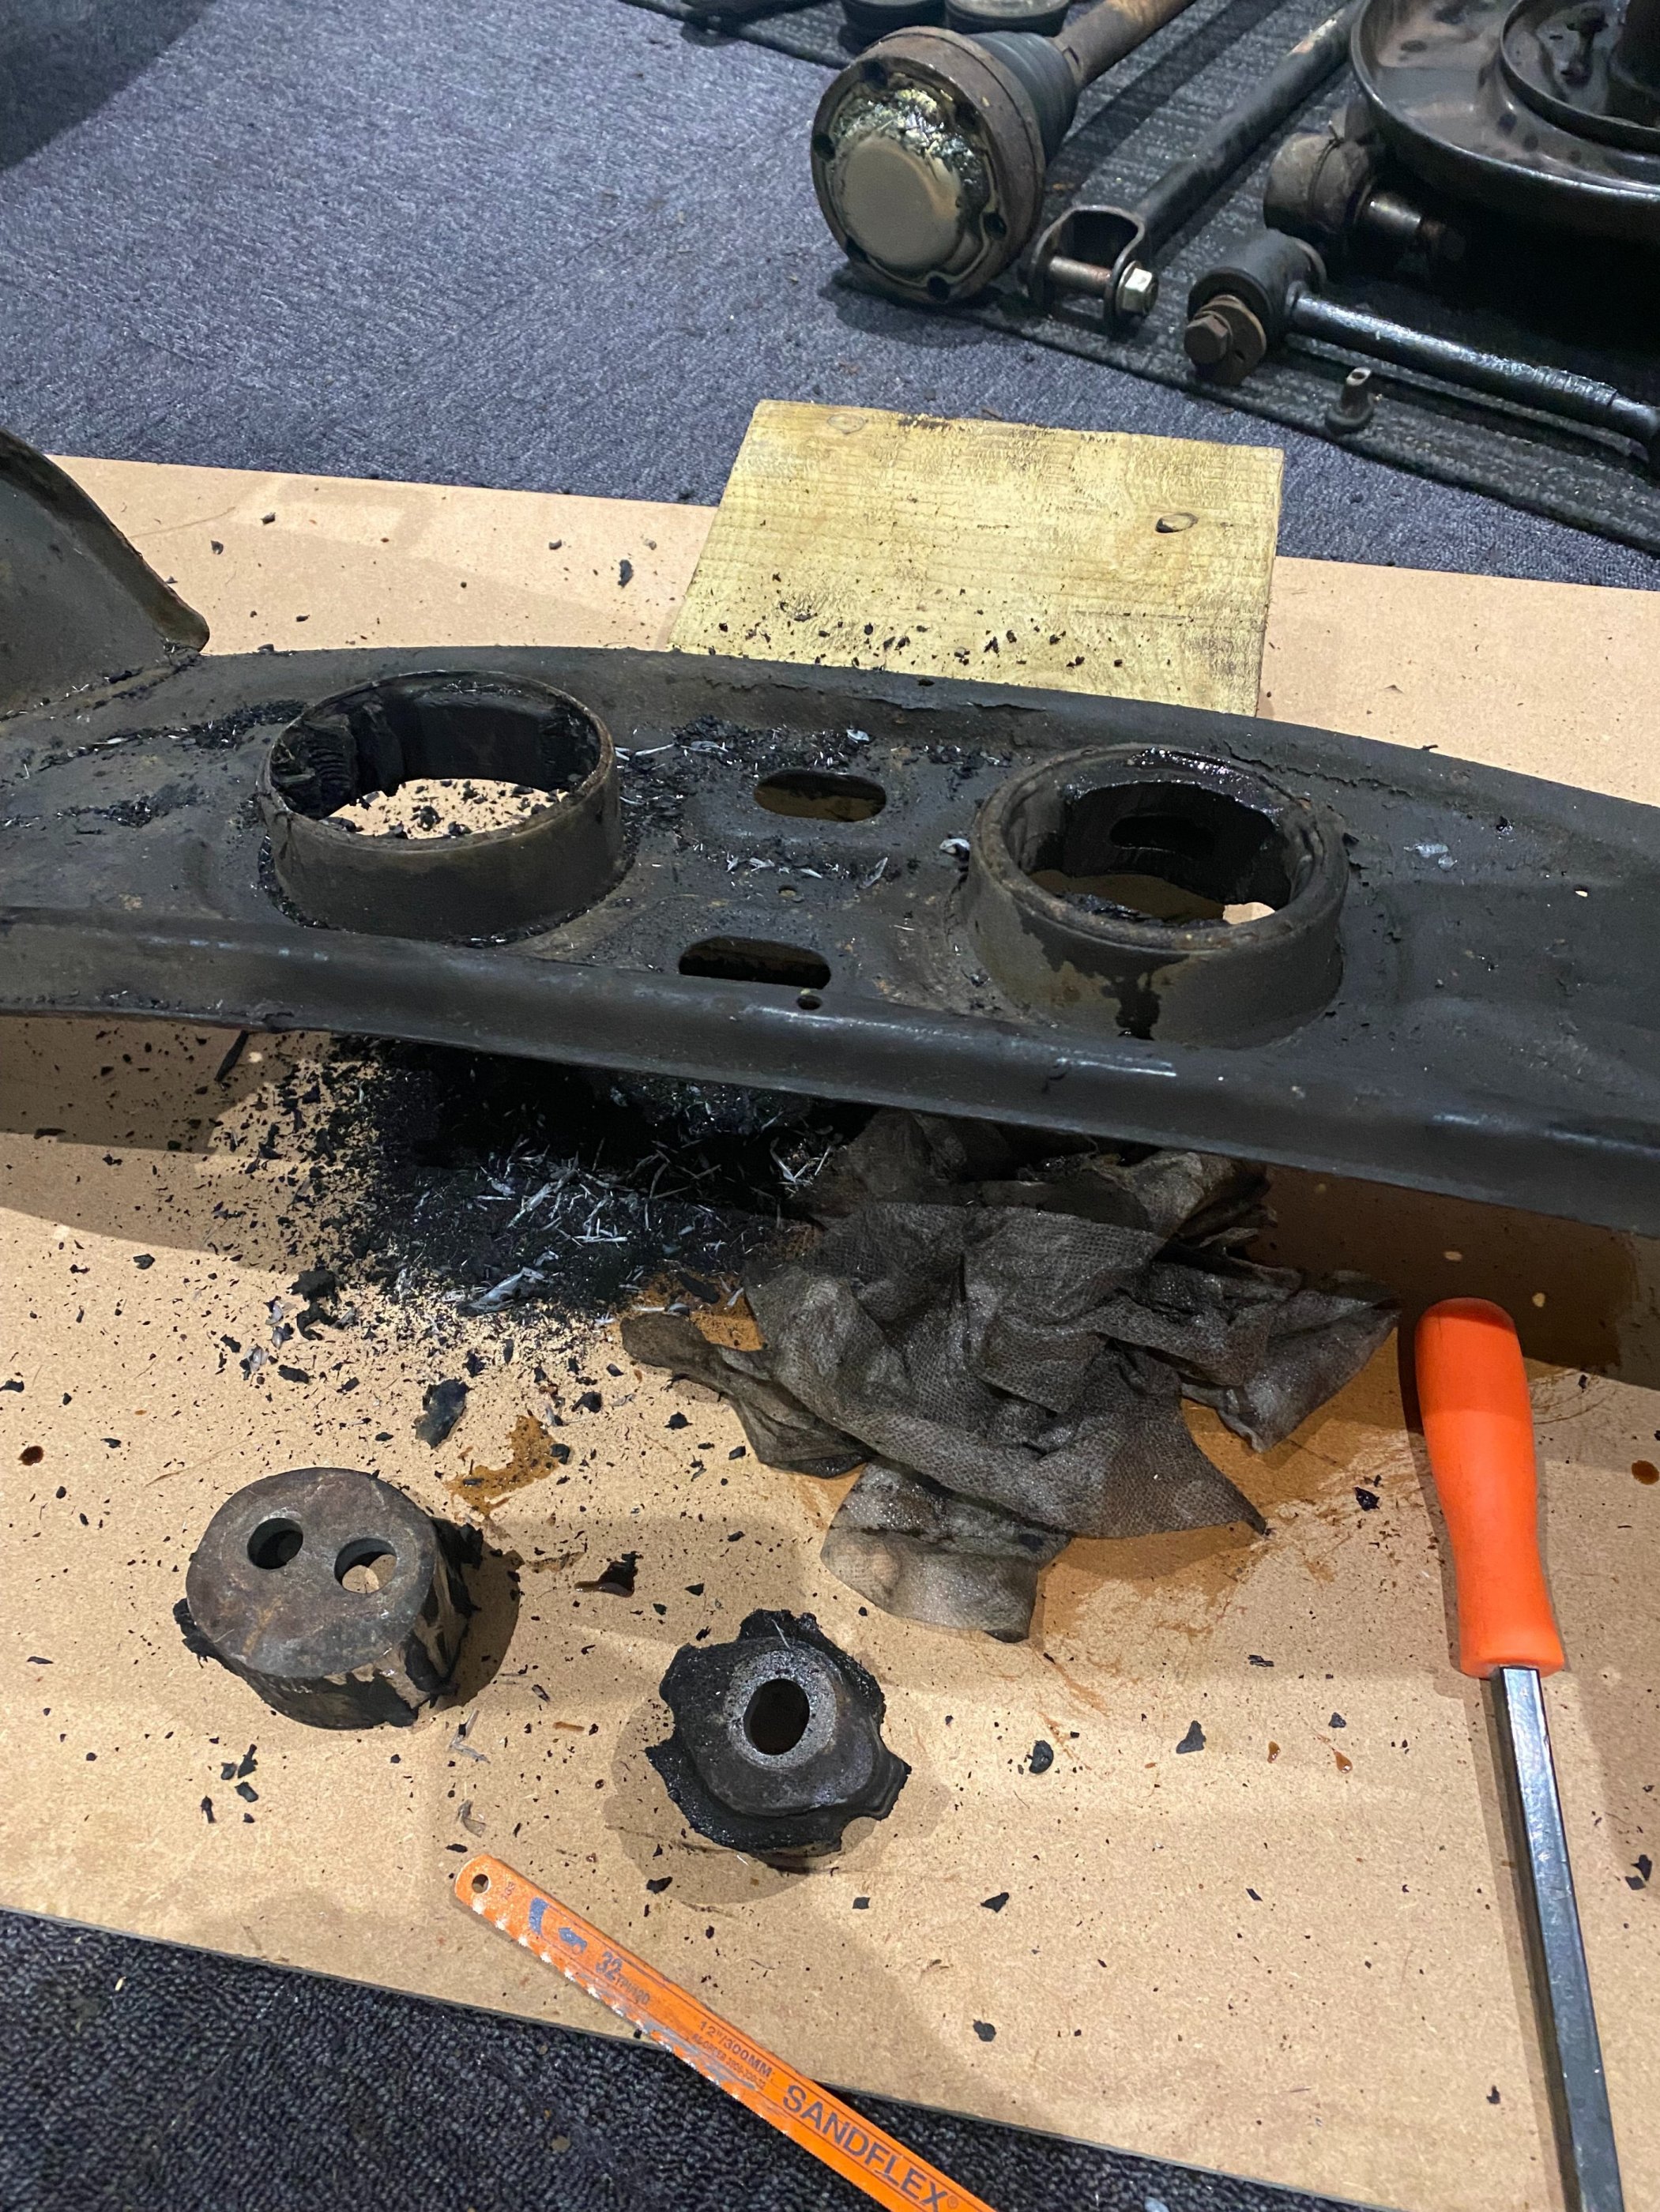
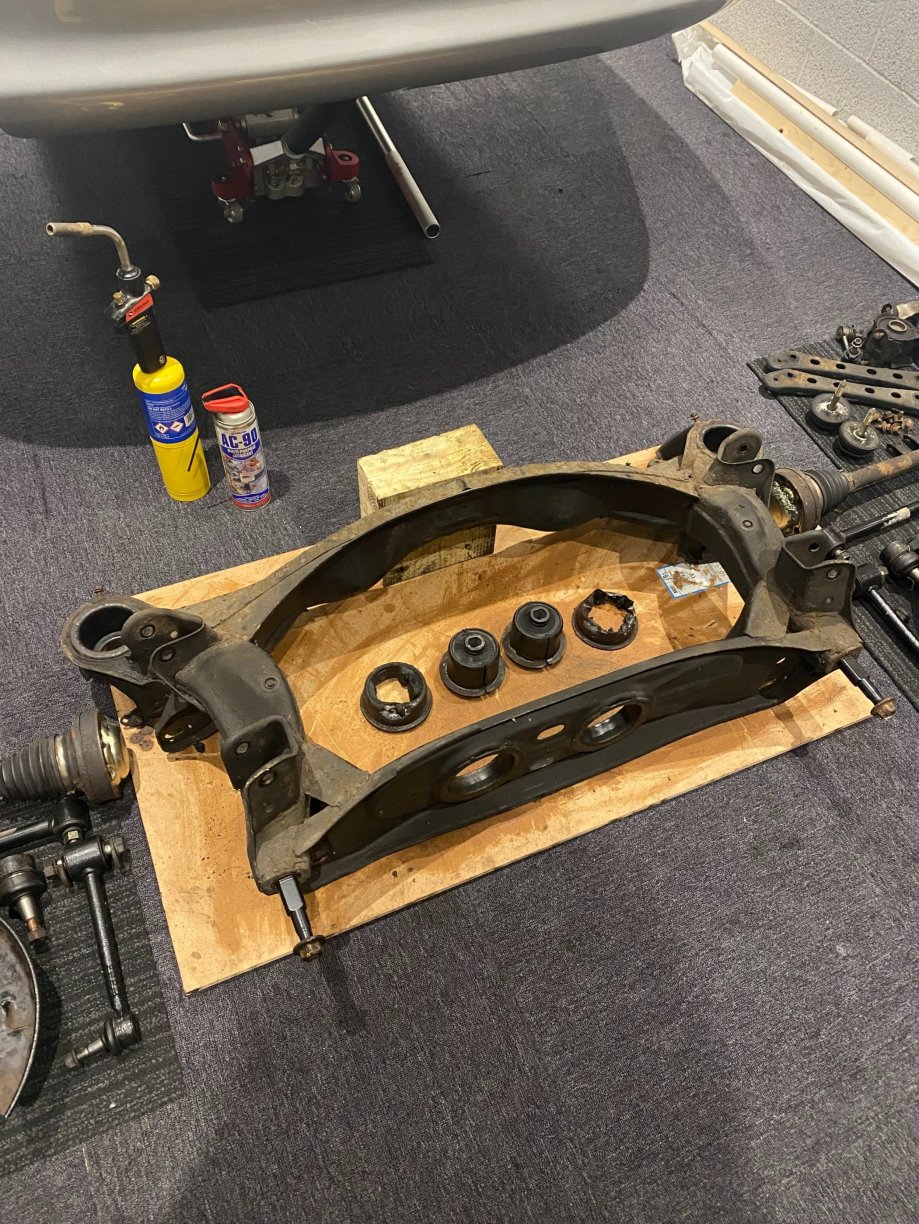
Manged to spare a couple of hours in the garage tonight, managed to remove the diff plus all 4 bushes from the rear subframe. Removing the diff pretty simple task, 2 x bolts (19mm IIRC) diff ear mounts and 3 x Hex bolts diff to subframe bushes (12mm). Once removed I was surprised of the weight of a bare subframe as I expected more. I then went on to remove the diff subframe bushes by starting out drilling the rubber within to remove the centre metal block to give access for making a relief in the bush metal outer sleeve. The diff subframe bush with 1 x fixing mount does have fluid within, so for anyone you might be doing this on their own subframe bear this in mind as it comes out with force! After removing the rubber, using a hacksaw blade I made a cut in the metal outer sleeve so I had a starting point. Using heat and penetration fluid I slowly tapped both bushes out, took my time with these as I didn't want to mark the subframe. Once out, I moved onto the last 2 which require being levered out from the top. There are 2 x metal retaining brackets that you need to remove first, then again applying heat using a small chisel you can lever these out fairly easily until you have the room to tap out from the top. That was that, one subframe stripped ready to be refurbished barring the 2 x plastic cap things which I'll look in better detail when I'm out in the garage next time. Still unsure which way to go with it, thinking about having it galvanised but unsure. Something I want to get arranged soon to keep the motivation up! Next on the list is splitting the rear wheel hubs and removing the brake shields so they can be sent off to be blasted, see how this weekend goes


-
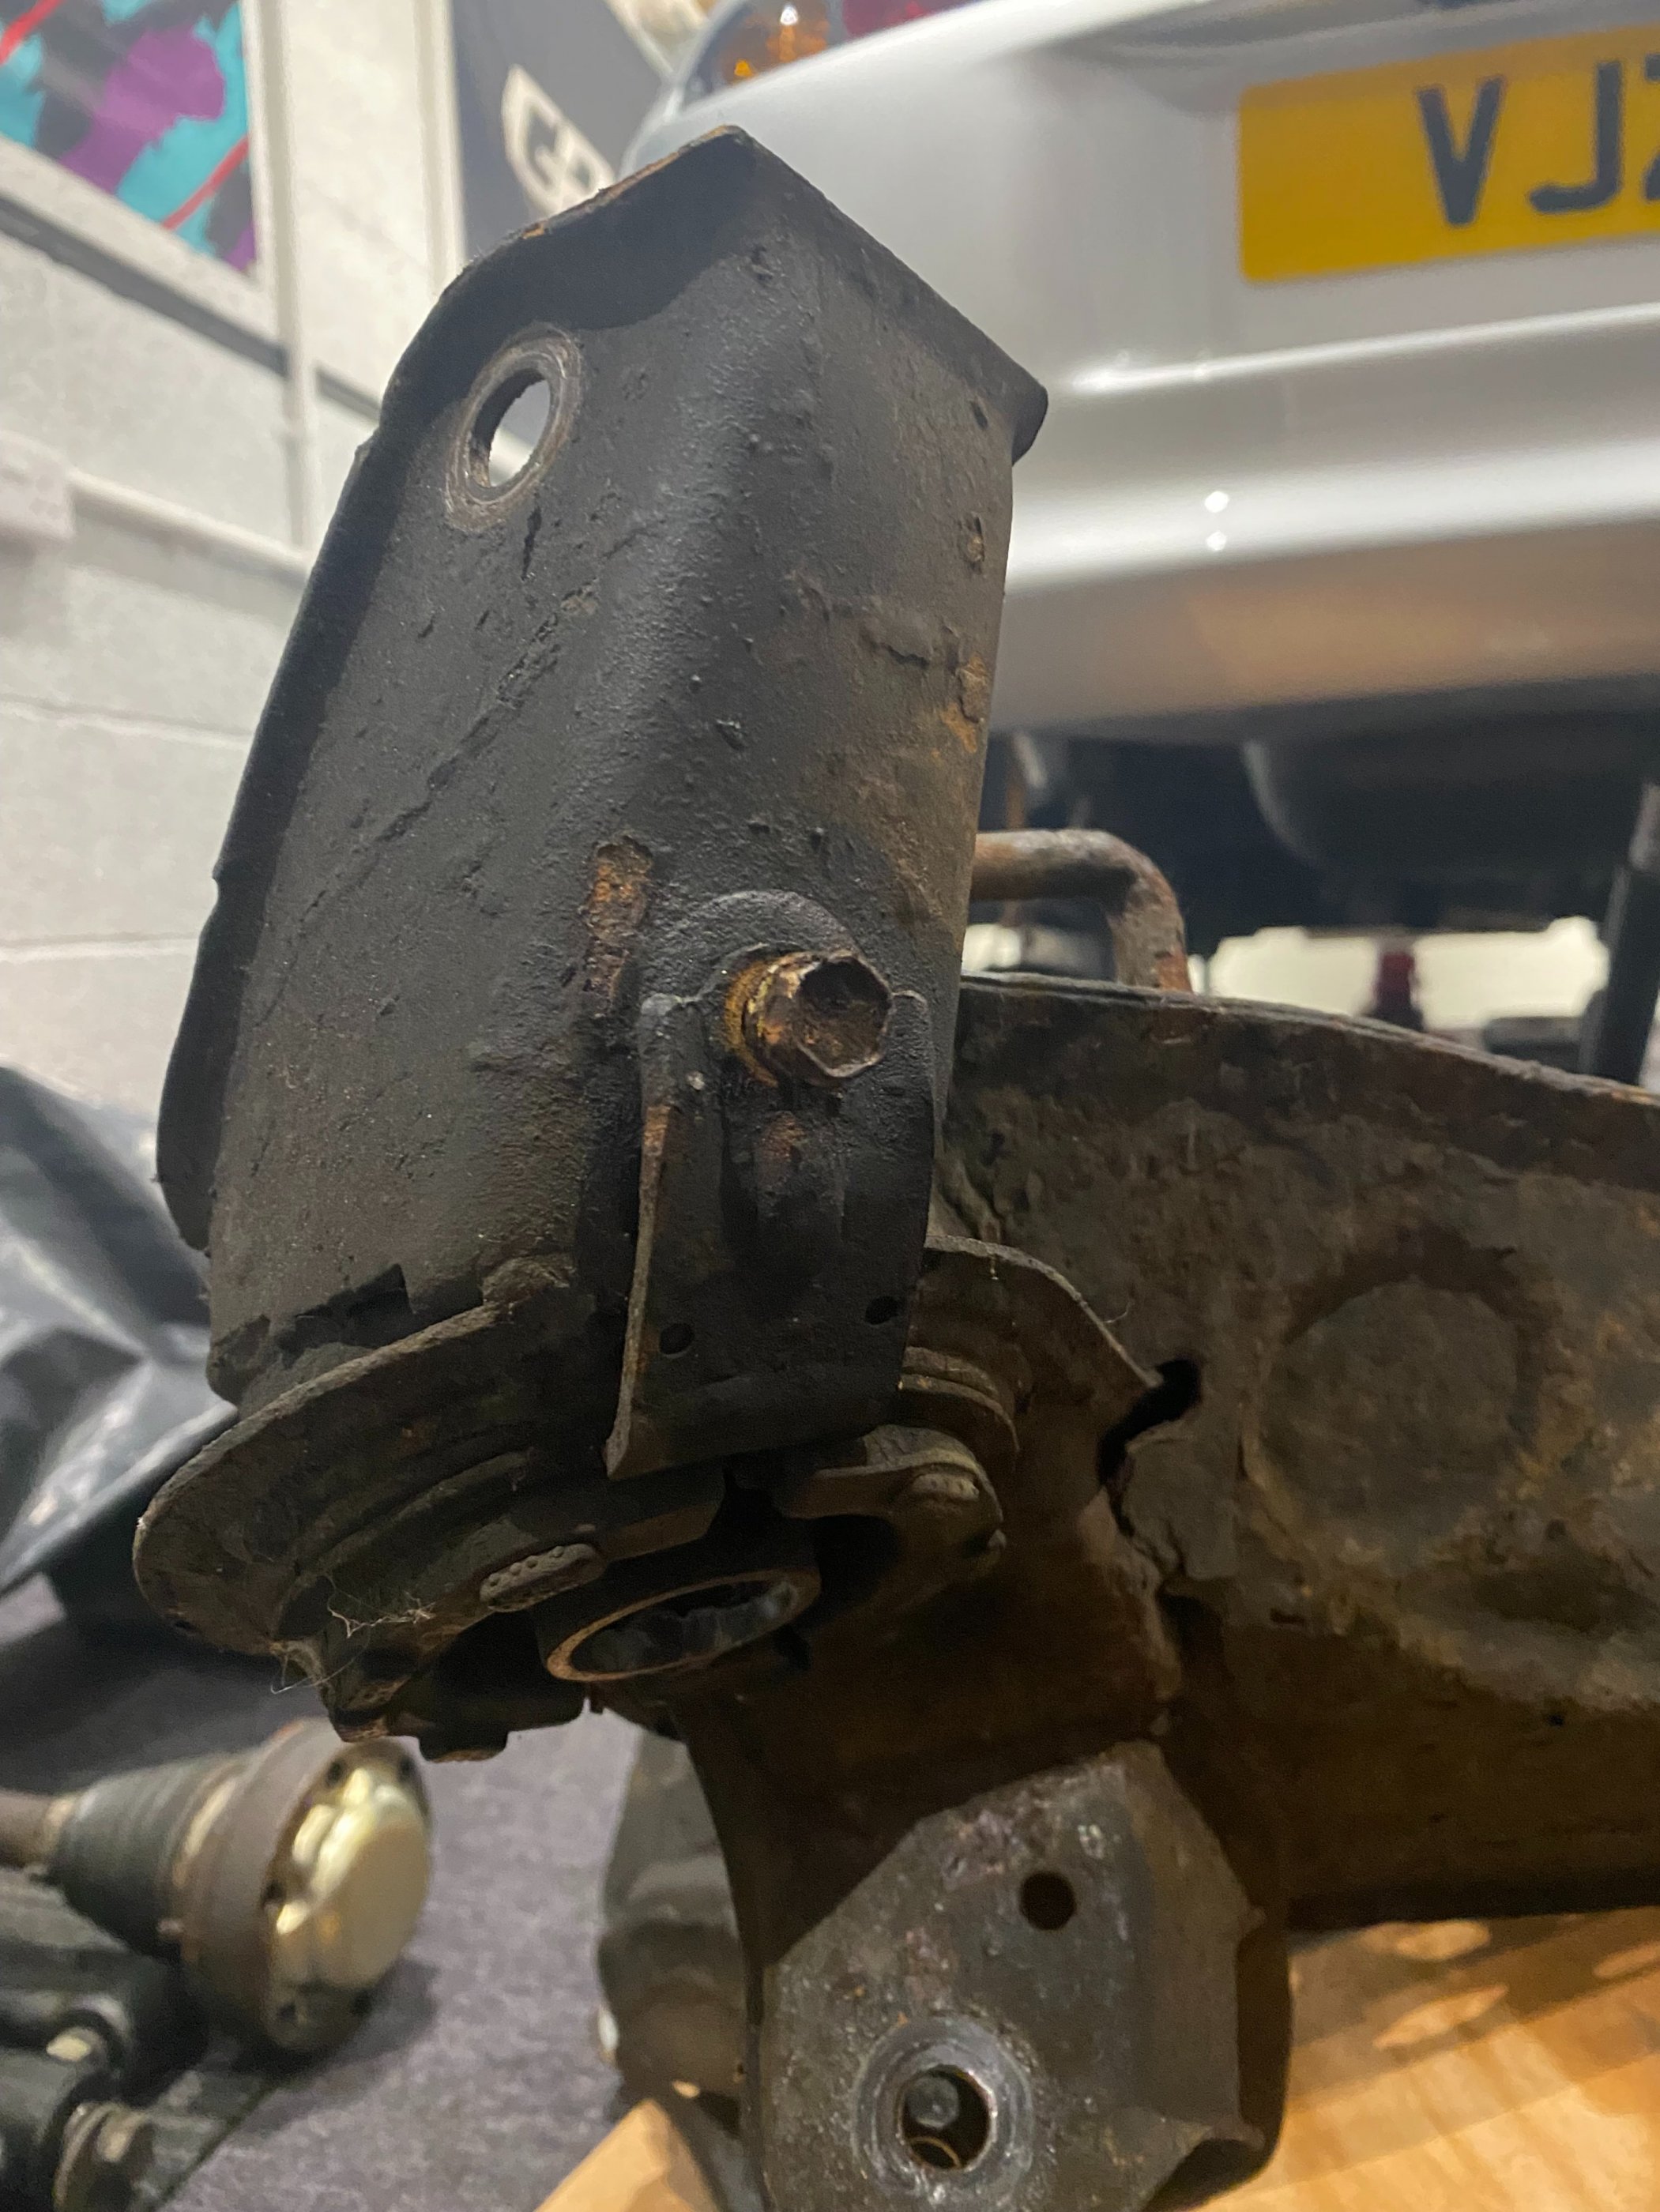
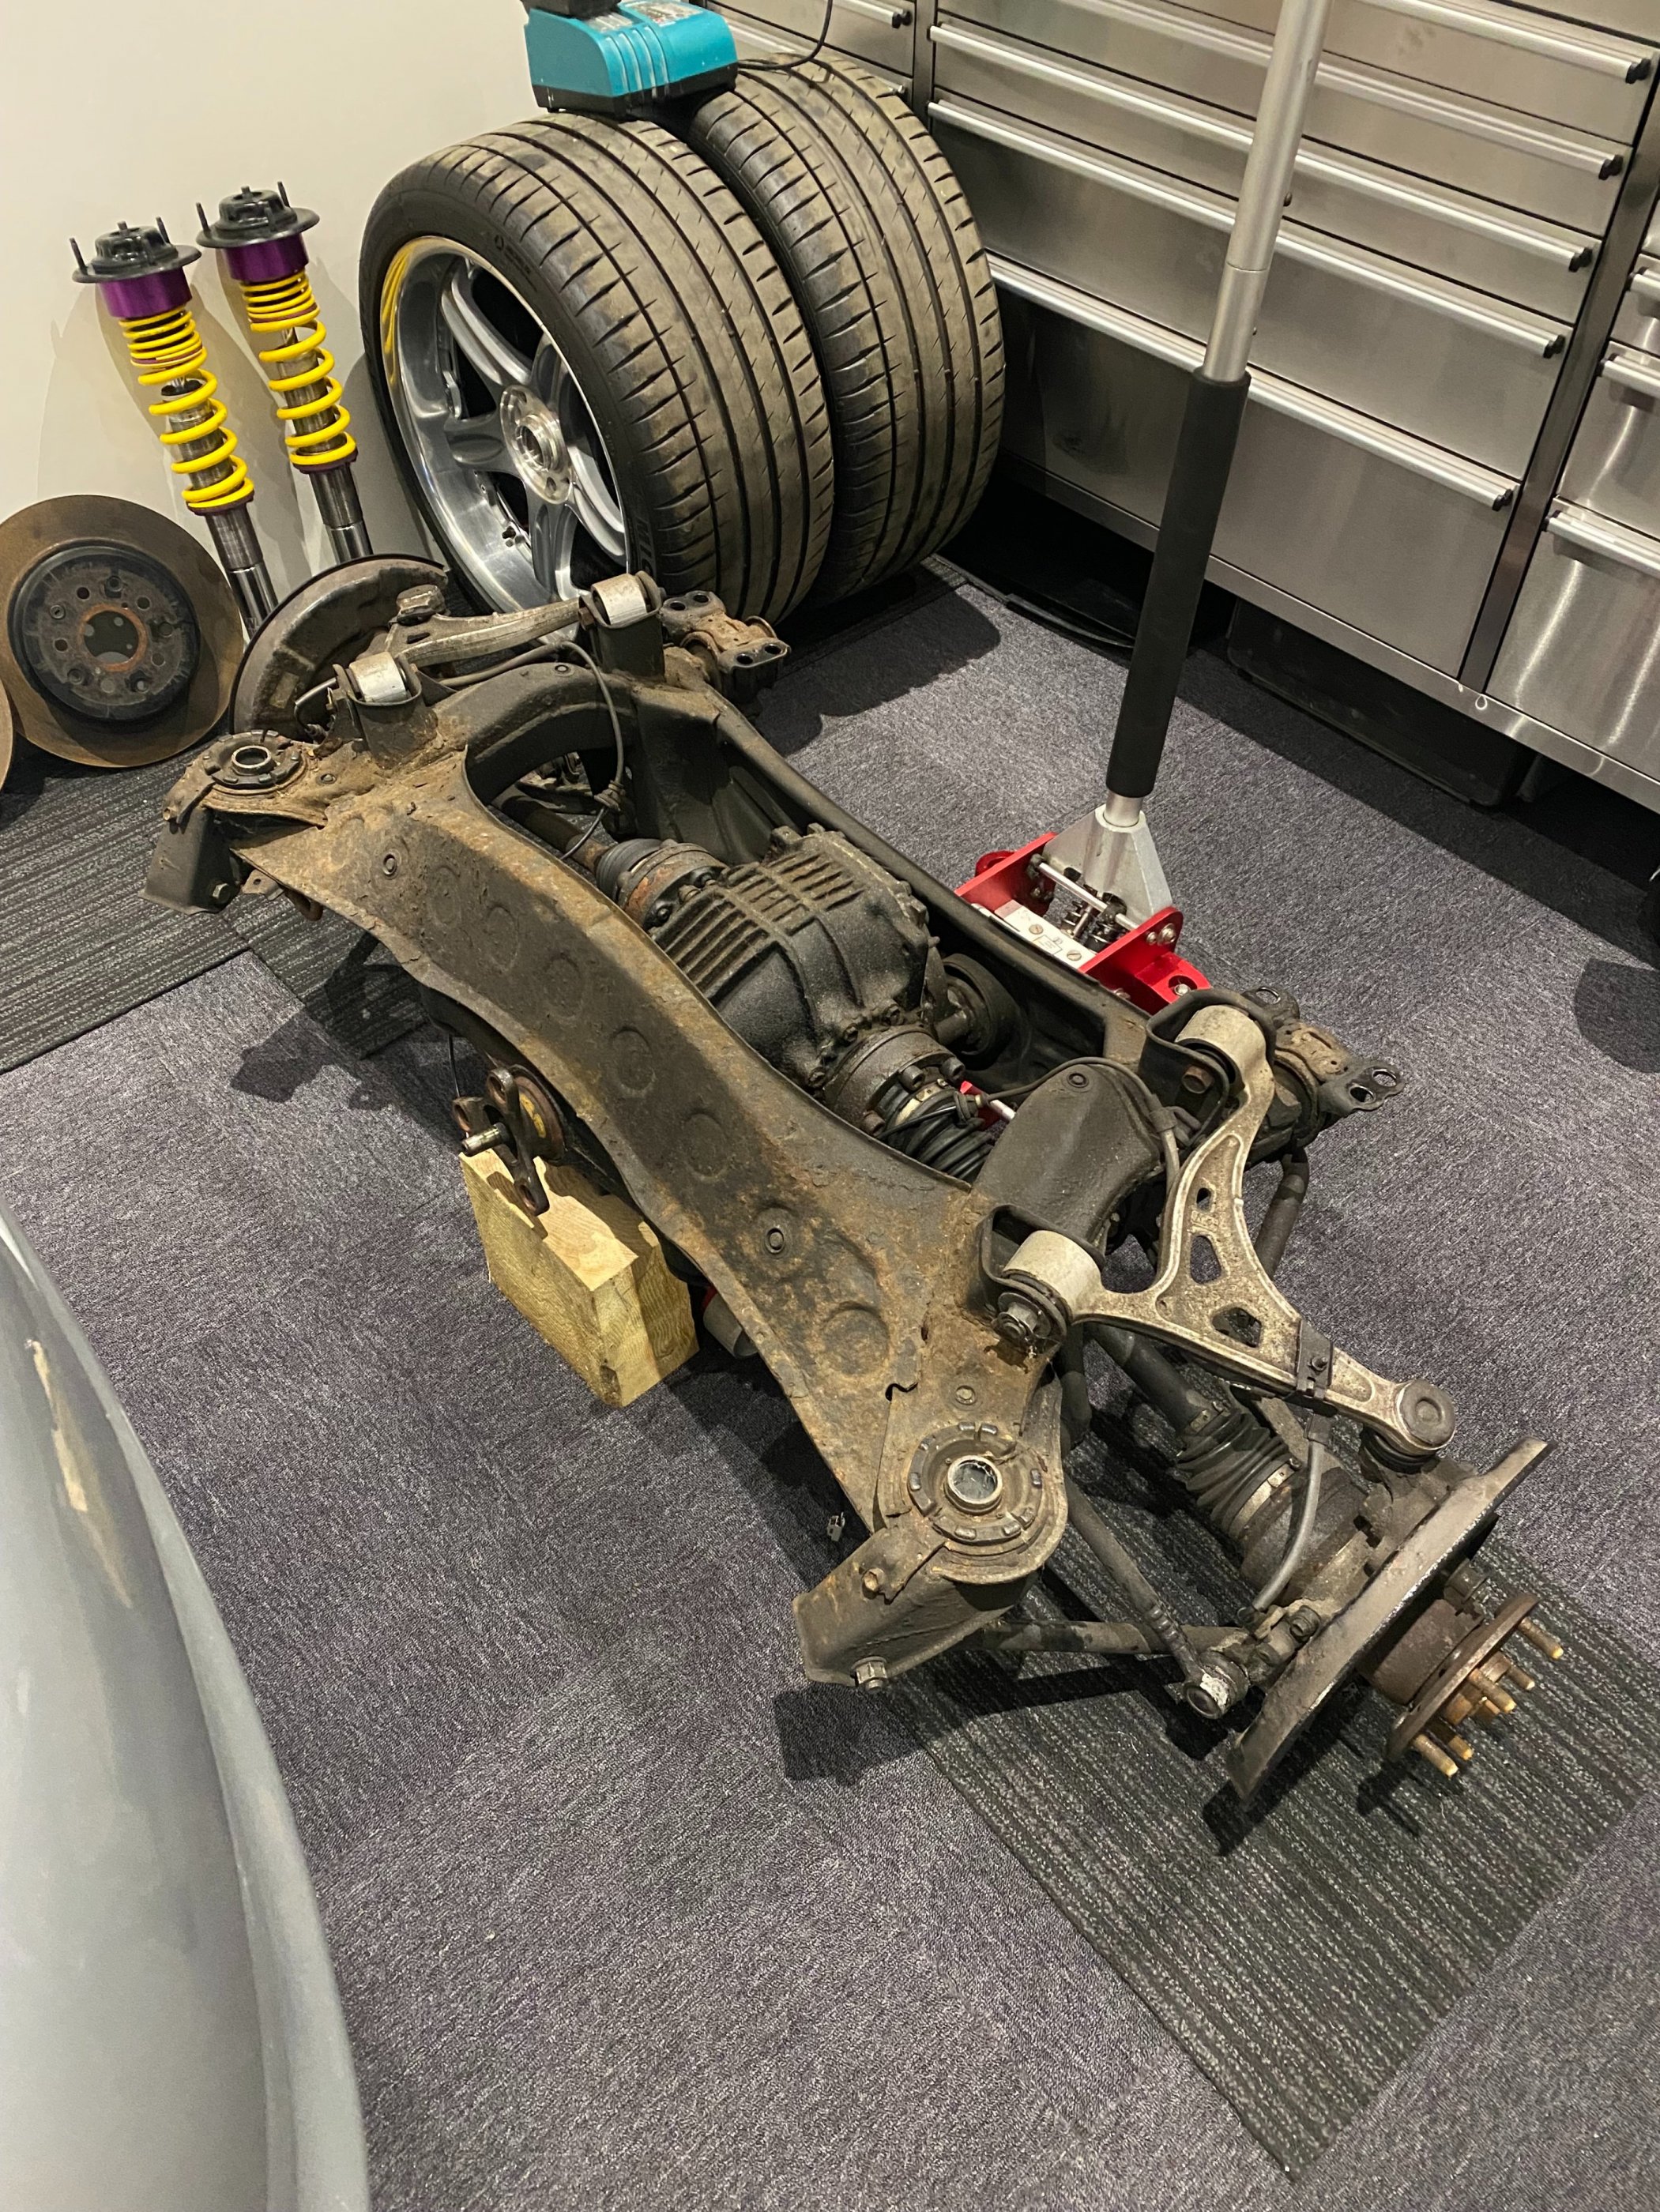
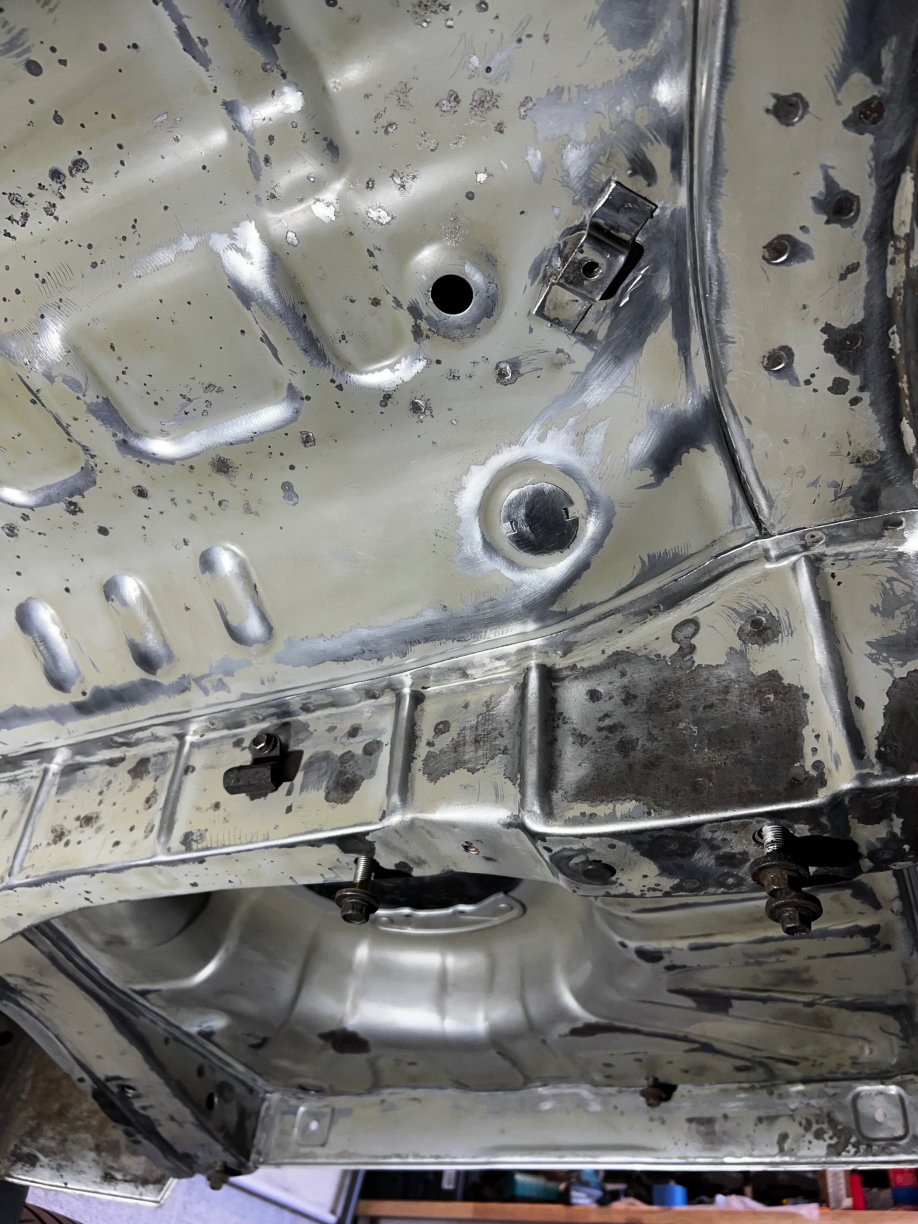
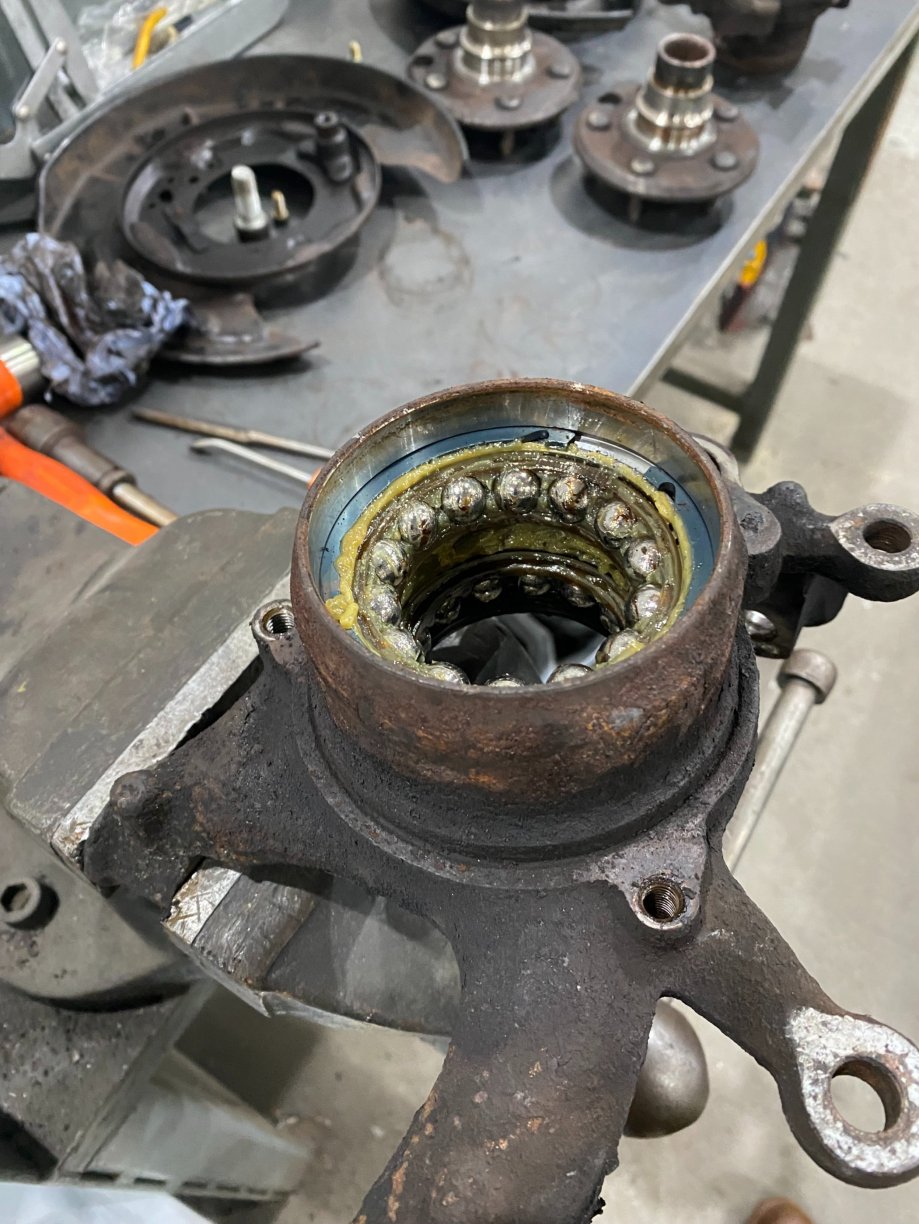
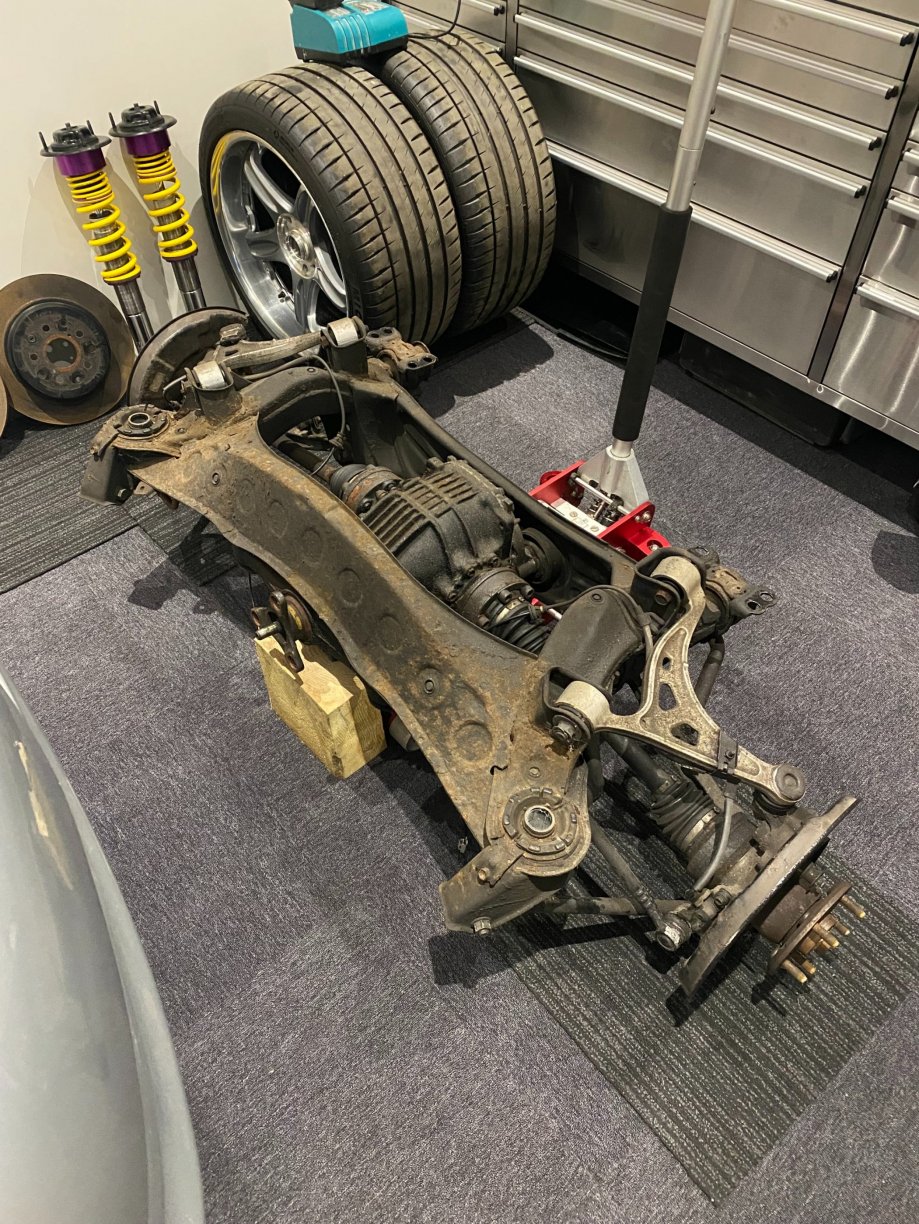
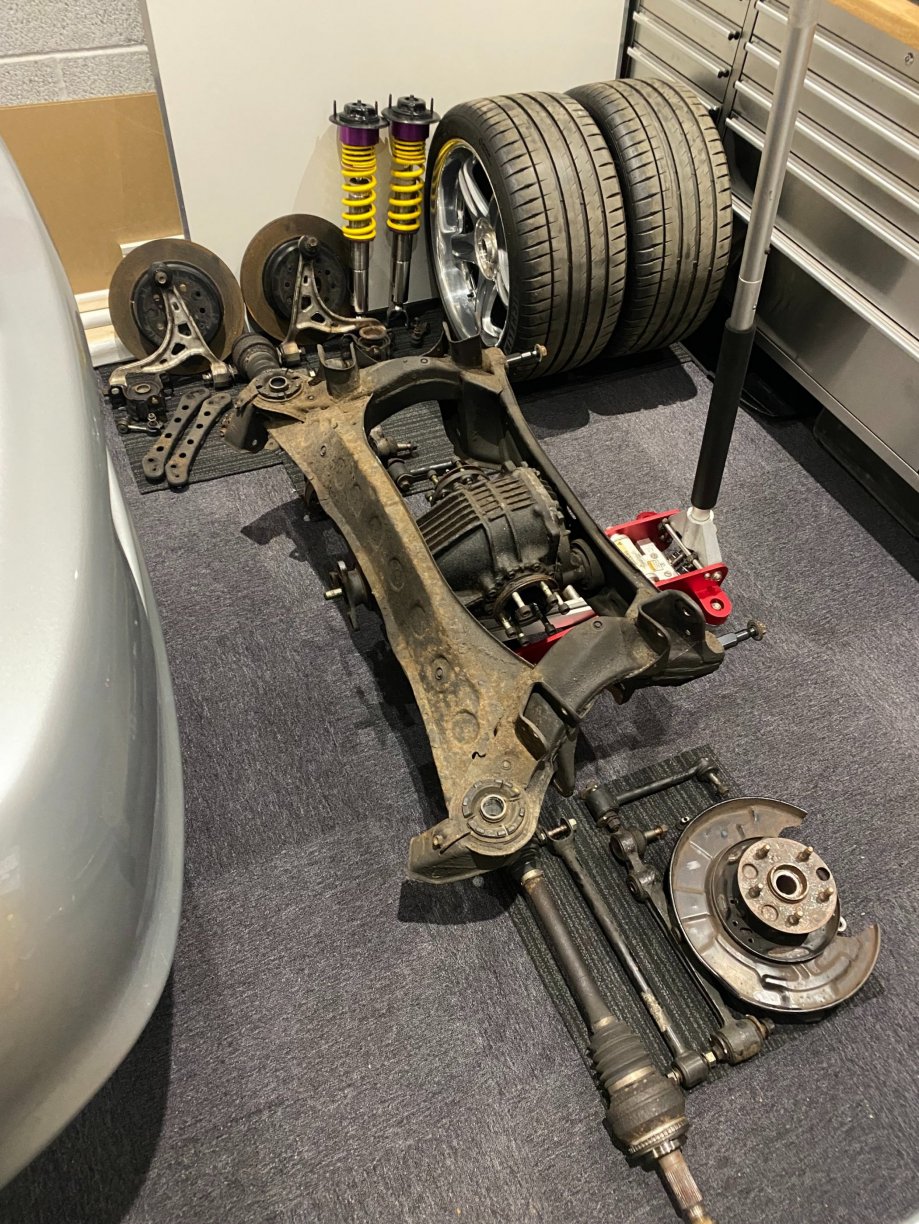
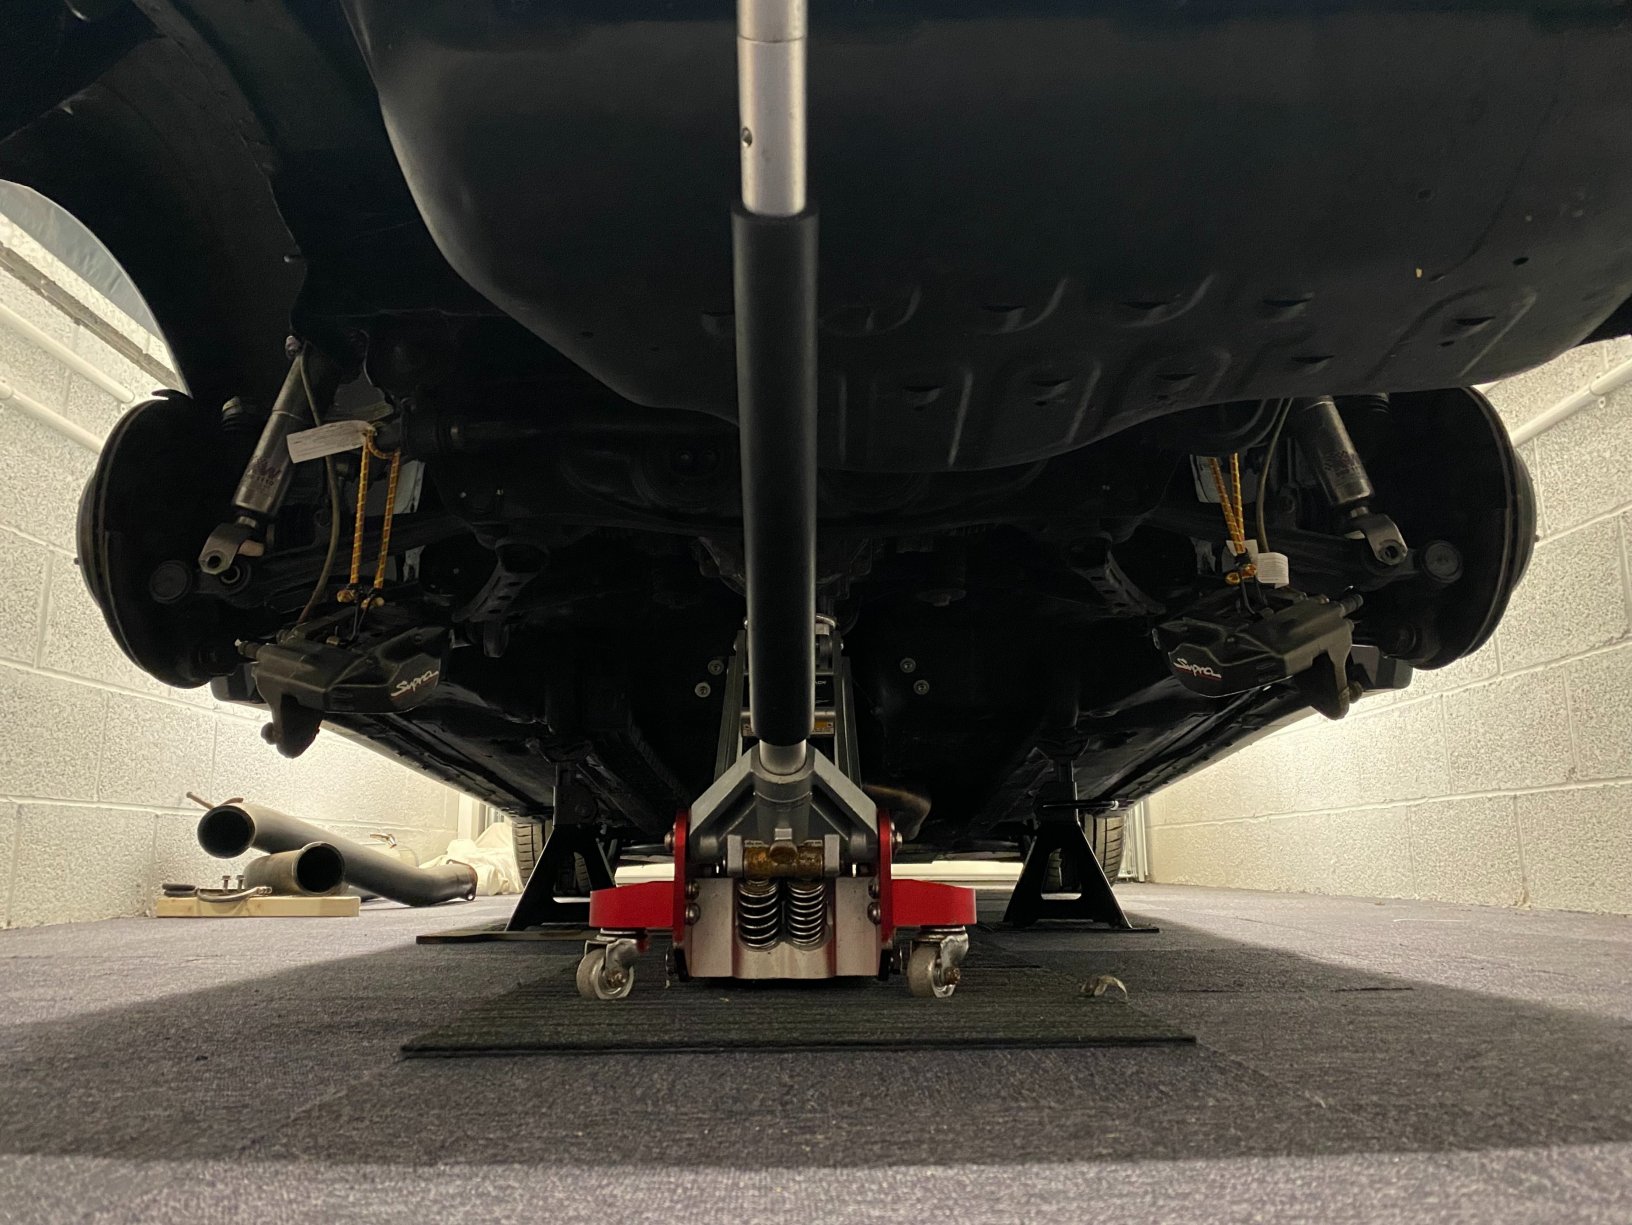
I had a couple of hours spare the next day so my task was to get the rear subframe dropped and arms stripped off. There is 2 x main subframe bolts at the front to remove plus 8 x smaller bolts at the rear (4 x each side). Supporting the rear subframe off the diff using the trolley jack, by slowly dropping the subframe you can surprising remove quite easily. I did it in stages dropping it down a bit, then pulling the trolley jack forward, then dropping it down further due the the diff spine is within the propshaft. When out I removed all the suspension arms and hubs, as I replaced all the suspension arms with new OEM a few years ago and copper slipped everything up back then it all come apart easily. Managed to use a ball joint splitter from amazon/ebay which was large enough to get round the ball joints without damaging them whilst pressing them out due to the ball joints taper. I knew the O/S/R wheel bearing was worn, by removing it was pretty clear it had water ingress which was most probably the cause. I managed to removed the N/S/R ABS sensor from the hub but unfortunately the O/S/R ABS sensor was not having it, solid and would not budge not matter how much soaking in penetration fluid. Knowing full well what would happen, I still did try giving it some heat but this just removed the backing from the metal sensor within. As they are discontinued I will have to get the non-OEM sensors I have seen being sold. Whist I had to torch out, I heated up the 2 x bolts for the brake shields and removed with success! Stripped the arms off the subframe, just need to remove the diff then start removing the subframe bushes which will be easy I'm sure Took a few photos of the underside, brake and petrol lines looked ok with some slight surface rust above the rear subframe. Going to concentrate on the rear subframe first as when it goes off to be cleaned etc I can then look at the underside.

-
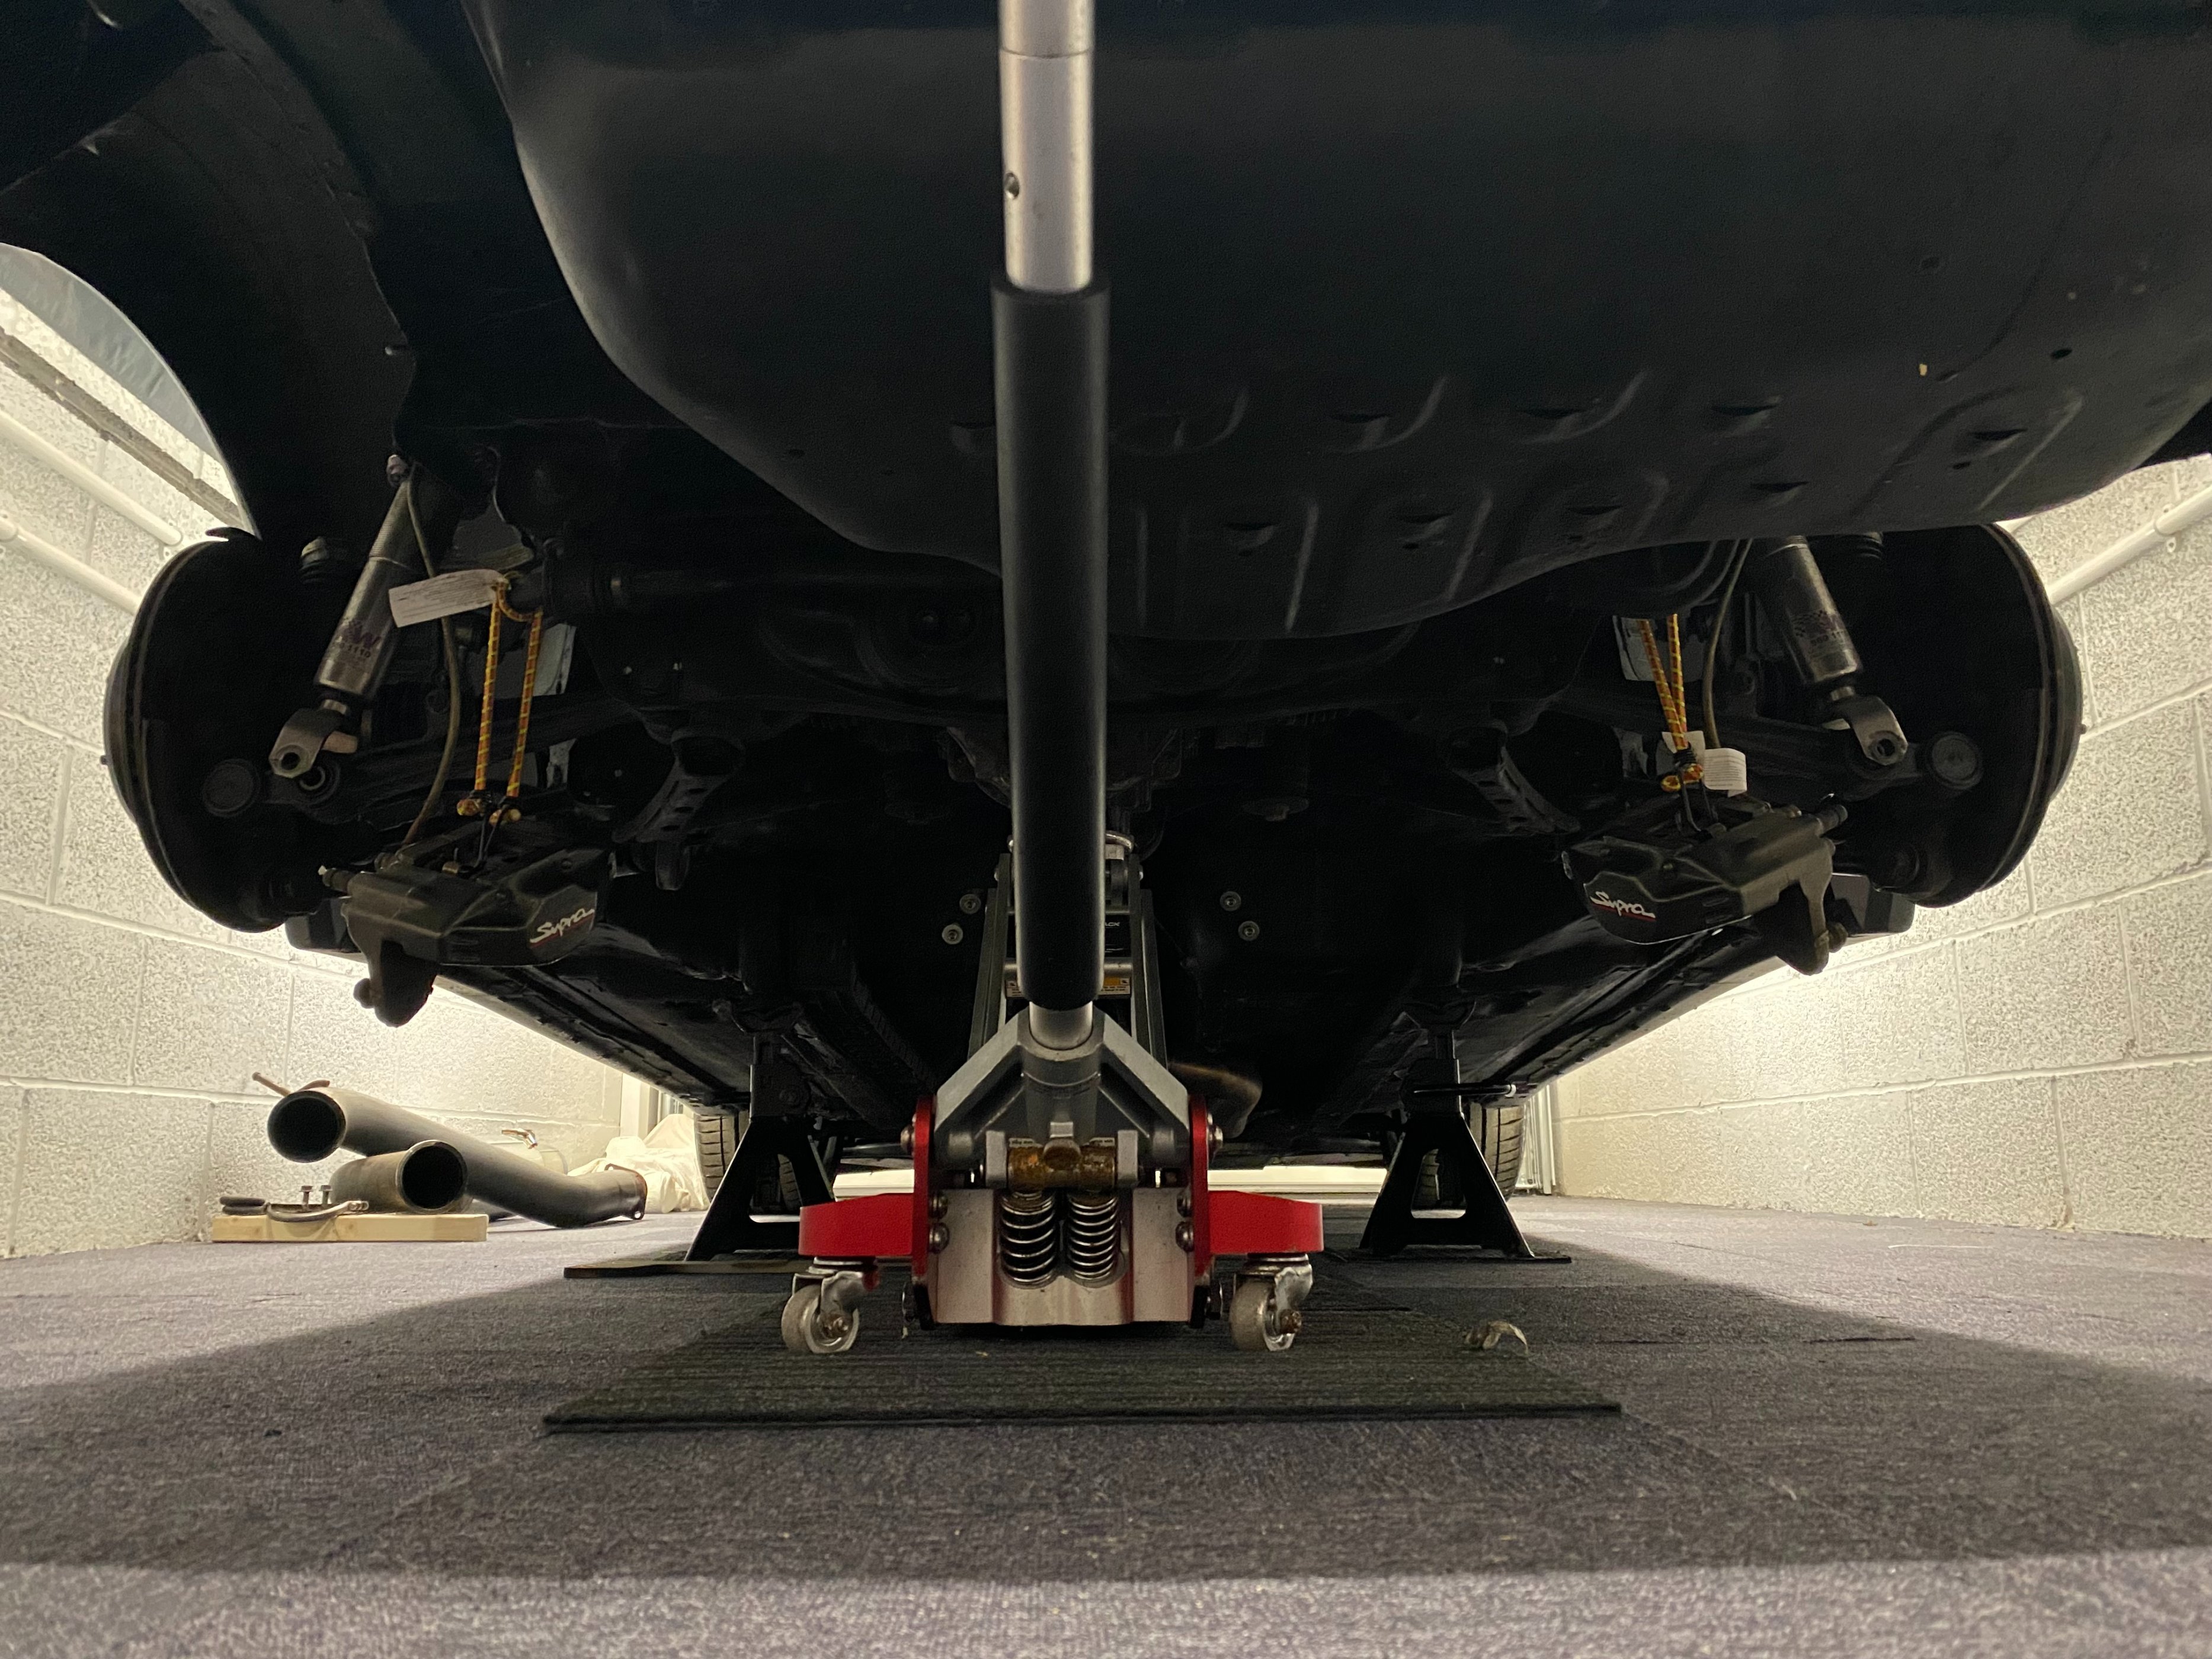
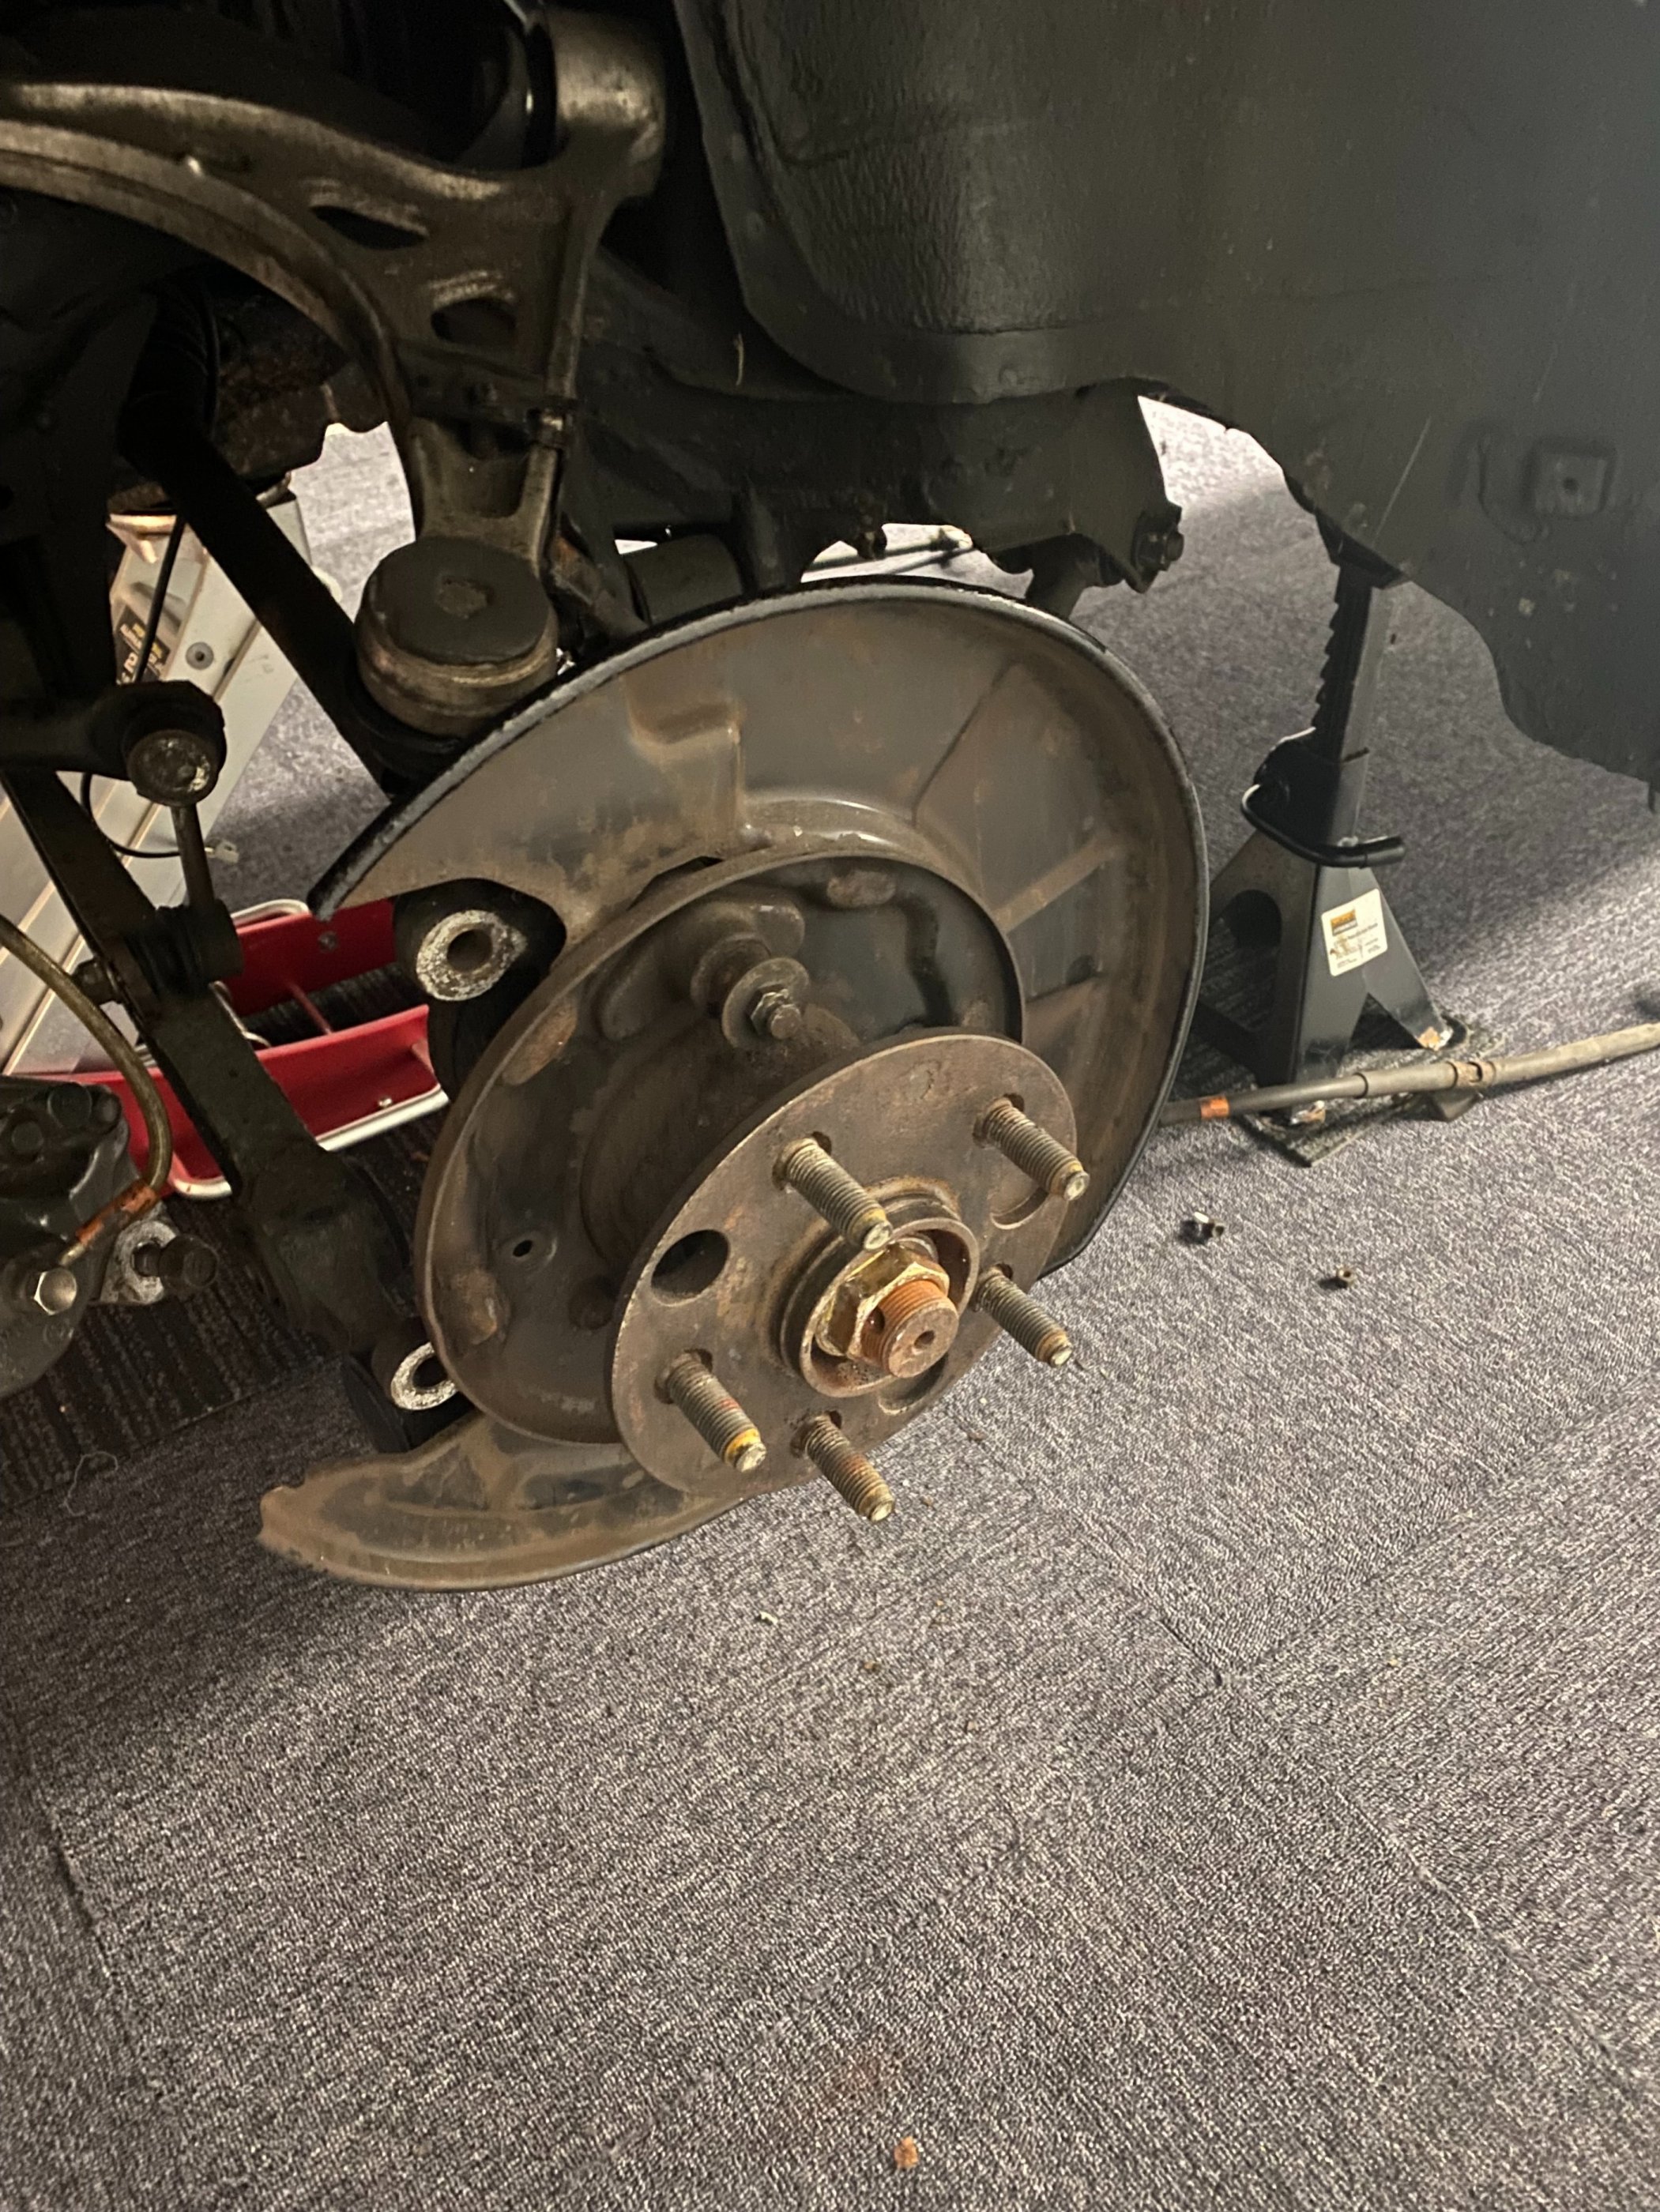
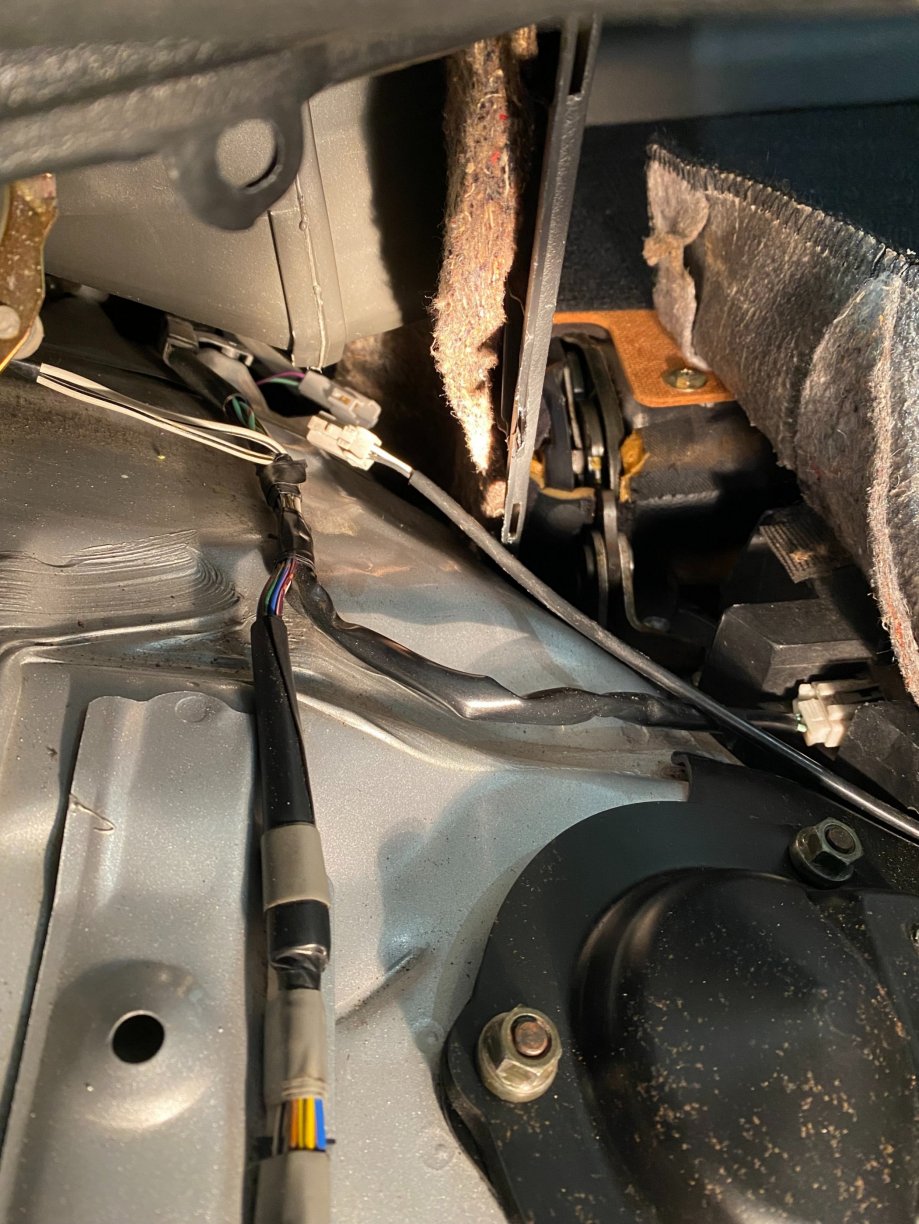
Its been awhile! Well the house is all done and half way through the garden but due to the weather I thought its about time I put some effort on the car. It has just sat in the garage for the past 19 months unfortunately with only be started up and run for abit every couple of months. As previously stated, I purchased new rear subframe bushes, wheel bearings, seals etc so the first thing to do was get the car up in the air and drop the rear subframe. Started off with removing the boot plastics around the rear top suspension top mounts to access the rear ABS sensor clips. You can get to these just about, I have the GZ rear speaker boxes so the space is abit tighter. You can see the sensor disconnected below. You can then from above push the rubber grommet out which houses the ABS sensor cable. Whilst in the boot area, I also removed the rear suspension top mount covers to remove the 3 x suspension top mount bolts. You don't require to remove the rear suspension dampers for the removal of the subframe but i want to clean everything up so I did. Under the car, exhaust off to clear so room bit awkward on your own but doing it in the 2 exhaust sections was doable. Its the exhaust hanger rubbers that are tough with trying to hold the exhaust up so it doesn't touch the bumper whilst trying to lever the rubber off the mount! I then removed the brake callipers, bottom suspension damper lower bolts, tunnel brace and 2 x handbrake cables to the hubs. Whilst under the car, I also removed the 6 x propshaft doughnut bolts, loosened all suspension arm bolts/nuts and the 12 x diff driveshaft bolts. I then moved on the wheel hubs, removed the brake discs, handbrake shoes and associating springs plus the handbrake cable 2 x bolts. Snapped a couple of bolts for the handbrake cable to hub, but I will be replacing these so I wasn't too upset. Using a 32mm impact socket with my Makita impact wrench I removed the hub split pin/collar and loosed off the main wheel hub nut. After I had done both sides, checked everything I wanted to remove or loosen was done and getting the front end of the car up in the air, I had enough for the day! After I had done both sides, checked everything I wanted to removed or loosen was done and getting the front end of the car up in the air I had enough for the day!


-
Yes having them connected does make a difference, I couldn’t compress my coilovers enough with them attached. Your probably right but thats the reason I did it, just for the drive to get it aligned as I thought it would be all over the shop
-
Have you got the ARB drop links disconnected from the lower arm? I could compress my KW coilovers with them disconnected which allowed me to get the camber bolts roughly in the correct position.
-
I loaded the hub into normal ride height position with the suspension on just without the ARB drop links, then torqued up. I’m not sure if you actually need to do this, I know Chris Wilson has commented on it before but I cannot remember what his opinion was! Regarding setup, I went with the below:- Front: Camber - 1.0 degrees Caster + 5.0 degrees Toe 0.00 mm Rear: Camber -1.5 degrees Toe in (total) 1.00 mm