Hi All,
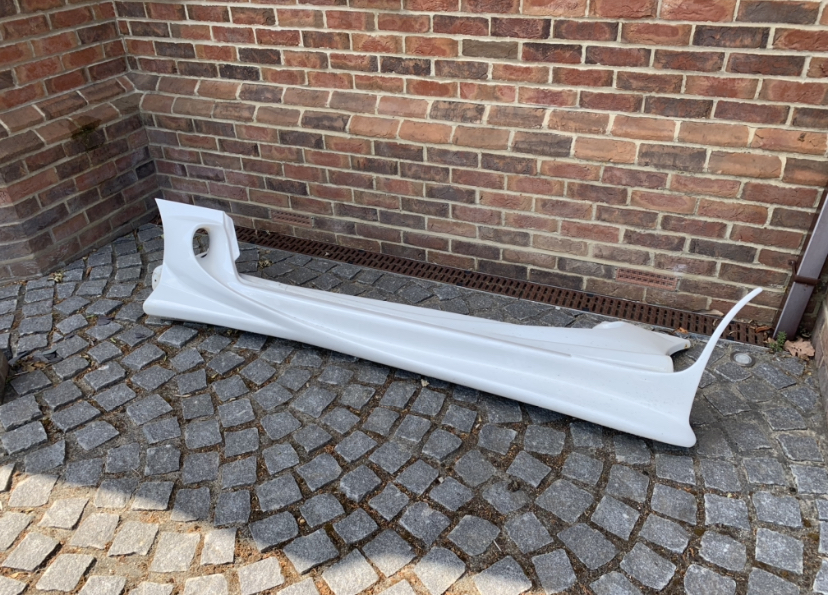
Was surprised i couldn't find anything on how to fit the front splitter so i thought i'd write a little how to. The job took me about 12 hours to complete due to the nuts spinning which i'll explain later. If i had this tutorial it would have probably taken an hour.
Tools Needed:
-10mm Socket
-Something to lie on
-Drill and 6mm drill bit (for the new splitter)
-Heat Gun or Direct Sunlight
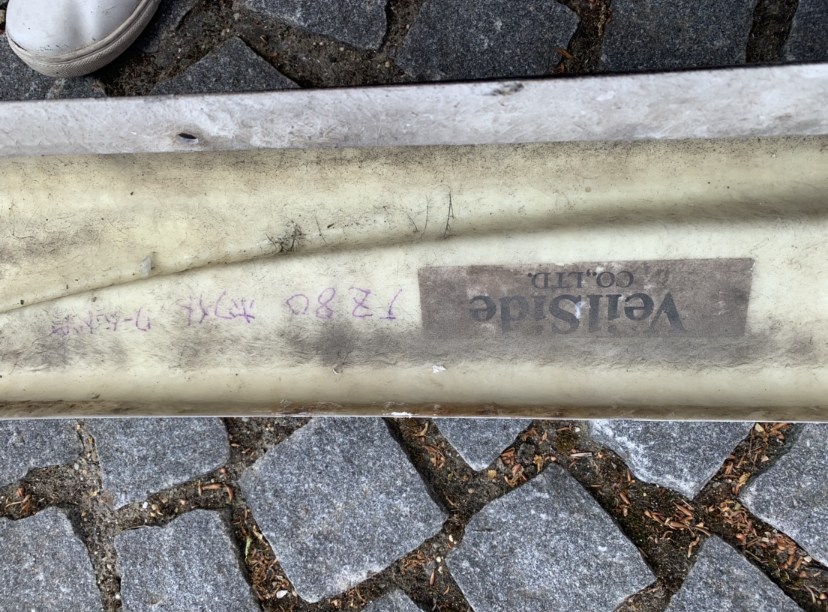
-Potentially new M6 x 20mm T Bolts (depending on condition of current hardware)
M6 Hex/Flanged Nuts (depending on condition of current hardware)
** I actually bought these https://bit.ly/2MdWtQ6 as they were all i could find**
-WD-40
-Jack and Axle Stands
-Patience.. Lots and lots of patience.
Step 1:
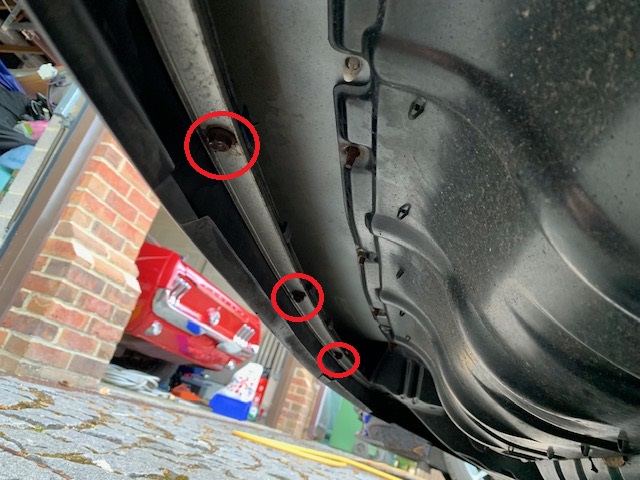
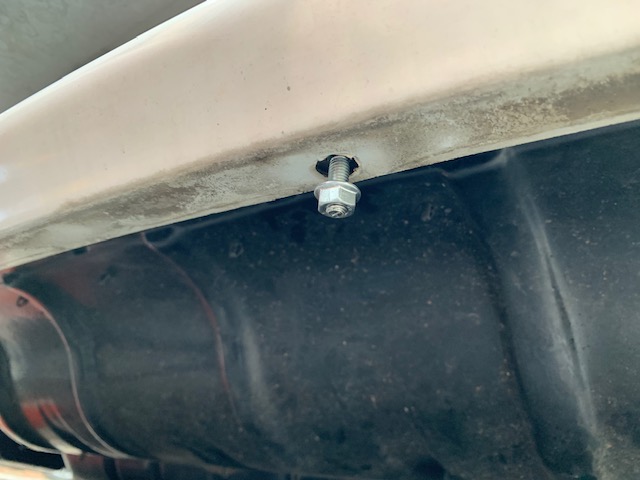
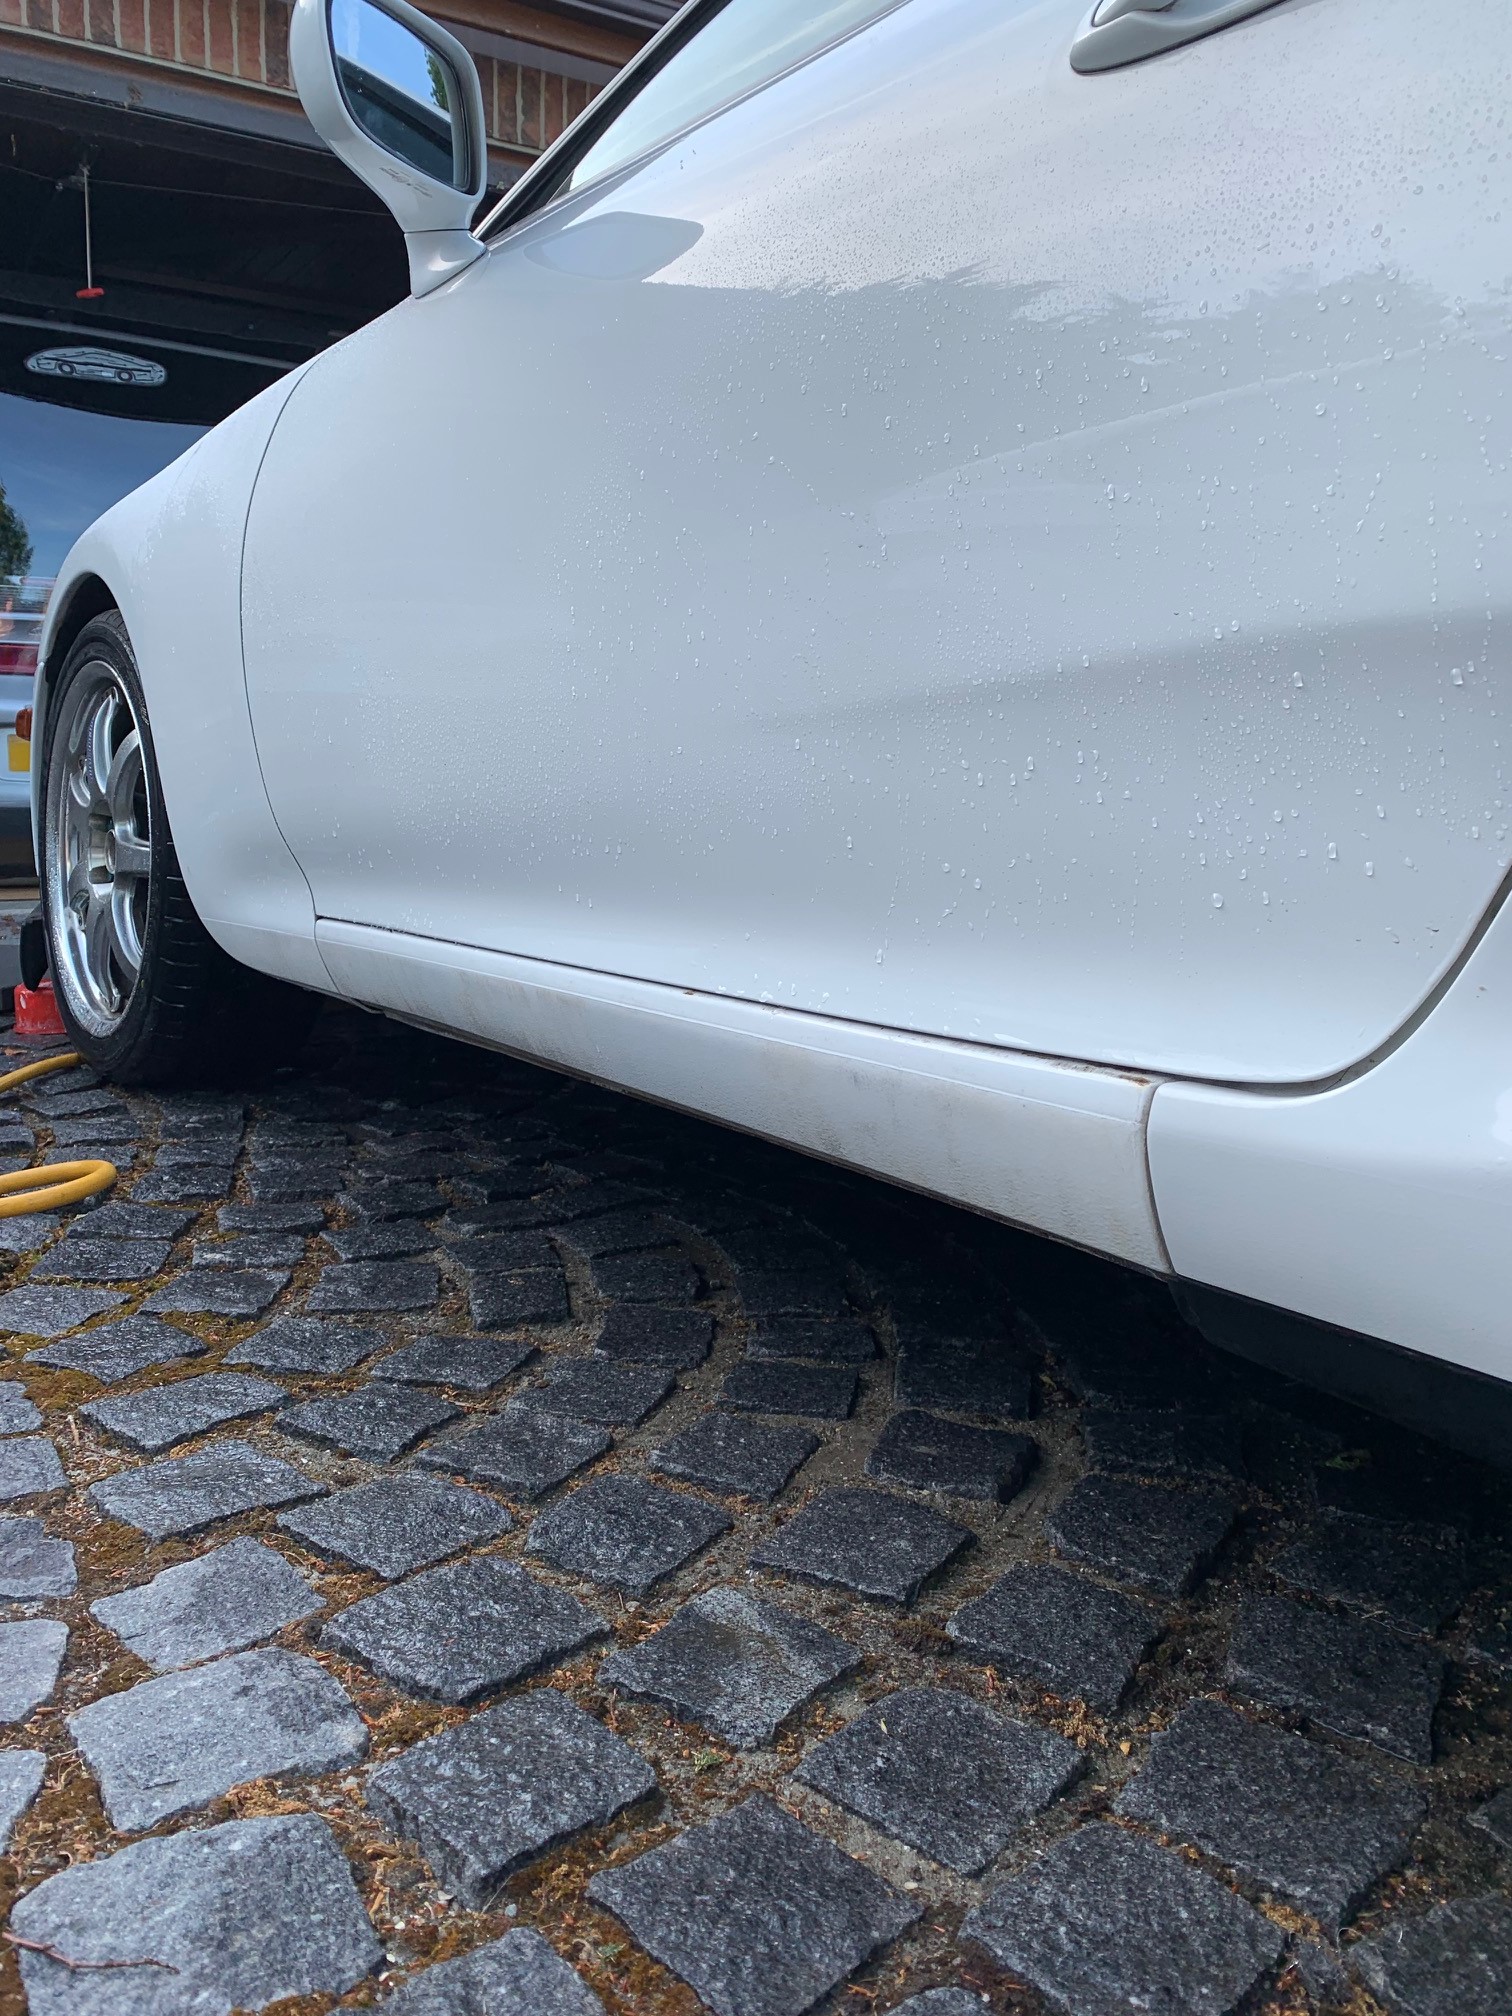
On the underside of the splitter you will see 11 nuts. Spray all of these liberally with WD-40, as they have been on the car for some time you may find they either sheer off when trying to undo them, or the hammerhead bolt on top starts to spin round. (This is a nightmare but will happen on some)
Step 2: (Optional)
Remove Both Headlights - unplug the bulb connections and undo 3 x 10mm Bolts holding these in place.
To get to the drivers side one you need to remove the Airbox (some air filters may give you enough space). Wiggle the headlights out and set them to one side.
The reason for this (which i only found out after) is because the splitter is held on by Hammerhead bolts that have been tack welded into the top retainer. Due to age these become loose meaning that the bolt just spins widening the bracket, and getting on the other end of it to keep it from moving is a right PITA!. This gives you access to the top of the bolts on the corners easily, which will allow you to hold these still while removing the nut below (see picture). In terms of the middle, you can sort of get your hand in the right places.
.
Step 3:
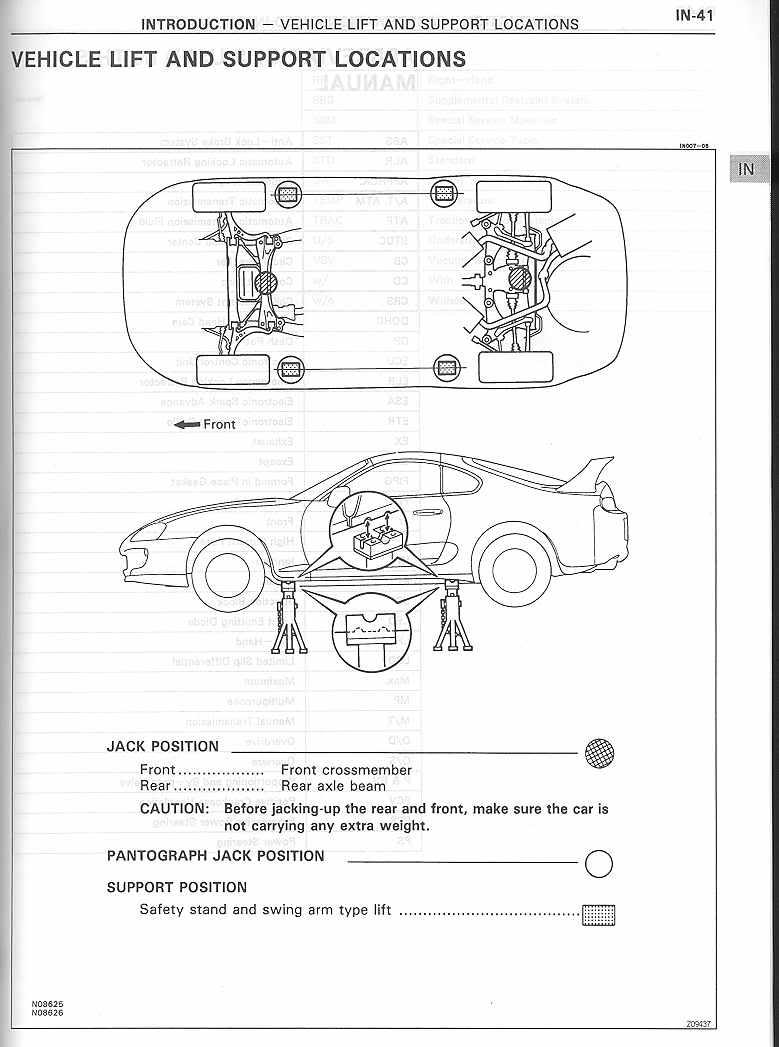
Jack the car up - this makes it easier to get underneath it and allow you more room
Step 4:
Using the 10mm socket, undo all 11 nuts, as before, if they start to spin, put a spanner or adjustable on the top of the nuts to try to stop them from spinning. Take off the bottom retainer and put to one side - you will need this later. (it's in 3 pieces - corners, and middle)
Step 5:
Start by Lowering the Splitter down, and screw the nuts on a tad just to stop the top retainer and bolts from coming up through the bottom of the bumper.
I lubed up the bolts/nuts i could use, and where i couldn't i ordered new T Bolts online (link above) and slotted them in place and even oiled up the new threads.
Step 6:
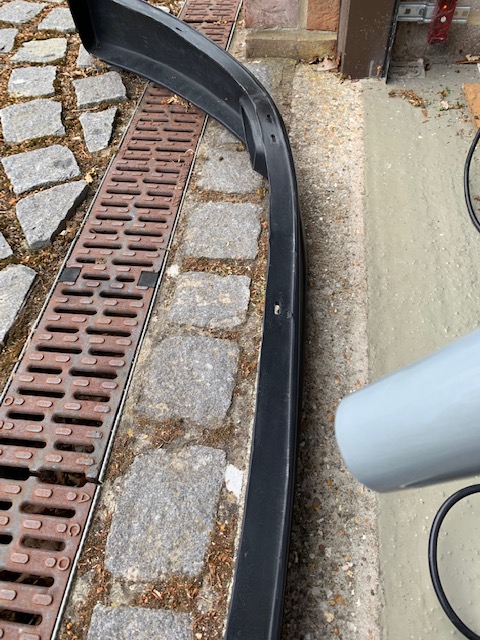
Take your new splitter out and leave it in direct sunlight for an hour or two, or use a hot air gun to make it a little more malleable. The Polyurethane splitters are actually quite thick so trying to maneuver them round the contour of the bumper is a little tough so you need another pair of hands. Be careful not to leave the heat in one spot for too long
Step 7:
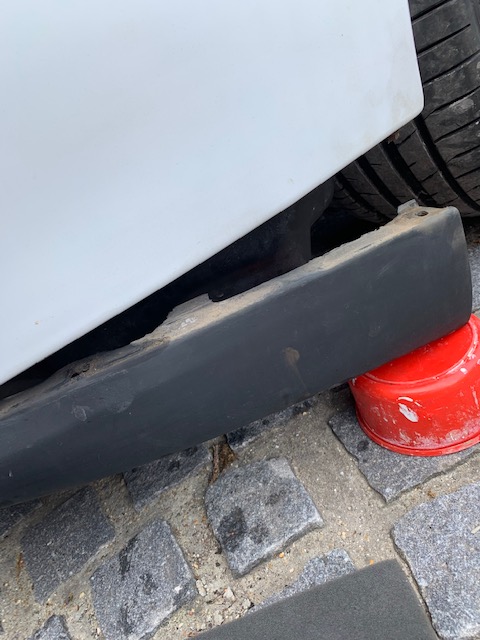
If you try and offer up the splitter onto the bolts now, you may find (depending on supplier) that it won't slide over the current bolts. Or the holes on the ends might not line up true.
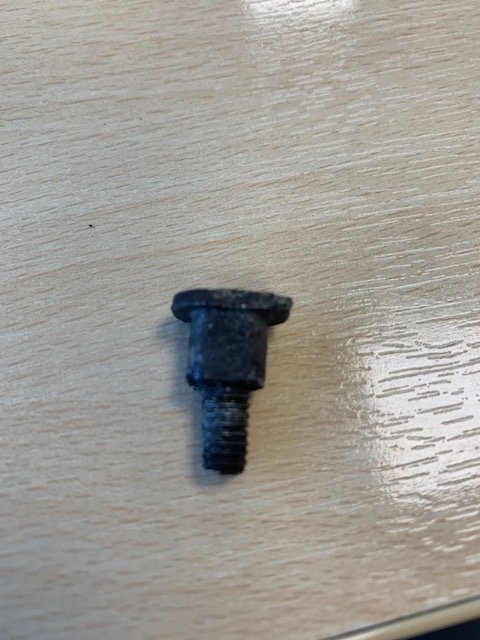
If this is the case; Take a 6mm drill bit or similar out and make the holes a little wider. Also, due to the body of the bolt, you may find it does not allow it to drop low enough into the splitter to sit flush against the bumper if you don't make the holes bigger (picture of bolt for reference). So just use the drill bit as a means to spread the hole a little bigger. But play it by ear..
Step 8:
Once all bolts are correctly in place and hanging from the bumper, lift Splitter in place one nut at a time and make sure each bolt goes all the way through into the splitter so it sits flush against the bumper. Be careful not to push too hard as the whole top retainer will move with it. You can support the top if your hand can get to it.
Step 9:
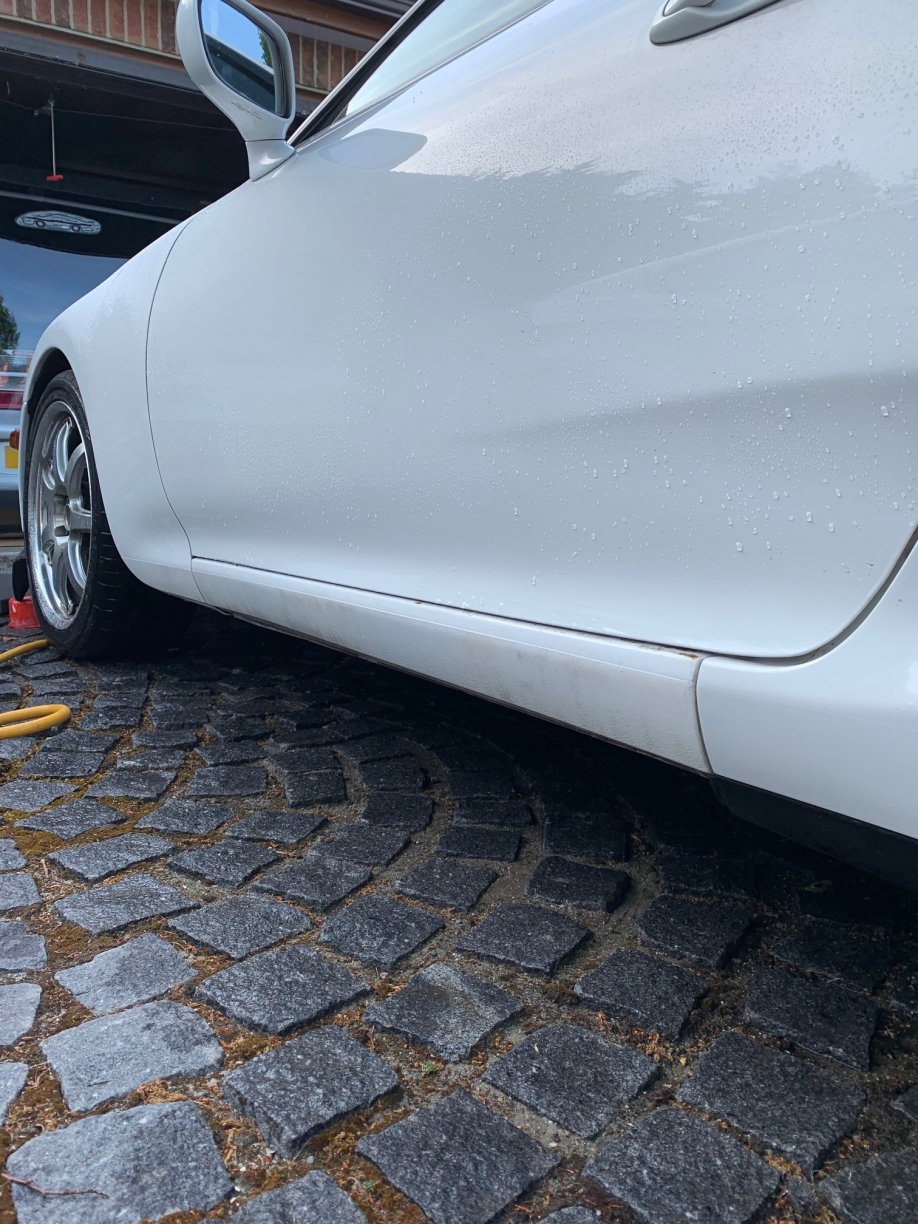
Once you are happy that the splitter will sit flush against the bottom of the bumper (as in no gaps), place the bottom retainer onto the bottom of the splitter (by now you should have the bolt going through the top retainer, bumper, splitter and bottom retainer), then you can work your way from one end to the other securing each bolt, you may have to force the splitter a little bit, as like i said, they are quite tough.
Step 10: Lower the jack, put your headlights back in (if removed), put the airbox back in (if removed) and go and have a cup of tea and admire your work.
P.S. This is the first tutorial i've made so if i've missed anything please let me know.