SPG
-
Posts
4223 -
Joined
-
Days Won
14
Content Type
Profiles
Forums
Store
Blogs
Events
Downloads
Supra Articles
Gallery
Everything posted by SPG
-
Thanks matey, just about half way through, lots to come. Thanks Raven I’ve really enjoyed your Re-Up thread. Thanks buddy
-
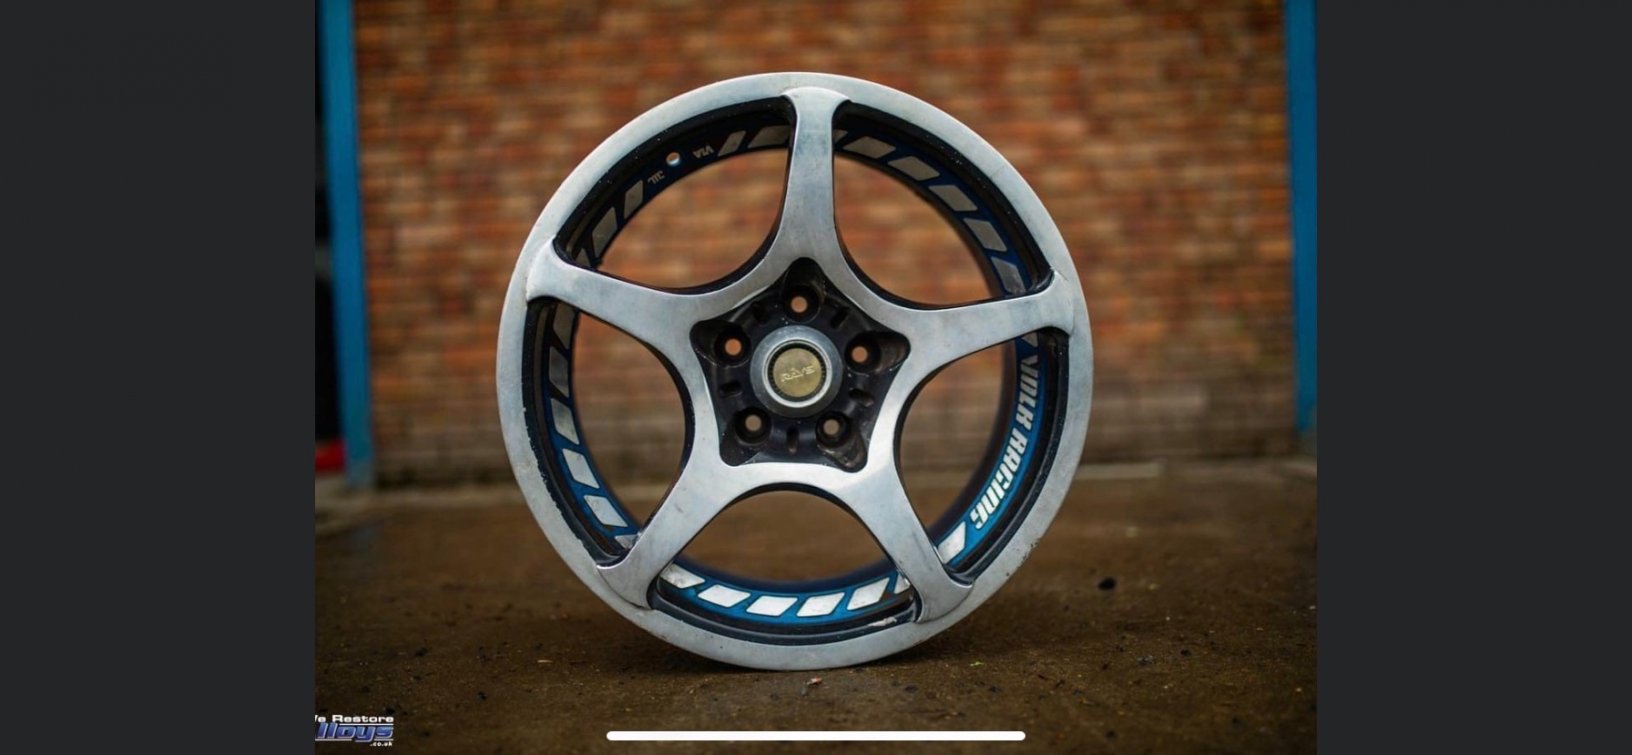
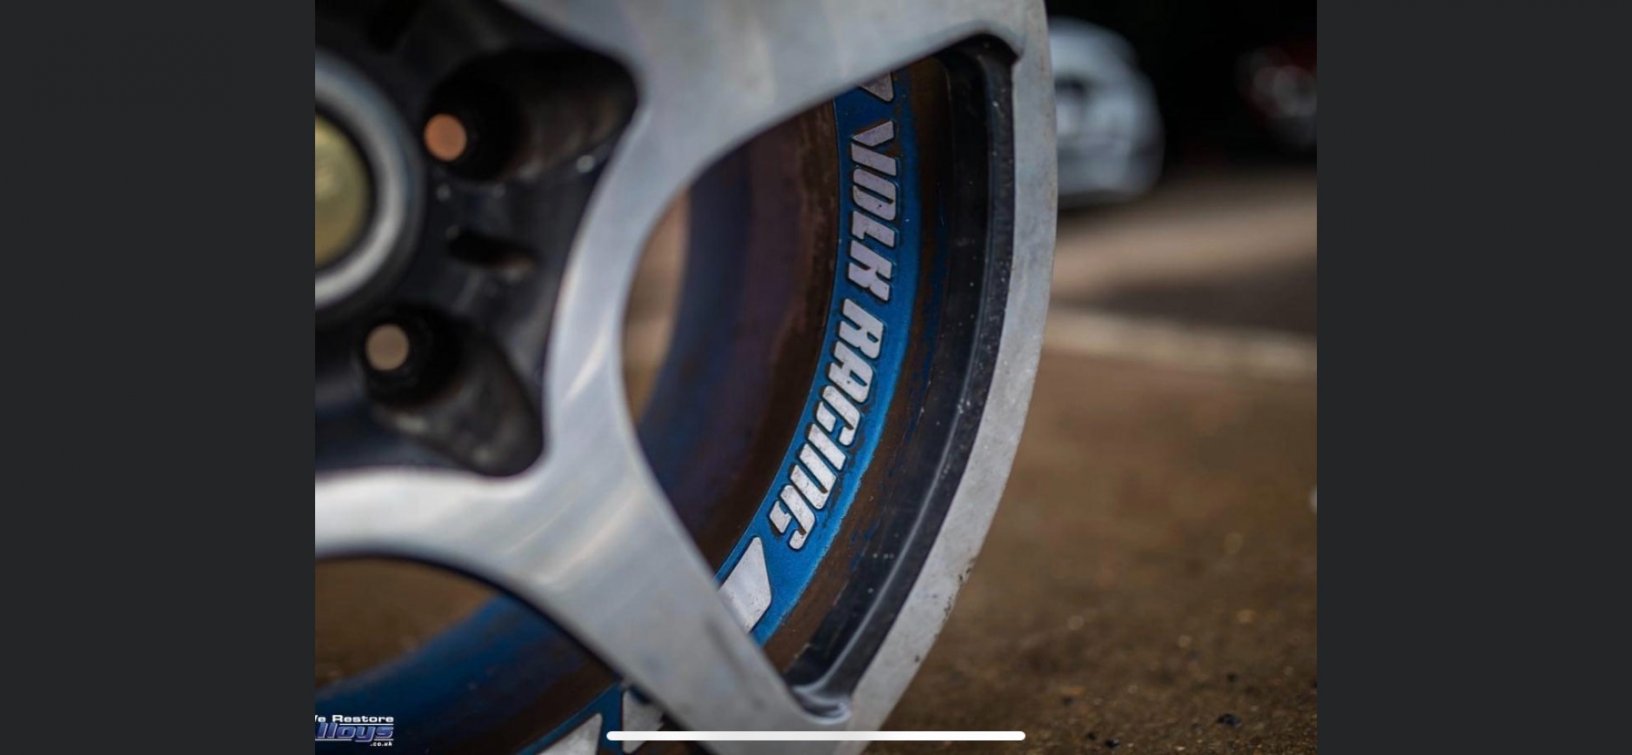
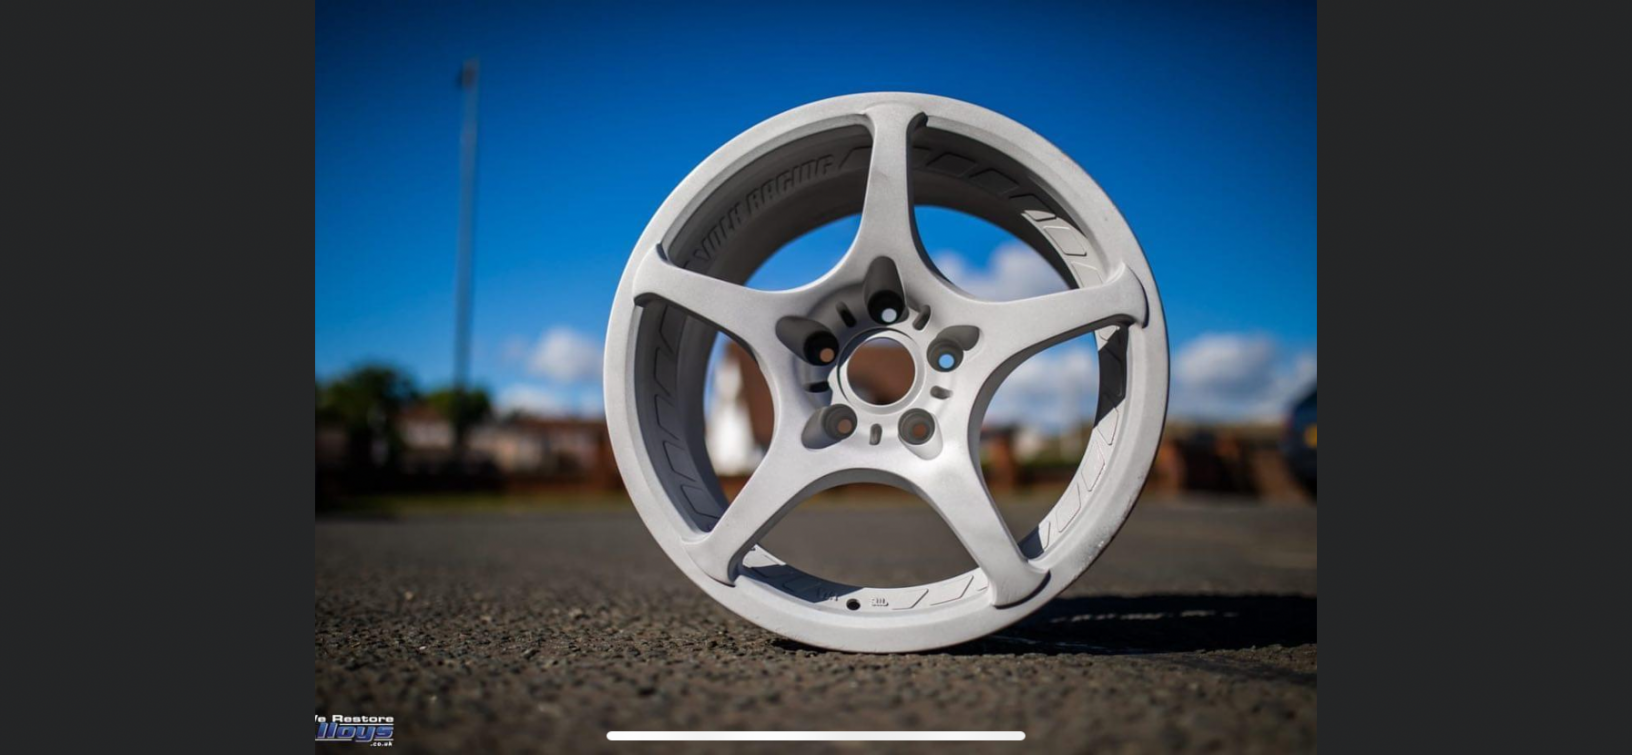
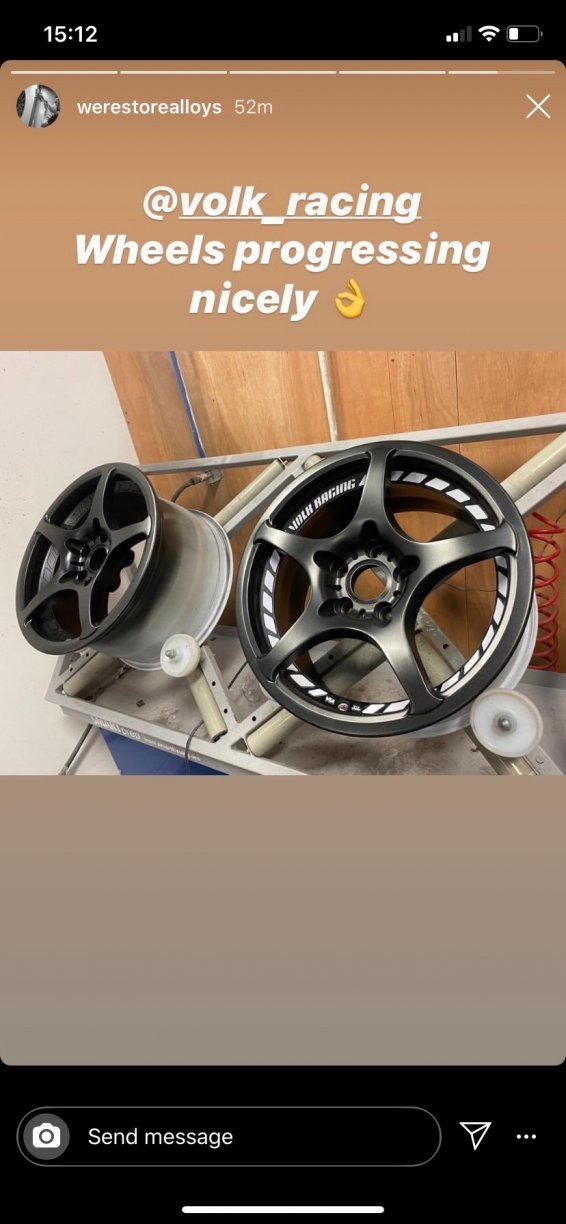
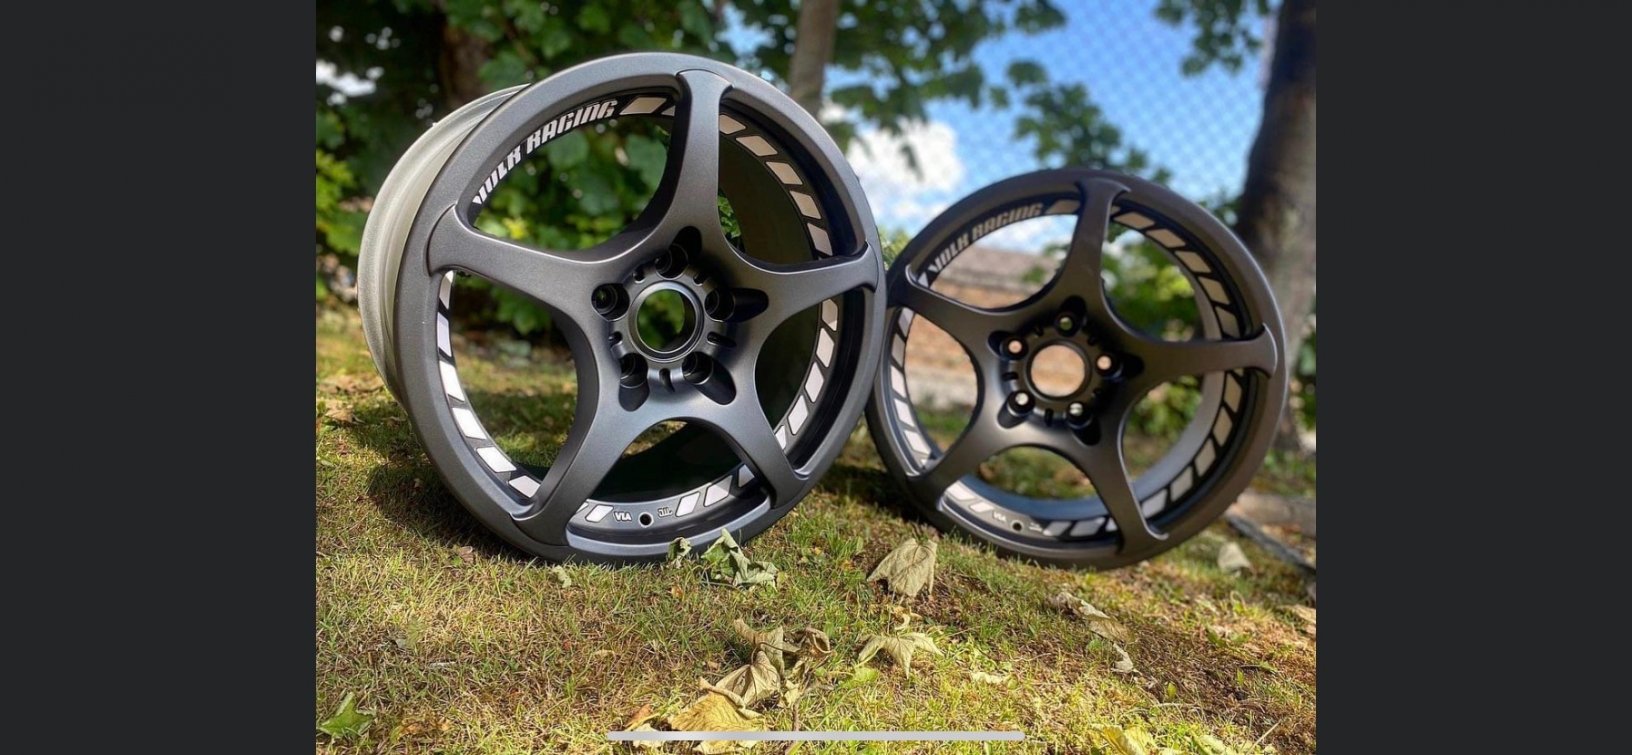
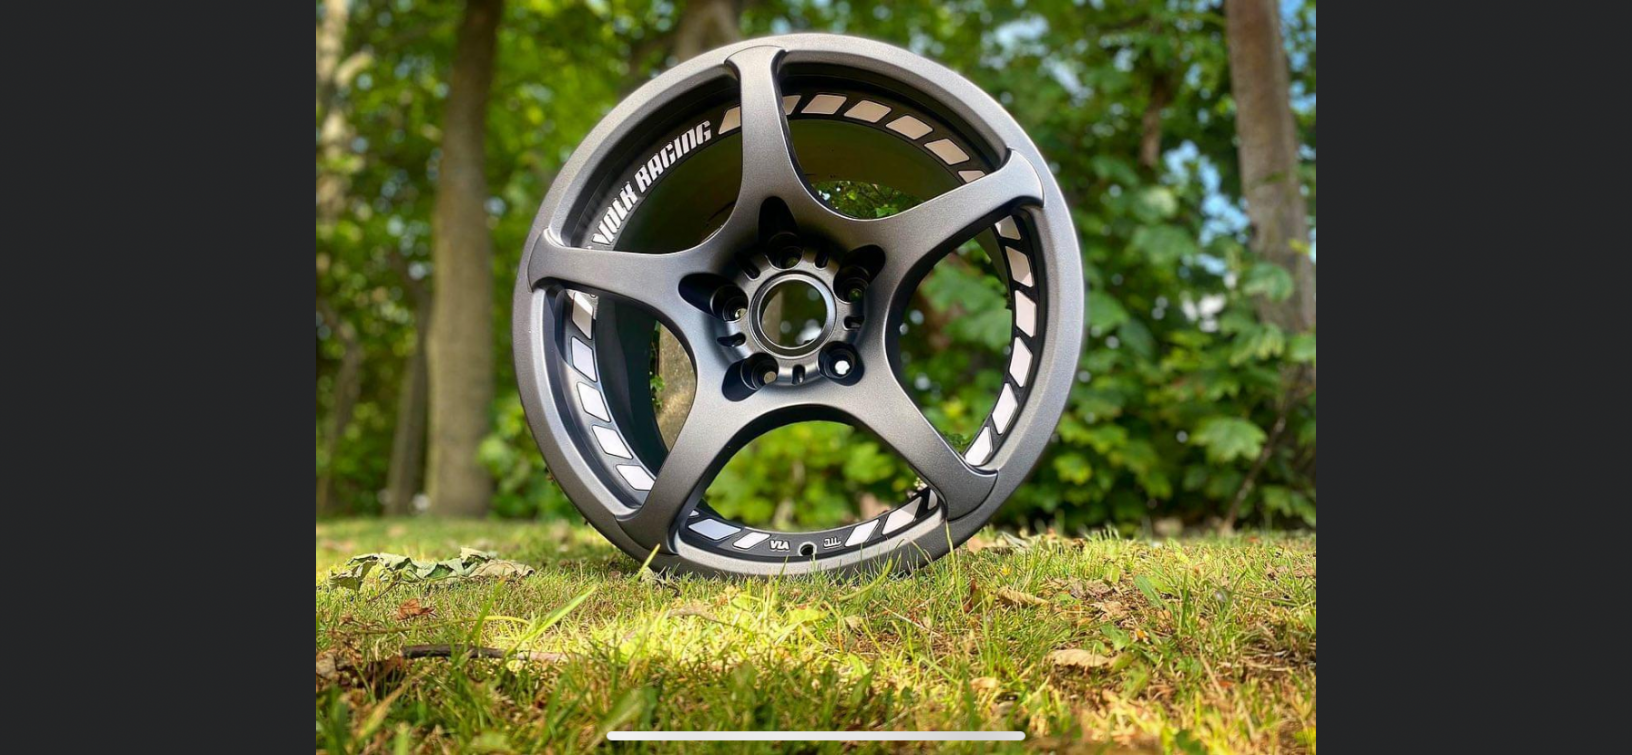
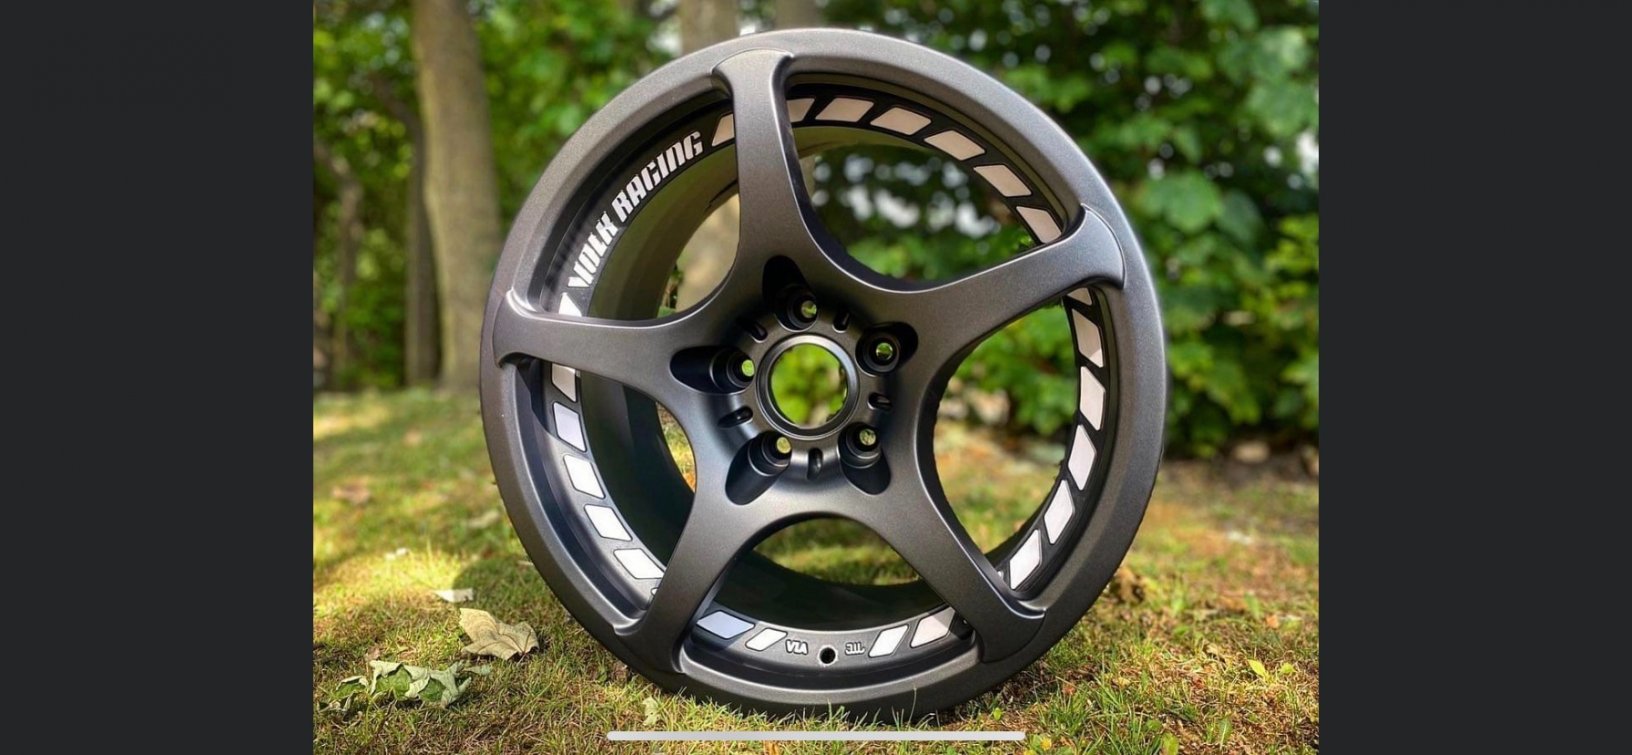
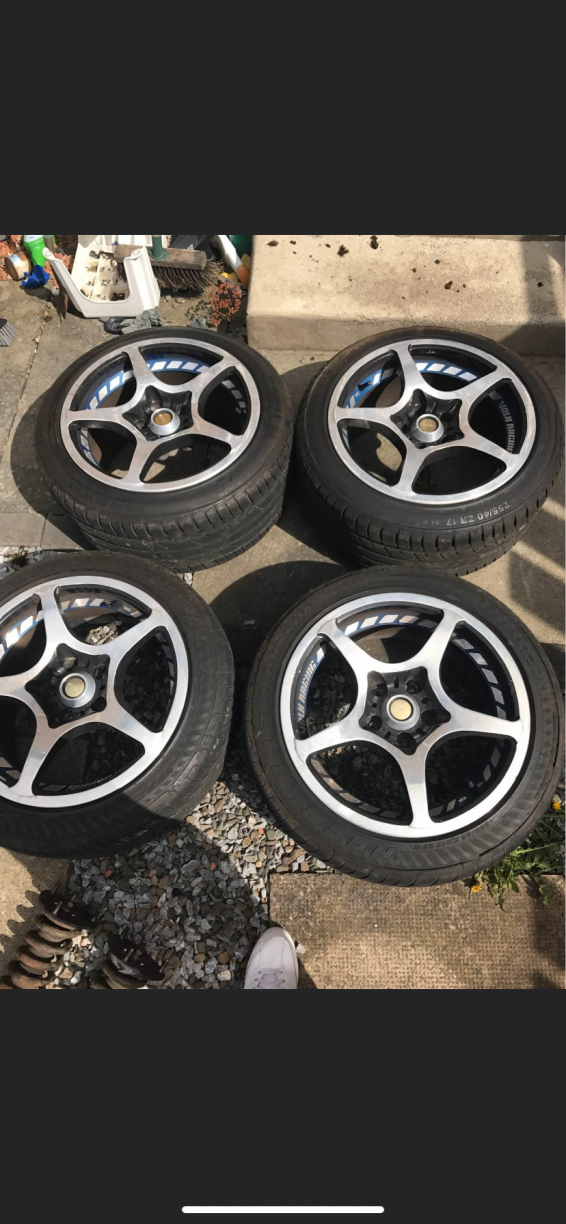
So earlier on in the thread I mentioned that I’d be getting the wheels refurbished as I was not keen on the look of them in the condition they were in. I think they look 100 times better than they did and I was very pleased with the finished result. This is how they looked (recap): Not they looks ok in these pics but that polished look was less endearing when up close, the blue inner rim was flaking and generally speaking looked horrible. The wheels were refinished by WeRestore Alloys up here in Scotland, and after they refinished my BBS RG-R’s on my Red TT6 I knew I’d be giving them more business. Stripped right back: Now as the car was being finished off in the original Super White II, I wanted to incorporate that into the design, but I also wanted something dark to offset the soon to be new paint job. im super happy with the results and I this pic you can see the main colour added on the left rim and the detail work which is effectively the second step on the right: The wheels look almost black in certain light but are in fact a dark charcoal grey which is more via able in the sunlight.
-
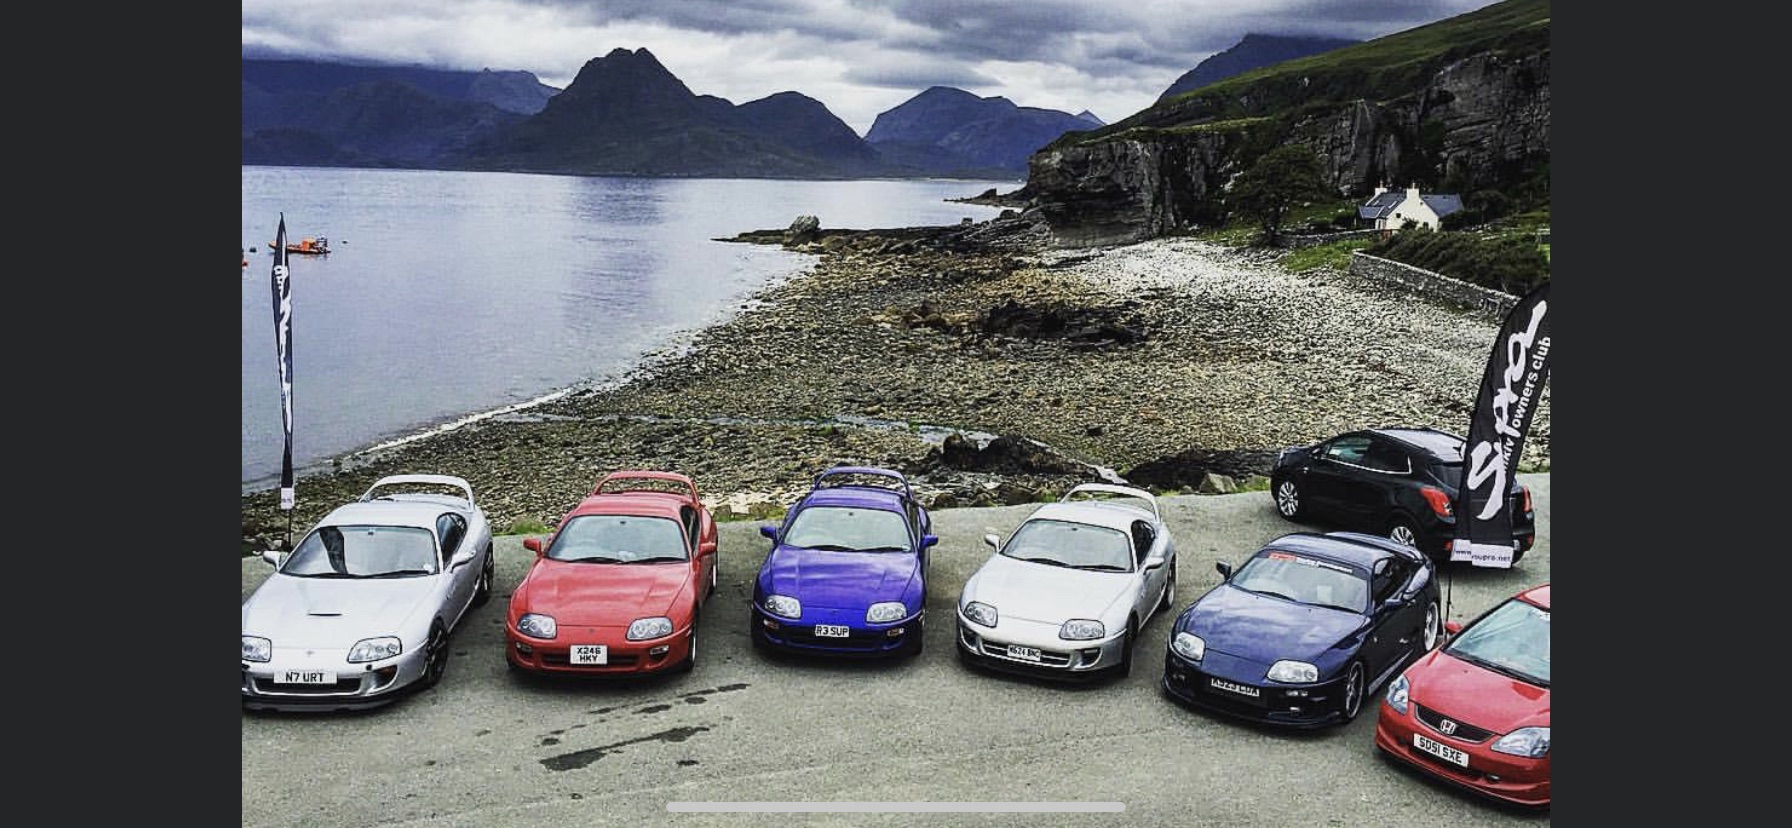
Thanks Guys I just want to see this car back in the road and used by someone who will enjoy it. I view all Supra’s in the same light, so saving a NA is no different to a TT. The part where it is different is when you think about whether it’s economically sound to peruse the result you hope for. Although sometimes the heart over rules the head. The thing about owning a Supra for me is being part of a larger community, and it’s great to see people from all walks of life being able to enjoy these great cars. plenty of updates to follow guys so please stay tuned.
-
The stories are always about I guess, it’s the only real way to be sure that’s you’ve neutralised every bit of rust. I’m sure the most reputable places will have the bases covered though, things like Capiliary Action and Leaching are commonly used scary words. I just went with the usual elbow grease approach with the underside of the car, 3 days of grinding, sanding, swearing and neck ache later and the underside was taken back to a shine state before the treatment to the metal could progress. I’d 100% advise anyone reading this to send their car off to be blasted with some form of media as the effort required to do this with hand operate sanders, wheels, grinders, file belt sanders and files was a massive effort. I’m glad we did it like this though as I was able to oversee and participate with the process. But more on that later.
-
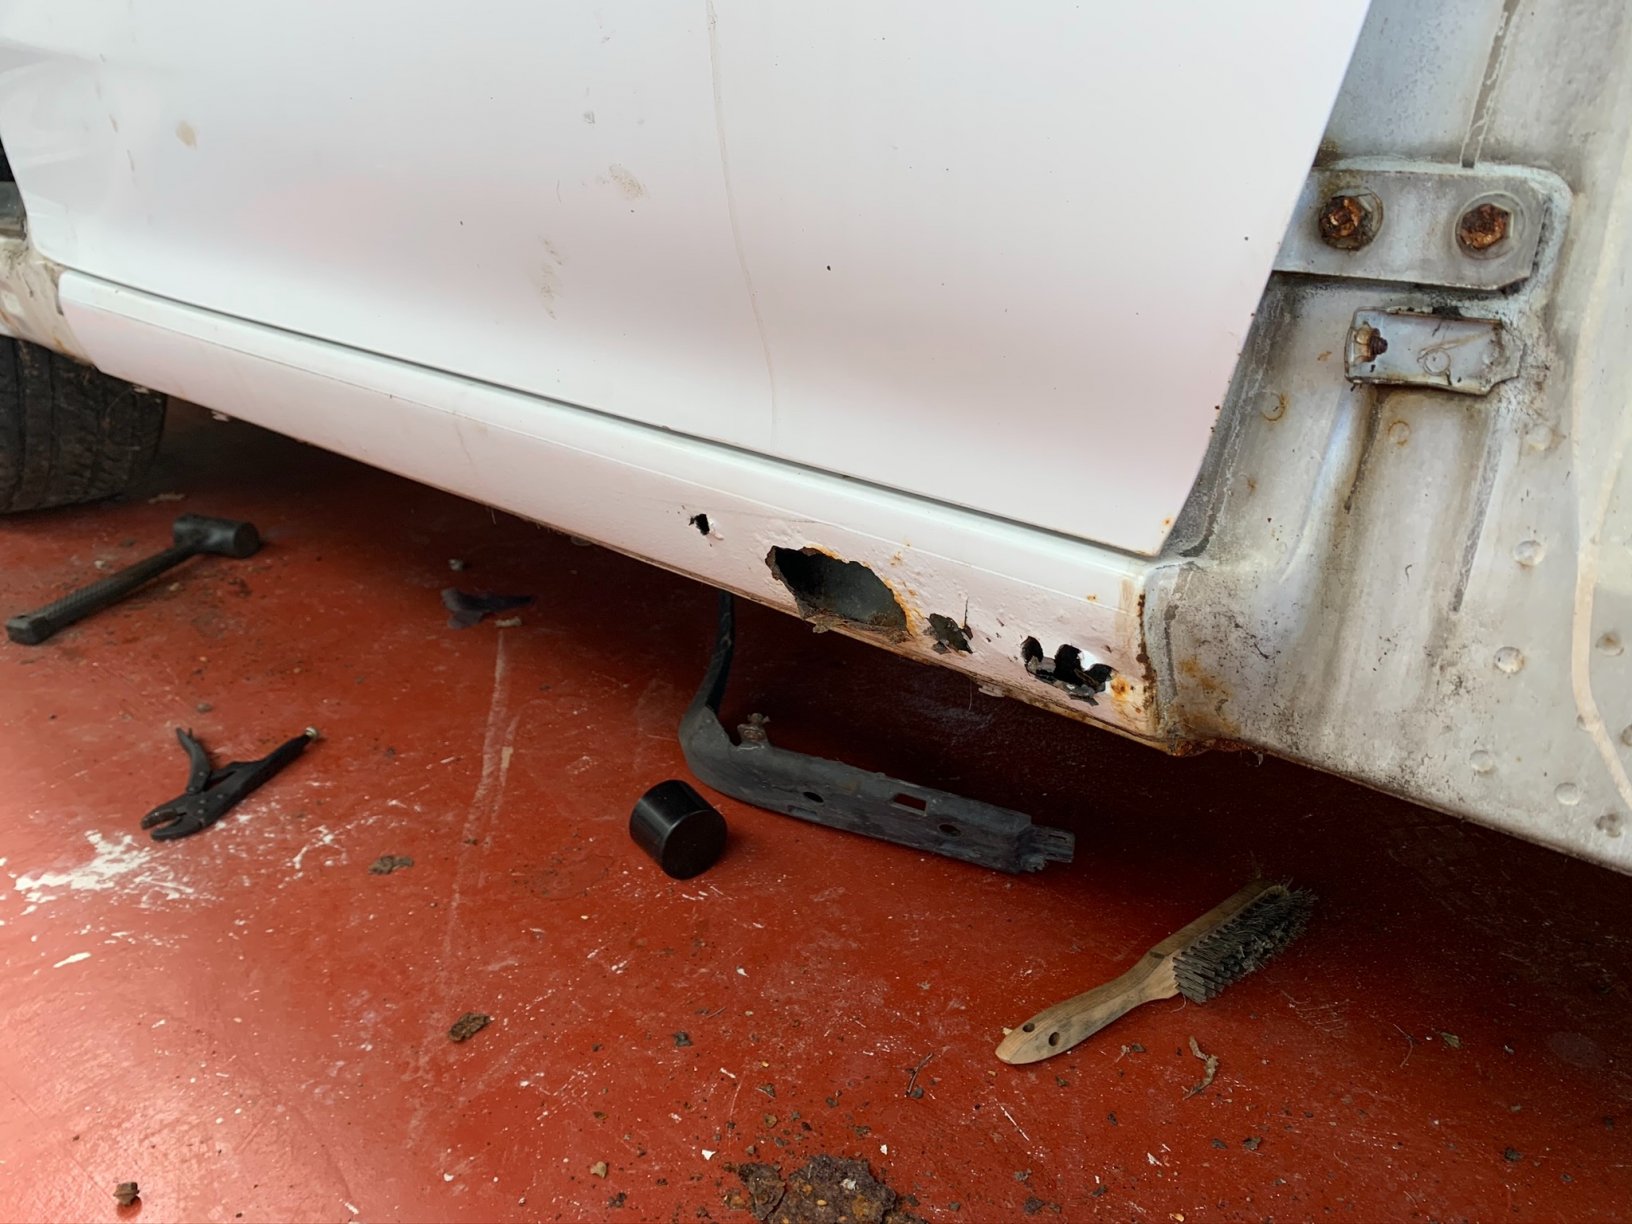
Unfortunately there was no budget for this to happen, as nice as that might have been Dunk. Also I’m a little scared to have a car dipped as I read a few stories about it getting stuck in areas and eating out sections. This was by no means a full restoration, I had no intentions of following that model as it would not be economically viable on a NA-5speed. Upon checking the box sections with a scope it wasn’t that bad, just sections on the outer sill needed cutting out and replacing. The only section that needed rebuilding completely was the hinge for the boot. I have pics of the inner sills coming, just working my way up through these pics . Would be great to hear from anyone who has had their car dipped though, can’t think of anyone on the forum but I might be wrong.
-
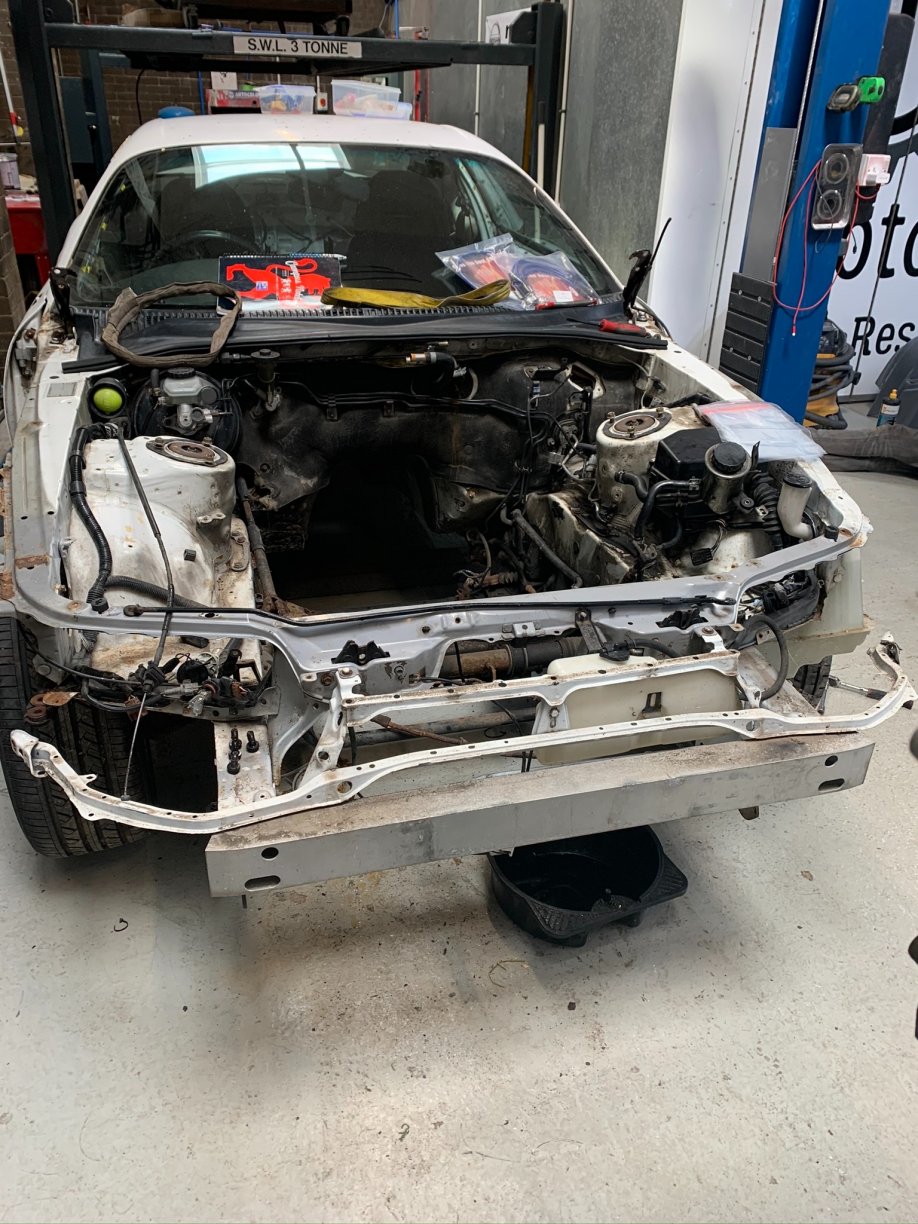
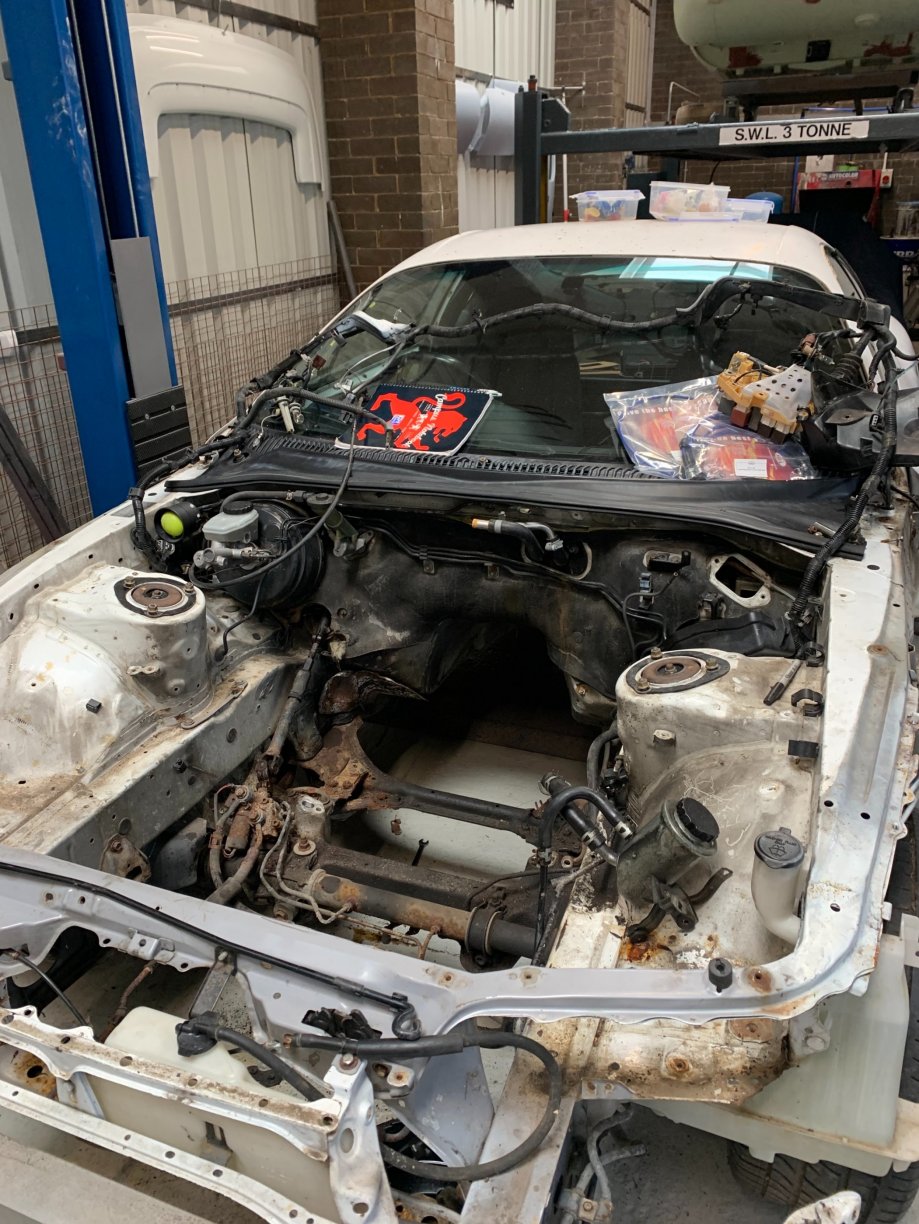
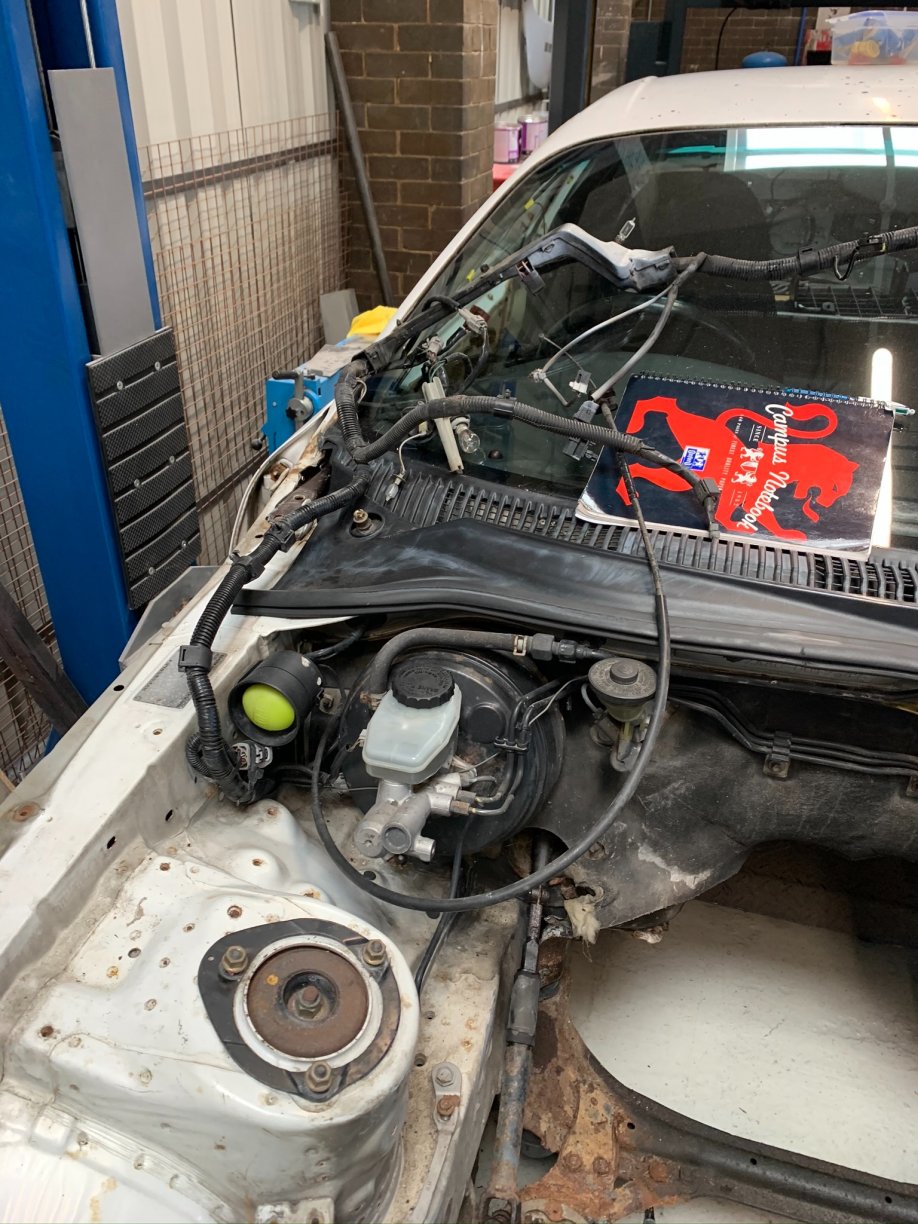
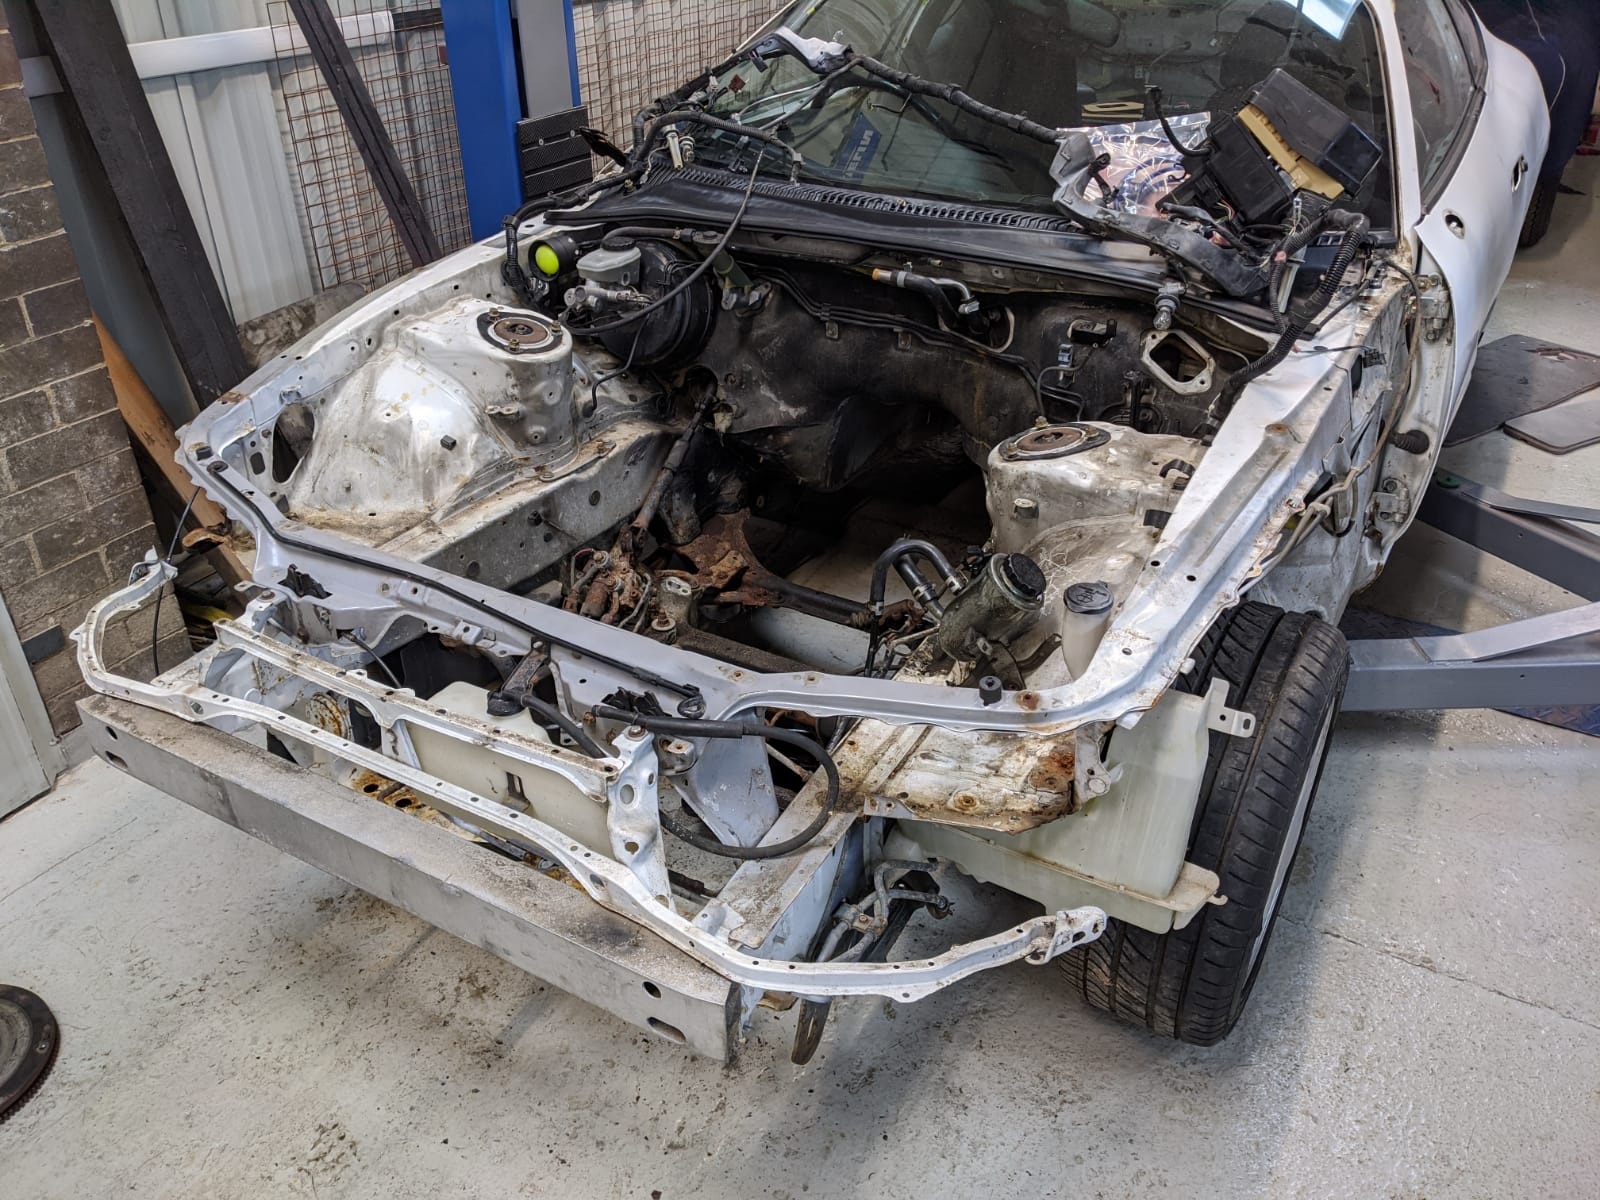
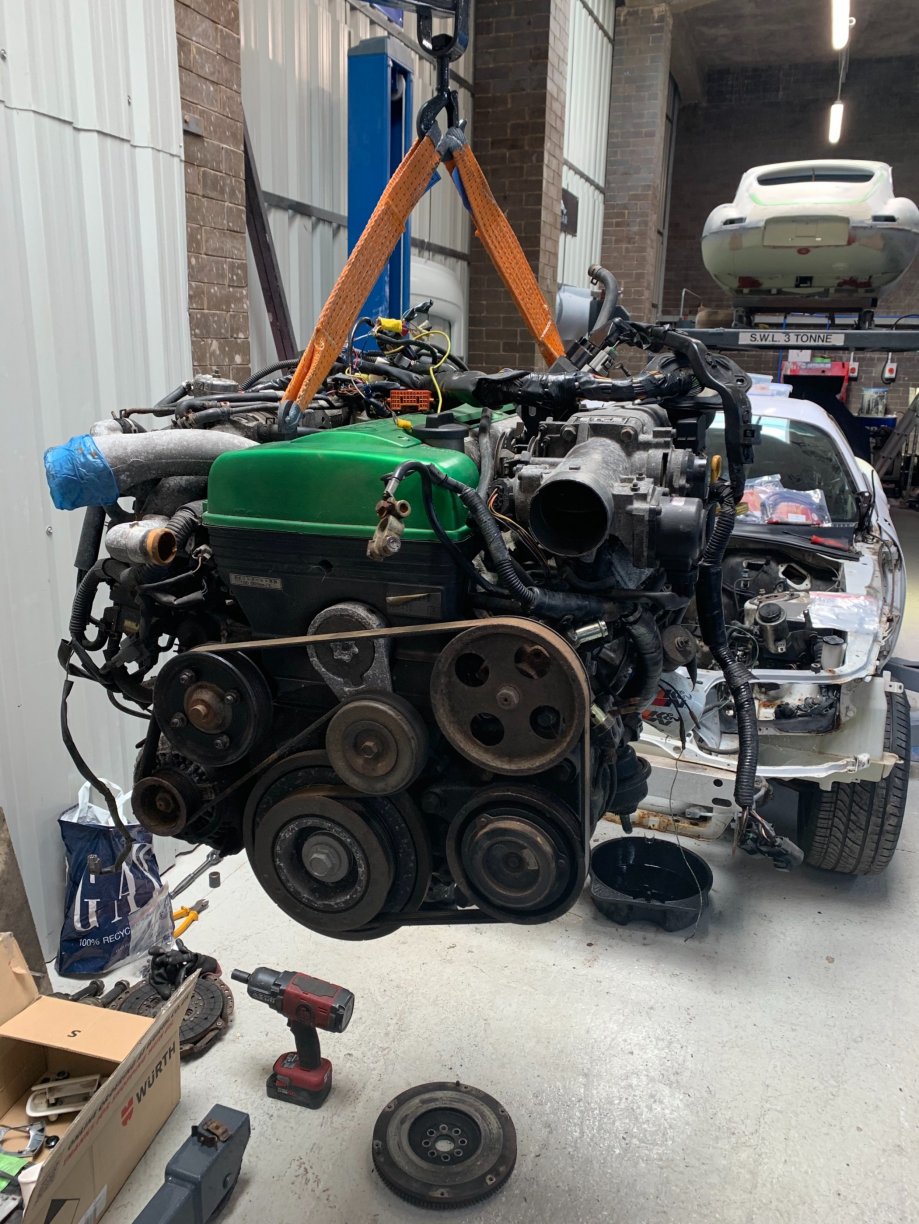
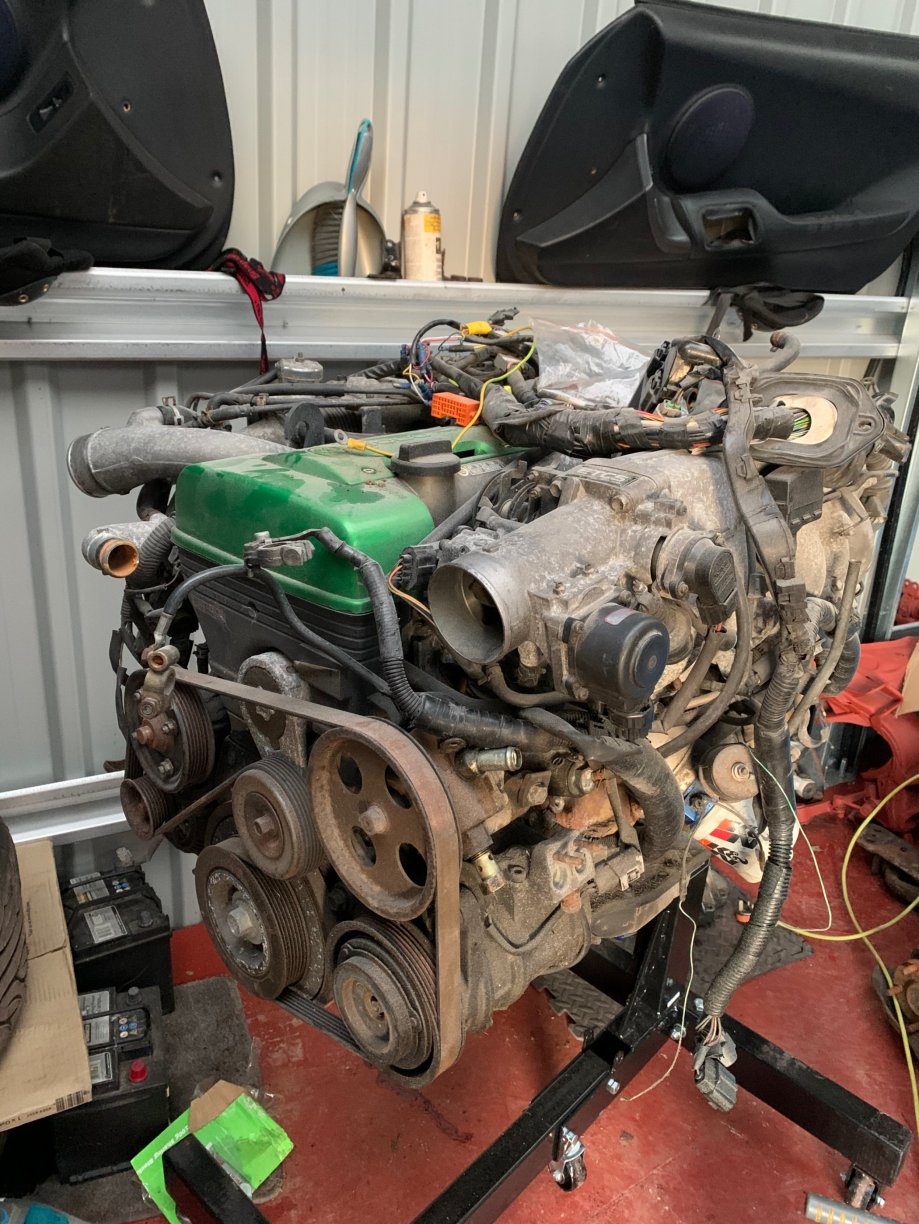
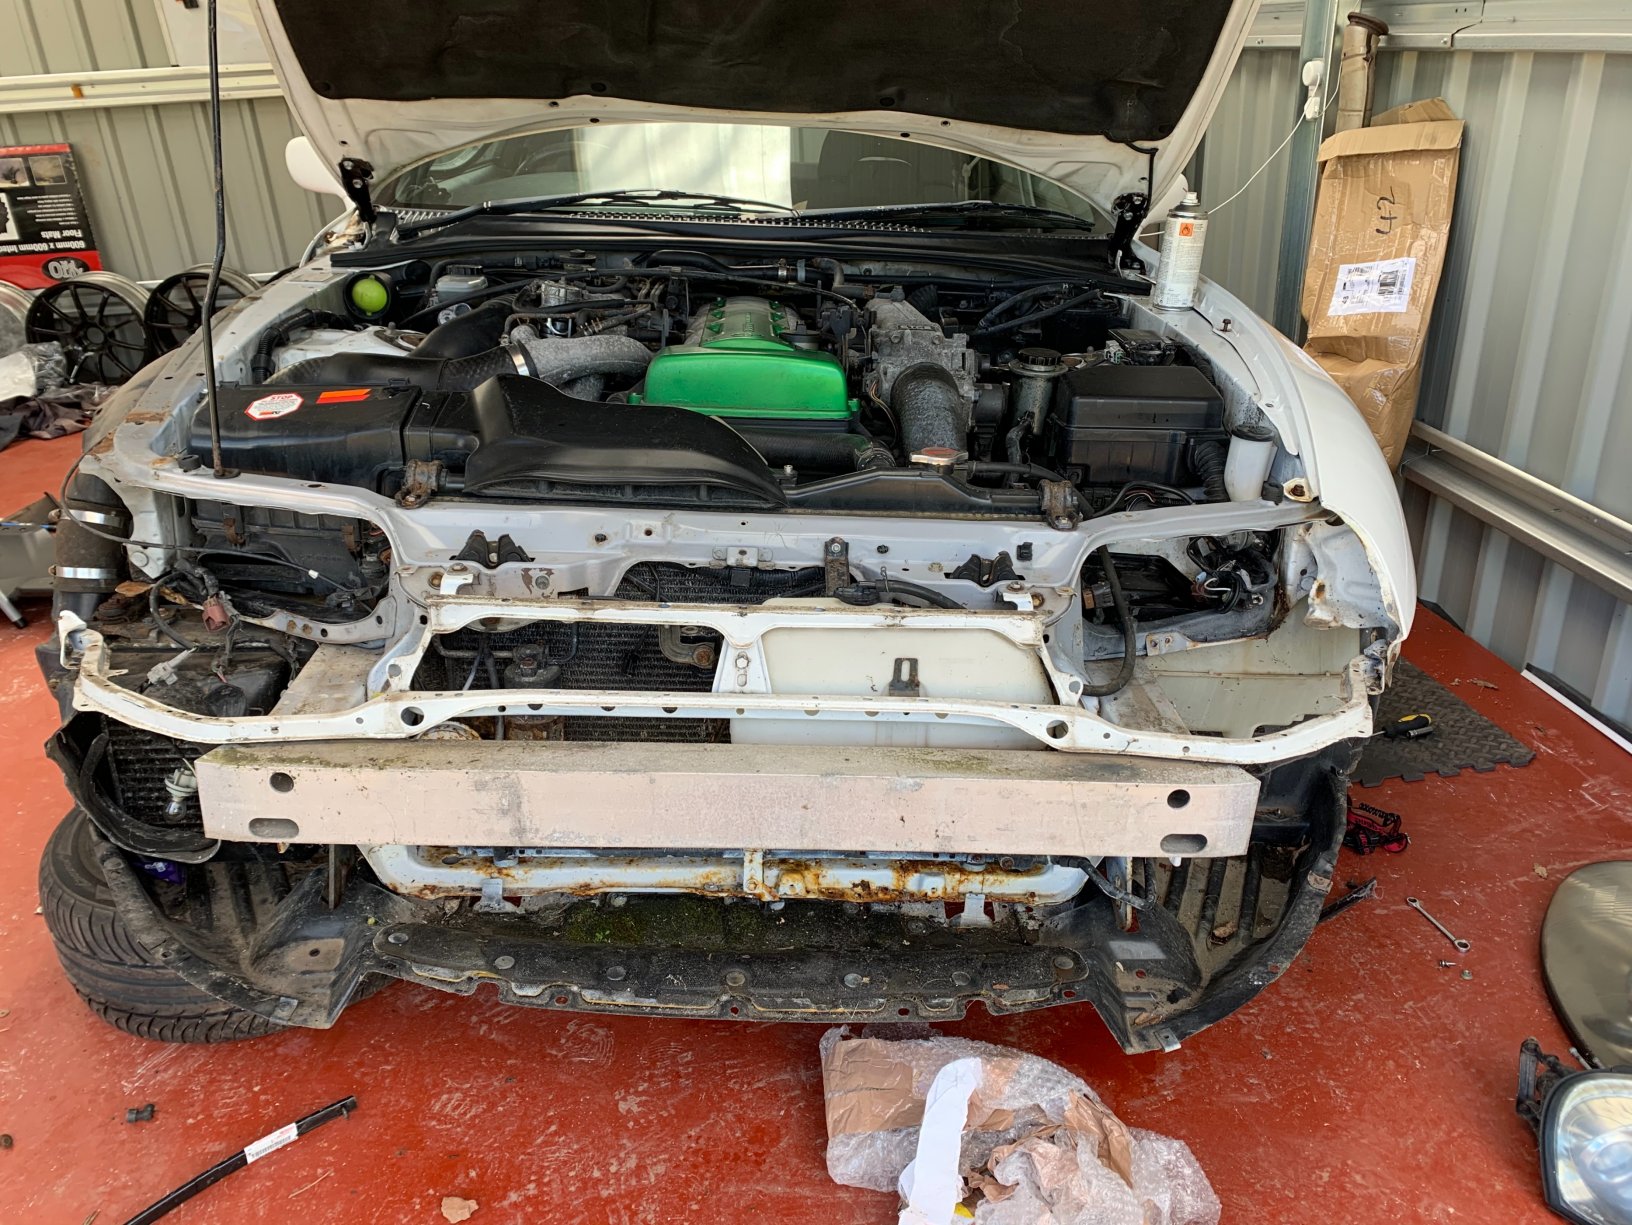
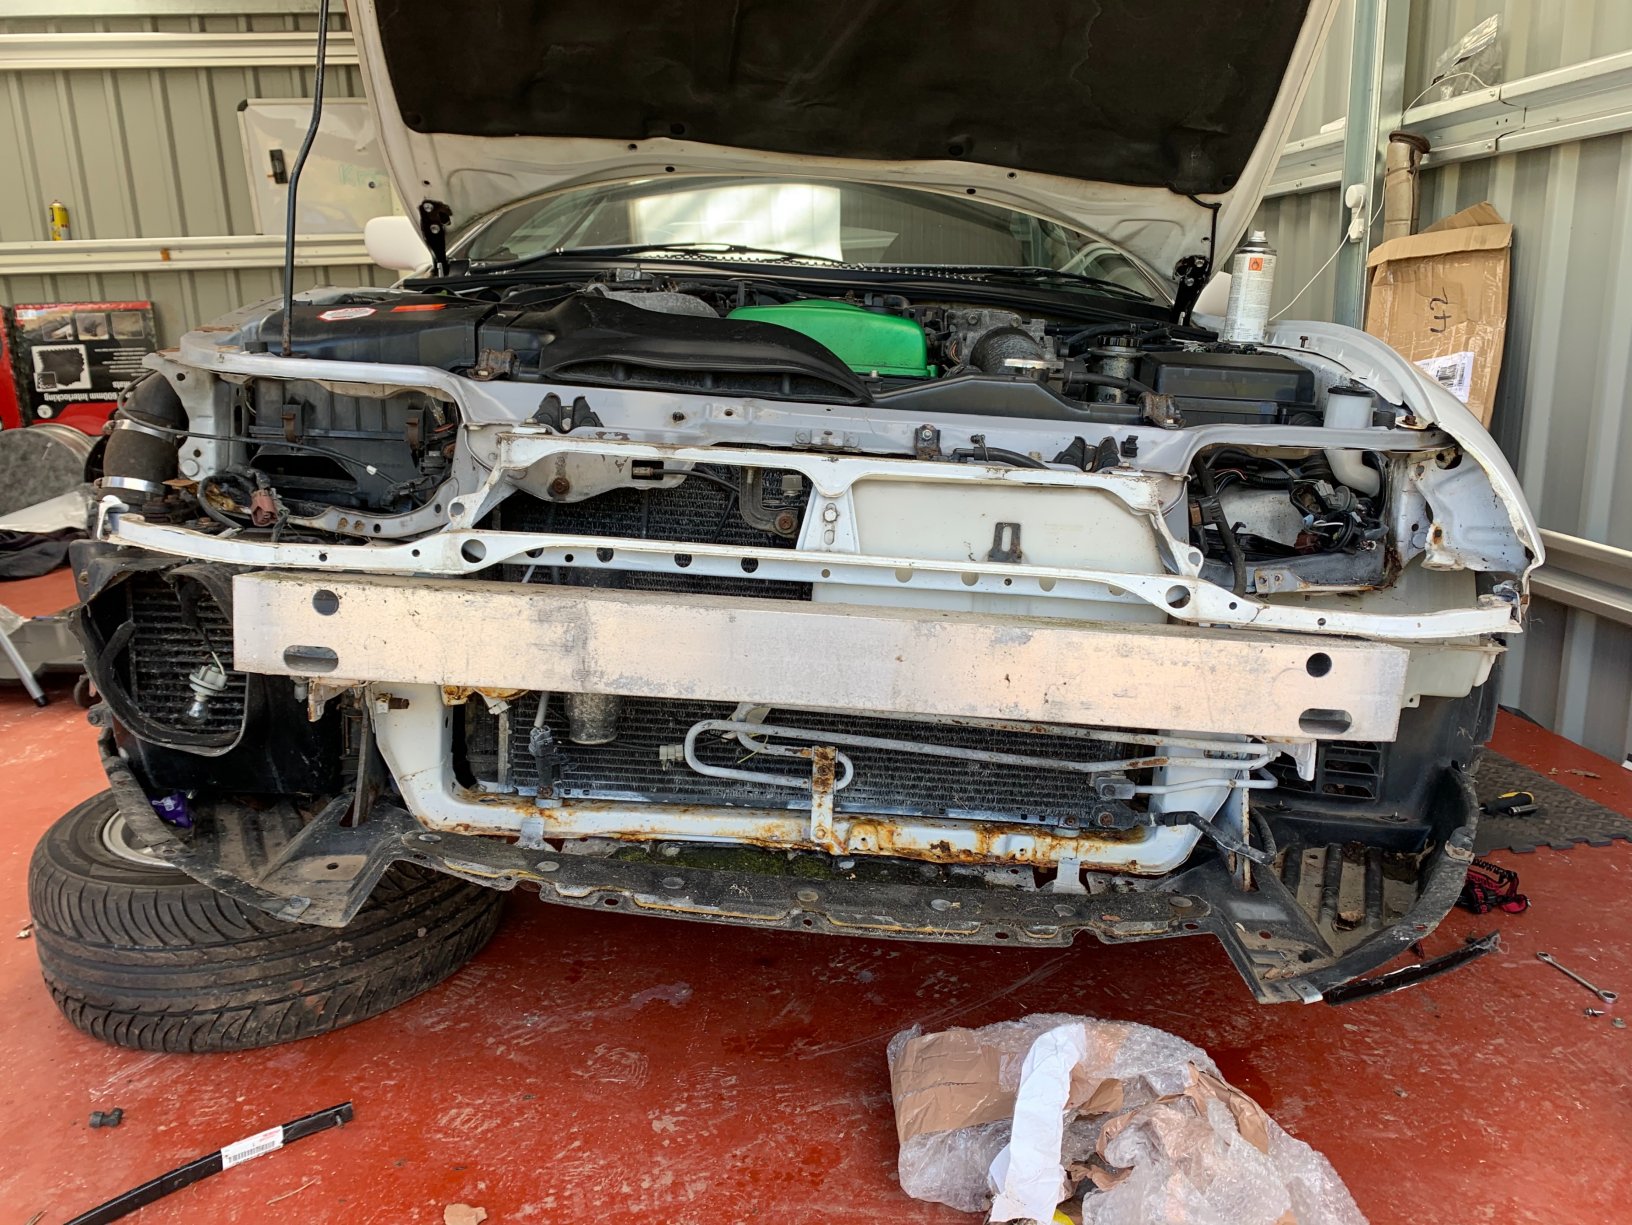
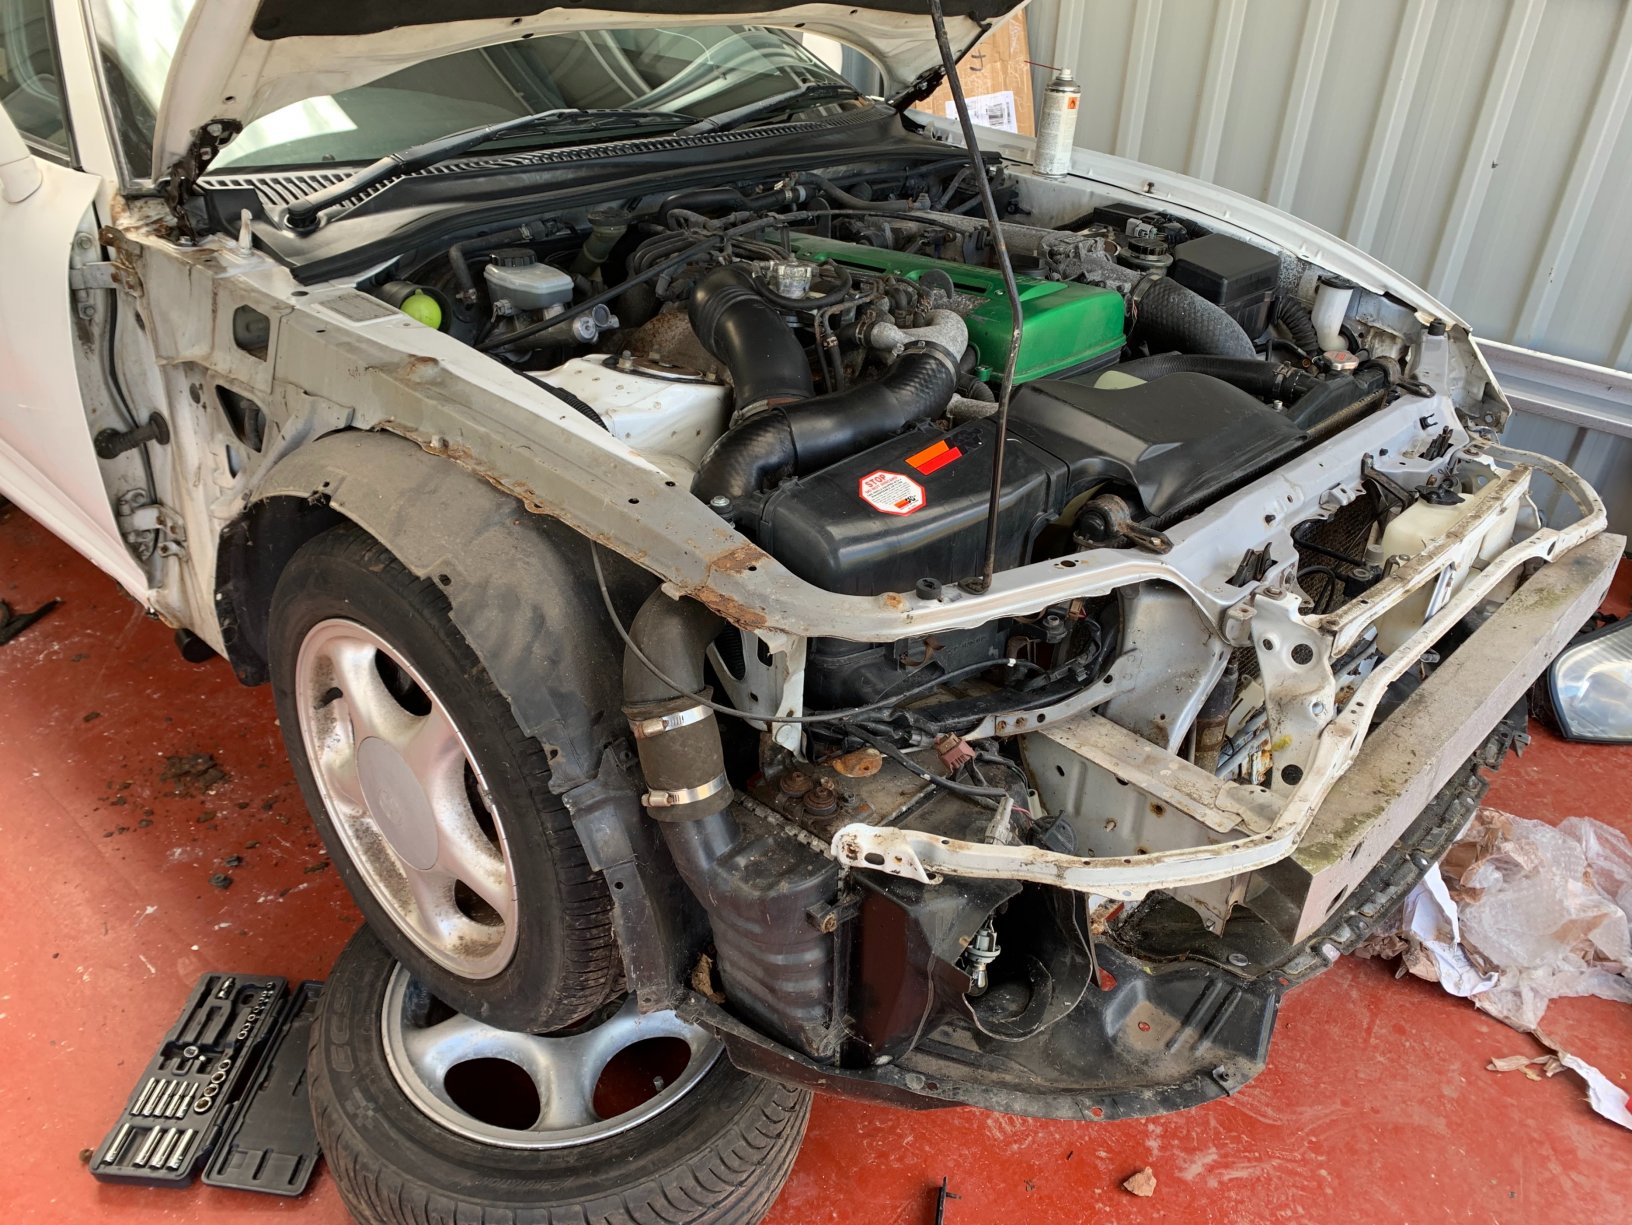
With the engine out the bay was empty and the stripping back of the bay loom could begin. Engine just left the building:


-
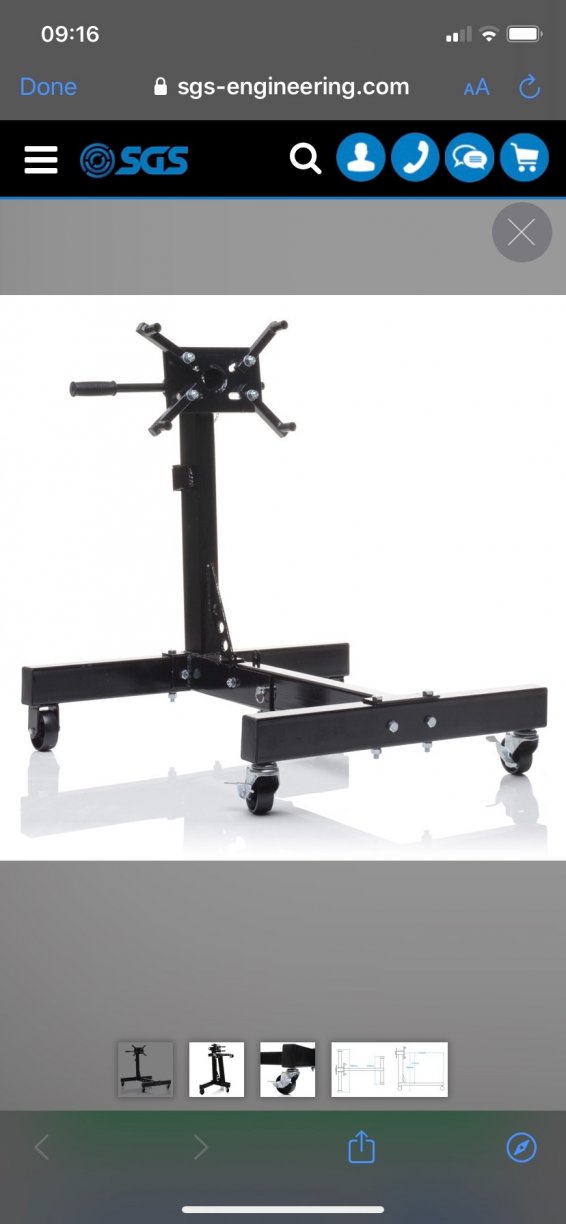
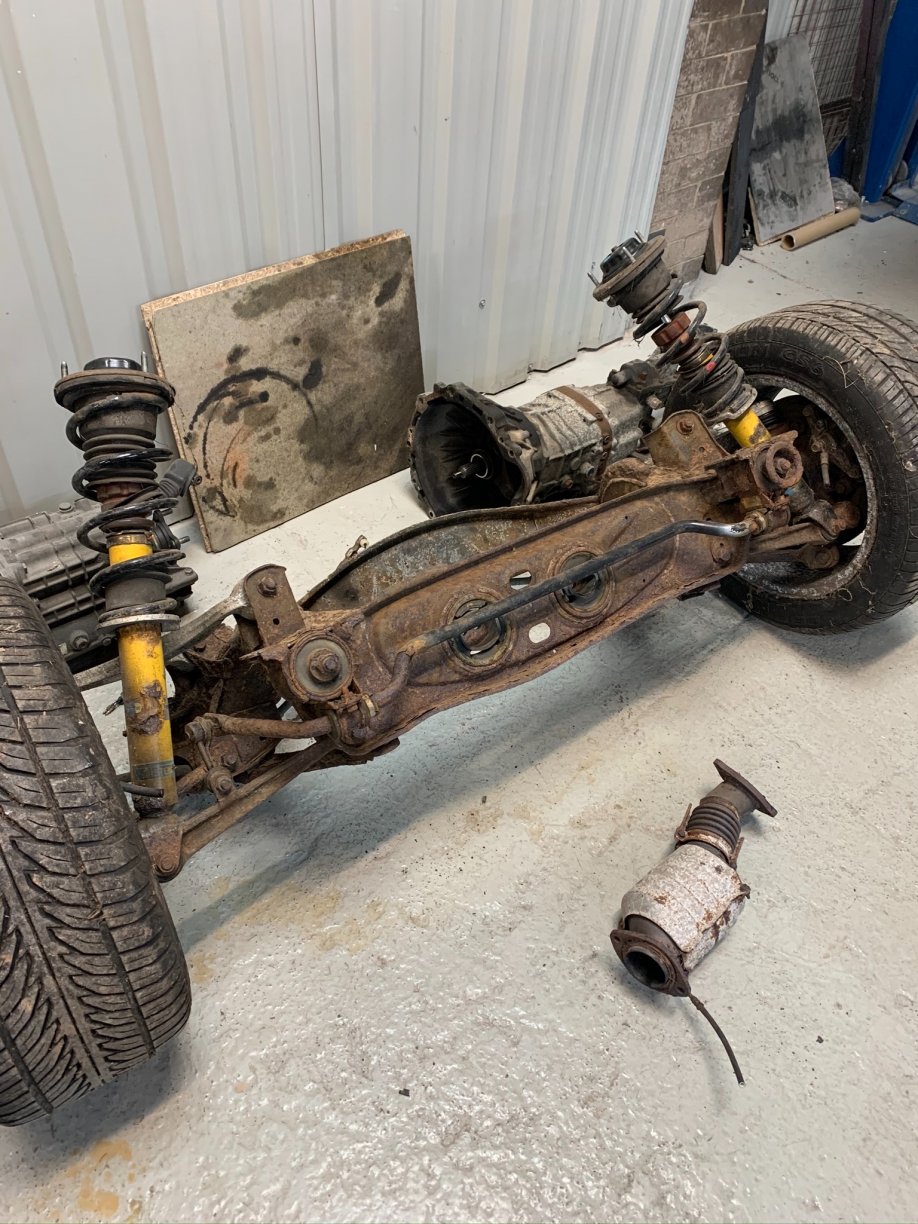
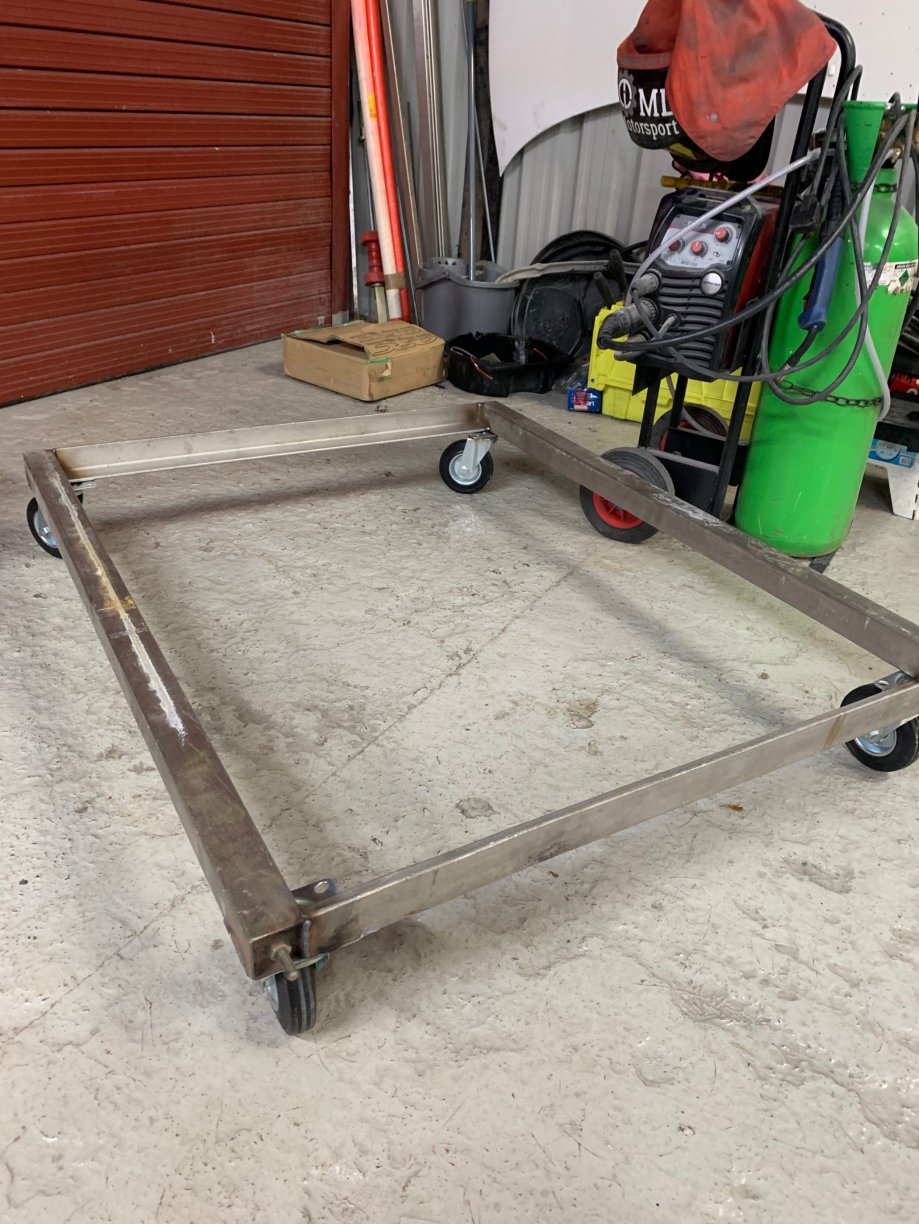
Next up it was time to get the engine out of the bay and then the front subframe off, we chose to remove the engine first as at this point the dolly wheels had just arrived. Whilst waiting for some bits to arrive I ordered very sturdy engine stand from SGS to hold the TT lump. Very impressed with SGS stand and will be ordering my new work bench/station from them also.


-
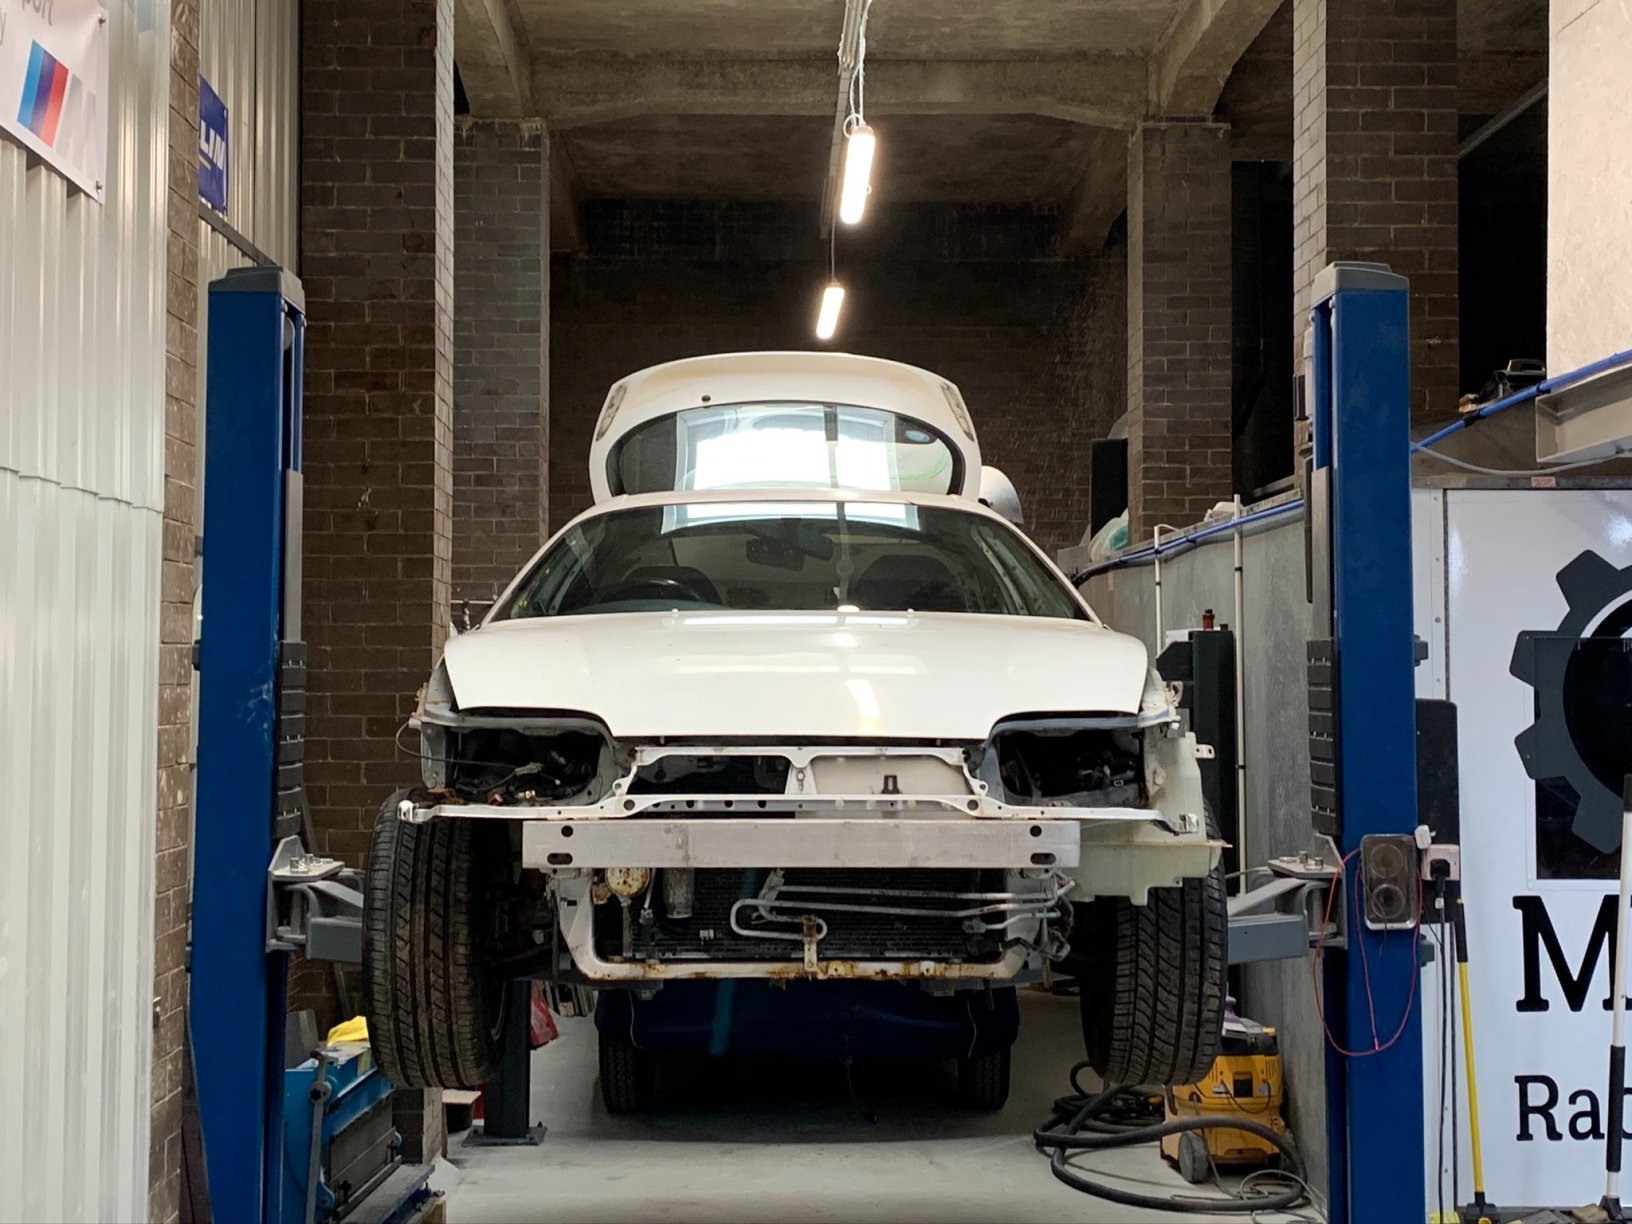
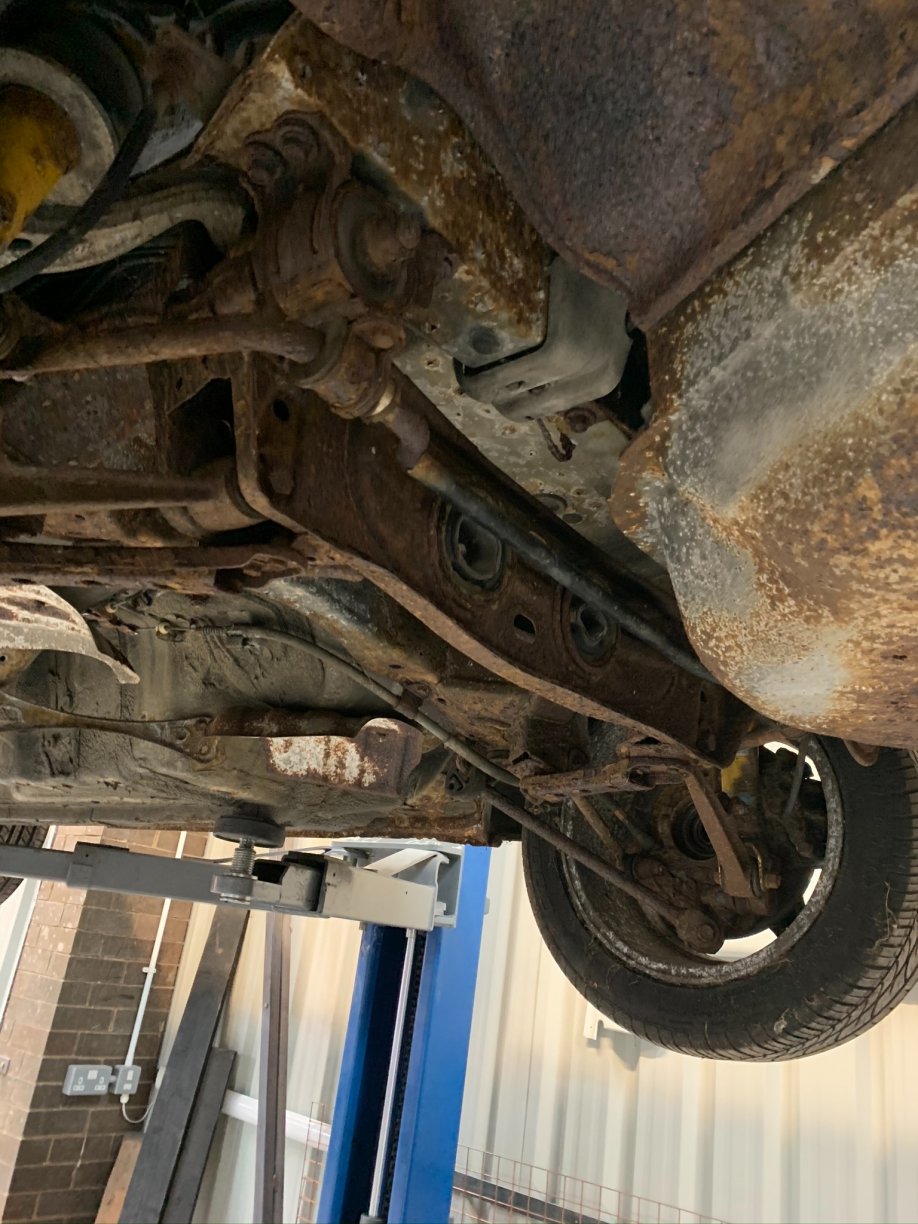
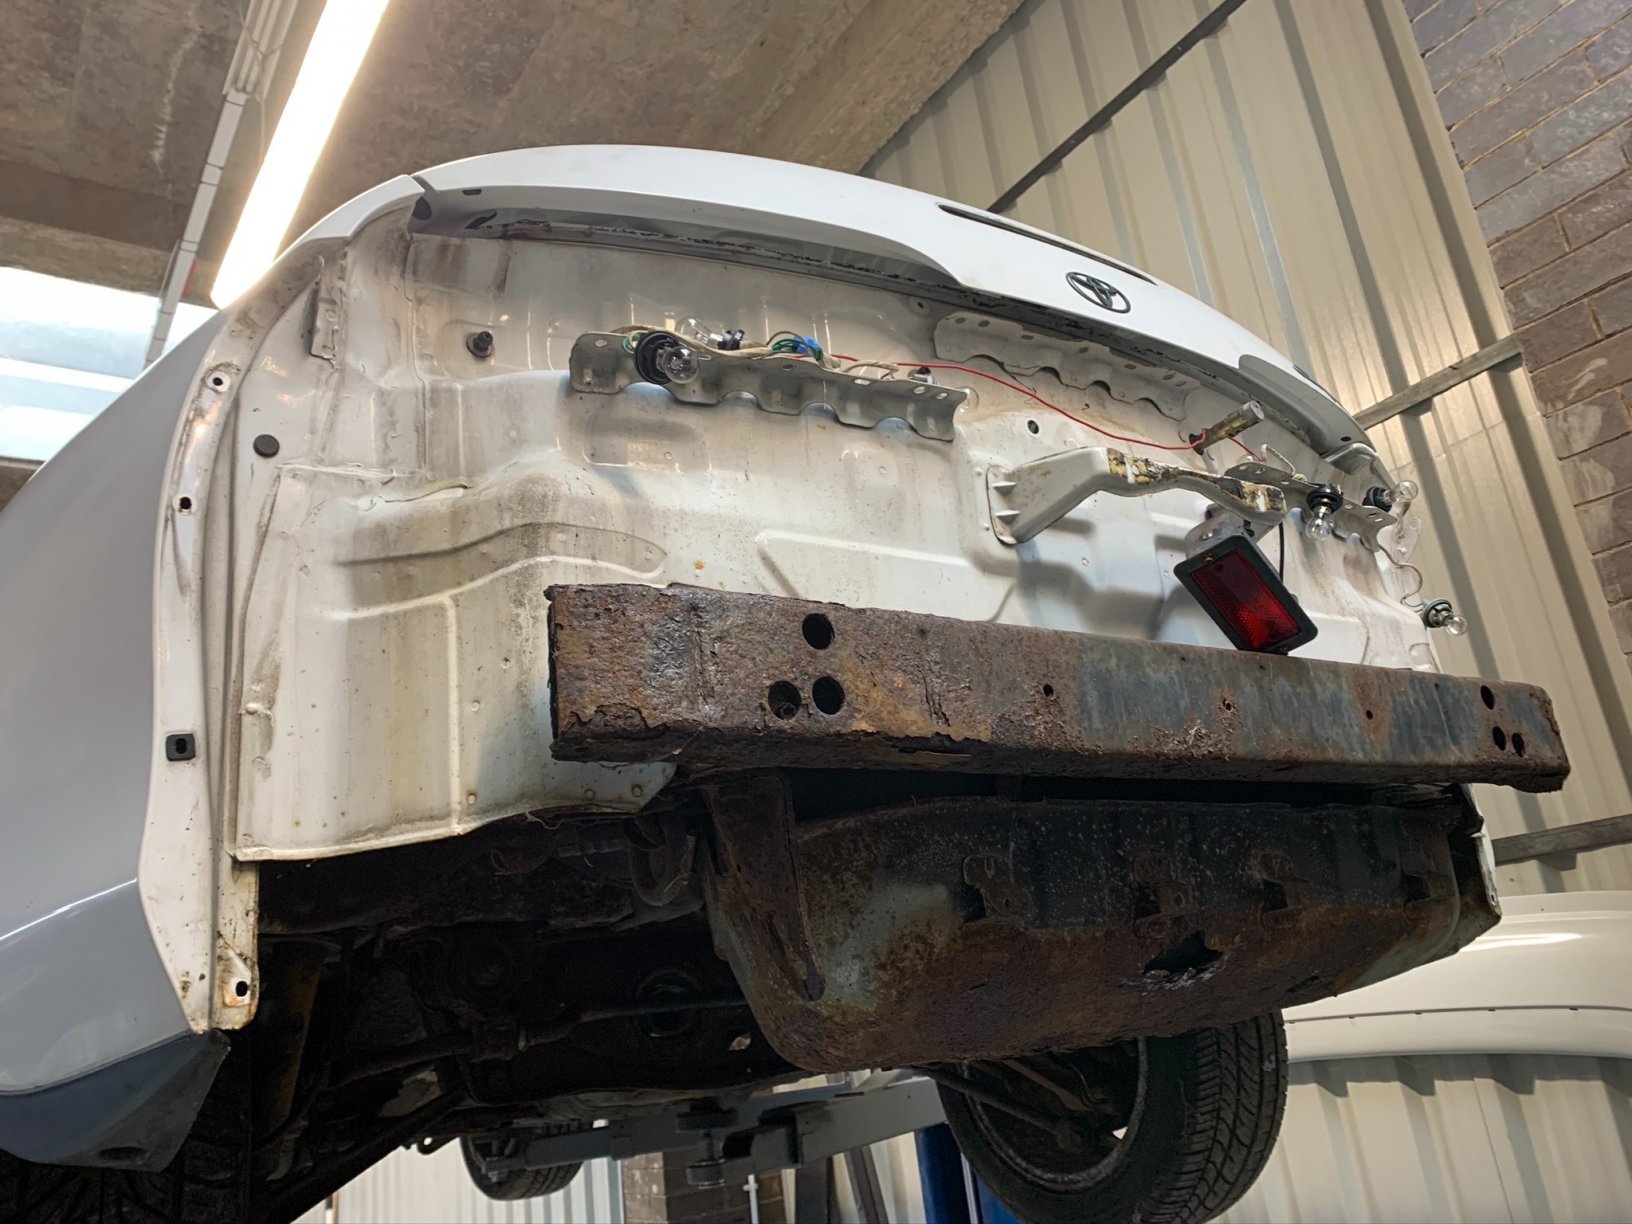
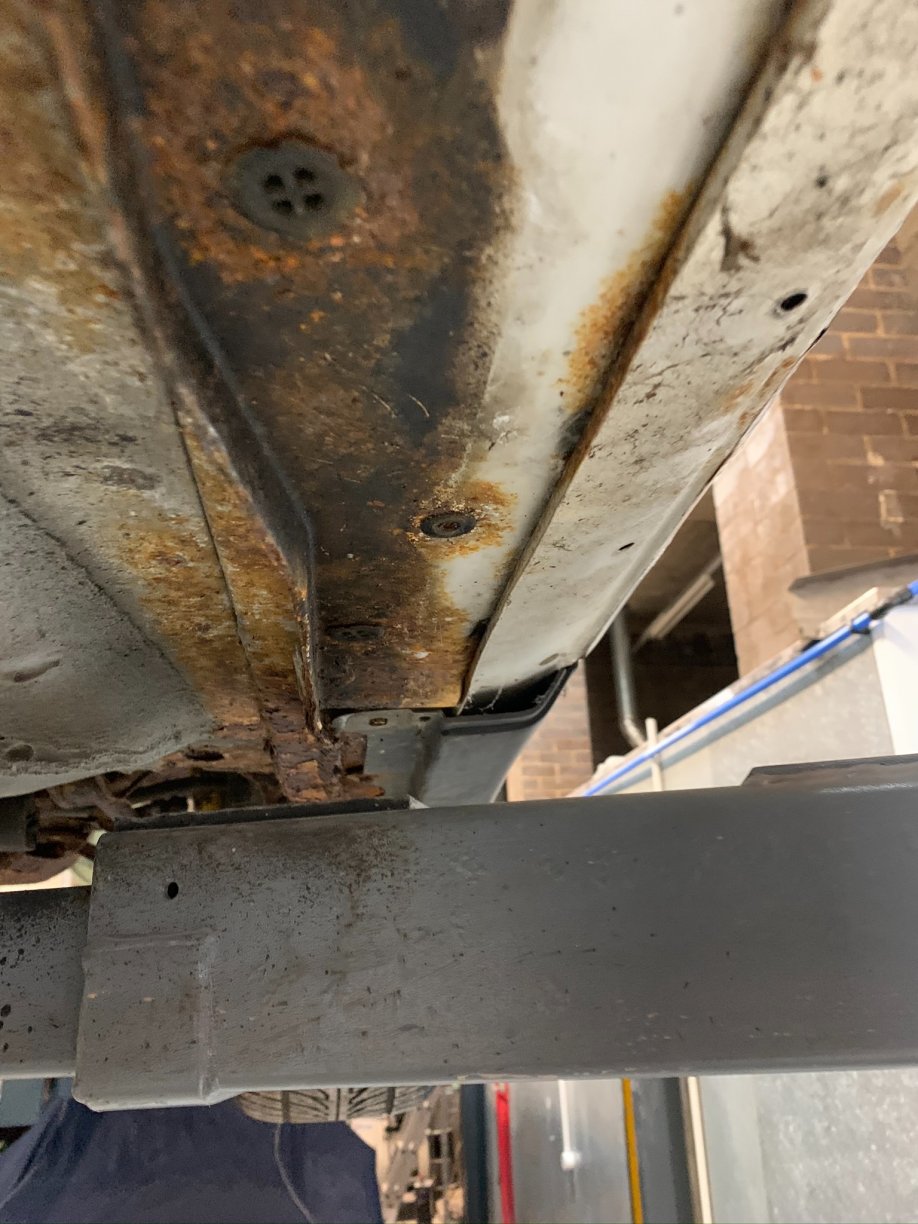
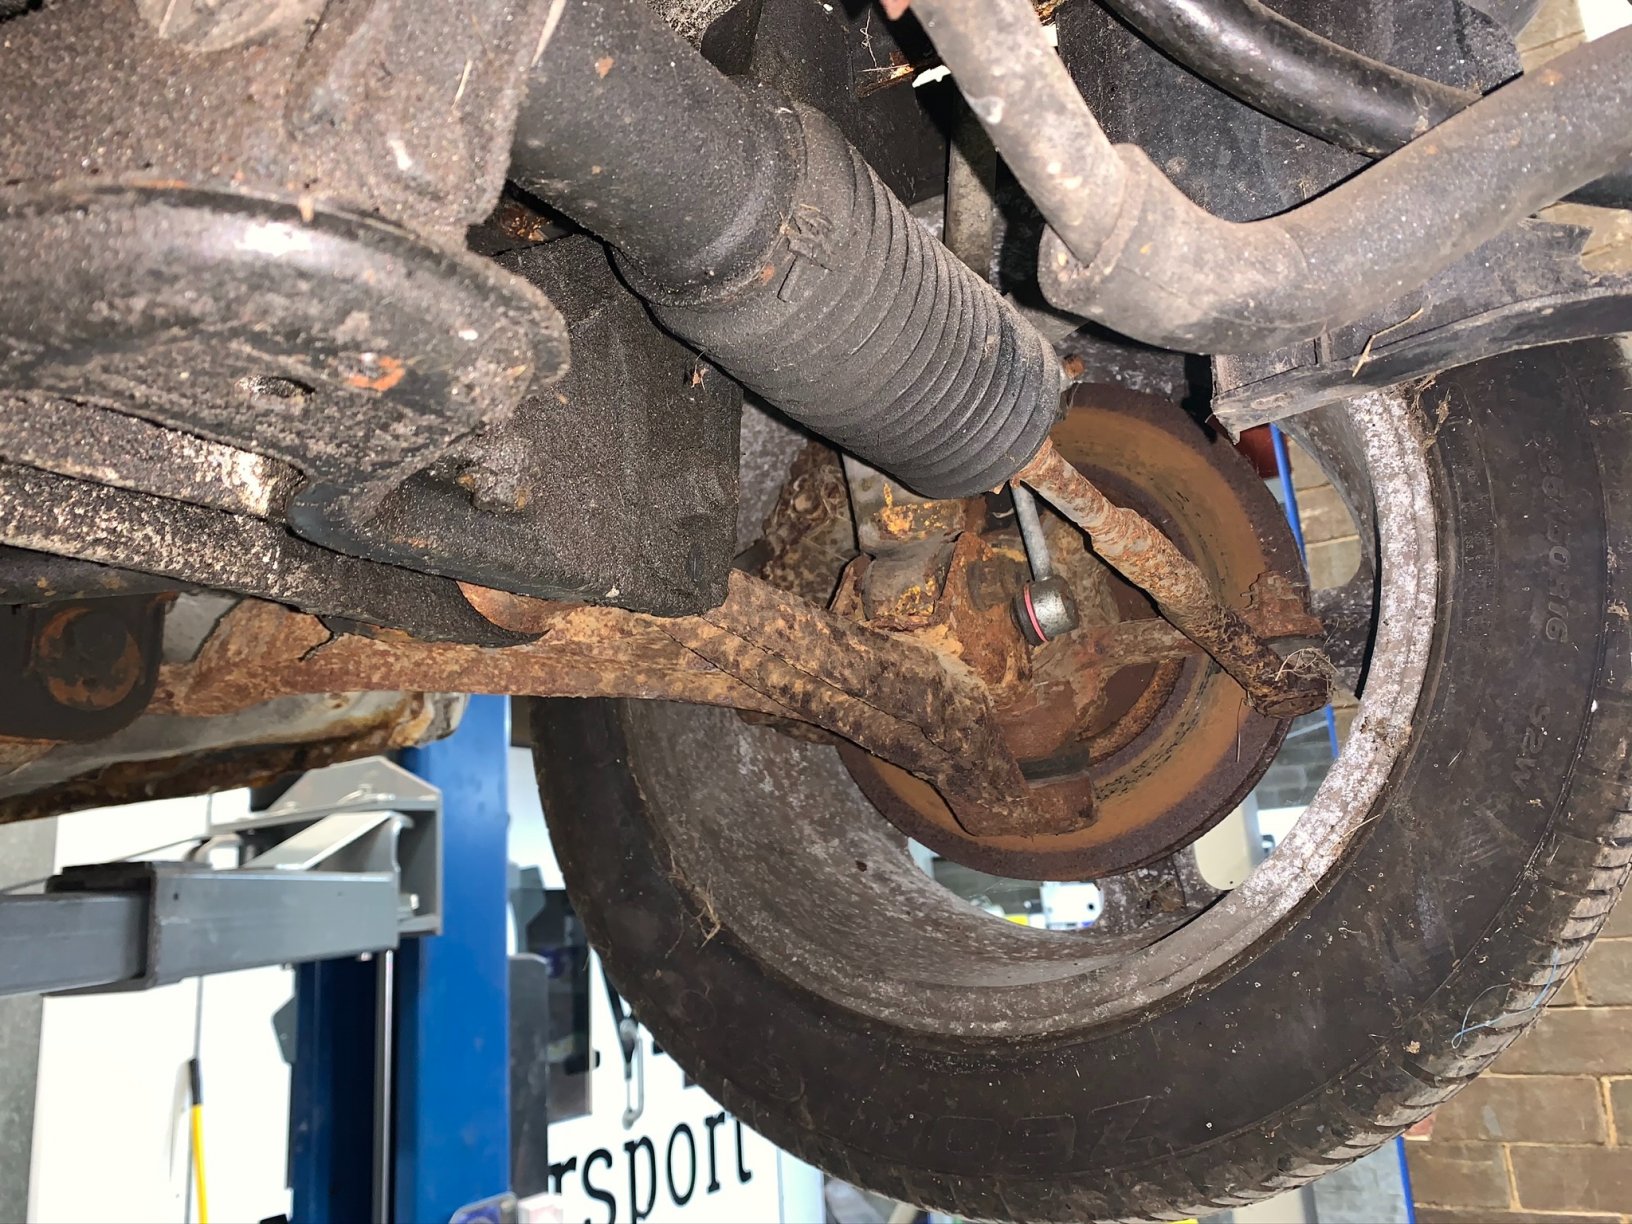
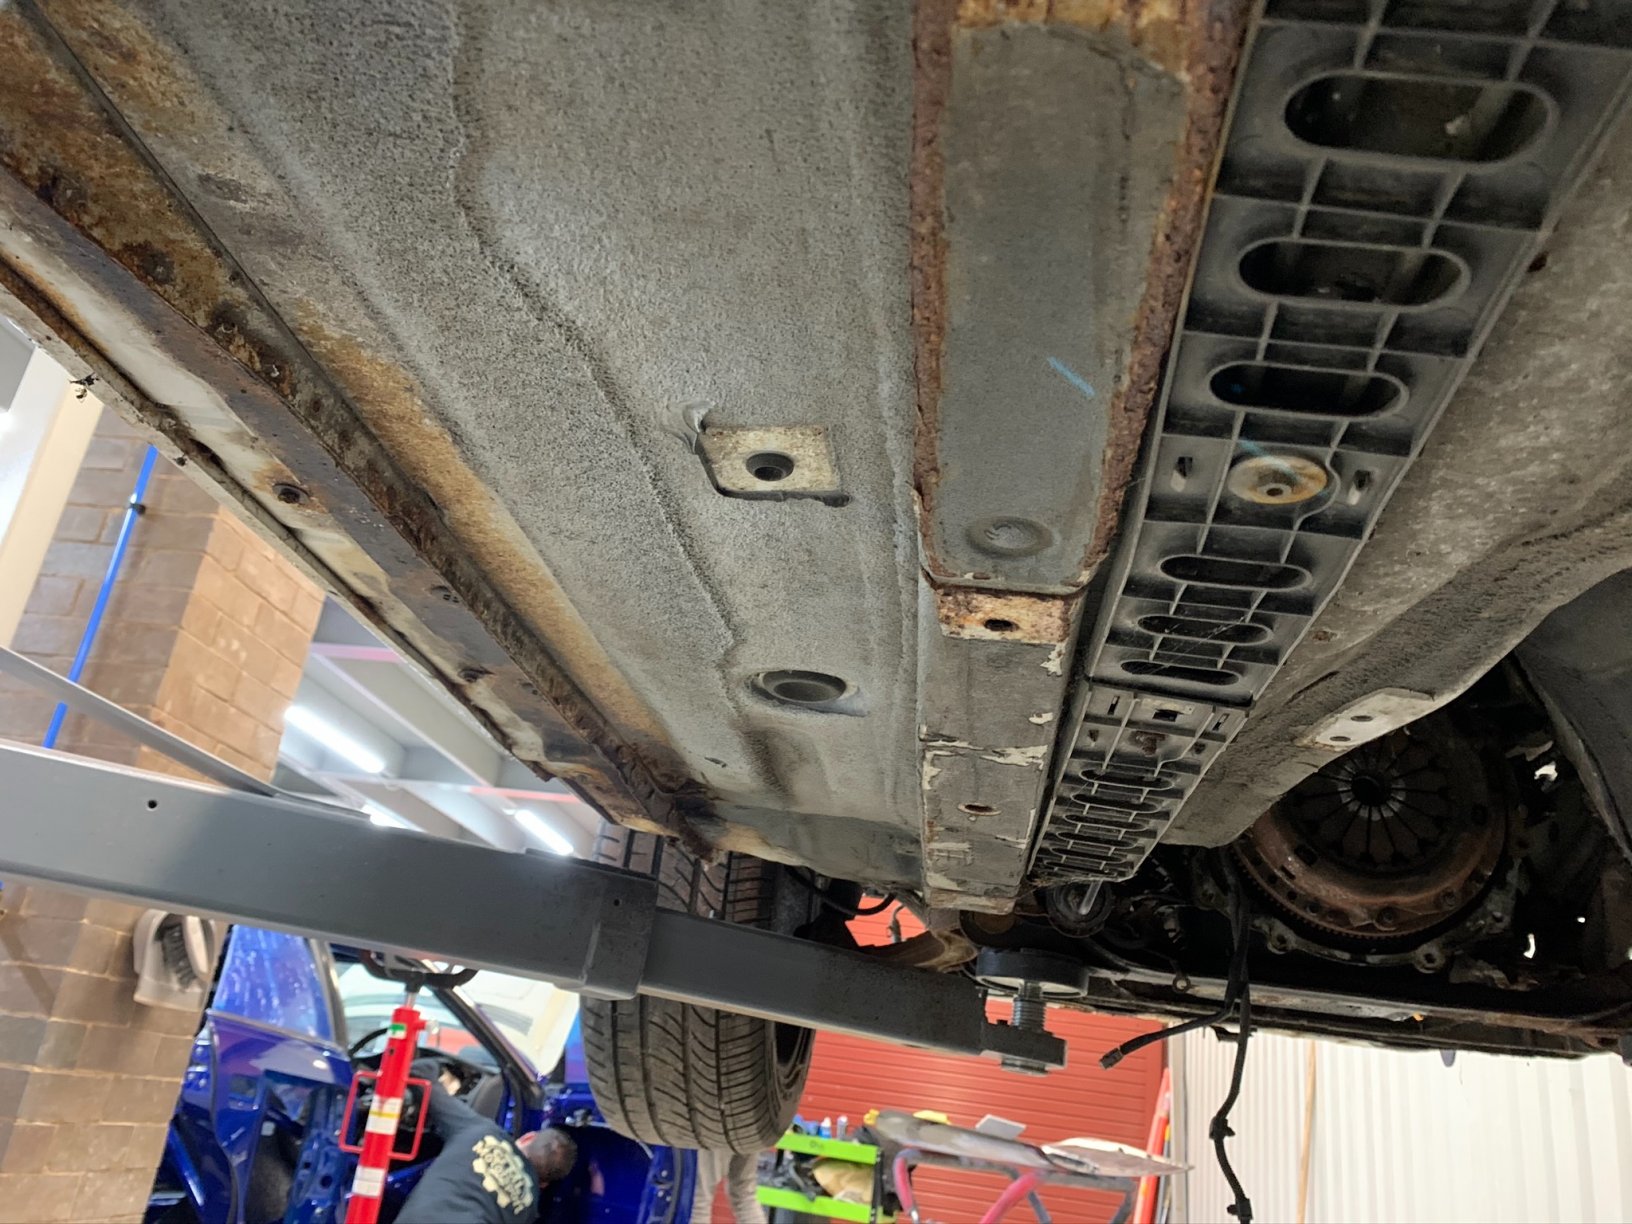
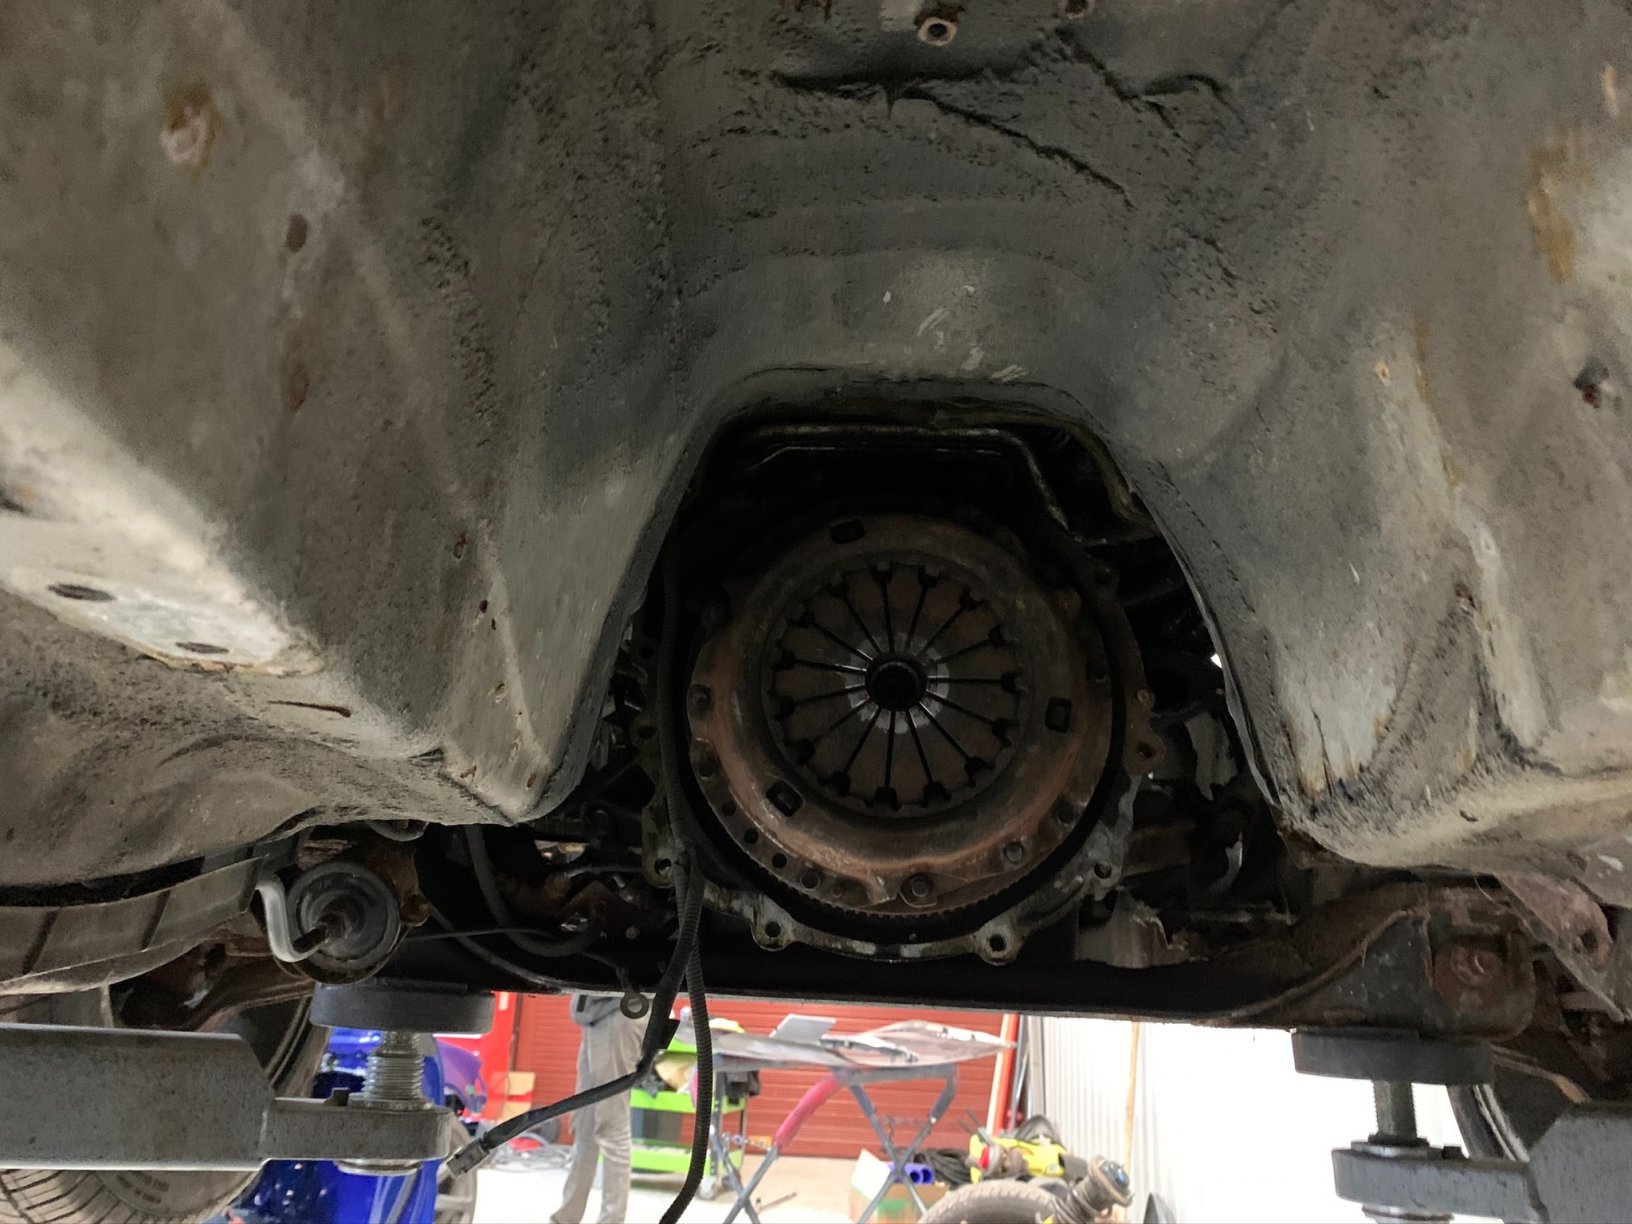
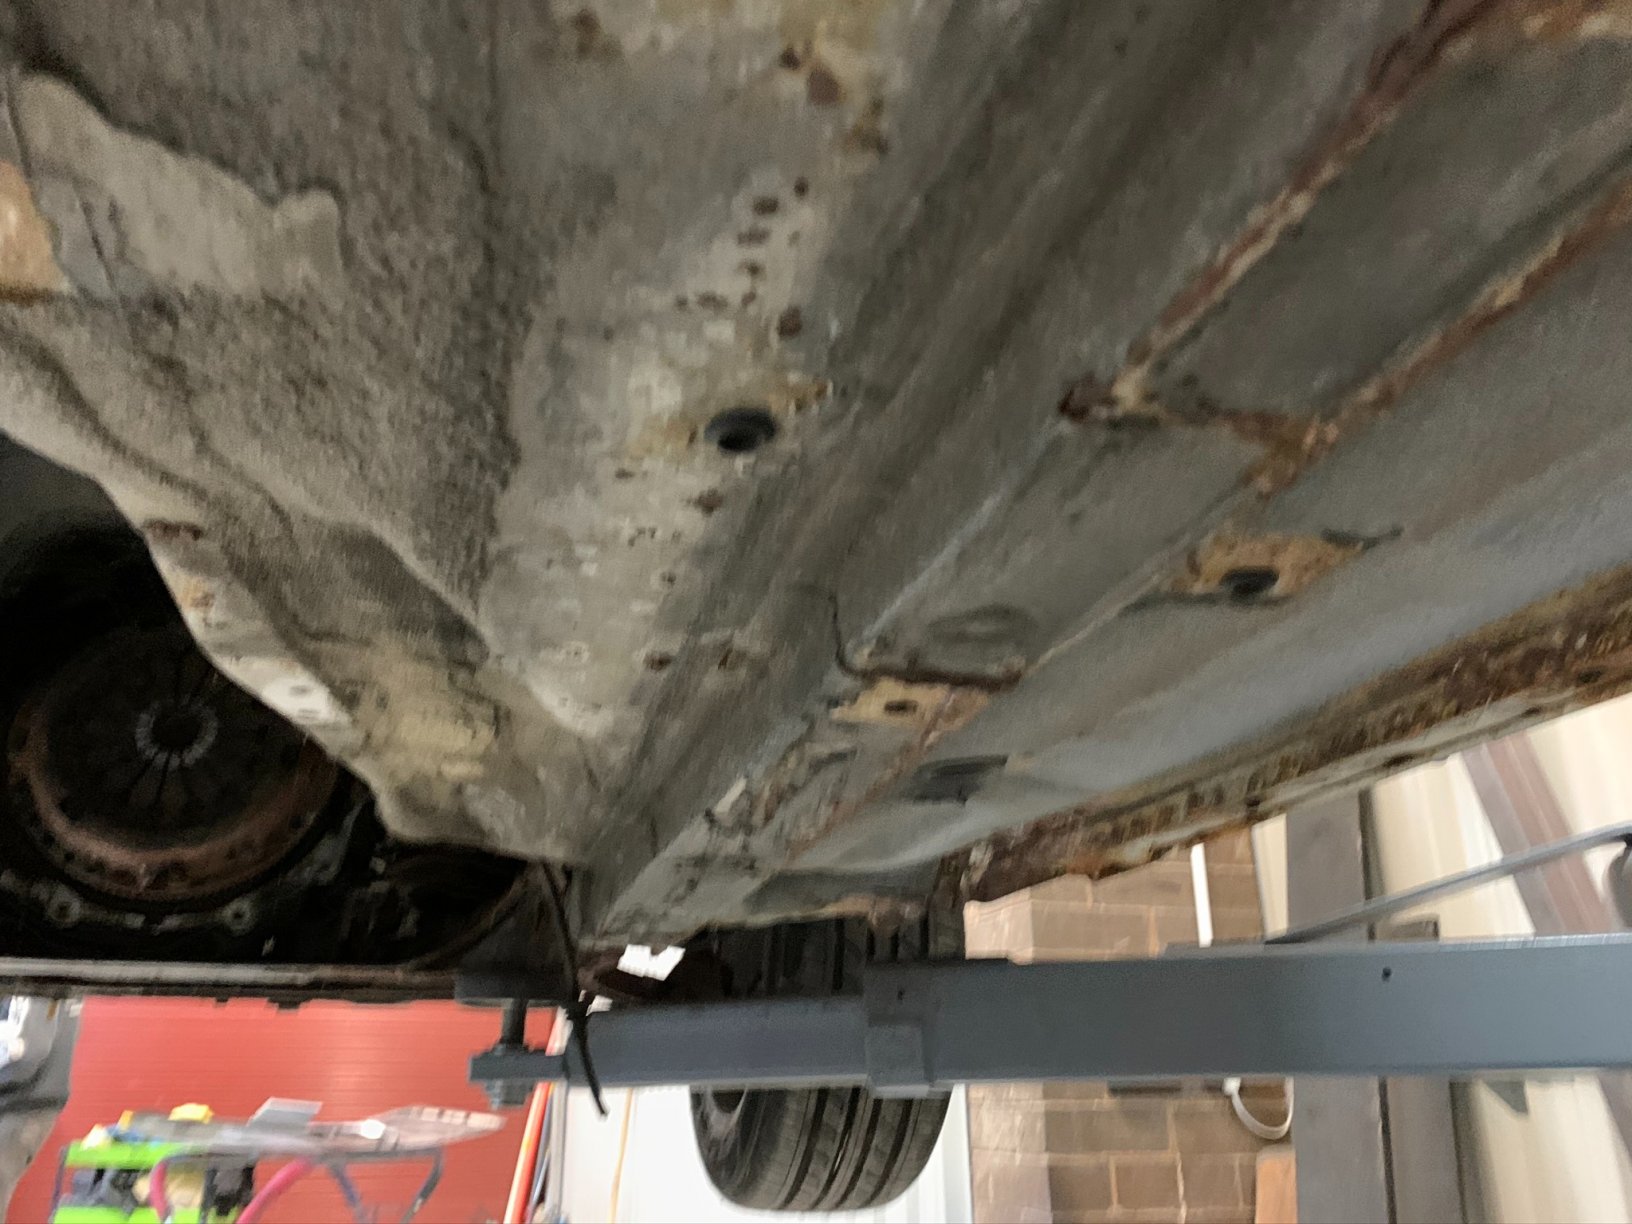
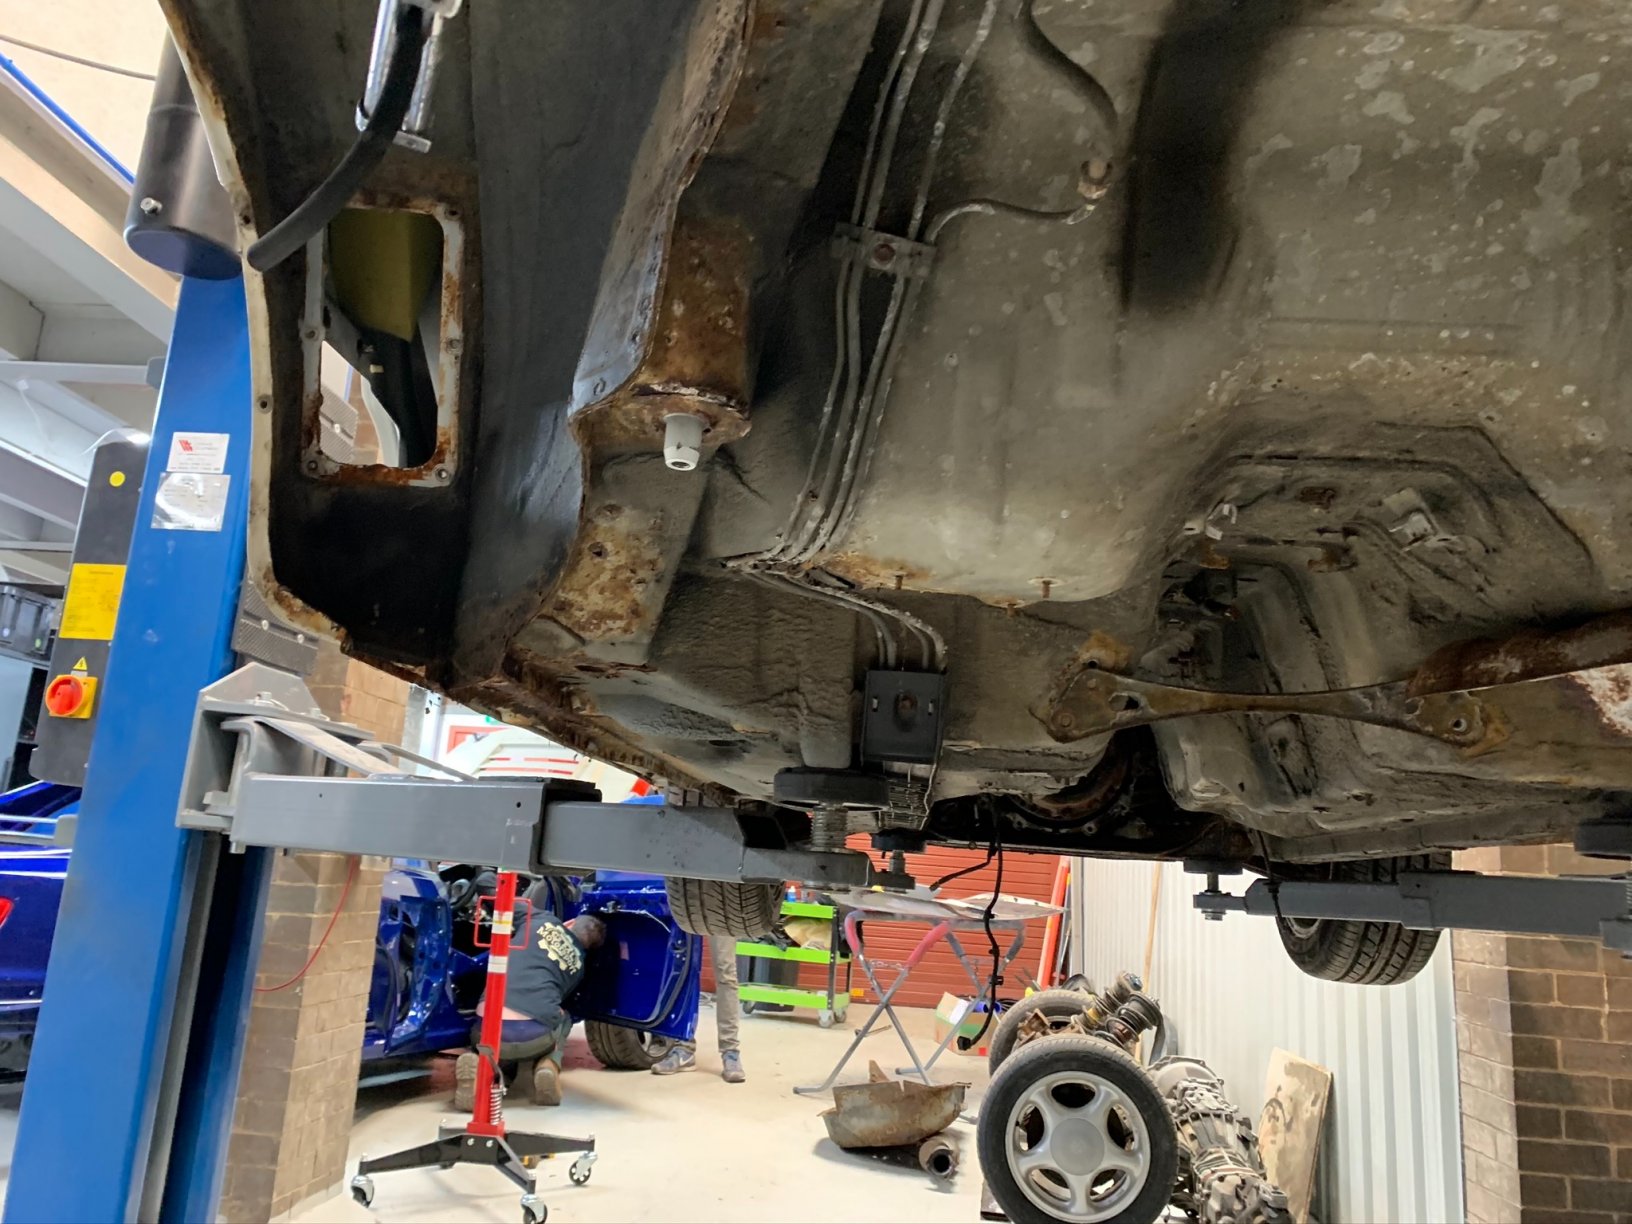
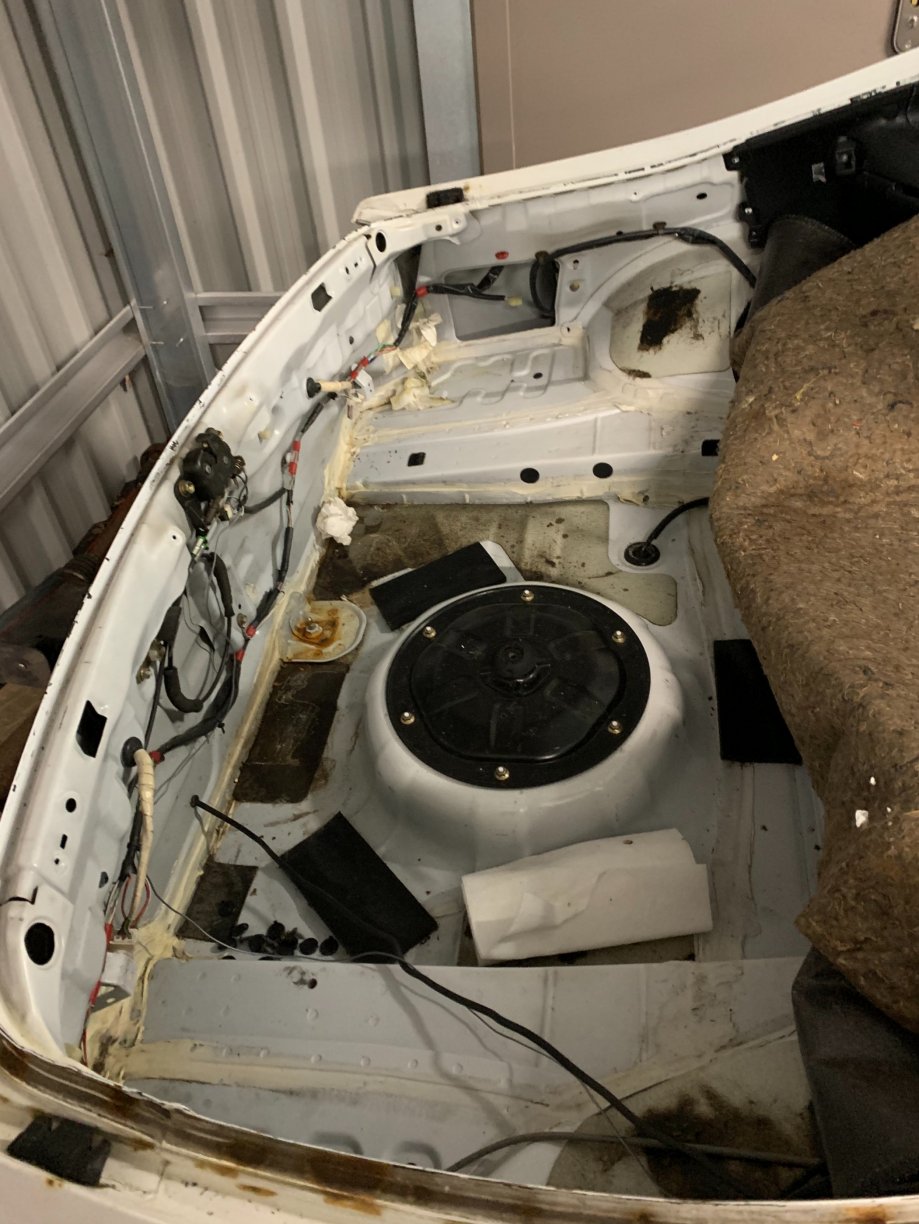
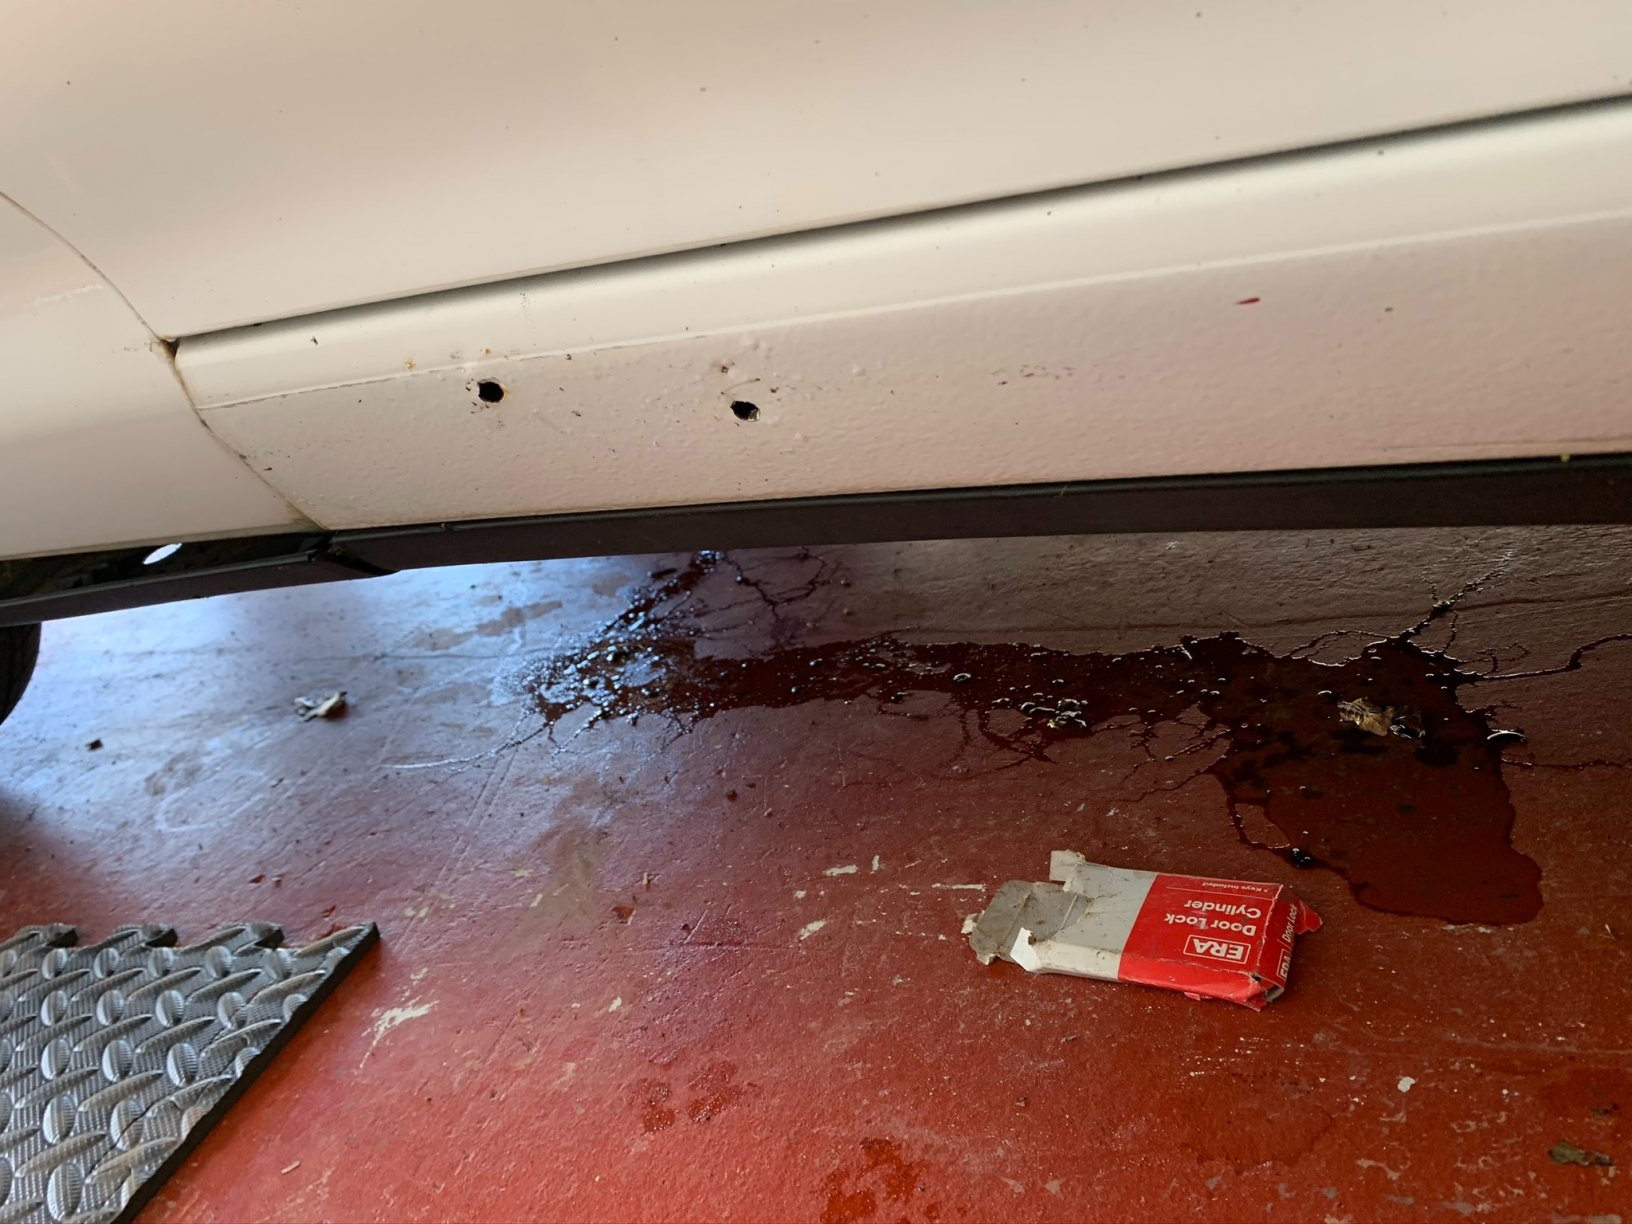
So with the car stripped down as far as I Martin wanted it, It was time to go to the ML workshop to get her up on the ramps. Now this is usually a happy part for most when they know the car is off to be prepped and painted, but for me, it was more a case of “what lies beneath”. You guessed it, more corrosion, but let’s be honest that’s kinda what we all expected. Here’s the pics: Now perhaps I just got accustomed to seeing the rusty bits but the underside was in better shape than I was expecting. The rear subframe was clearly corroded but in terms of the actual undercarriage I was okay with. Before my enthusiasm manifested into delusion , We whipped the rear subframe off completely to have a look under it. Here’s what we found.
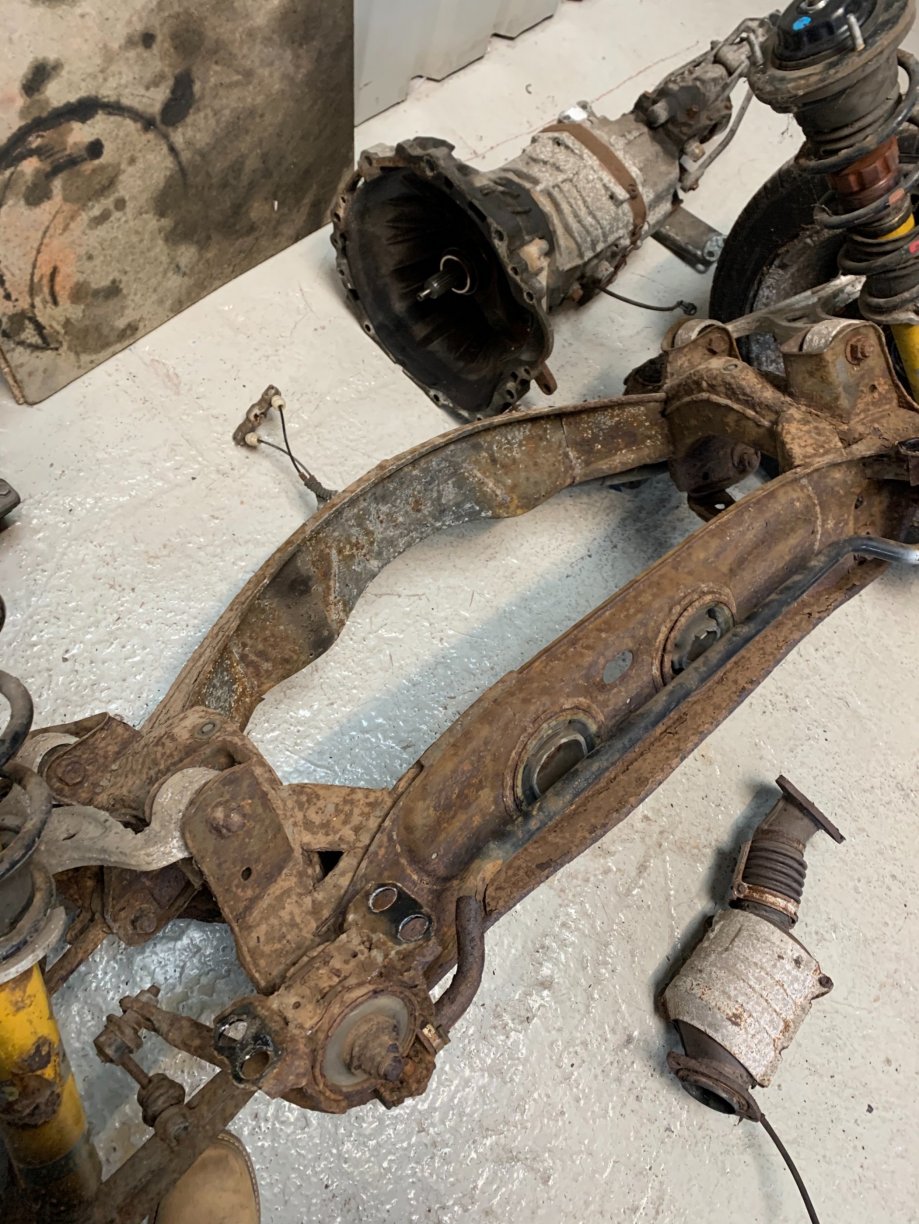
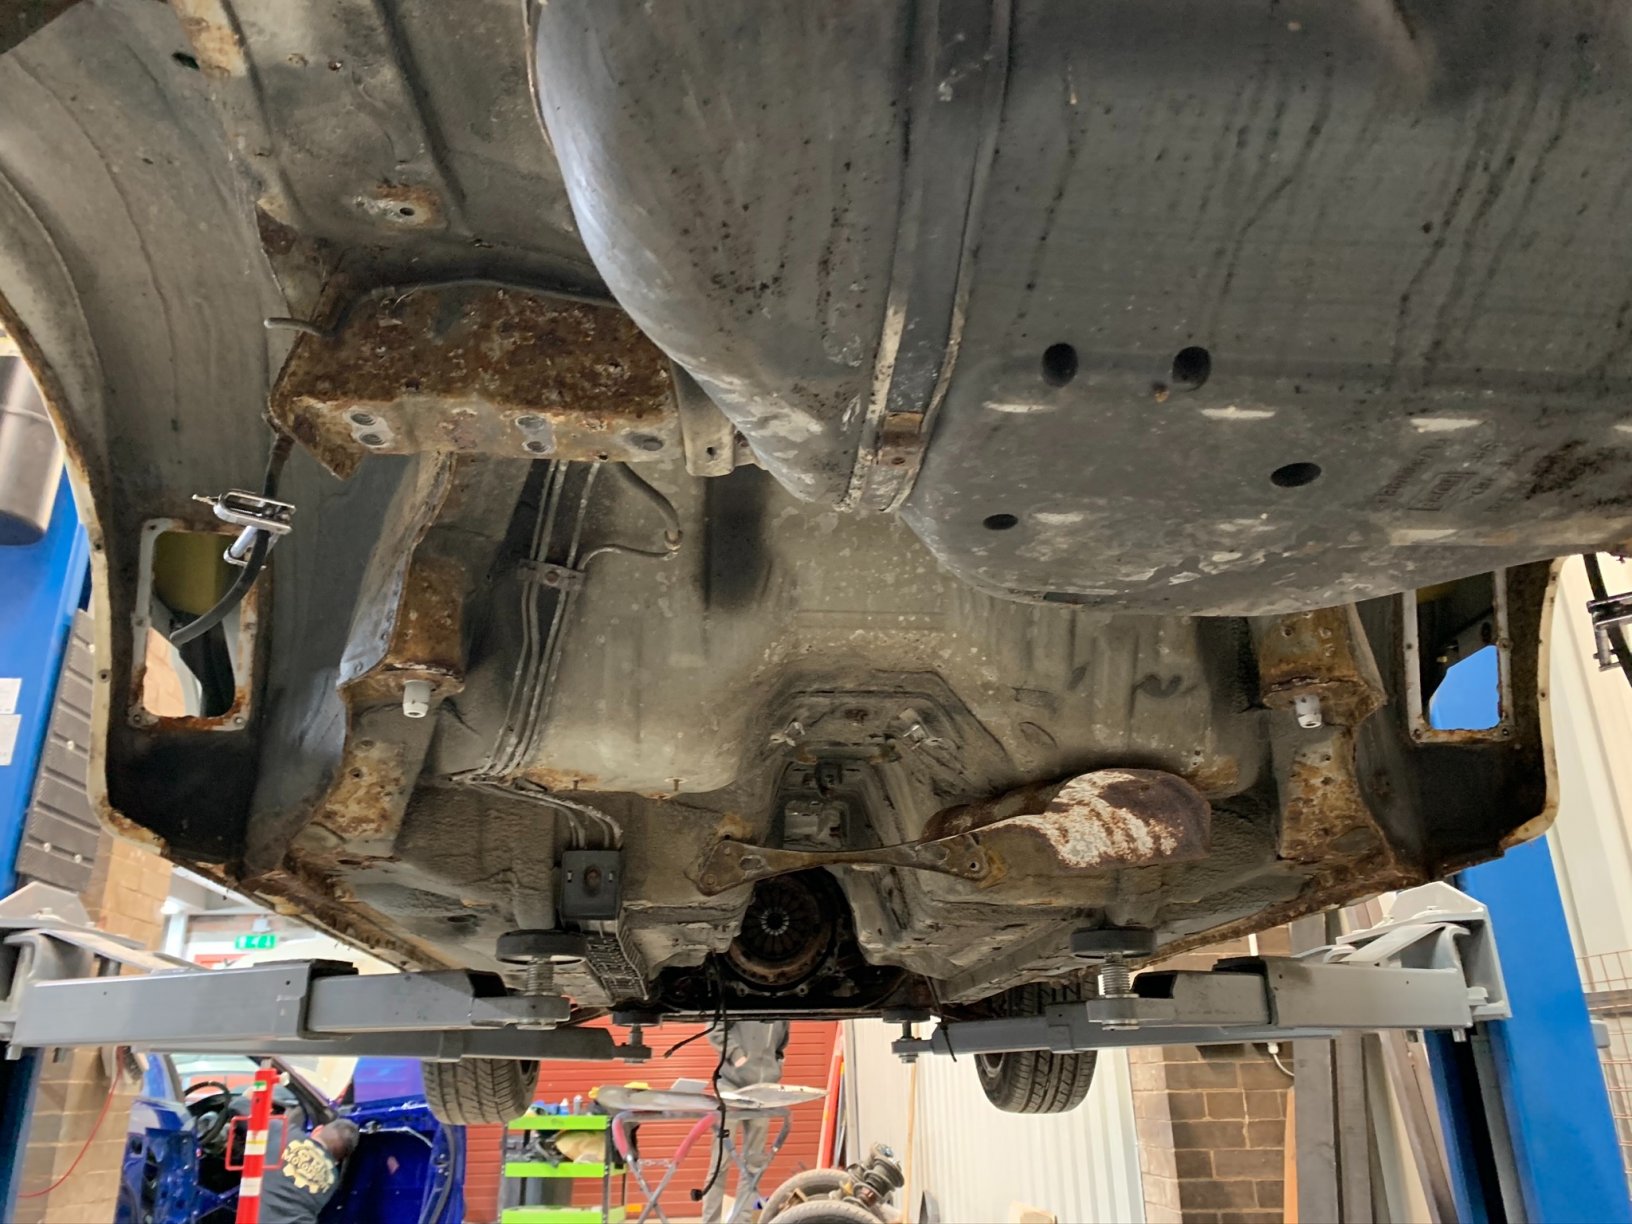
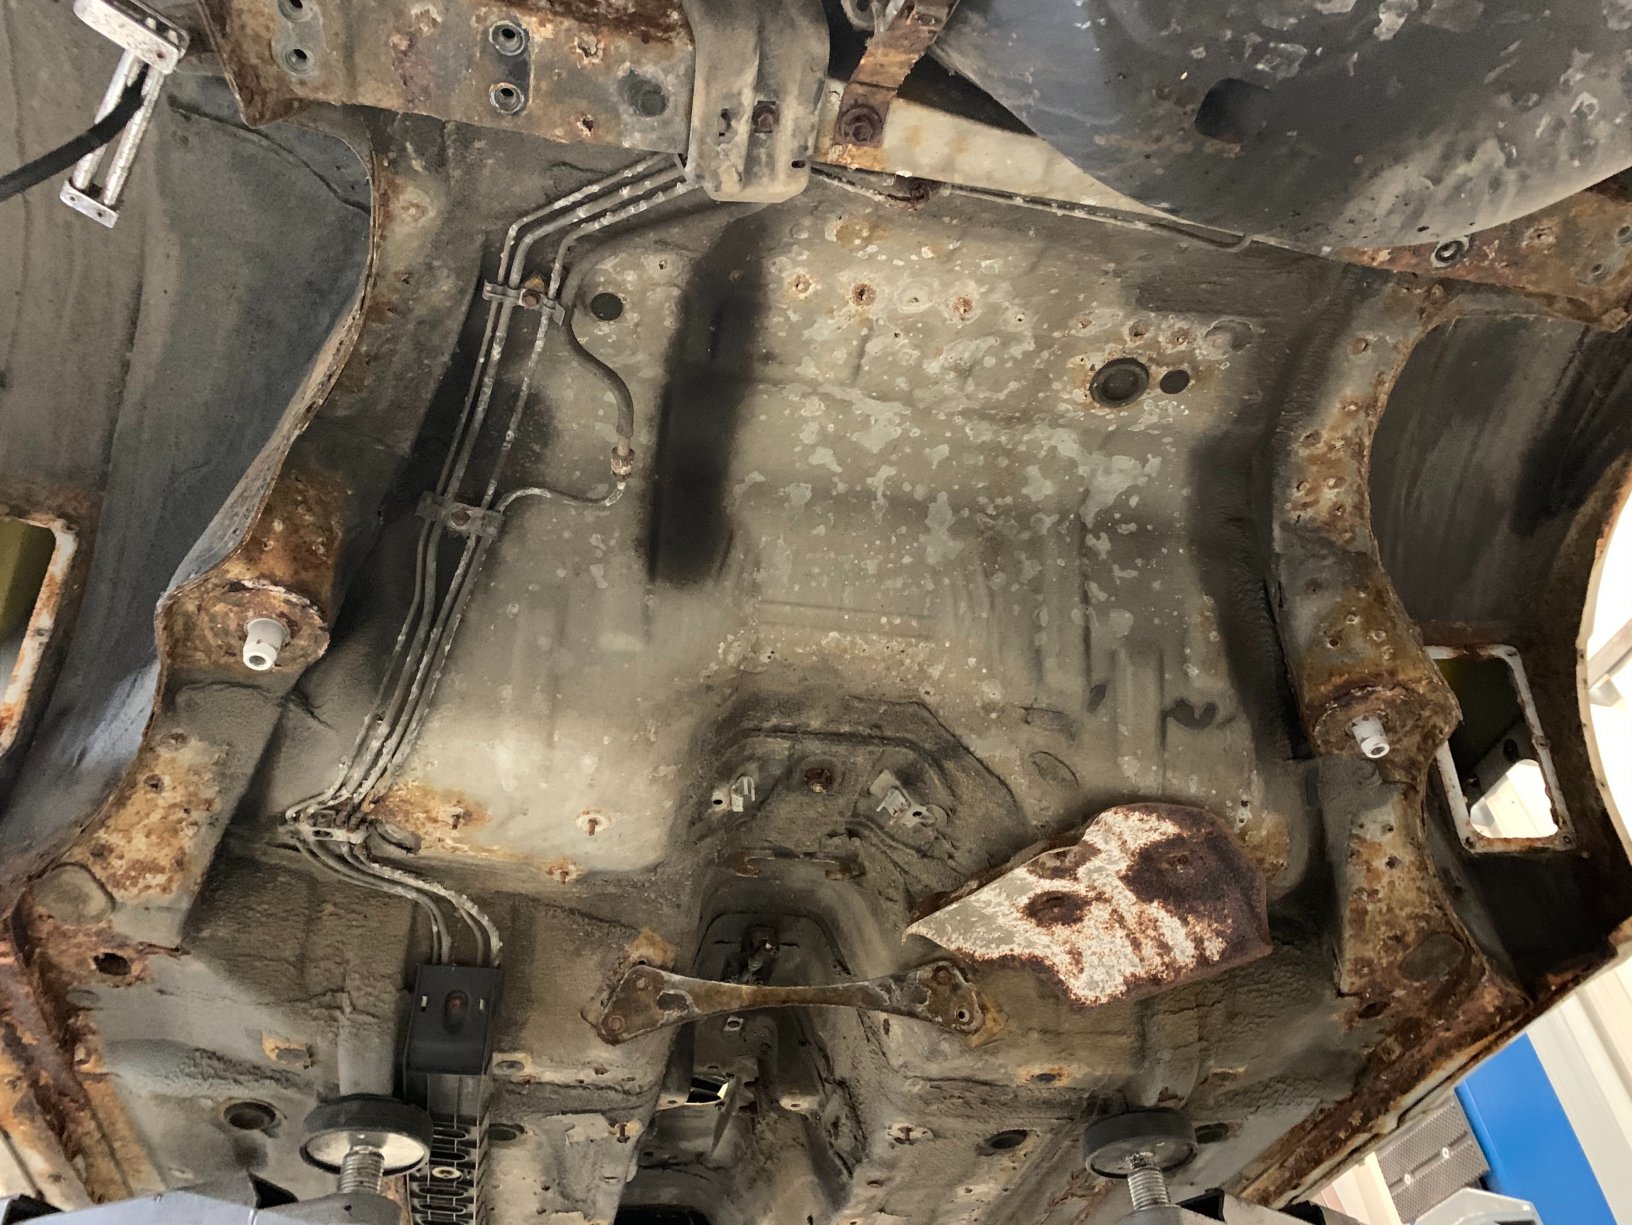
-
Love this car
-
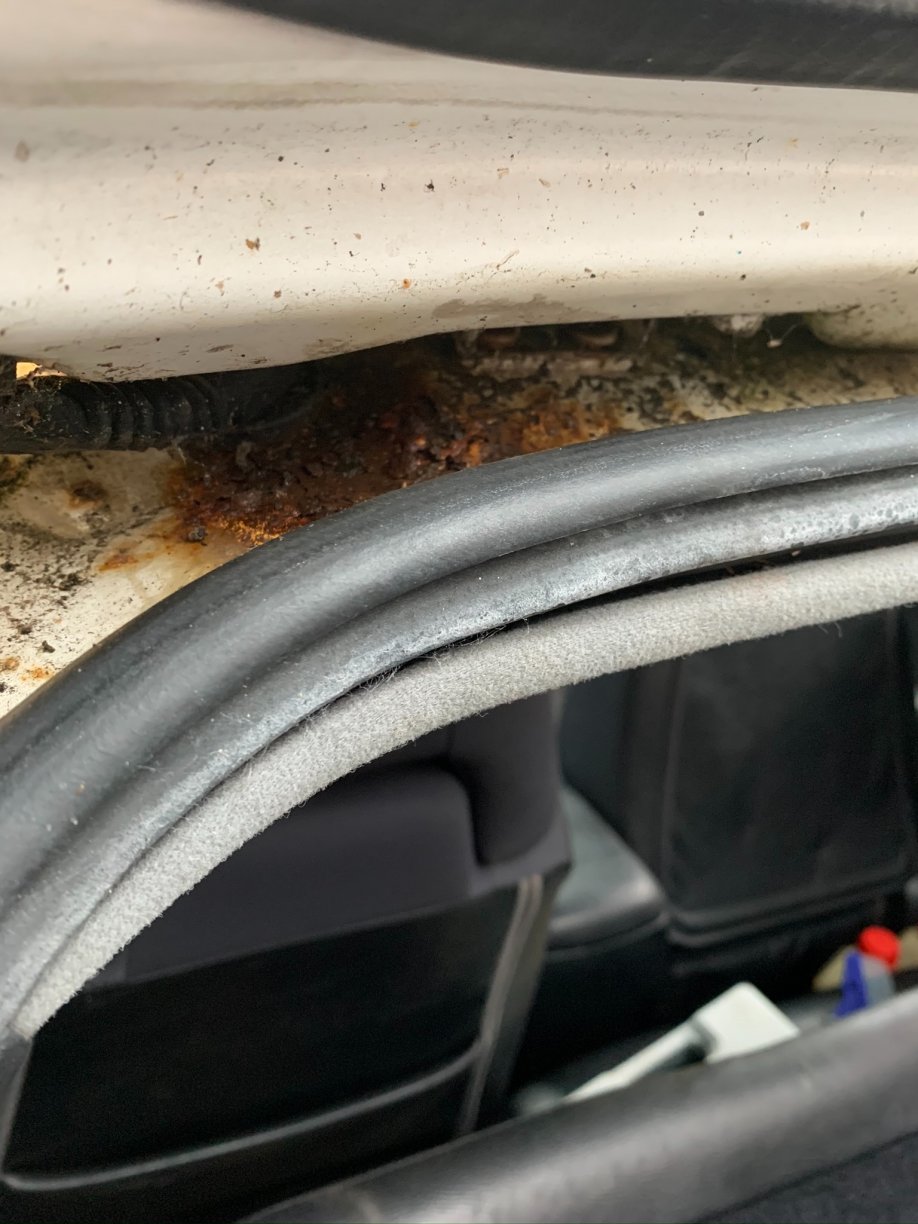
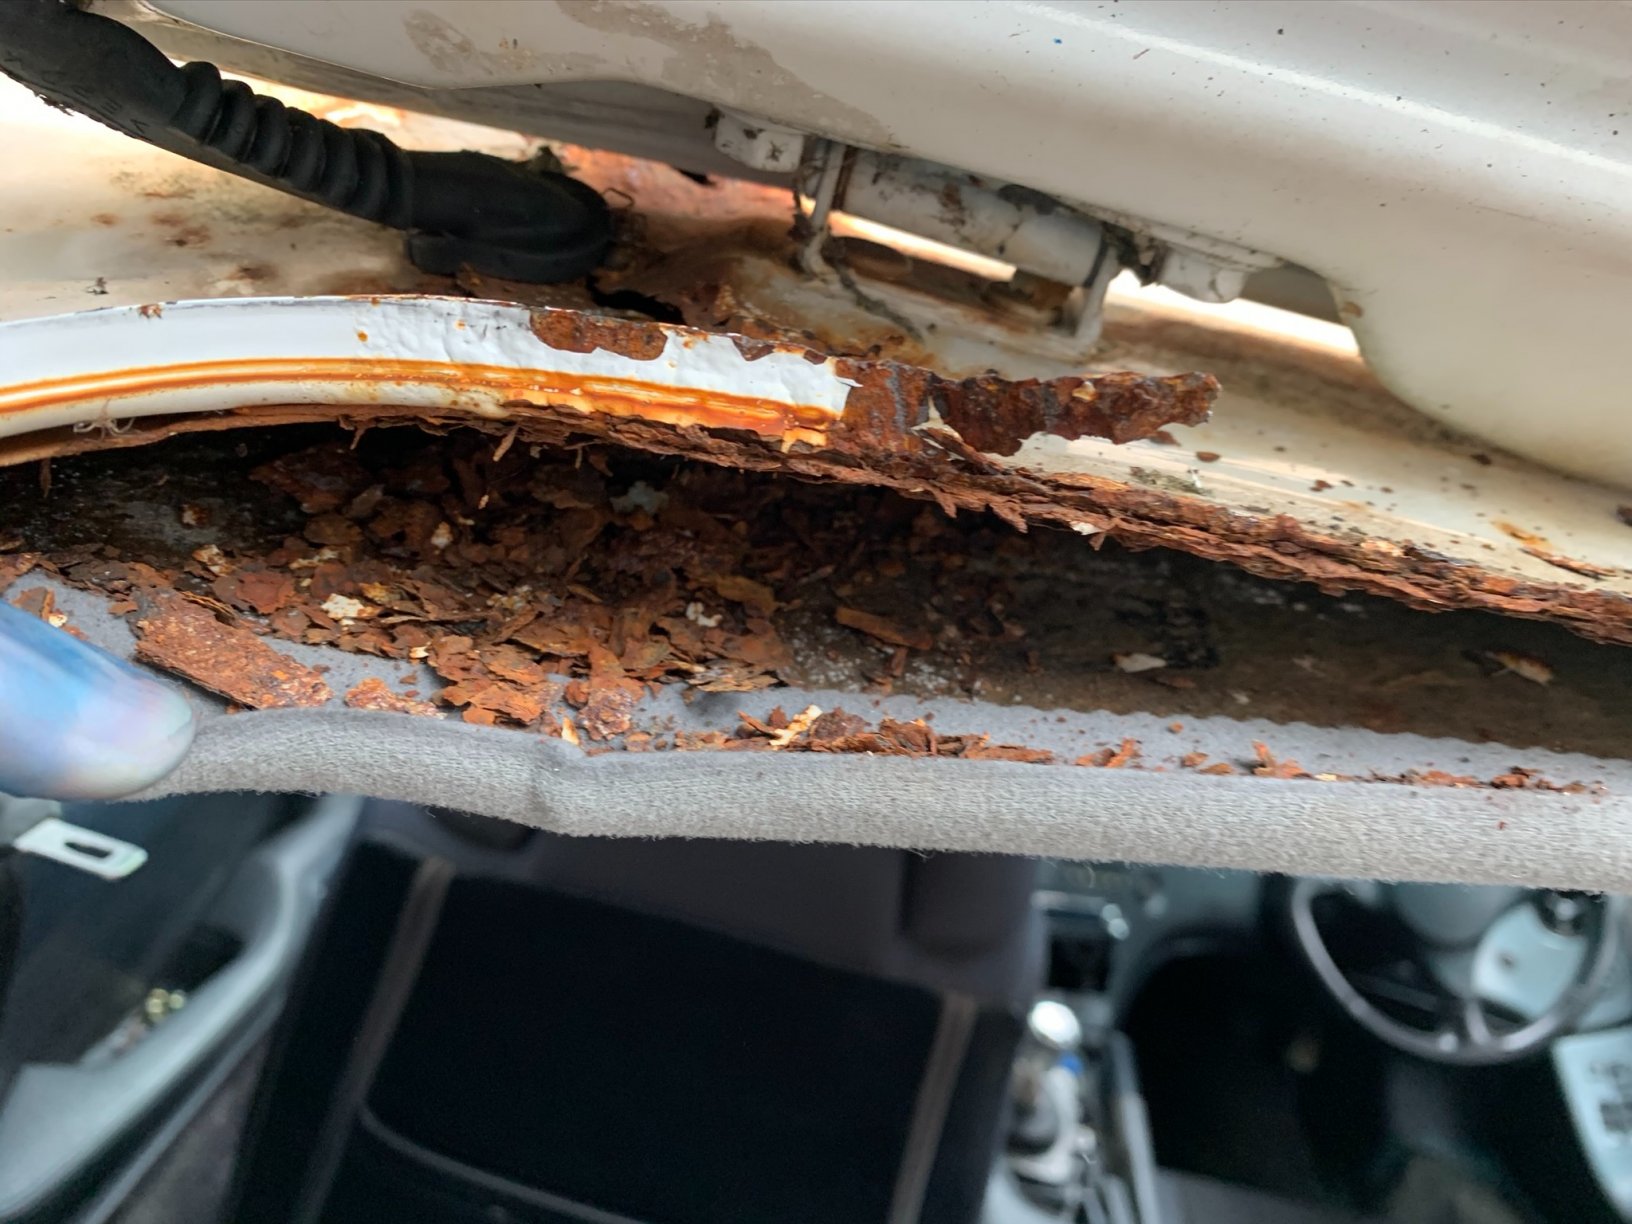
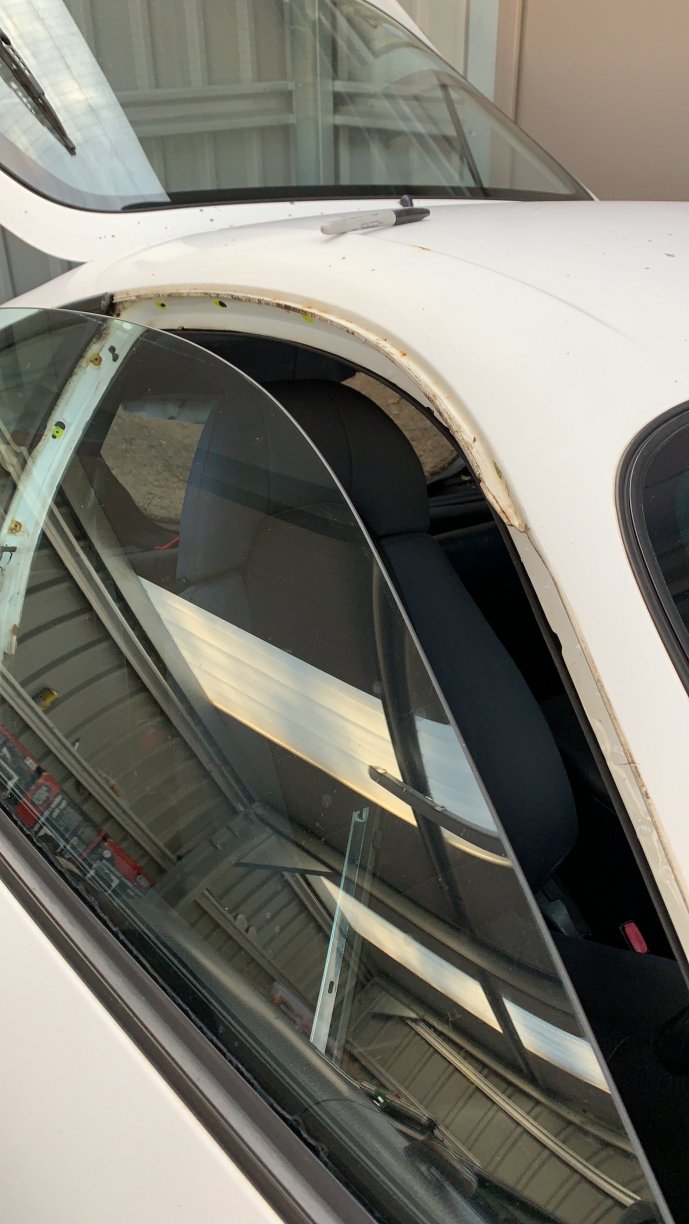
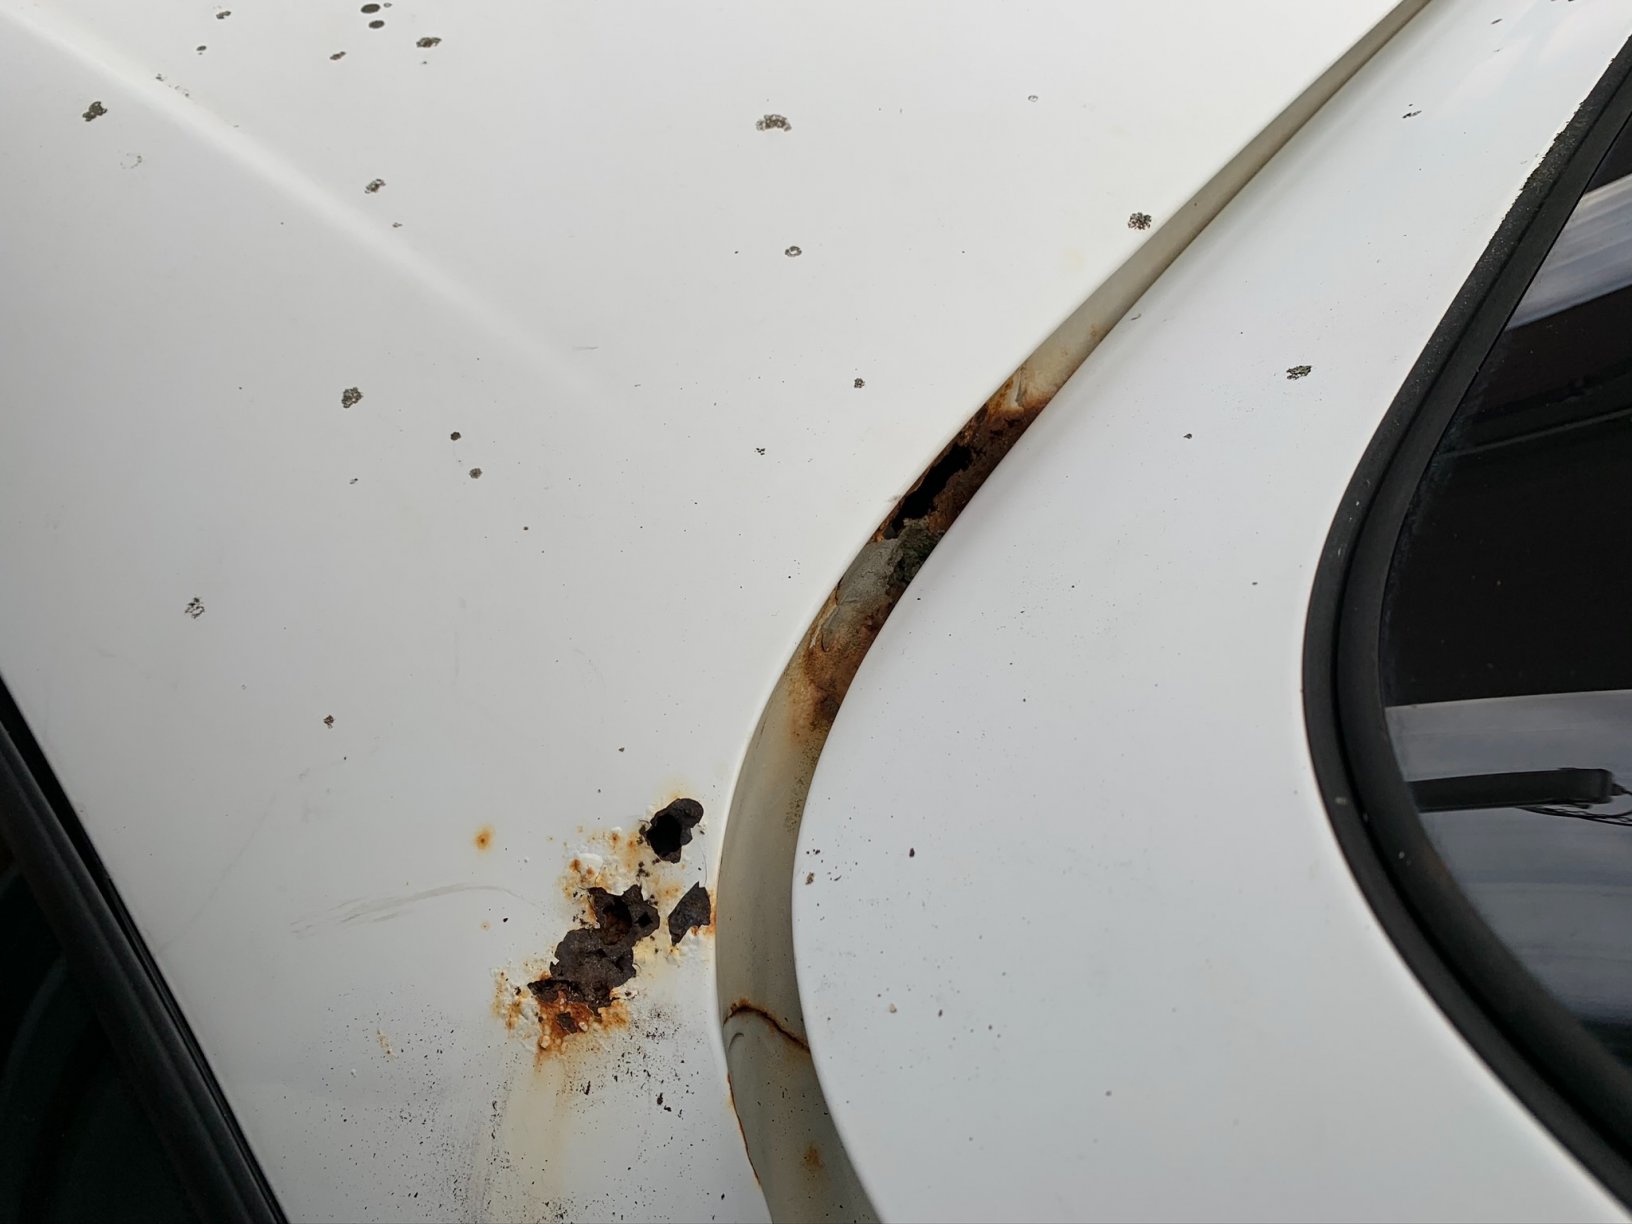
Here’s hoping Mark, I guess it’s worth checking the seal just in case. Especially if you have had the tailgate off, either for a respray or if you’re car ever suffered from the rust around the rear screen seal bottom edge. But this one is perhaps a good example of what can got wrong if left. I thing it might be handy to update the new buyers guide with some of the “known" area of corrosion etc, for the more common rust areas.
-
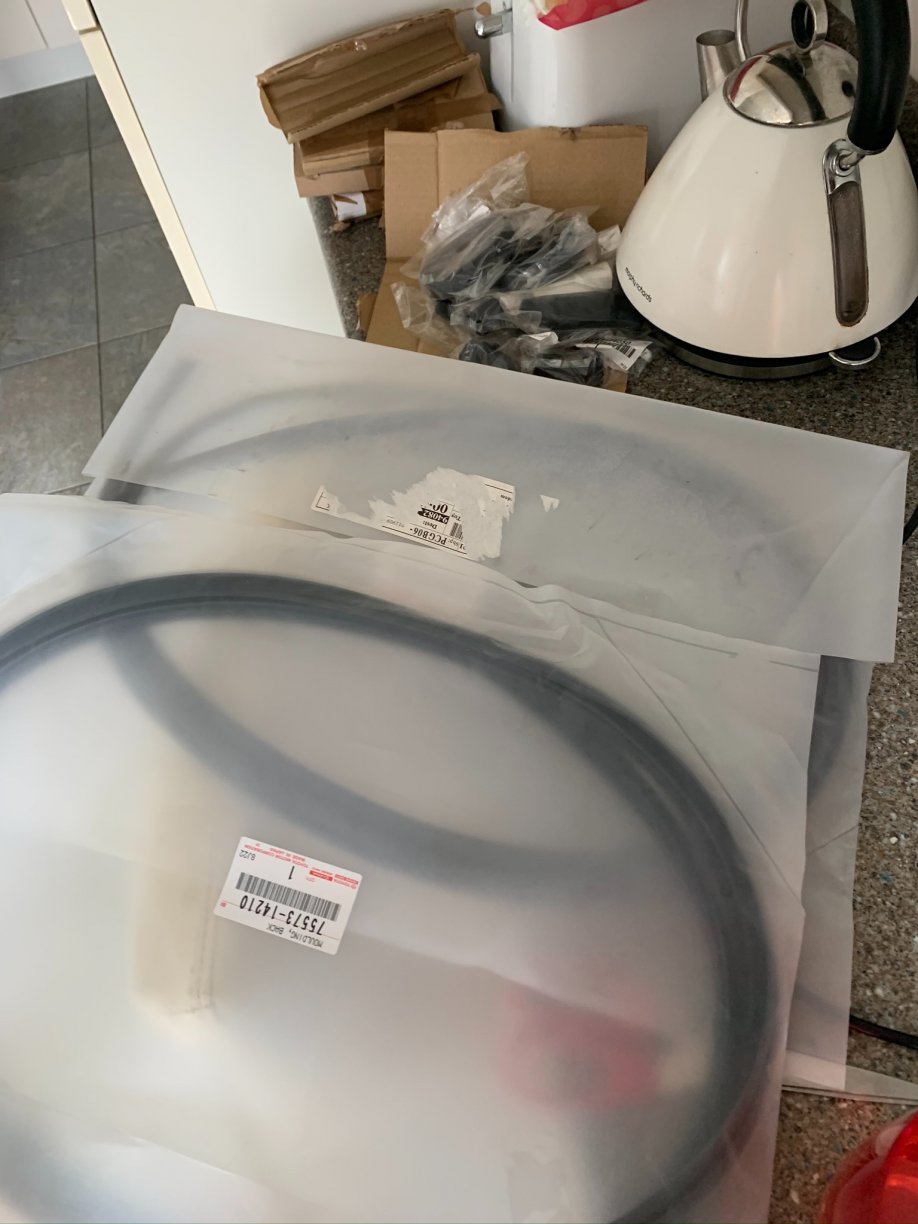
Hey Pudsey, still loving the Carbing strut brace I bought off you many moons ago . I totally agree the corrosion on this one was absolutely a thing of nightmares. But after stripping the car back Martin and the team were unable to find any previous panel repairs to the rear. What they did find though, was a large split in the rubber seal which looks as thought it’s allowed the water to set and collect. So I’d certain hope that all who read this to go and check the condition of this rubber seal/grommet. the car is nearly completed now, and these pics were taken over the course of the lockdown, I’m just working my way through the uploads and commentary. I’ll be showing the before and after shots also. now that I’ve tackled this car and learned from the rear down and re-assembly I feel so much more comfortable tackling other projects. Very satisfying work but it’s hard to see that silver lining at the midway point.
-
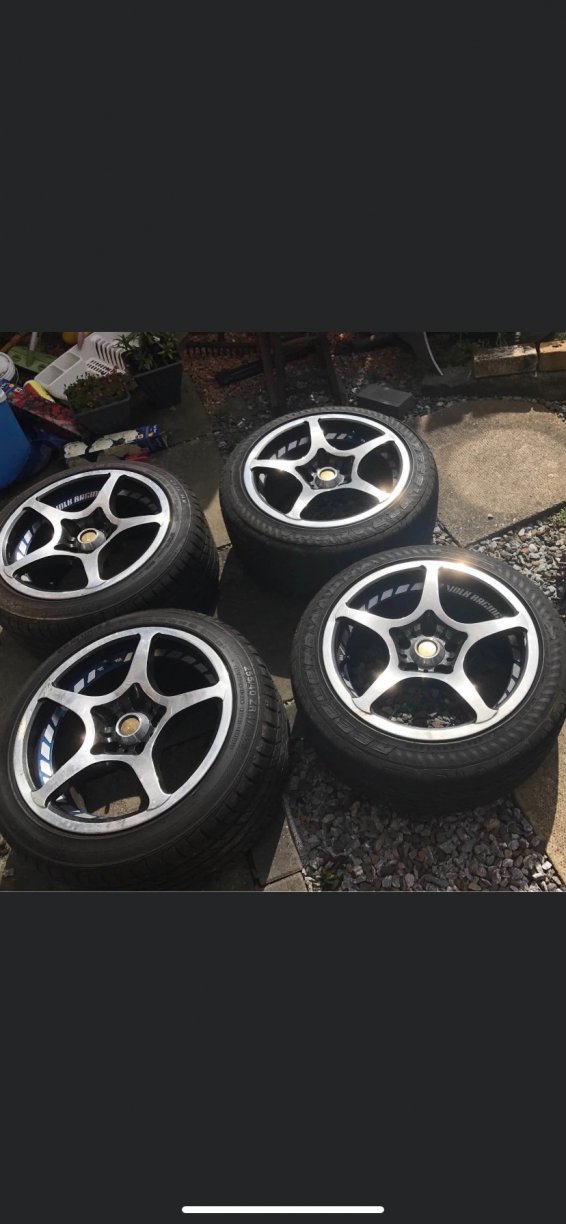
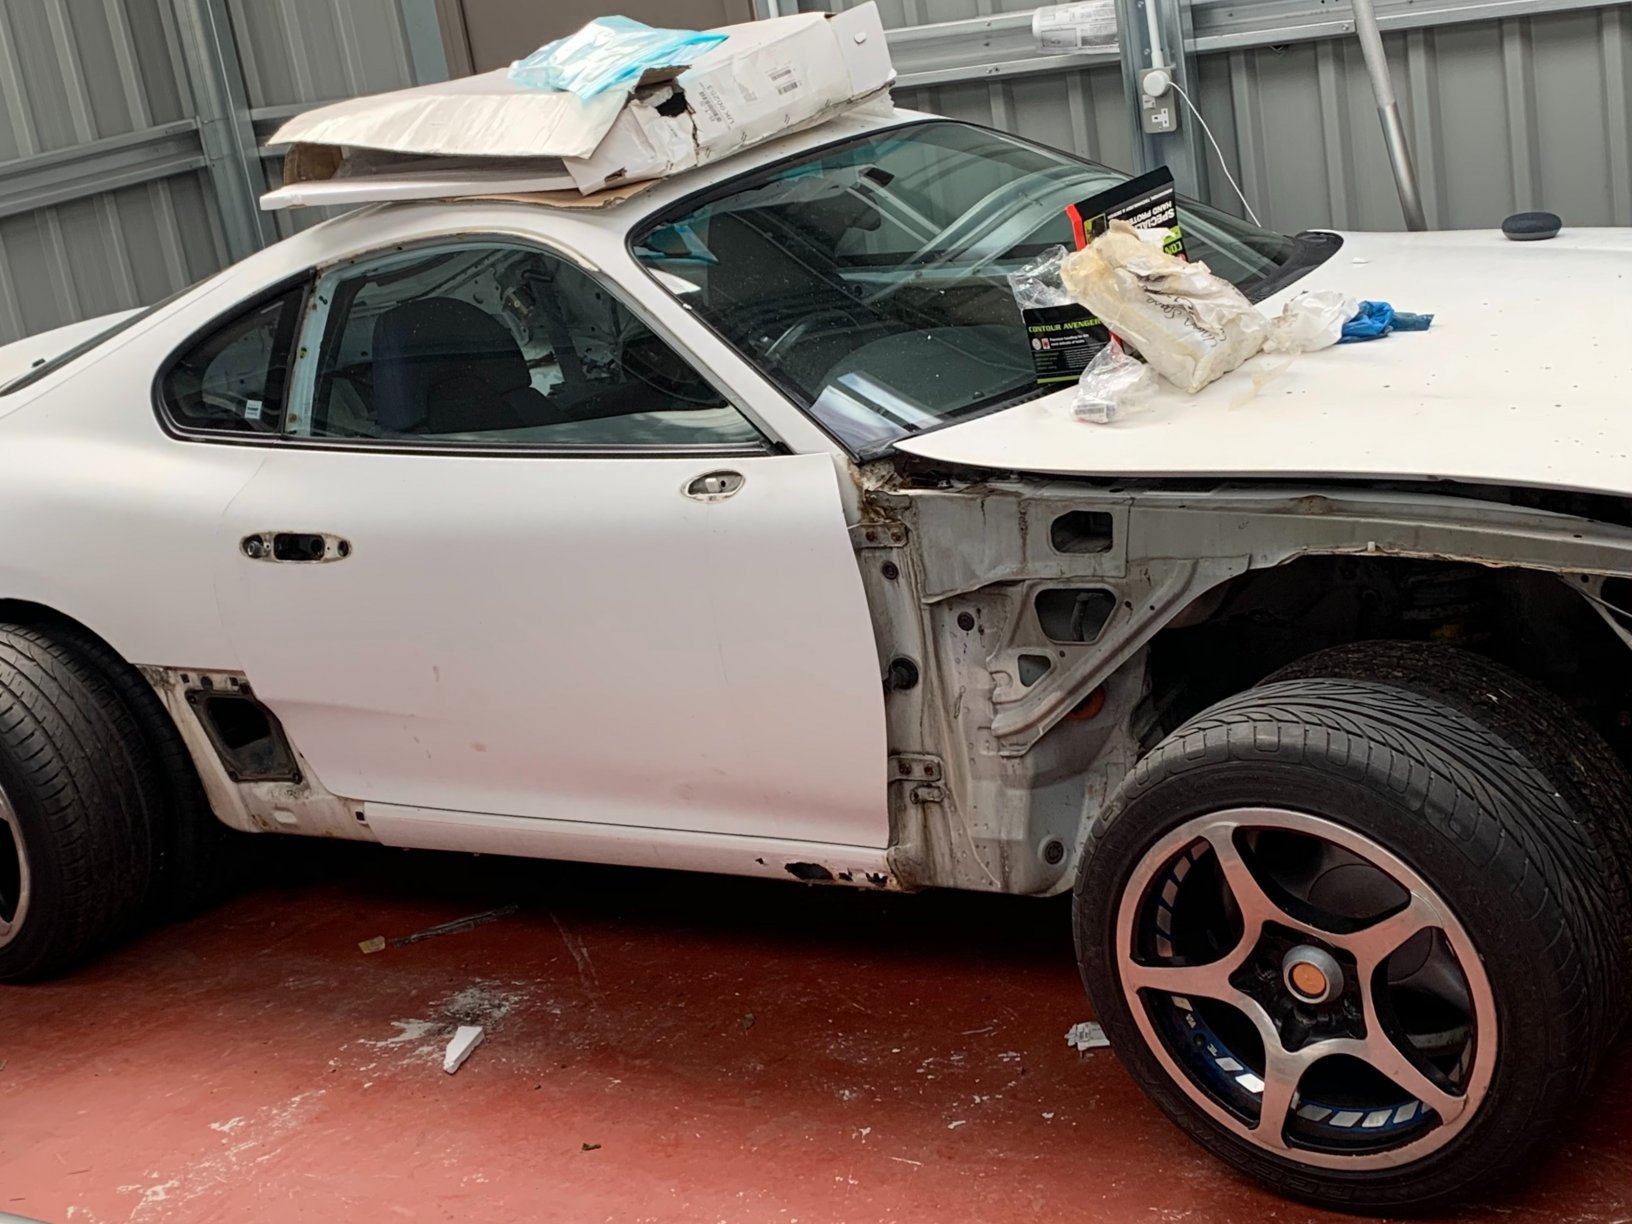
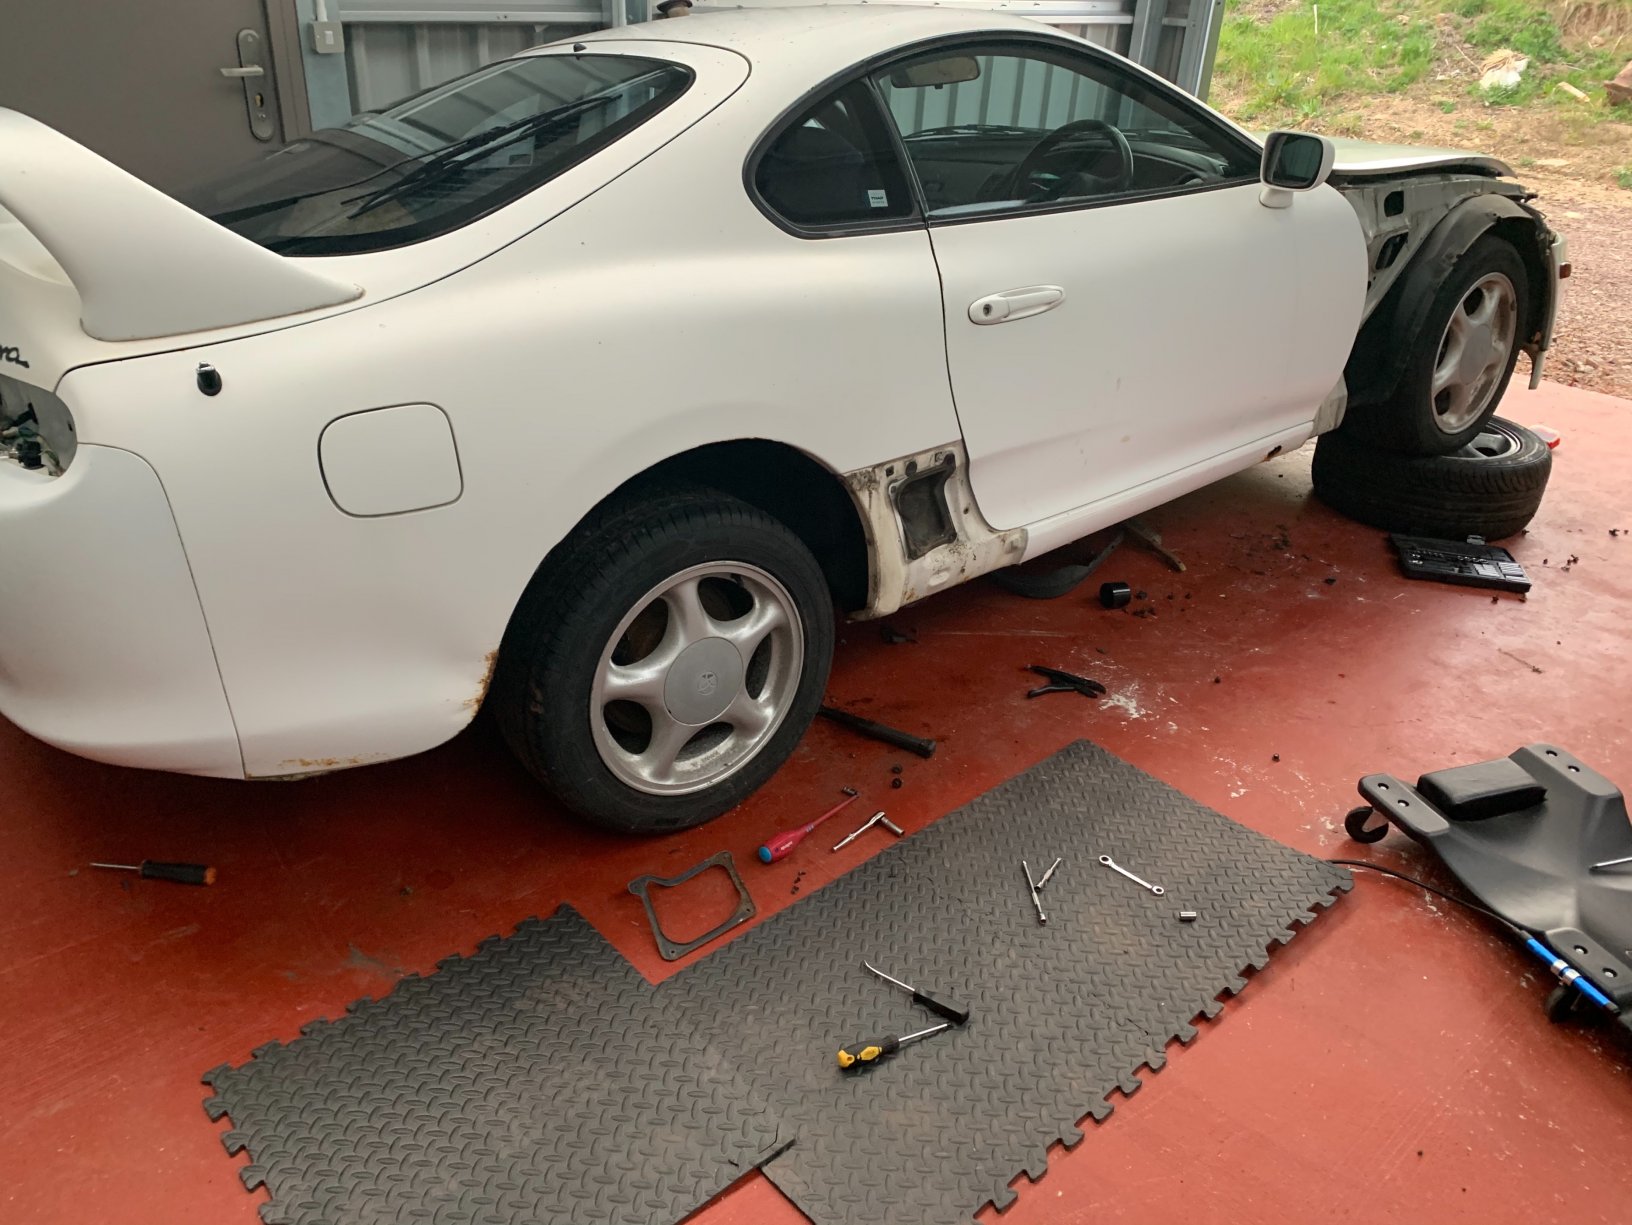
With the car pretty much stripped, I had it taken to ML so that Martin could get the car up on the ramps. With the exterior being so tatty I was under no illusions that the underside of the car would be any better if not worse, so I popped my goggles in my pocket and headed up to have a look at what lay beneath. Actually before that, after purchasing the Dolly wheels I realised the Stock 16’s were going to struggle to capture anyone’s imagination after the repaint. With the budget being blown wide open with the corrosion, I had to get a cheap set of wheels that would look alright. I still wanted a well manufactured wheel so opted for a used set of Volk F-Zero Challenge. Had to have a little mock up before she left for the bodyshop Now I wasn’t going to leave the wheels in this condition and as the budget was out the window I sent the wheels off to WeRestoreAlloys up here in Scotland to be refinished. More on this later .
-
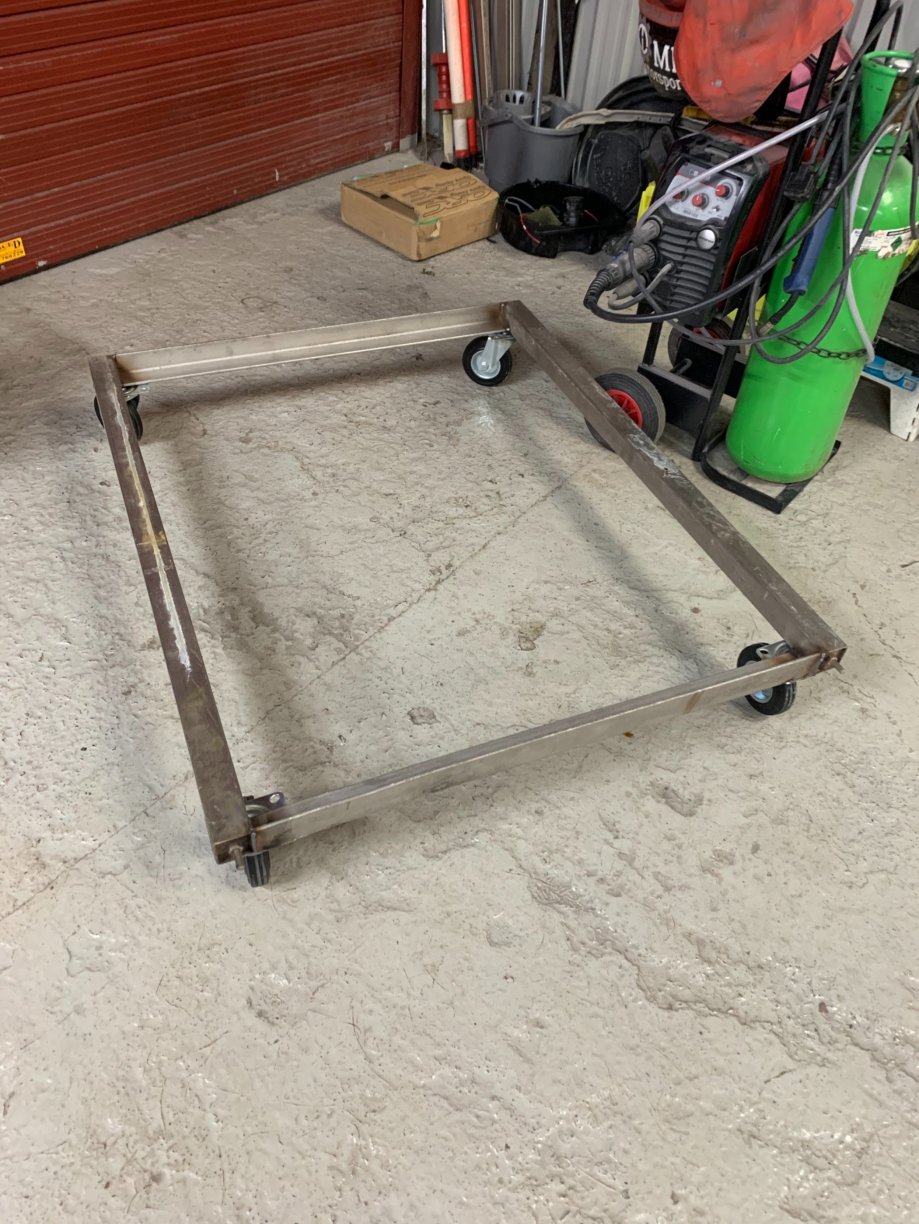
I can assure you if it hadn’t been for Martin reassuring me, I may have called it a day That CJ Auto Dolly looks like a handy bit of kit. We’ve now added treaded sections that can have various attachment attached to it, but at the time I just popped a pallet on top of it and lowered the car down onto rubber pads. Sadly I fear you might be right, with regards to potential repairs facing owners. I am still amazed when I see “rust free” example being adorned on some adds. Surely with age there’s got to be at least surface rust . if I were running OEM Skirts, I’d be taking them off for a good inspection. Removing the rubber side pod vent and looking begin the sill would be an area to check for sure. And just behind it is the plastic vent.
-
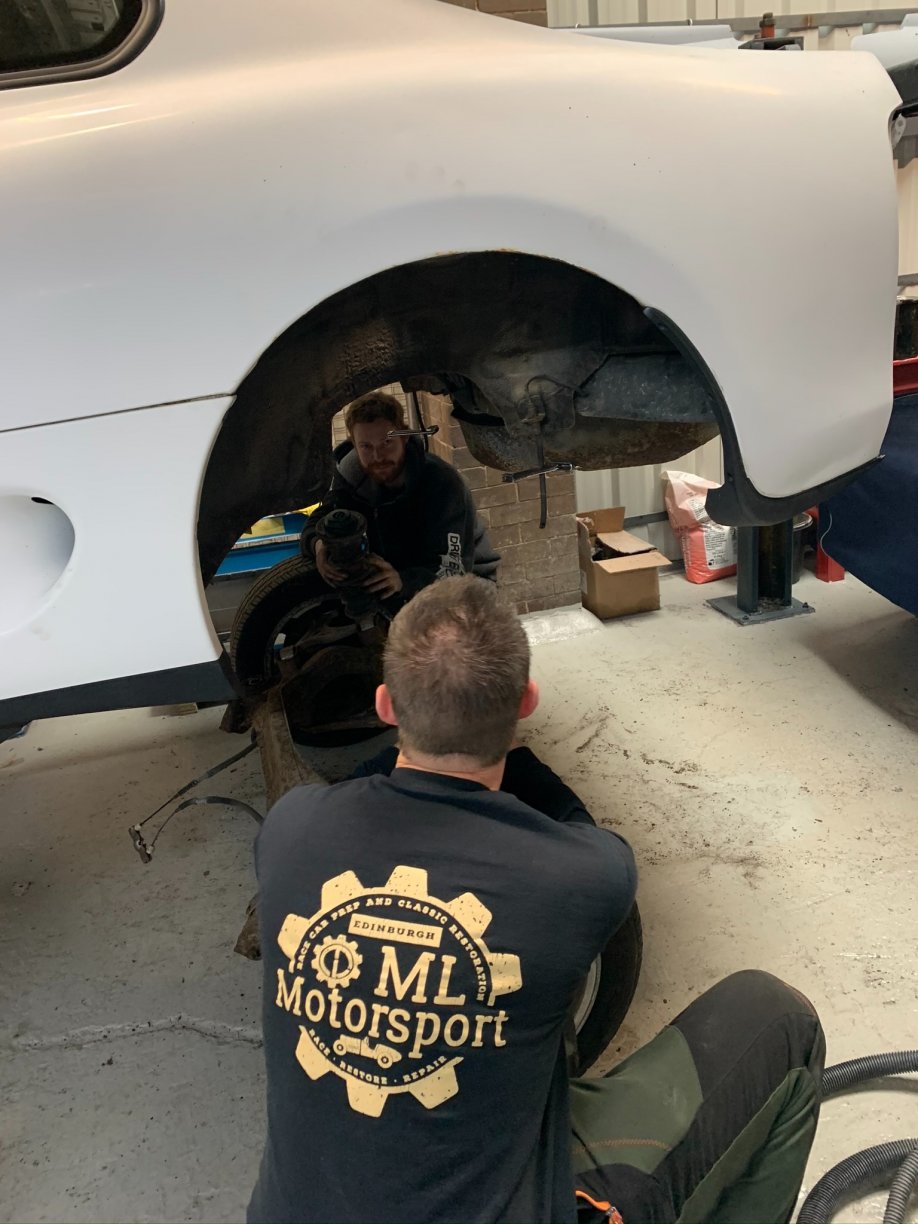
So feeling a little out of my depth with the new find, I decided it was time to get the bodyshop to give me an idea of this was fixable, and more importantly at what cost. I enlisted the services of Martin Leeder at ML Motorsport to assess and eventually carry out all of the metal work and the respray. Martin worked previously for A1 Race and Restoration and that’s where I first witnessed his metal work and paint finish. He also work at Eagle E-Types before that and as you can imagine gets a lot of work from E-Type owners and other classic marques. Martin looked over the car and was able to give me an idea of what the car was going to cost to repair, also made me away that things can change if new discovery’s are made, which I was happy with. As I knew I wanted the subframes off the car I agreed with Martin that I’d like a frame/dolly made. This was a simple square design on some heavy duty dolly wheels. I purchased the dolly wheels from RS.
-
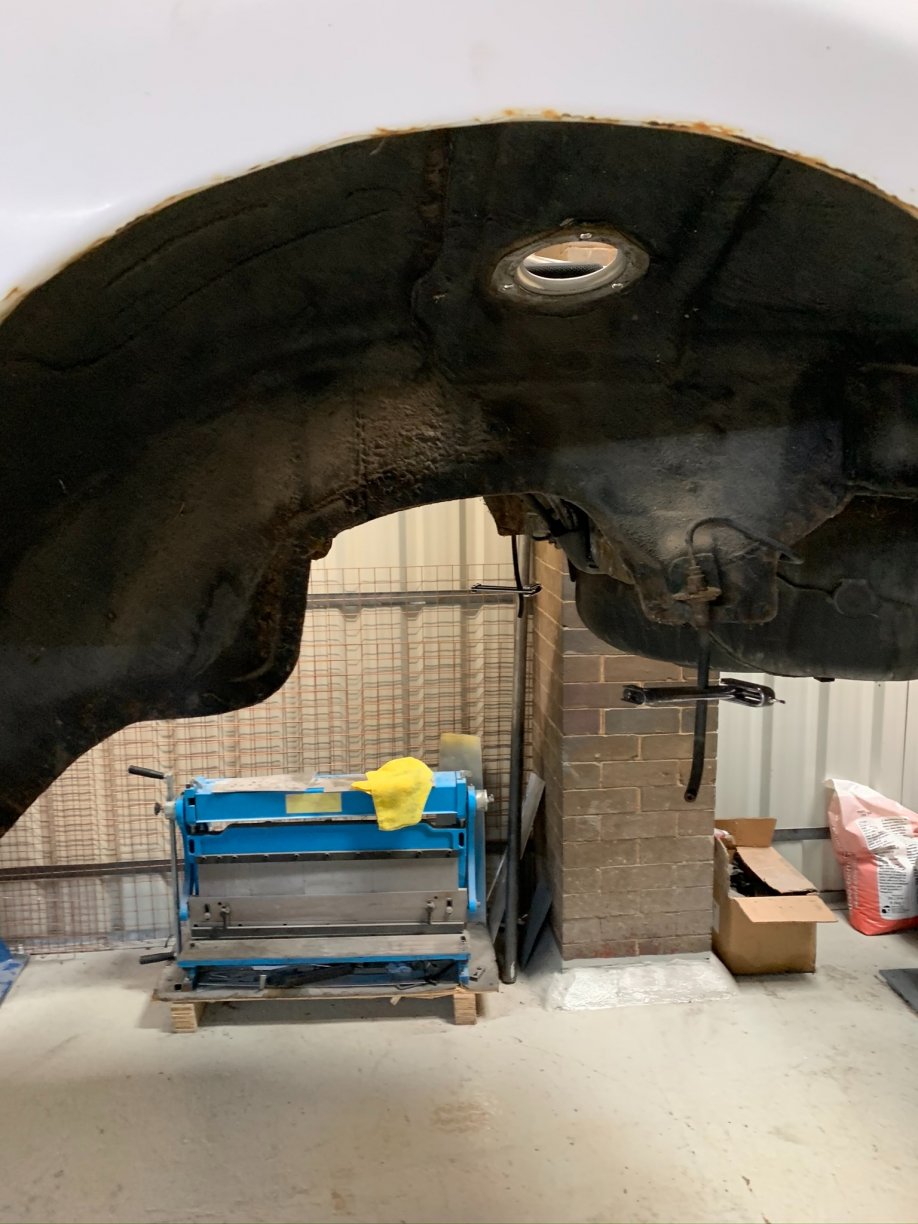
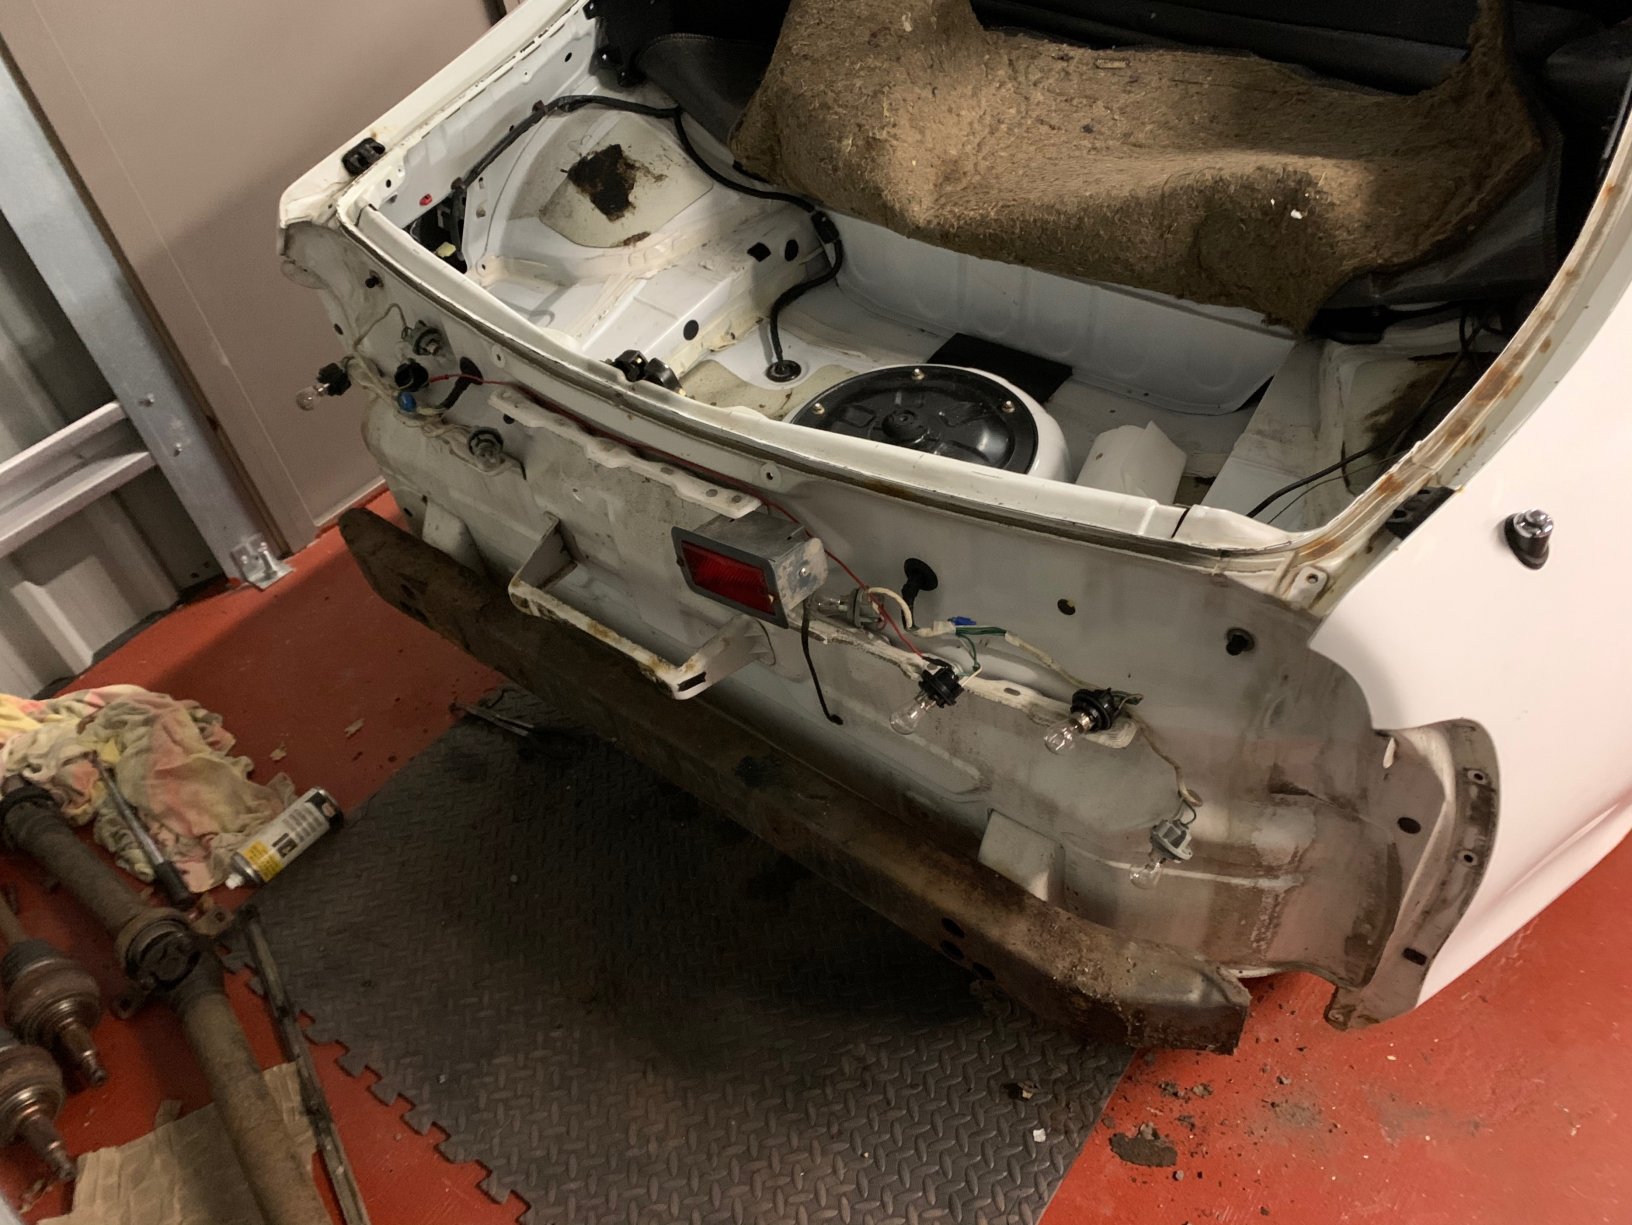
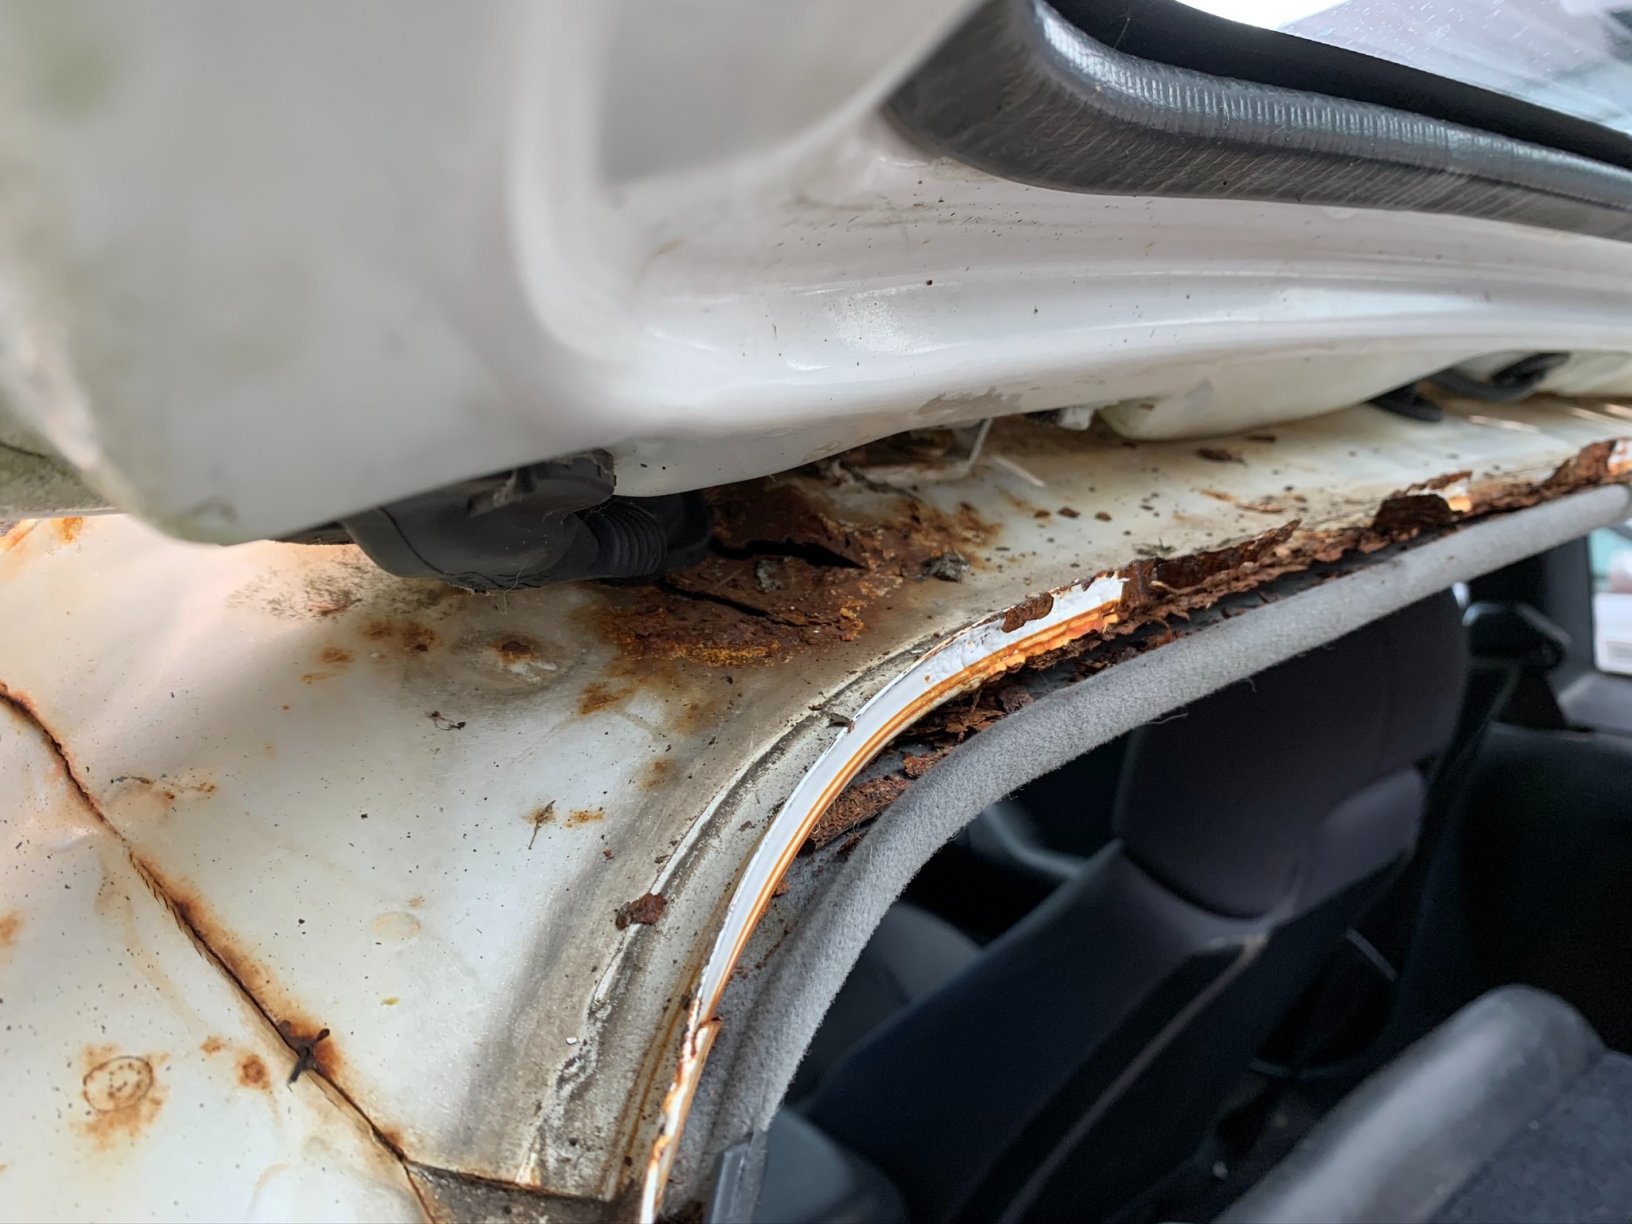
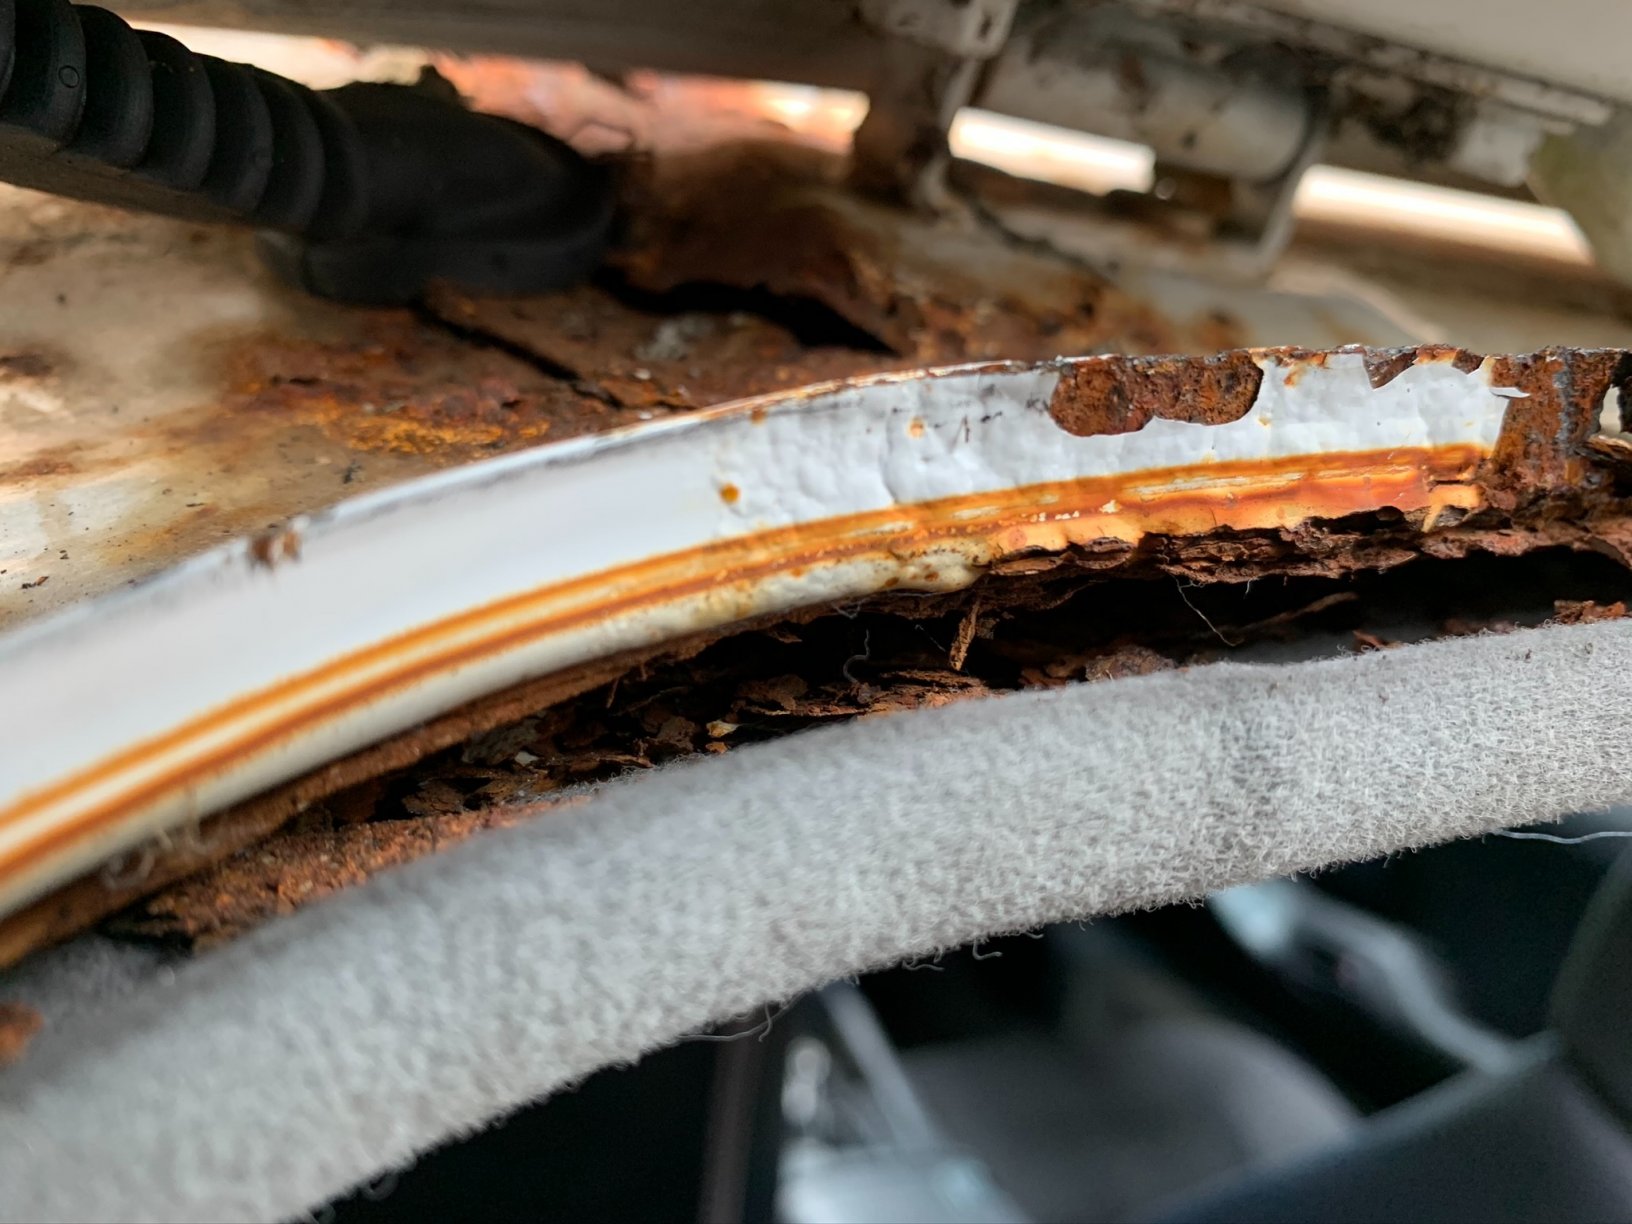
Last few parts stripped off before going to the bodyshop. Now this is where things got very concerning. The rear hatch was inspected as there was a section of rust on the top corner just above the hatch, but it was upon checking the boot lid hinge that I really began to worry. These initial pictures were before the headliner was removed, but you can see the issue regardless. In all the years I’ve been around these cars I’ve never seen anything as bad as that hinge section, and I’ll be honest I kinda worried that it might be beyond economical repair.
-
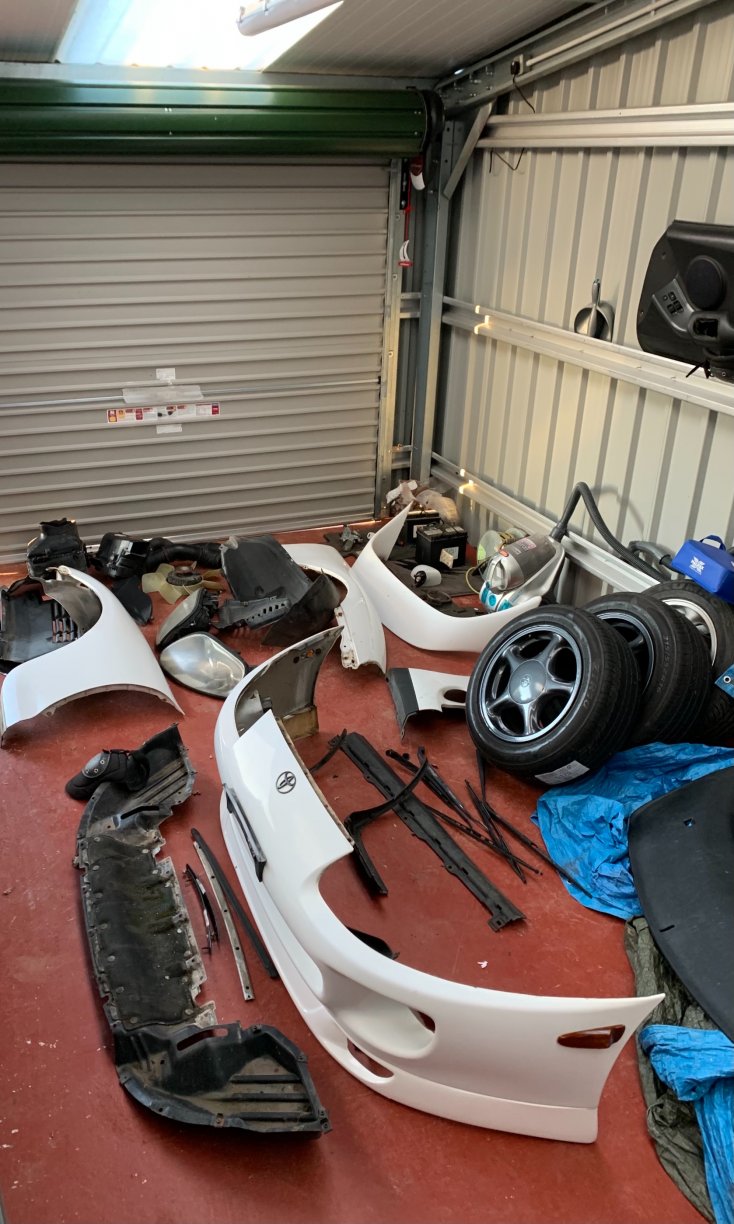
I could do with these also.
-
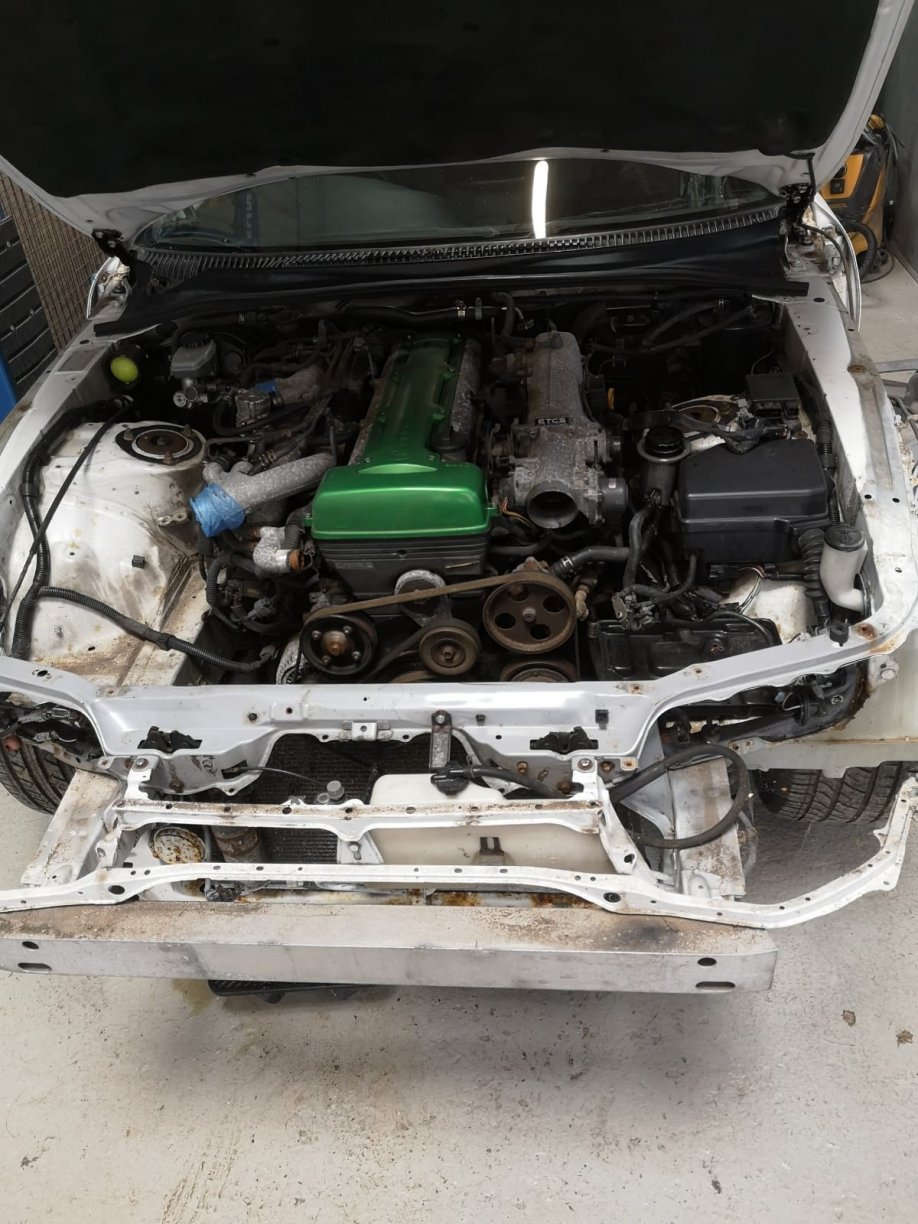
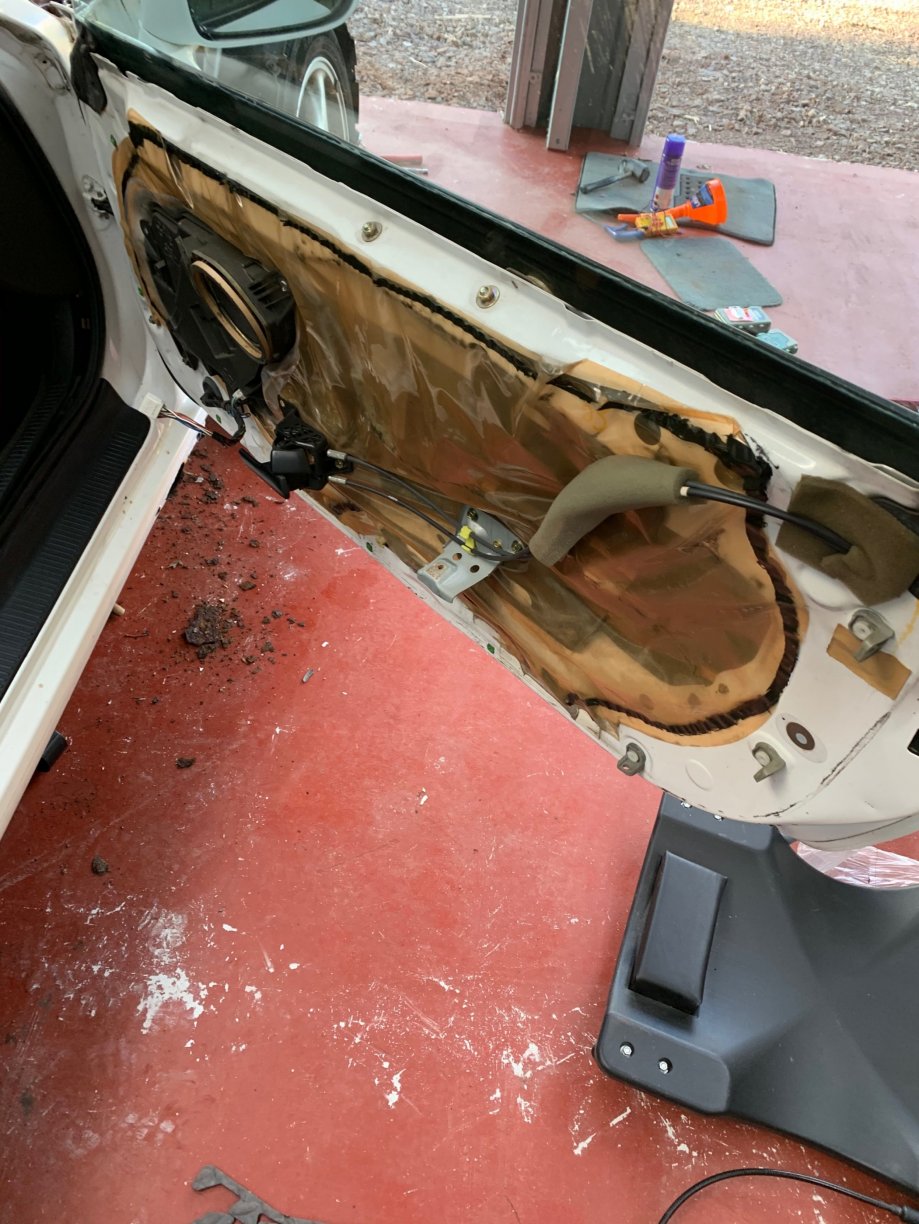
Thanks Jim, it’s taken me a fair few years to get to this point but finally having a good workshop/storage space I must admit is very handy. with regards to parting out, I don’t think I could do it to a running driving car, and I know the previous owner too well, and those eye contact moments would certainly be awkward if it was broken I certainly agree, this one was very much on the edge of revival and I’ve not posted pictures of the fun part of the metal work . as the engine was being removed I did indeed decide on a glass out job, and replaced the windscreen and rear seals. I didn’t have the budget left to go for brand new weather strips and moulding on this one unfortunately. I also carried out a smoke machine test on the cabin to see if I had anything to worry about, but it’s was all fine thankfully. with regards to the NA engine, I like to be prepared so had pre purchased a NA engine, with loom and W58 attached for this exact reason. A chap local was breaking a perfectly good NA to use the shell for his recently crashed TT Single, so I bought the engine and full running gear.
-
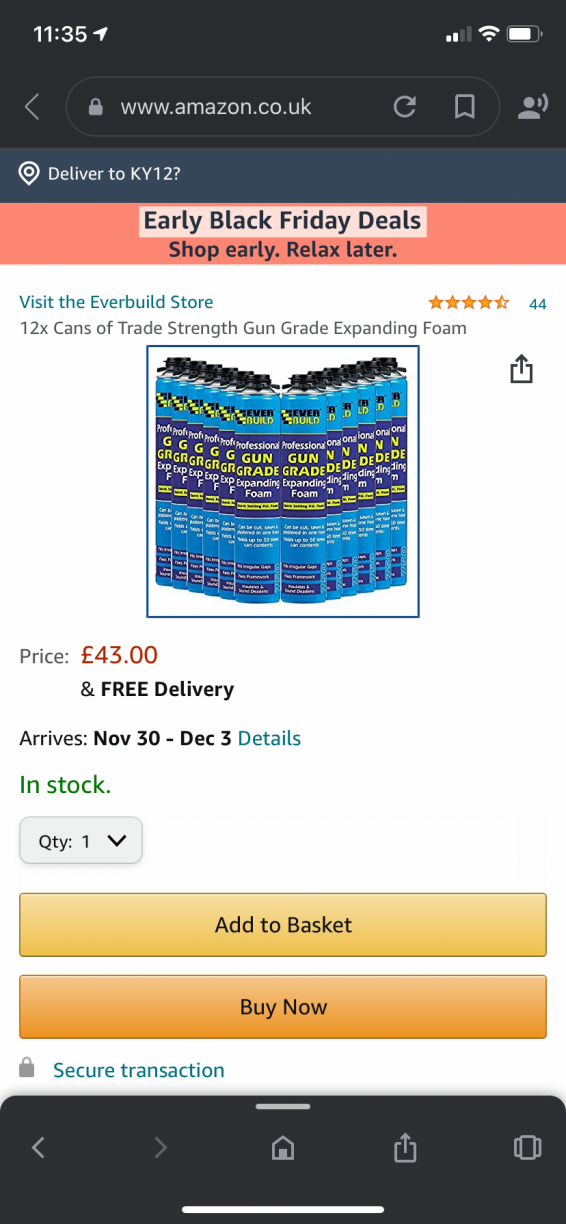
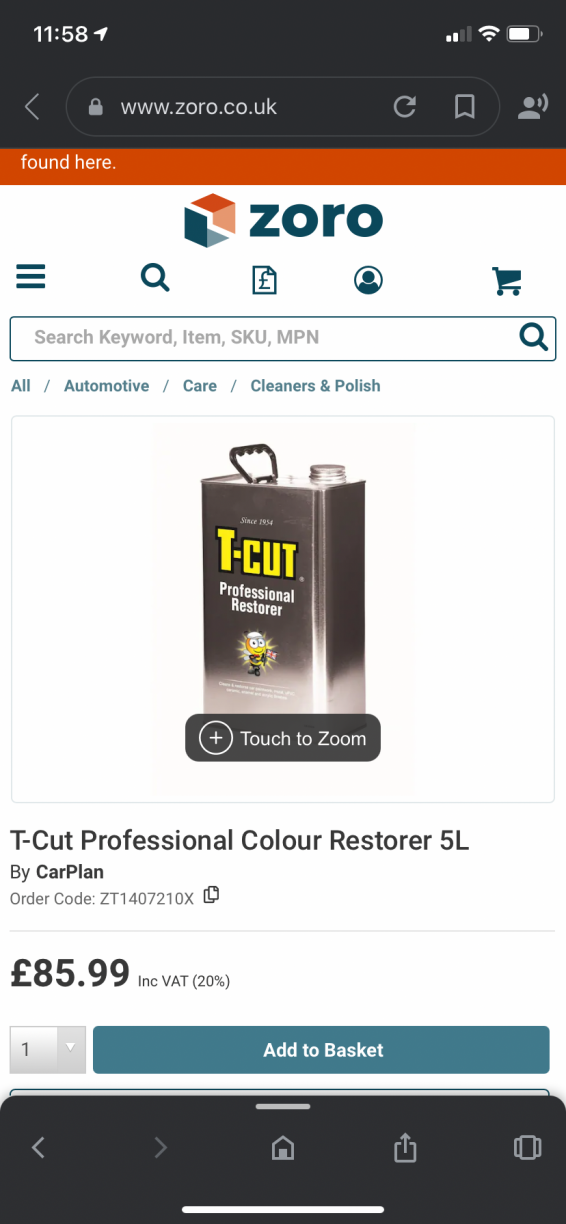
Wow tough crowd . So no expanding foam or T-cut was used in the refresh chaps. but after finding the rust on the sills etc, I decided a full respray would be required along with the metalwork to have the rusty stuff cut out and replaced. Now financially this makes no real sense, but like I said, it was a welcome distraction to the lockdown. I also wanted to save the supra from an early grave which made the spend easier to digest. So I got busy and started to strip the car down to reduce the outlay on the respray.
-
So with the above discovery’s coming to light, I decided that I’d have to do some proper repairs on these sections, and also be prepared for a few more discovery’s with further inspection. A few “money well spent” items were then purchase to start the repairs. I’m not using the word restoration as I never intended to go into that level of refresh on this car. fist up to fix the holes in the sills I got expanding foam after watching a few tutorials on YouTube. Make sure to get a good grade of foam if going down this route, you don’t want to do a half job. Ordinary T-Cut is great but the pro stuff really helps with the rejuvenation. Again it’s best to invest in good products.
-
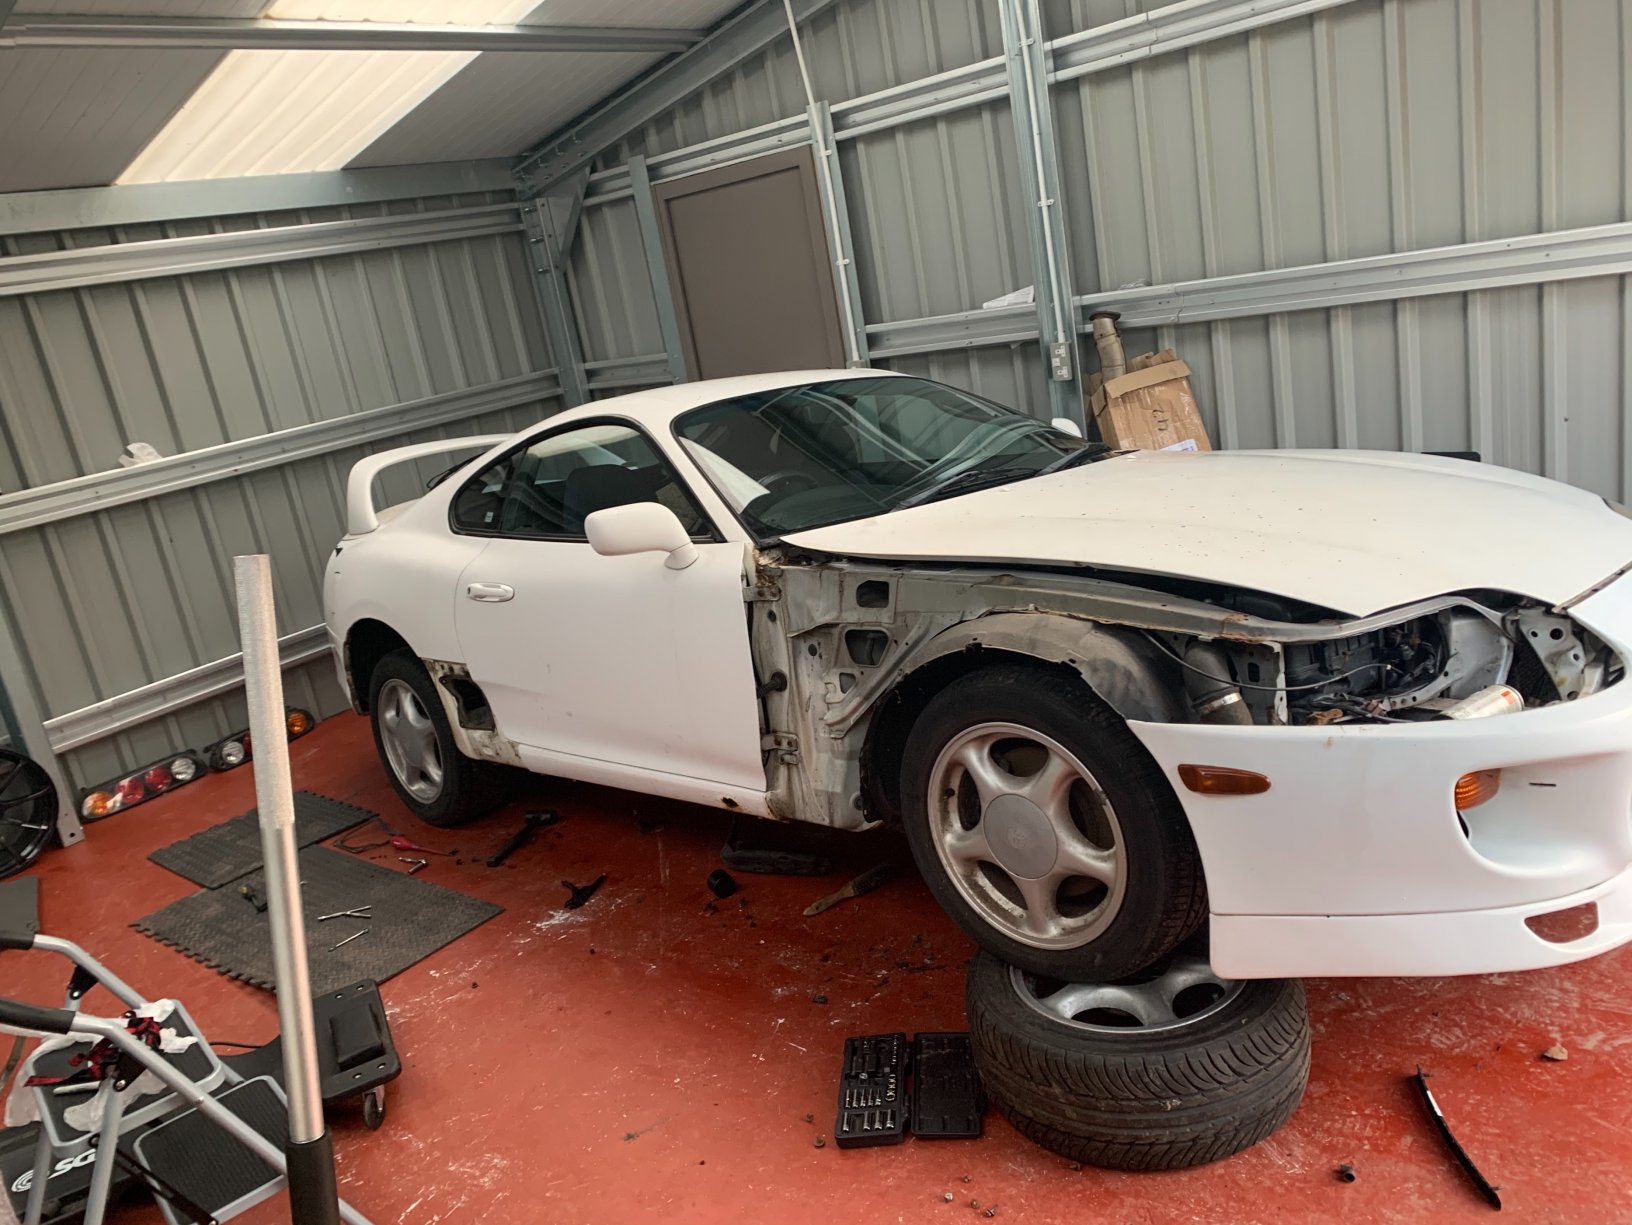
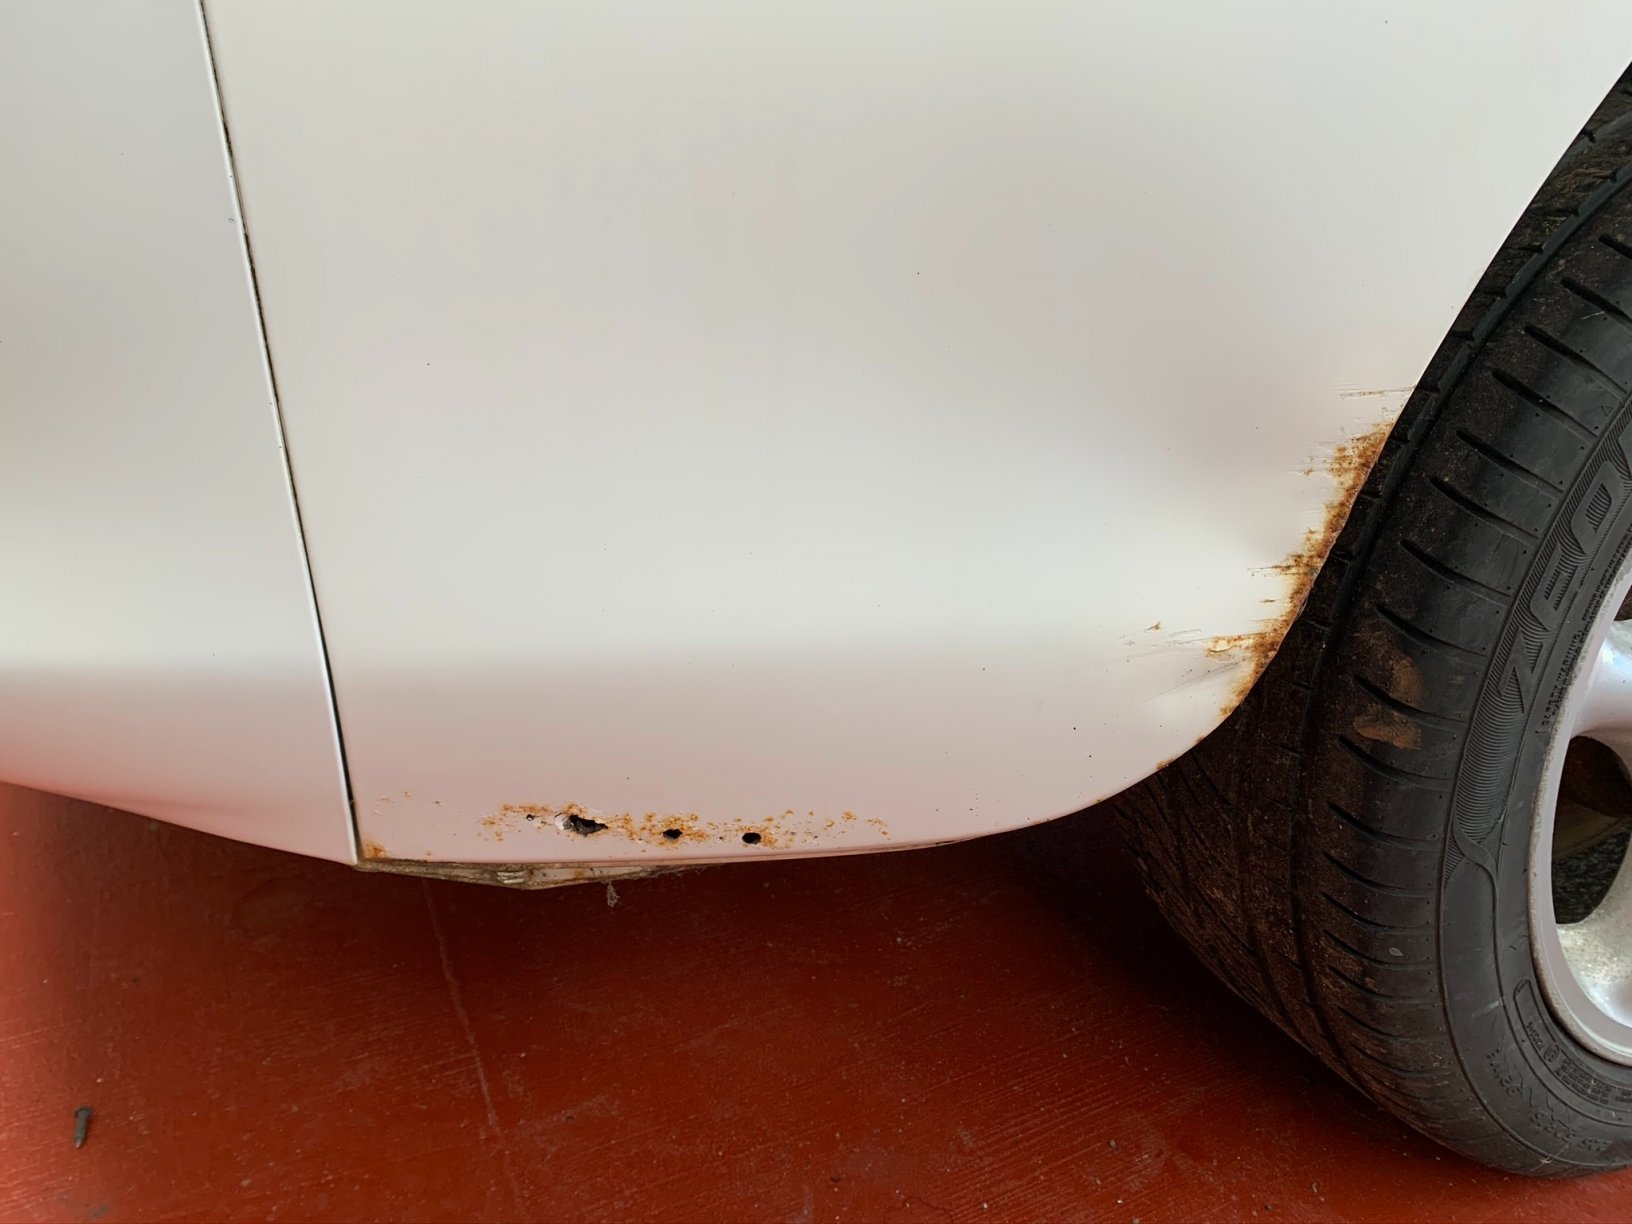
Okay something to confess, I knew before the clean up of the pesto that the sills would need some attention, and that common area were the rear spats usually are fitted. What I didn’t know at the time, was how far I was willing to go and what else I would find. I should also stress that lockdown was looming and I was perhaps drawn to the idea that it would keep me busy. My original plan was to either move the car along as a project for someone else to tackle, or get it to the point where it was presentable to sell with a MOT etc. Either way my plans did not focus on keeping the car. So with the above said, and a quick look at the bank balance I started making a list of things that needed doing. I also took out my special rust finding wand and.......well!
-
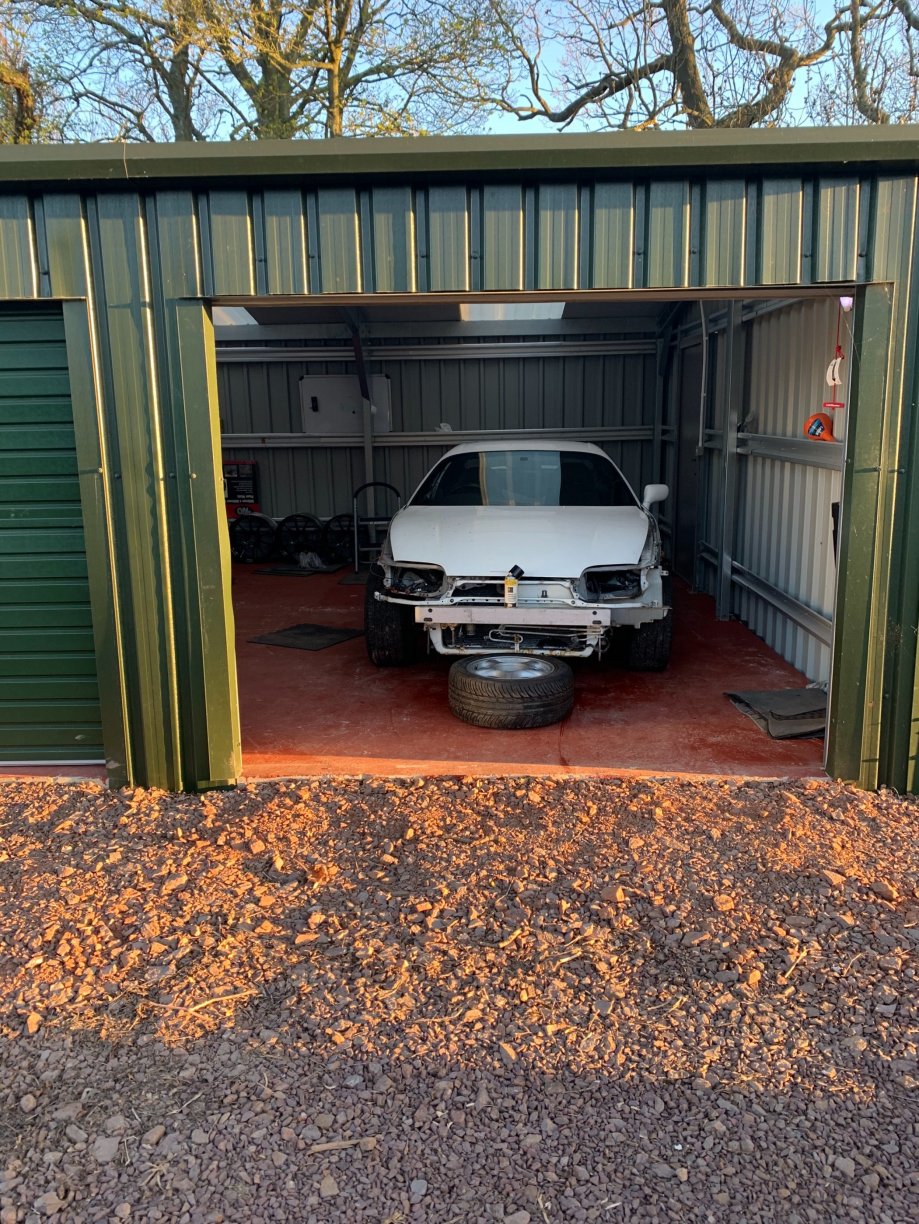
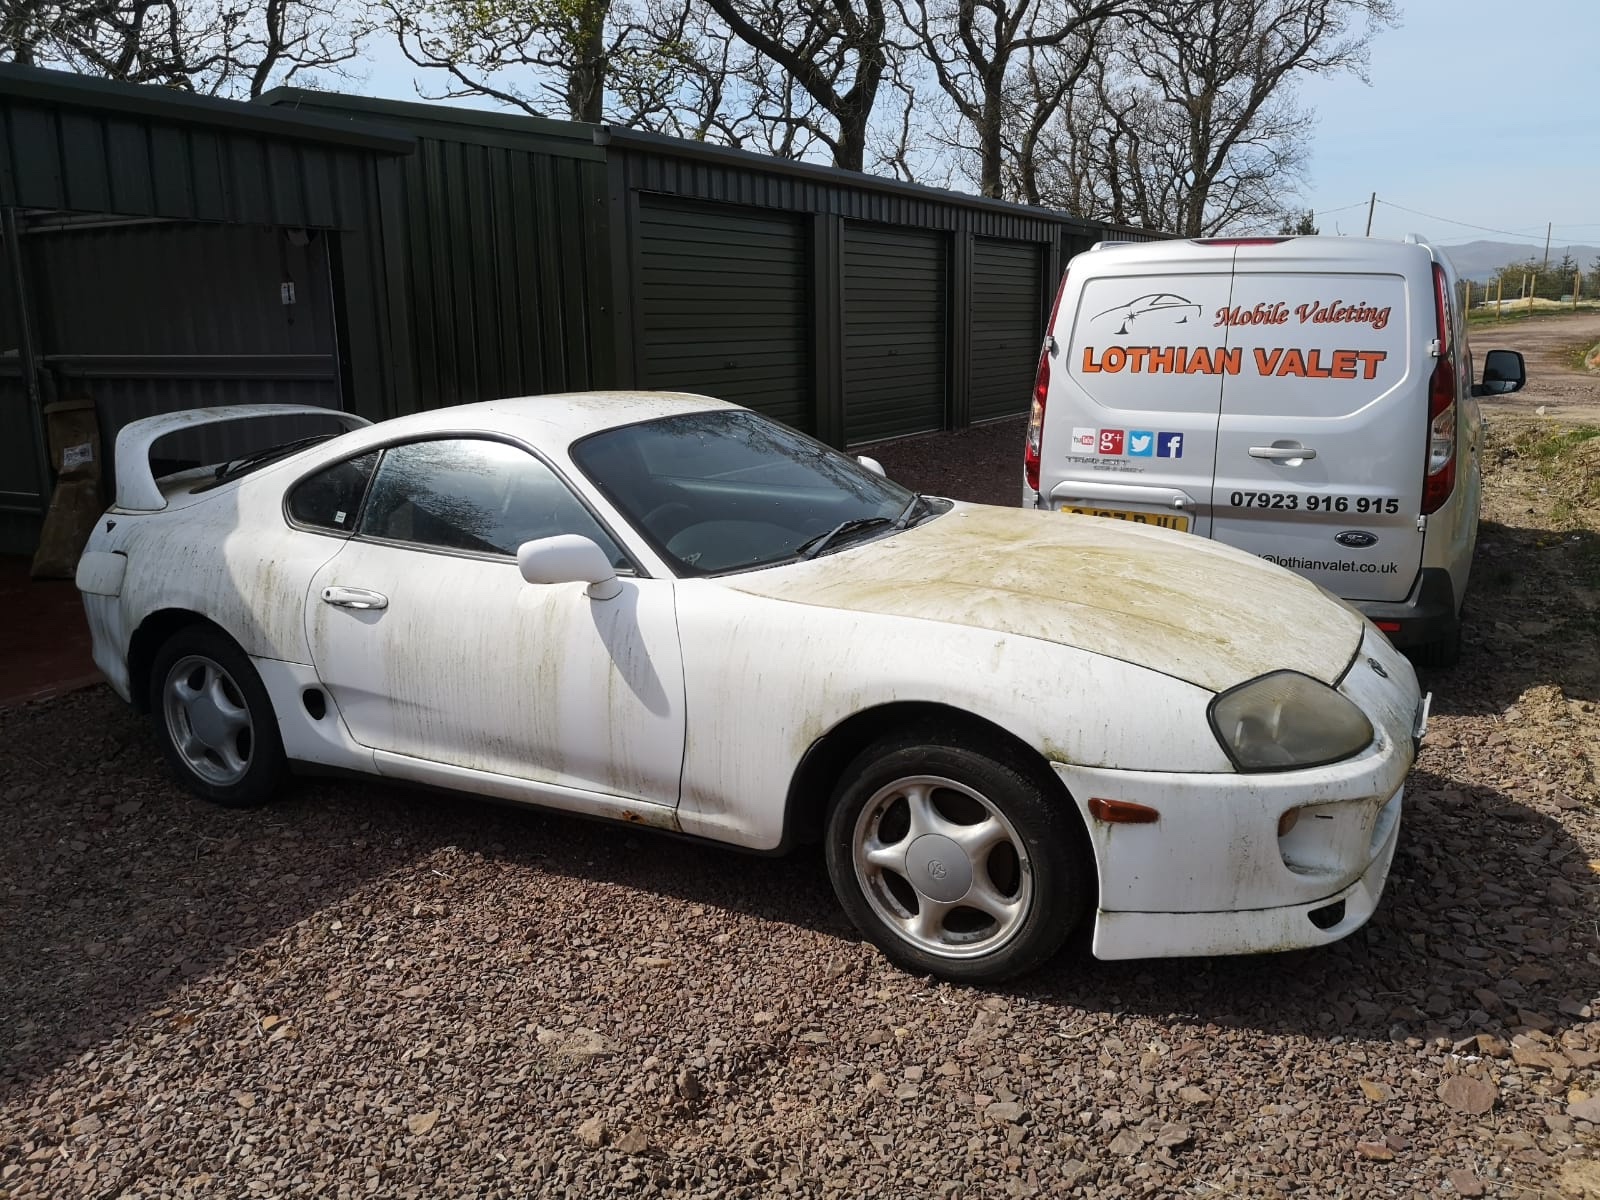
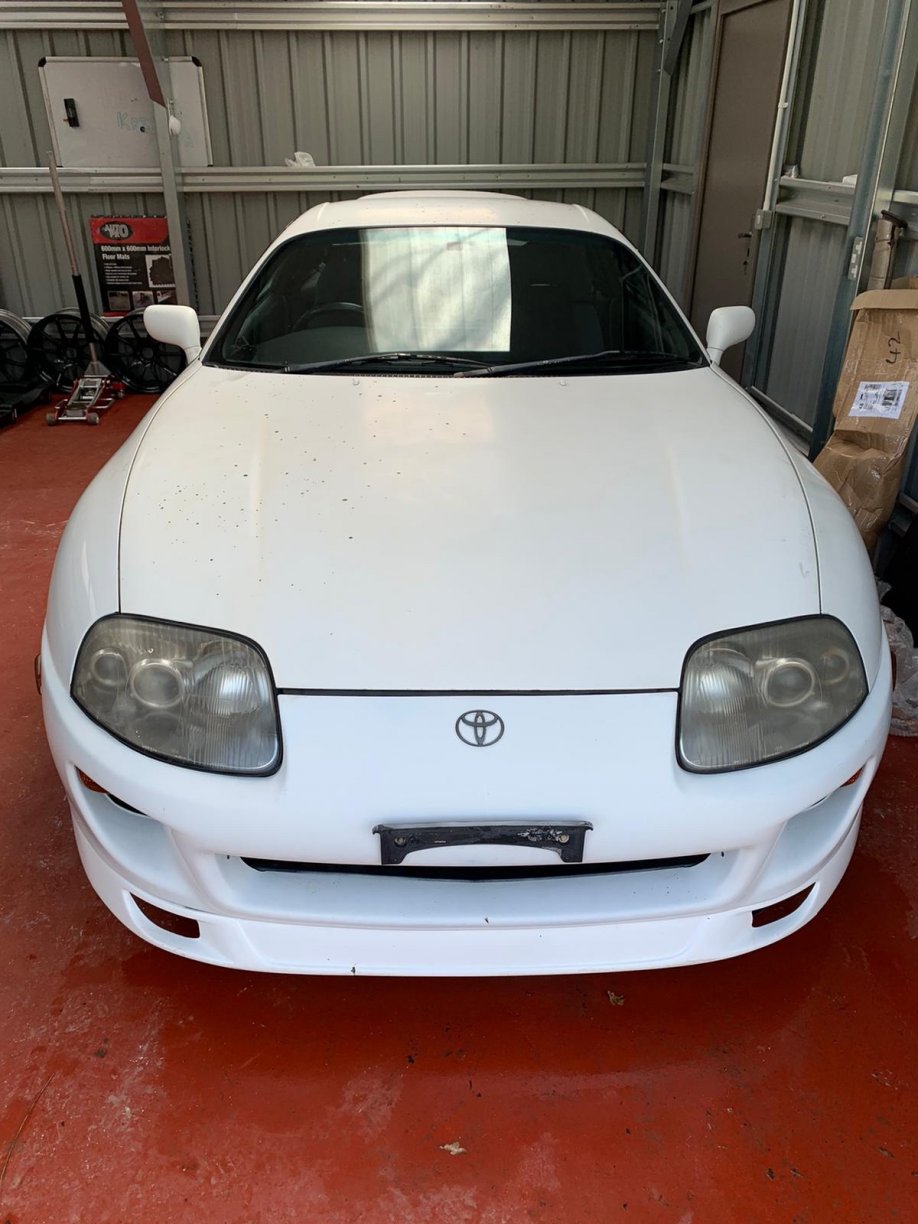
Okay so after the car arrived I was able to get her cleaned to assess the extent of the clean up. This was her first bath.
-
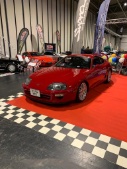
Hey Jason, thanks firstly. You are indeed correct the car was in a bump back in 2012 I believe, which resulted in the Cat D. This was pretty common practice back in the days when NA’s were at the bottom of the valuation curve. I believe though that the previous owner Preferred the facelift look so hence the change of wings and bumper. The bump damaged the bonnet and the headlight frame I believe, and the passenger side wing. This was the net result of the supra taking a closer look at the rear end of Volvo . Chess is legs were untouched as the crash bar was untouched. I had flirted with the idea of reverting back to pre-facelift front as I have the parts, but decided to keep the look as I prefer it.
-
Filthy ain’t she This was pre lockdown back in March so plenty of updates to follow I’ve never really had a covered space before but now have a 3 car workshop to tinker, but for years I was either on my drive or on the street whilst doing any work on the Sups. I like to set trends, as regressive as they may be